

PART II – The Big Trio: Aperture, Shutter Speed and ISO
All images by author
If you missed the first part, you can find it here:
http://reefs.com/blog/2011/10/17/aquarium-photography-guide-part-i-choosing-the-right-camera/
Part III:http://reefs.com/blog/2011/12/02/aquarium-photography-guide-part-iii-white-balance-headache/
Part IV http://reefs.com/blog/2012/01/11/aquarium-photography-guide-part-iv-lenses/
That new shiny camera you just got for the rest of your hard earned money may seem at first like an airplane cockpit with all those numbers, letters, dials and buttons on it, but after you actually grab that manual that is still wrapped in plastic foil, read it through and then read another one on the net, things clear up a little bit. Photography equipment has changed drastically over the decades since Joseph Niepce first saved an image on a photographic medium with camera obscura in year 1814. On the other hand, all cameras still work by the same basic principals they did when they first entered the mass market. It is important to know and understand those basic rules and terminology to use your camera to it’s full potential.
Shutter speed, aperture (f-stop) and ISO values are three most important settings one need to understand to produce a good picture. Those three settings are related to each other and need to be in equilibrium in order to achieve satisfying results, just like alkalinity, calcium and magnesium levels need to be kept in balance for a healthy reef system. In order to understand the link between shutter speed, aperture and ISO, I need to explain each and every one of those terms.
1. Aperture and shutter speed
Understanding aperture and related f-stop numbers is understanding the very basics of how a photographic camera works. A mechanical element inside camera’s lens called a diaphragm moves in a circular fashion, widening or narrowing a small hole (the aperture), through which light passes, hitting some light-sensitive element. In traditional film cameras that element is a photographic film’s emulsion, while in digital cameras it is an electronic sensor that detects light and converts it to binary code. When you press the shutter button the diaphragm opens up, allowing the light to enter the camera, and then closes again. The aperture is the diameter of the hole the diaphragm creates to let the light in, while shutter speed is the time the diaphragm stays open. Aperture is measured in units called f-stops and shutter speed is measured in seconds. For example, a photo taken at f/4 and S=1/160 means that diaphragm was open at diameter of f/4 for 1/160 of a second.
F-stop units are a little misleading, because, for example, an aperture of f/4 is wider than f/8. It’s because they are all a fraction of one, so that f/4 is ¼, f/8 is in fact 1/8 and so on… It’s a logarithmic scale too, so an opening of f/4 is two times smaller than opening of f/2. Now how does it all translate to real life situation?
We need two identical images taken at different apertures:

This first one was taken at f/2.8, the widest aperture setting of the lens I used. The diaphragm is wide open, so more light can be registered by the sensor. However, because of that wide aperture, the depth of field (transition between part of image that is in focus to that out of focus) is very shallow, and only a small part of the image is in focus. That creates a dreamy effect and it’s best to use in situations where you want to isolate a part of an object in a frame to draw the viewer’s attention. Please note that the shutter speed at which this image was recorded is 1/4s

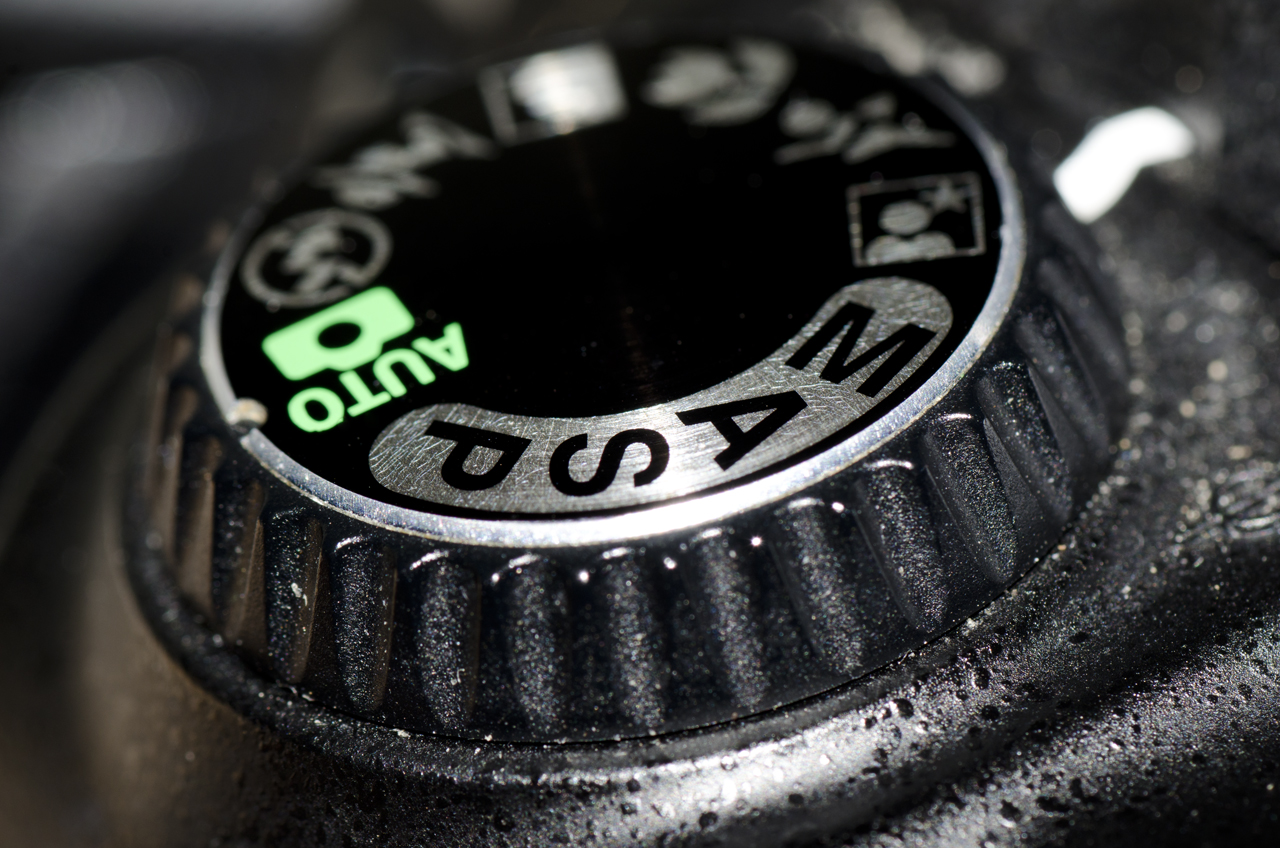
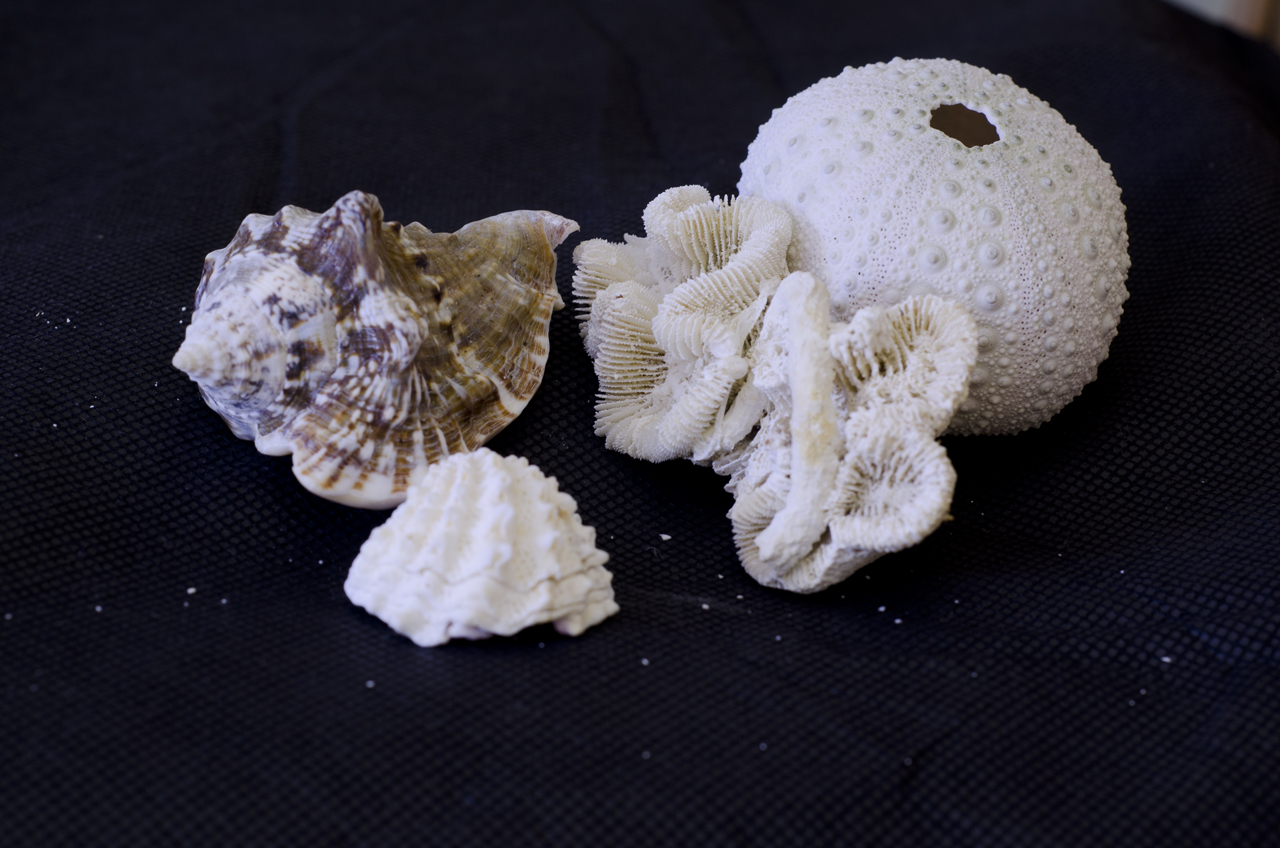
The next image was taken with the same camera, lens and lighting conditions. This time I changed aperture to f/22. This is very small opening and less light is registered by the sensor. The camera needed more time to save the whole scene (shutter speed of 15s), but both the subject and background are in focus. If you took that image with the previous f/2.8, but shutter speed of 15s, the image would be “blown out” (too bright), or even pure white. That is the correlation between aperture and shutter speed- if you change aperture, you need to adjust shutter speed and vice versa. The four manual modes most advanced cameras have (usually labeled A,S,M,P or as in Canon cameras Av,Tv,M,P) allow levels of automation your AUTO mode cannot deliver. Aperture priority setting allows you to change f-stop while the camera’s metering system adjusts shutter speed; in shutter speed priority mode the photographer sets the shutter speed and the camera chooses aperture; P program has pre-defined shutter speed and aperture settings for different situations, and finally in manual mode you have full control over both aperture and exposure time.
It takes time to master the two main settings, but after some practice you will be able to think ahead of your camera by just looking at the scene.
There is one more useful tool worth mentioning- exposure compensation. If your camera has it, it can be found on the body as a dedicated button or dial or in the menu and is represented by a +/- icon.

Most cameras’ metering systems take good care of calculating lighting conditions in order to achieve perfect exposure (a properly exposed image should retain details in shadows, midtones and highlights); however, there are situations where it can be fooled and needs adjustment.
Exposure compensation is a way to override camera’s metering system and it comes in handy when cameras have problems with properly exposing the scene. One such an example is a situation where you want to photograph your subject on a dark background. The metering system takes information from the whole scene and the resulting image can be overexposed (too bright).Please note that the background should be uniform black in color.

By adjusting the exposure compensation to the left of the scale (represented in numbers with -/+ symbols), for example -1, we are correcting the exposure.
In the opposite situation (subject on a very bright background), we need to move the exposure compensation slider to the right (+1,+2 and so on) to slightly overexpose the image.
A good real life situation where this technique is very useful is taking a photo of a subject in a sunny day.
Exp. compensation set at 0
 Exposure set at -1

Another more precise way to control exposure is something called spot metering. Here we can tell the camera which part of an image its metering system should measure. It sometimes creates the best effects in a final image.
Aquarium photography challenges our cameras even more, leaving us often in a situation where only part of an image is over or underexposed (for example overblown SPS tips from a strong lighting source), and using exposure compensation doesn’t work that well. There are two options here- bracketing or adjusting brightness in image editing software. While the later is quite obvious, bracketing needs explanation.
Bracketing is a technique of taking several exposures (minimum 3) and stocking them into one final image. Simple bracketing (3 exposures) is done by taking three identical images (nothing changes in the frame, so moving animals are out of the question), one with exposure compensation set at – (underexpose, for example -1), one with correct exposure (EC at 0) and one overexposed (EC set at +, for example +1). Some cameras offer automatic bracketing (you set exposure comp. numbers and camera automatically take three or more exposures and stack them together), while with others you have to manually take 3 shots and stack them with photo editing software (almost impossible to do when something moves in a frame). It’s a great technique, but somewhat hard to use in an environment where everything is in constant motion, like an aquarium.
We talked in details about aperture and shutter speed, one more setting left to talk about-ISO. What is ISO?
ISO in film camera days was described as a roll of film’s speed or light sensitivity. In the digital age we replaced the roll of film with a digital sensor and ISO is yet another setting that can be tweaked in the camera’s menu. In short, changing the ISO value is telling the camera how sensitive to light its sensor should be. The higher the ISO number, the more sensitive it is. Typical ISO settings start at ISO 100 or 200 as a lowest setting and goes to 6400 or more in professional cameras.
How to use ISO setting?
Introduction of ISO changes the way we control the exposure drastically. To explain how to use this tool, let me bring up an example: the subject is a relatively slow moving fish.
Camera is in aperture priority mode and aperture is set to f/8 so the fish is all in focus. The meetering system measures light levels and chooses shutter speed of 1/25s. Shutter closes and the final image shows up on the screen.
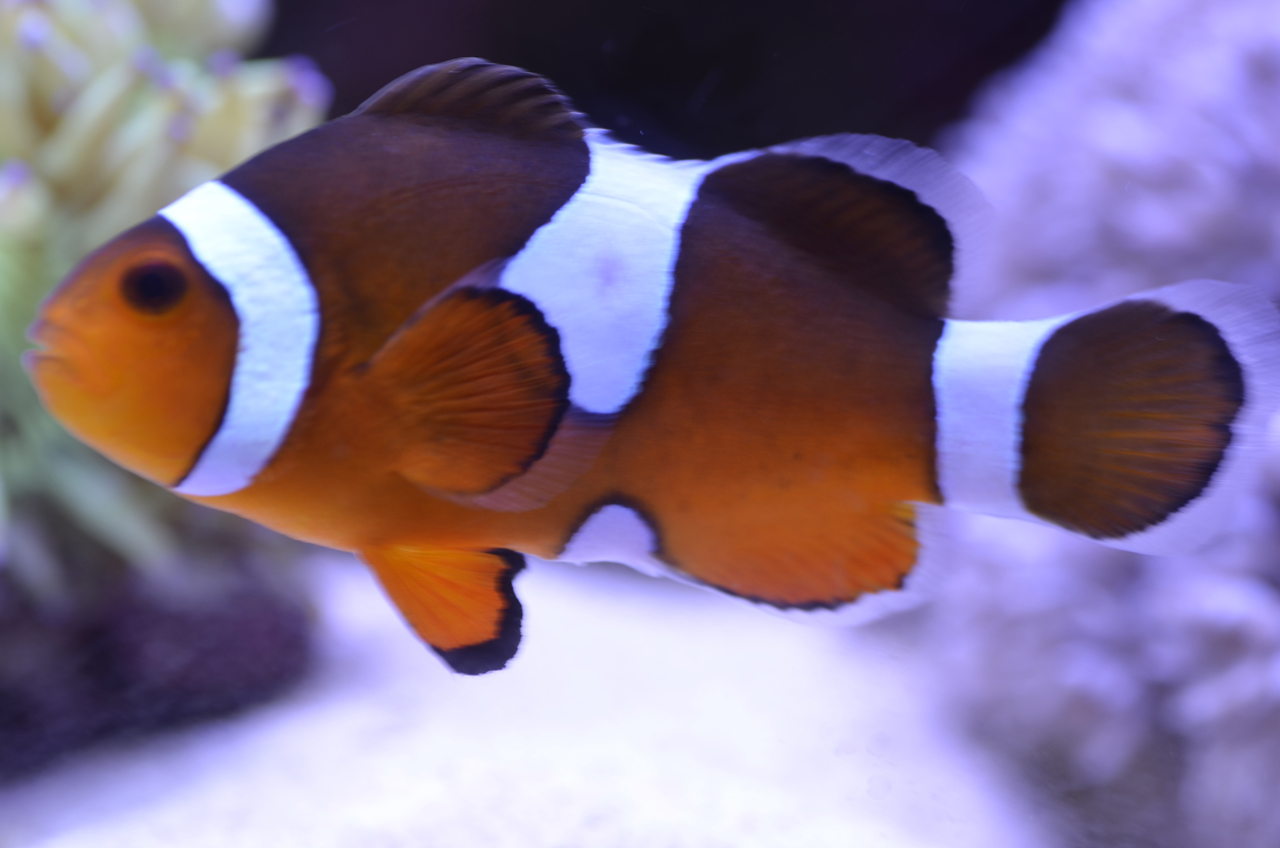
Although it’s a good exposure (picture is not too dark nor excessively bright), the subject is blurry because the shutter was open for too long and sensor was unable to ”freeze” the fish in the frame. Here’s where ISO comes into play- instead of changing the aperture and risking a shallow depth of field, we can change ISO value and preserve the aperture. Therefore, raising ISO let us shoot in lower light situations. The above example was shot at ISO 100. If we raise the ISO to 200, the same scene can be saved at f/8, but shutter speed change to 1/40s. Right now we have a better chance to achieve the goal of creating a tack-sharp and detailed image of a fish.
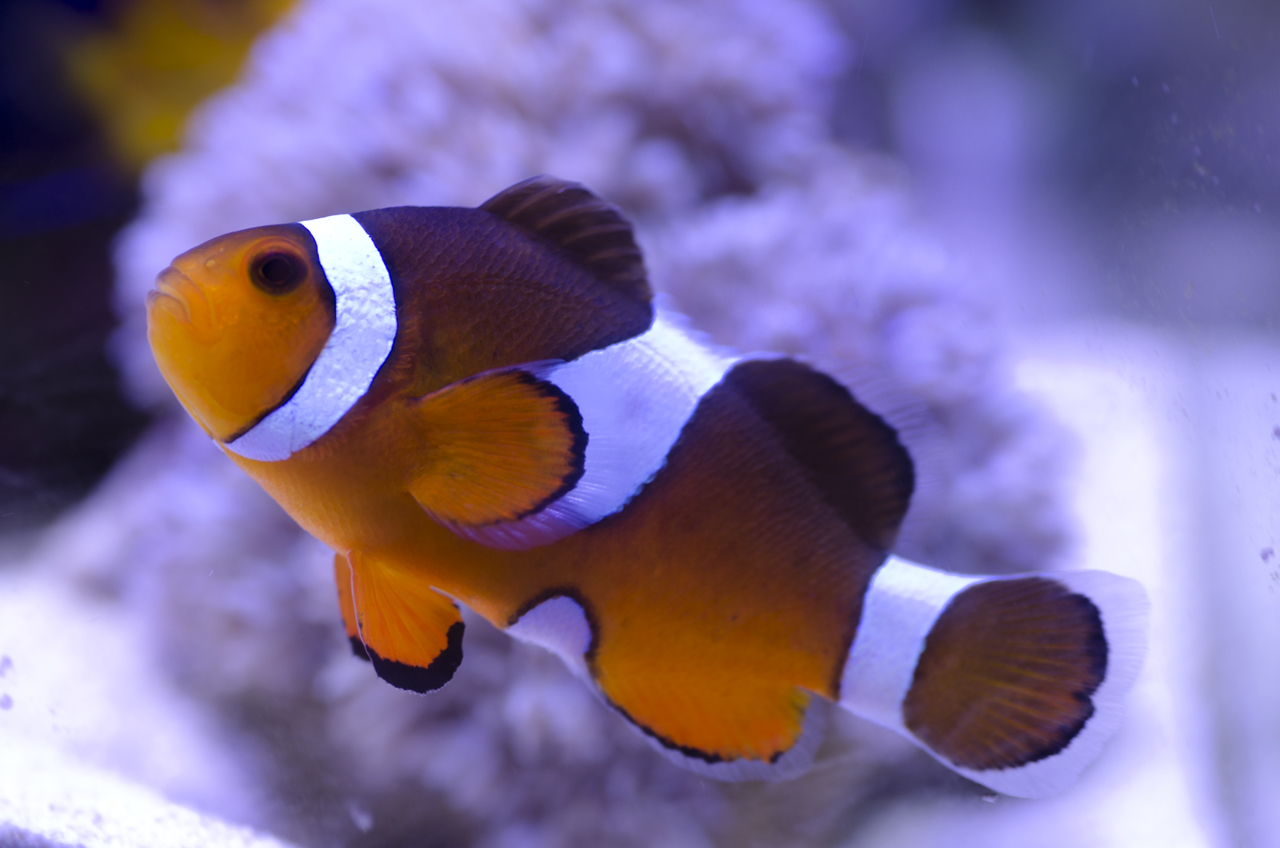
It’s still a little blurry if zoomed in, but in the small picture it’s hard to spot. Wow, a perfect solution, isn’t it? Well..
…Everything comes at a price…
Yes, unfortunately, ISO is not magic. It’s a great tool to use, but it comes with physical limitations that cannot be overcome. Raising the ISO value reflects on image quality with the term known in photography as noise.
Noise in digital negative show as colorful dots, or grain, that can be seen when zooming into the image. As stated before, raising ISO values increases the sensor’s sensitivity to light. The more sensitive it is, the less light is needed to produce an image, however the sensor doesn’t save that much information from the light that enters. Therefore, the overall quality of an image decreases.
There are two major wars camera manufacturers are involved in: one is the megapixel war (a race to produce cameras with more megapixels packed in a sensor that went to a point of absurdity in some cases) and the other is the ISO control war. When shopping for a camera, in my opinion, it’s more important how well particular model controls noise in an image than how many megapixels their sensor has. Some models do that better than others by having better noise control algorythms or/and higher quality sensors. Noise can be also controlled by image editing software. However noise reduction is approached, it is never a lossless operation. Reducing noise in an image always lower its quality.
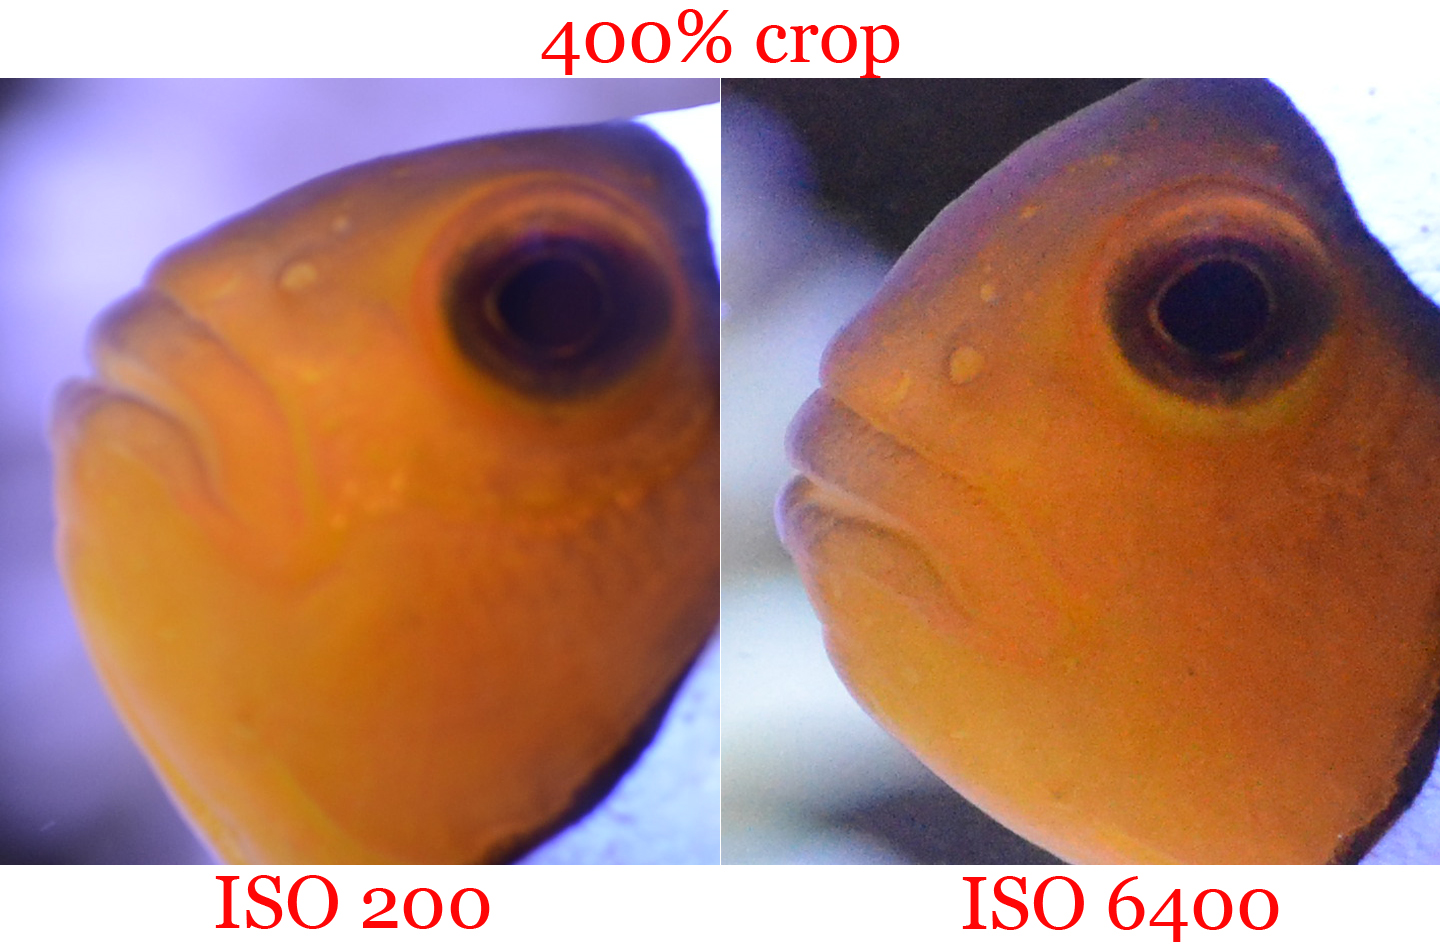
In the above image, I went to the extremes and bumped up ISO to 6400 to dramatize noise effect. However, the camera I was using has very good noise control software built in it.
The question is when should we care about image quality vs noise control.
It’s a matter what we are going to do with an image. A small picture for web purposes (for example this blog post) can be taken at higher ISO setting because, even if noisy, a viewer won’t see the imperfections. In contrary, a piece of art that you want to show in large format print should be taken at low ISO, because visible noise is not acceptable. Third case are large format prints (we’re talking posters and billboards here) where noise is somewhat acceptable as the viewer looks at the picture from a greater distance and details don’t have to be perfect.
Noise in an image is sometimes desirable to create mood. That was especially true in film days, where noise created a kind of mystery in the picture; however digital noise cannot copy that effect without looking a little “fake”. but aquarium photography is a field where sharp, clean photographs are more readily accepted to an observer.
In summary, there is a fine balance between ISO, aperture and shutter speed when taking pictures and one has to understand and practice how to use each one of those setting to create a perfect exposure. It’s a little overhelming at the beginning, but with a little practice tweaking the camera’s settings you will be able to produce great images. Next time we will focus on another key element in photography, White Balance. Meanwhile, go play with your camera!


0 Comments