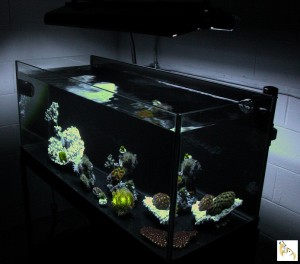
 Aquarium backgrounds offer an easy way to hide unsightly electrical cords, plumbing and equipment. Subconsciously our eyes are drawn past the aquarium and beyond exposing things that could easily be hidden, detracting from the overall feel of the aquarium. Keeping the back panel of an aquarium clean allows the tank inhabitants to really ‘pop’ out at you. Over the years I’ve tried every method I could find in search of the best aquarium background that withstood the test of time and was easy to apply. Heavy duty tapes don’t last on ‘cut to size’ backgrounds, ‘peel and stick’ backgrounds are a nightmare to work with and fixing an accidental scuff overtime proved troublesome. Painting the background quickly became my favorite option in regards to longevity and ease of application. But what kind of paint works best and how should one go about applying it? I had tried spray paint, oil based, water based, different brands, rolled on and brushed on methods all with mixed results. After talking with Brett Harris of Cherry Corals about our favorite means of implementing a background he introduced me to what I call the ‘pour and push’ approach, in which you literally pour paint onto the glass followed by spreading evenly with a sponge brush. This method provides a nice, thick coat that will last as long as an aquarium, and still allows using pumps with magnets (Tunze, Vortech, etc.) on the painted panes. The specific paint I use is Valspar Latex Enamel, which I purchase from Lowe’s. Personally I prefer the flat black color option. Here’s a how-to video of the ‘pour and push’ method. Couple things to note:
- Don’t concern yourself with an uneven finish on the painted side of the glass. Rest assured when you flip it over you’ll have a perfectly smooth finish from the viewing side.
- Any paint that has dripped should be allowed to dry opposed to smearing everywhere when still wet. Accidents can easily be removed from glass or trim with a razor blade once dry.
http://www.youtube.com/edit?video_id=w8k1V2WmGUA&video_referrer=watch









0 Comments