
It’s time for the second installment of “Tips For Beginner Breeders”! Last time, we covered seahorses, and I hope you took my tips into consideration and tried your hand at breeding and rearing some of these great animals. This time, we are going to talk about goby breeding!
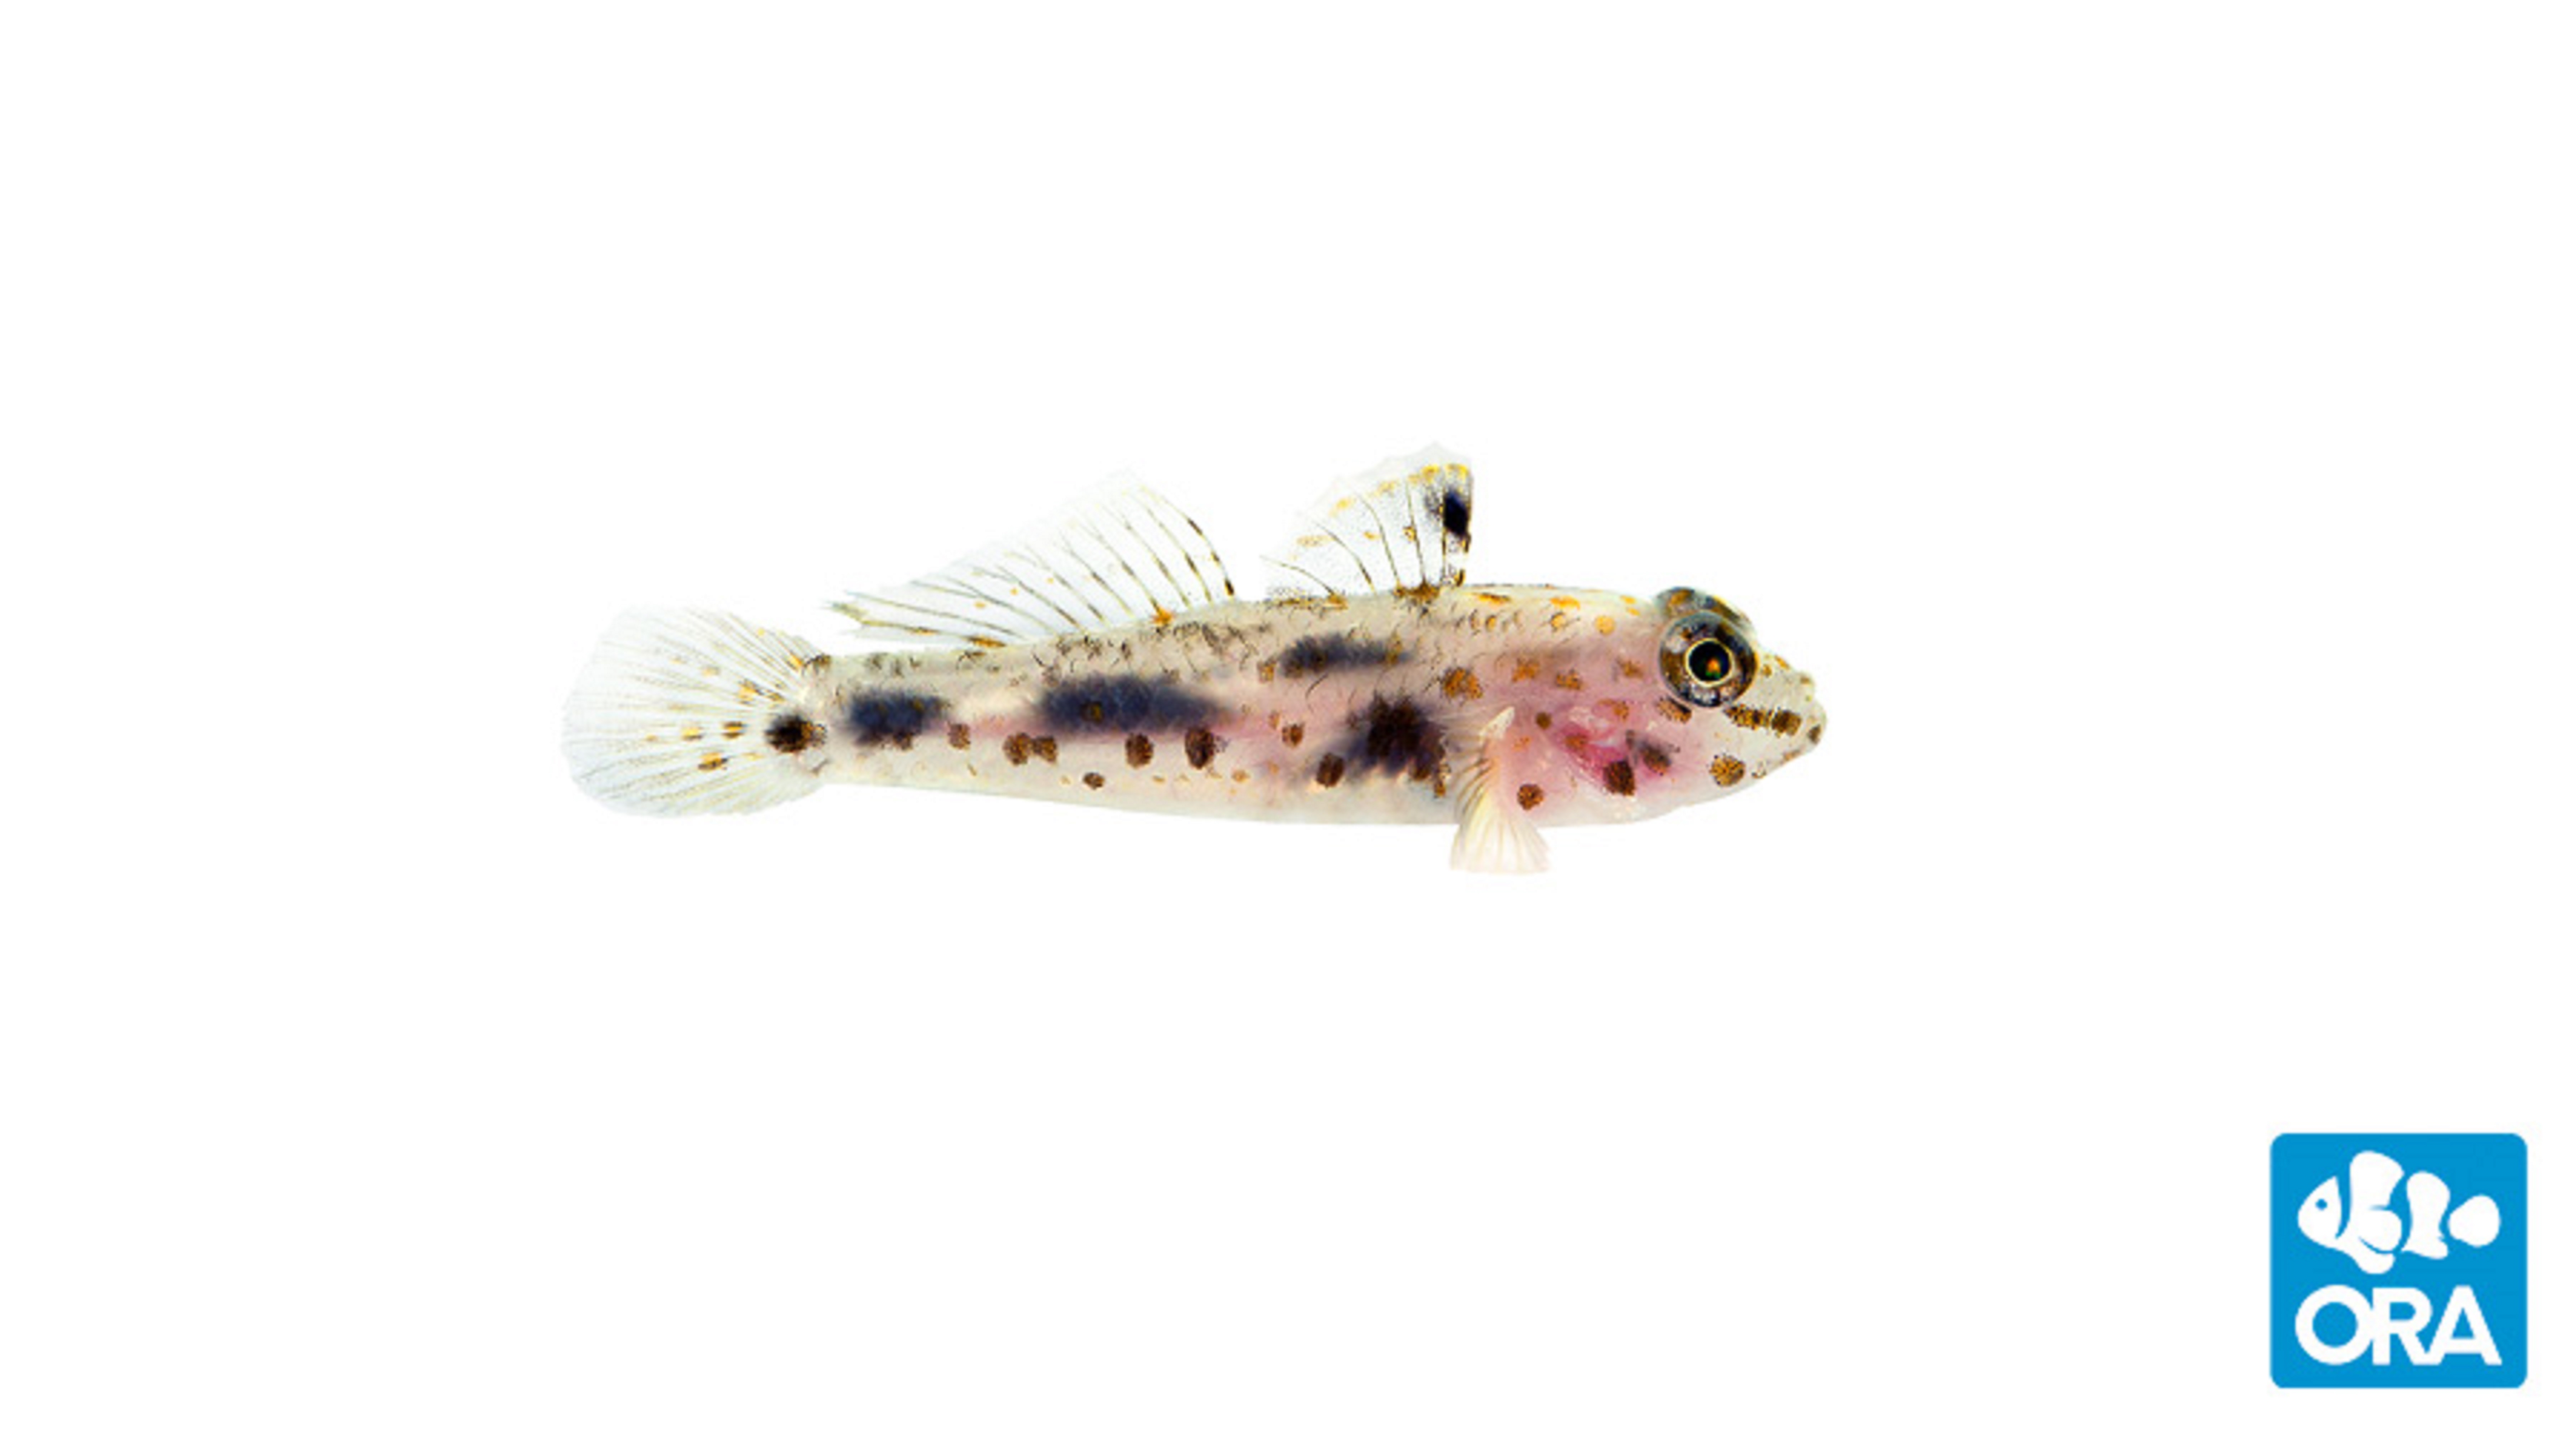
One of ORA’s newest captive bred gobies, Transparent Cave Goby (Fusigobius pallidus)
With around 28 species that have been bred in captivity, we as an industry haven’t even begun to crack open the family Gobiidae. There are over 2,000 species of known gobies; just about every hobbyist with a tank could be the first to breed a new species! Now I know how much everyone loves their clownfish – believe me, I love clowns as much as the next guy…but for the love of aquaculture, get out of your comfort zone and try something different!
Before you can get your gobies to spawn, you will need to pair them up, but pairing up gobies can be difficult, since most species have no external dimorphism. However, these fish can change their sex, giving you a better chance of making a successful pair. Gobies mainly change sex from female to male in a process called protogyny, which often follows the death of the male from a pair. The most dominant female in the area turns into a male, the opposite of what happens with clownfish. There are also a few species that can exhibit bi-directional changes, meaning they can switch back and forth as the need arises, but this doesn’t occur very often. I recommend getting the largest and the smallest gobies to pair together, which will give you a better chance of obtaining a bonded pair.
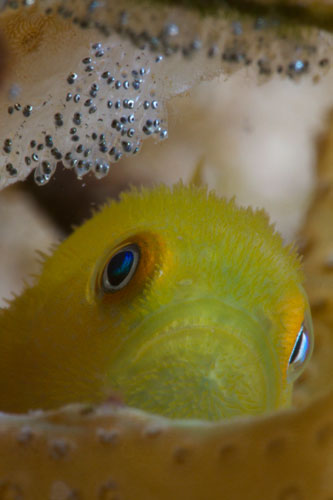
Paragobiodon xanthosomus nesting a clutch of eggs. Photo Credit: Maluku Divers Resort
Gobies are demersal spawners that will attach their eggs to substrate. This substrate can be rocks, sand, shells, coral, or PVC. They can lay anywhere from five to a few thousand eggs, depending on the species. After a pair of gobies have spawned, the male guards the eggs from predation, clean them, and fan the eggs to keep them oxygenated. Depending on the species of goby, the eggs will hatch between a few days and a few weeks after they have been fertilized.
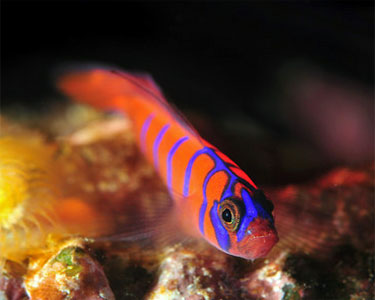
The Catalina Goby (Lythrypnus dalli). Photo Credit: Aquarium Domain.com
Some species, like the Catilina goby pictured below, are very easy to raise; only a few weeks after they settle, they will begin to breed!
Now let’s talk about what it takes to rear goby larvae. To start, you need to have the proper supplies. I recommend making sure you have a good black round tub( I use a 40 gallon), adequate lighting( I use a Phillips 18W LED bulb), proper aeration (just a light tumble. Enough to keep the larvae gently moving in the water), a correctly sized heater (I use only titanium heaters in my vats, and usually place the aeration over the heater to keep the larvae off), copepods, and some algae cultures.
Since gobies are small fish, they have small larvae. The small larvae have small mouths, which means that they require small food. The most easily obtainable “small” food is copepods, and while there are many species of copepods available, the one I use most often is Parvocalnus crassirostris. This is a great pod that is fairly simple to culture and has adequately small nauplii. I suggest adding about 5 copepods per ml. After adding the copepods to your rearing culture, you need to add in algae for them to eat; I recommend T. isochrosis, a very nutritional algae for your copepods. And you know what they say, a fat copepod makes for a fat larvae (ok, maybe I am the only one who says that).
Keep an eye on your rearing culture; it should always have a brown tint, which means that there is enough algae to keep your pods enriched at all times. Depending on your copepod, larval densities, and rearing culture size, you will need to do a water change daily or weekly. In my 40 gallon vat I do weekly 25% water changes. When performing water changes be very careful, not only to avoid siphoning any larvae, but to avoid agitating the water where the larvae have concentrated. They are delicate – just because you aren’t sucking up the larvae doesn’t mean you aren’t damaging them. Finally, when you add water back in, make sure the flow is very low, again to avoid damaging the larvae. I drip my water back in 5 gallons at a time through a length of small-diameter airline tubing.
Note that there is a small piece of PVC with aeration passing through it at the beginning of the video. This is how I hatch out my E. oceanops eggs. I remove the eggs from the brooding parents a day before I think they will hatch, place them into the vat, and then aerate them. Once the goby larvae have reached the 20-25 days post-hatch mark, I begin to offer them other foods such as crushed pellets or brine shrimp (artemia). When the goby larvae have really started to grow and darken in color, they are preparing to settle out. This is the time for metamorphosis, and you could see some high mortality rates. As soon as you notice the larvae acting or looking different, add a bit more food then you normally would to give them a energy boost. That extra food might be the difference between life or death!
One of the easiest and most common species of gobies to breed is E. oceanops, the Neon Goby. This species might be small, but it is a very hardy fish, and easily spawns in an aquarium. They lay large clutches of eggs, and their larvae are fairly large given the adult size. You can get a high survival rate out of them with the proper foods; I get around a 80% survival just feeding them Parvocalonus crassirostris for the first few weeks. Around 12-16 days I start offering rotifers, and at 20 days, artemia naups. Their metamorphosis happens at 28-32 days. These guys can be so hardy that I have ventured to test their survivability. I’ve let the salinity rise up to 38 parts per thousand, with a room temperature of 68-70 Fahrenheit. I fed them one initial startup of copepods, and threw in some algae here and there. I still ended up with a 40% survival rate. Now, I am not telling you this to promote improper culturing, but to encourage you to try something out of the box, and to show you how easy some species can be. Obviously, not all species of gobies are going to be this simple, but you never know.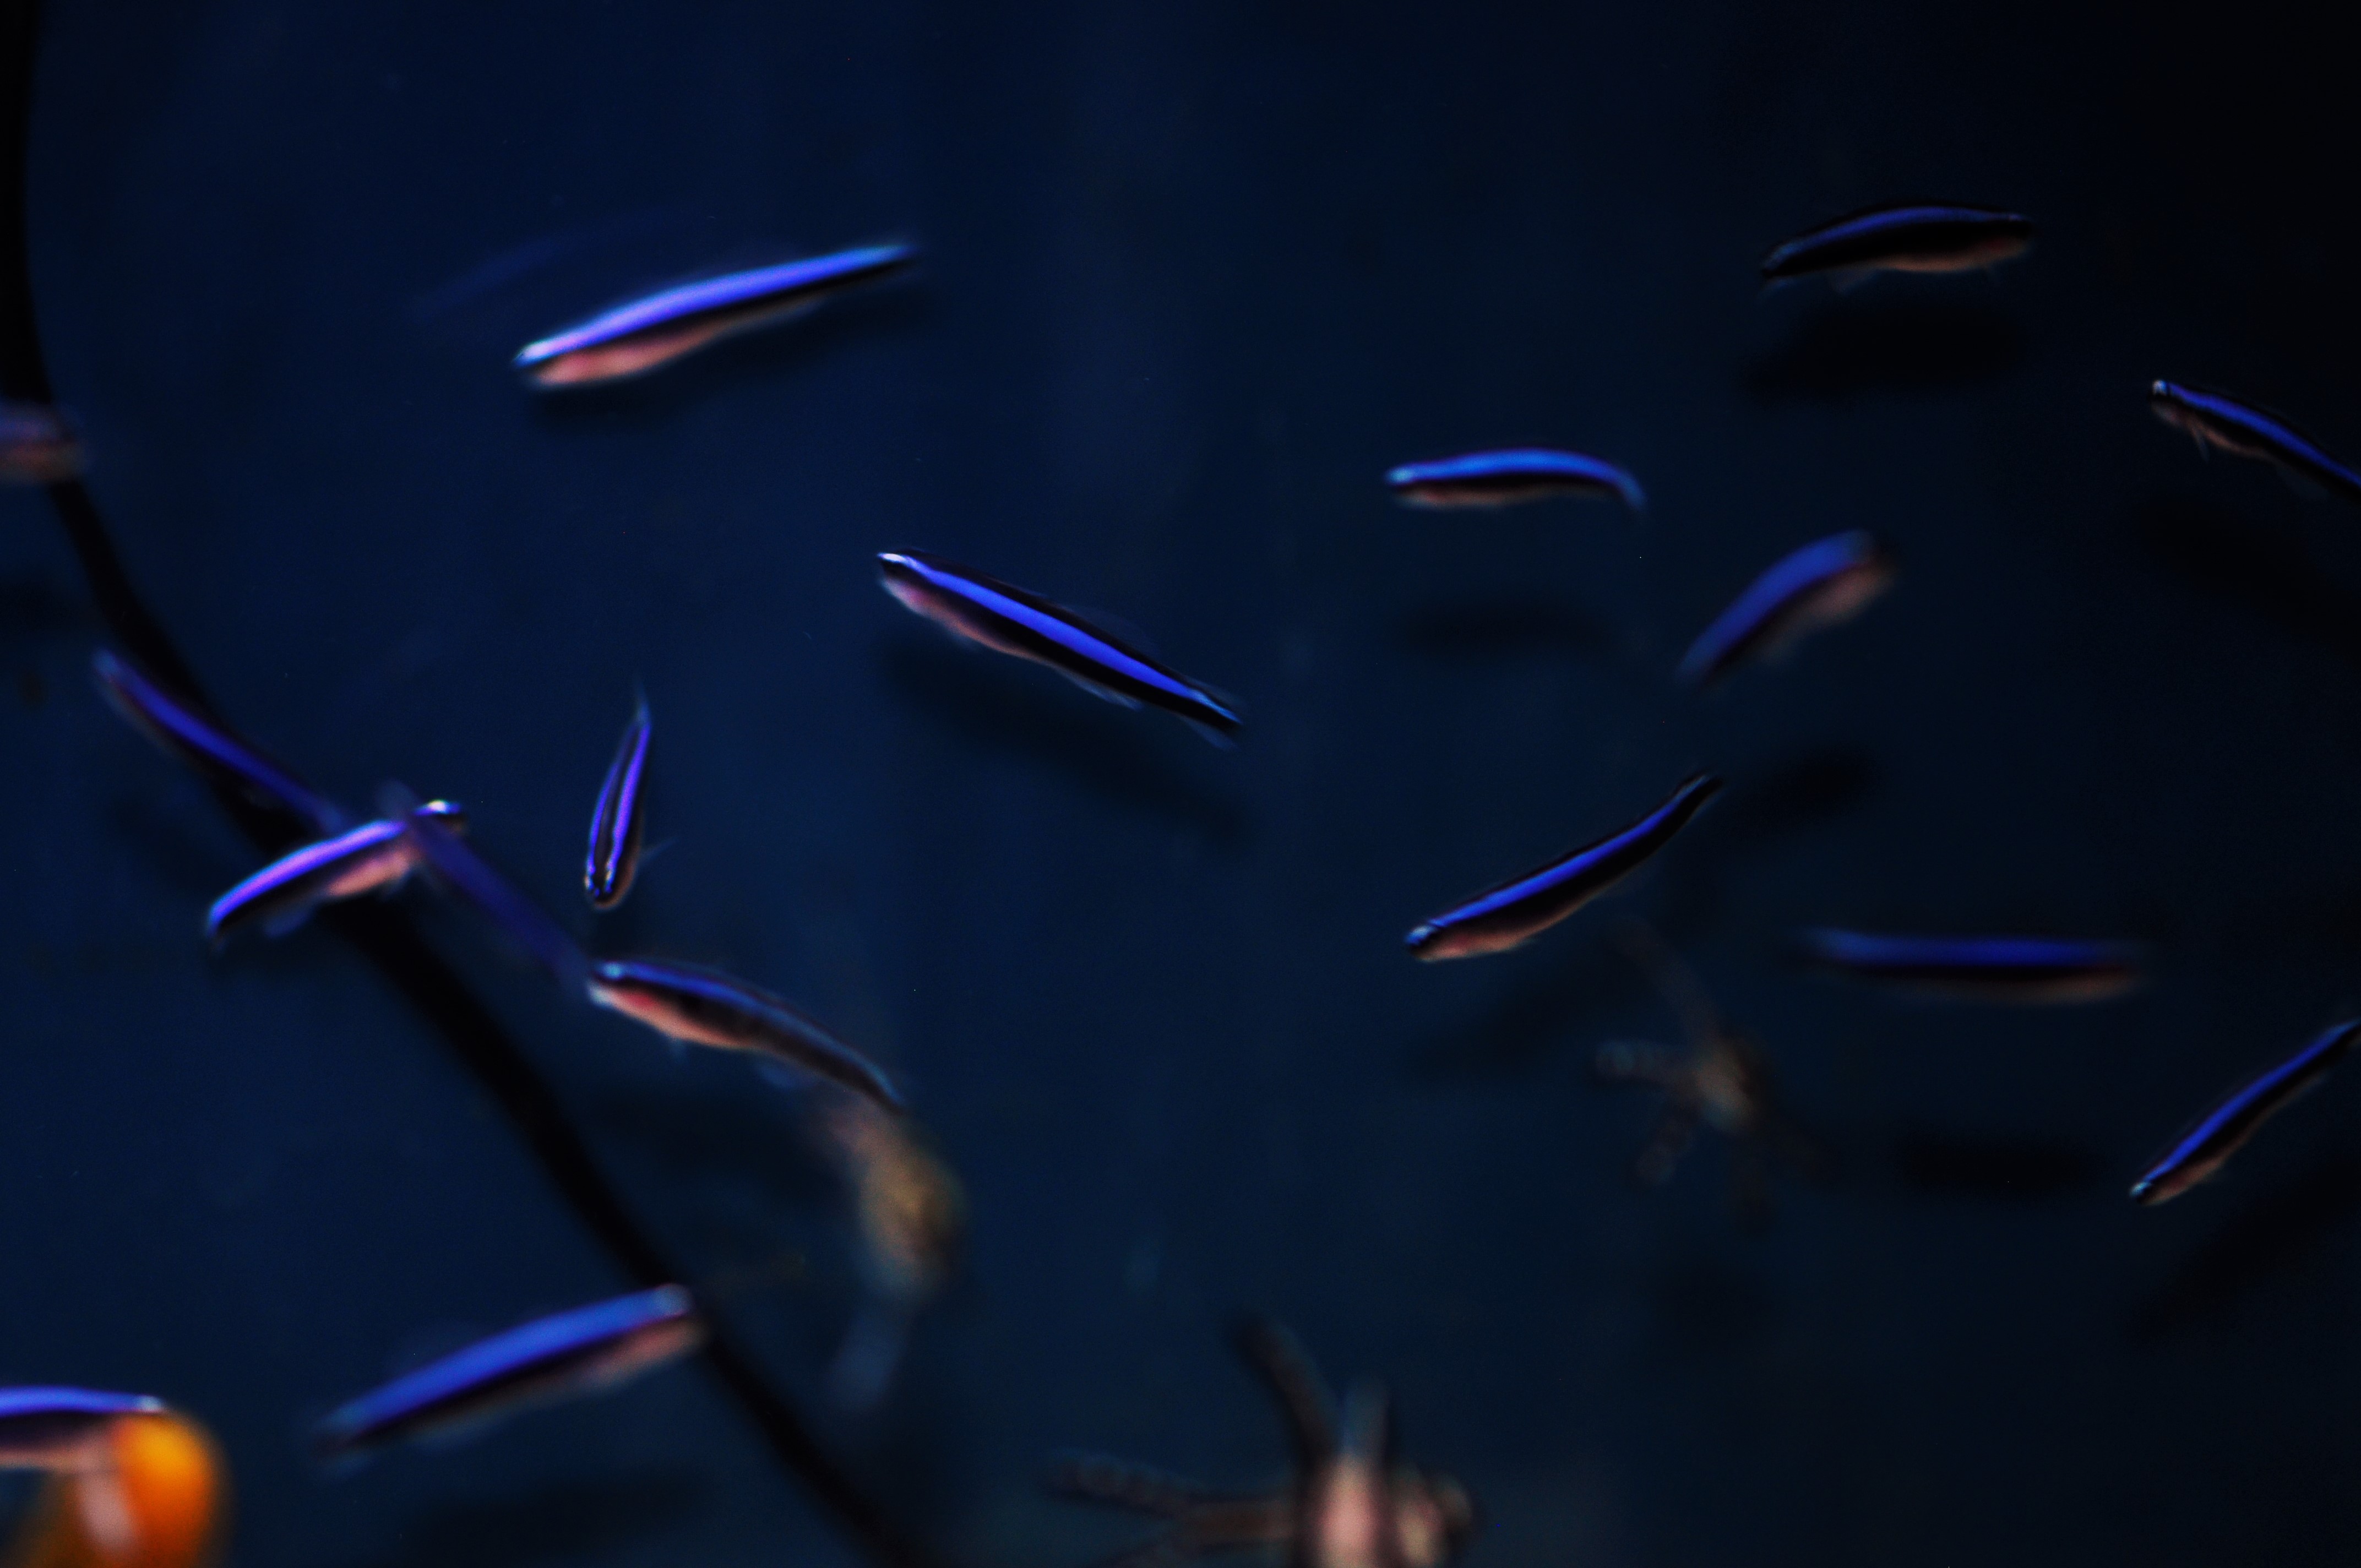
You can get your feet wet with a goby species that has already been accomplished, or you can take the helm and try to claim a species first for yourself. I encourage you to try something out of your comfort zone. You might be surprised at what you can achieve. So go forth – eat, sleep, aquaculture!


0 Comments