
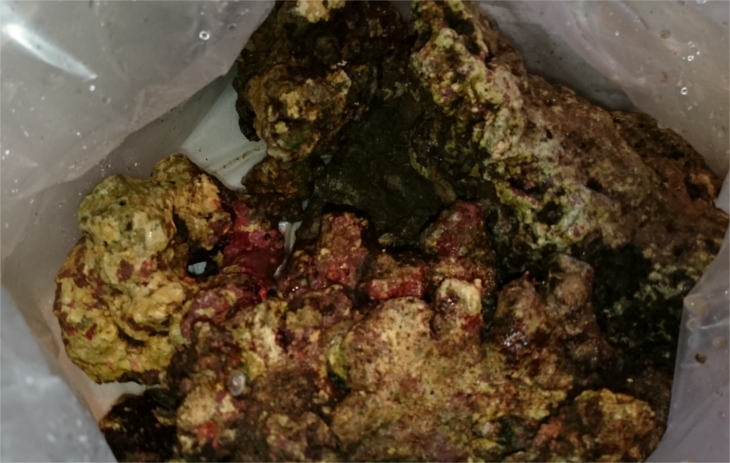
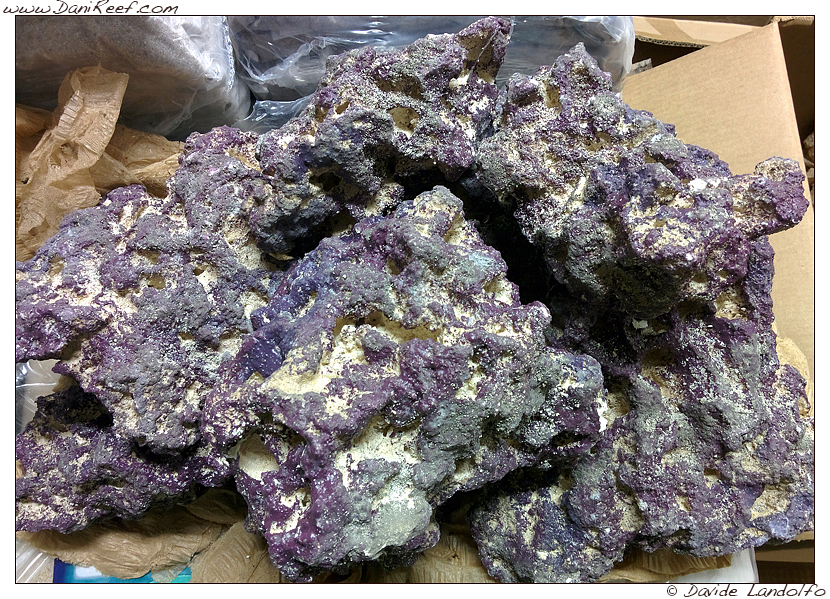
Very fresh live rocks, just arrived in box
Speaking of Live Rock isn’t easy, but today we are going to focus on their treatment at the moment that they arrive in the shop, thanks to the help of a friend of mine, who’s been in the sector for years (though he wanted to remain anonymous).
The first steps are to obtain ready live rocks, and then to avoid eradicating all the biodiversity, so that they are able to perform the biological functions they’re bought for.
So the first concern is to keep the healthy and active bacteria alive, which is used in the nitrification before and the denitrification after. Our interlocutor believes that the majority of pathogenic parasites aren’t introduced with the rocks, but with the corals, so he never treats the rocks with chemical/osmotic systems, or similar.
He believes that it’s better to just gently treat the very outside of the rocks, with the certainty that the living organisms will be safe and will repair themselves on the inside.
Mechanical treatment of live rocks
Let me start this section by saying that this is a treatment already in use for several years in different parts of the world. It’s not our interlocutor’s idea, but this is his specific method, which may differ from others.
It’s a system of immersion that needs two identical tanks.
Materials:
- Live rocks, hopefully good quality, with the least possible amount of hours in package;
- A container for a quick washing when the rocks arrive;
- Two identical tanks/containers. I will call them A and B – they will serve for the cleaning, the storage, and the breading. They should be placed on a slight incline, so they can be quickly emptied through a valve, with a fast aspiration of the sediment and a wide-mesh grid 10 cm from the bottom. In this way, when you empty them you can collect the sediment which can be useful for other things;
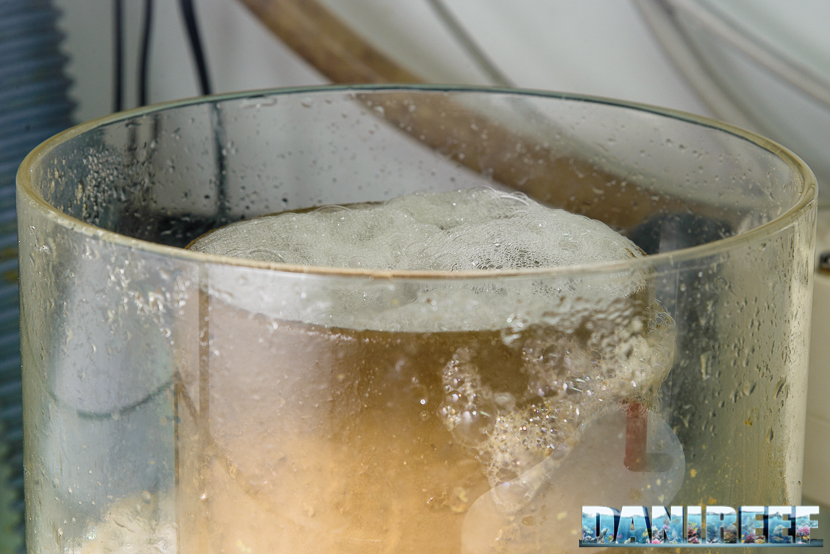
- Skimmer and ozone. You can do without the ozone for the rocks themselves, but not for the quality of the water;
- Moving pumps;
- Lamps;
- Gloves, a little screwdriver, tweezers, and a soft plastic brush;
- Good quality water;
- Salt;
- Hydrometer;
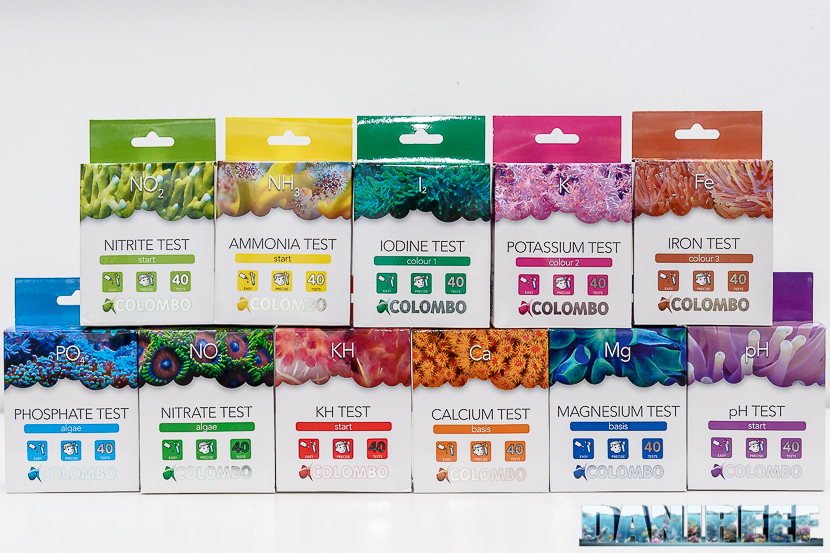
- Triad test (calcium, magnesium, and kh);
- Ammonium, nitrite, and nitrate test;
- Nutritive complex based on ammonium.
The procedure
Upon arrival, the rocks have to be washed with energy. Brush them gently to remove the sediment, use the tweezers and screwdriver to remove any dying algae, animal remains, and anything else you don’t know or you have doubts about.
Once this first step is done, the rocks are placed upon the wide-mesh grid of the first container (A). The water is about 73-74 degrees F with a density between 1023 and 1025. For 6 to 7 days, the rocks have to be turned, moved, and shaken at least once every day and, if you can, even more times each day. Inside the container, the pumps should be creating the maximum amount of turbulence possible.
After this first week, the rocks are placed in the second container (B). It is identical to the former, with new clean water, with the same values. You then repeat the same procedure.
At the same time, change 50% of the water in the first container (A), and insert the skimmer and the ozone for a complete and quicker cleaning of the water.
In the (B) container, after the first week (for a total of two weeks at this point, counting from the beginning of the treatment), change 30 % of the water, drawing and sifting the sediment. Then start a photoperiod of 6 hours a day with a light of medium intensity.
The diatoms will disappear in 12-15 days. After 7 days, increase the photoperiod to 10 hours.
Insert the skimmer, test and balance the triad Ca-Mg-Kh, and verify, always, the efficiency of the pumps.
Rocks and bacterial colonies
At this point, the objective is to let the bacterial colonies on the rocks grow, which will guarantee the nitrification and the denitrification.
For this reason you need the test for ammonium, nitrites, nitrates, and a nutritive complex based on ammonium.
You start with dosing the ammonium if there is no ammonia or if it measures at less than 1ppm/liter. Control the ammonia every day until it decreases to zero.
At this point the nitrificated bacteria will convert the ammonia and may start to notice nitrates. If you want to obtain a stable and massive colony, able to oxidize the nitrites in nitrates, keep dosing the ammonium up to a maximum of 1.5 ppm per liter. Continue until the nitrites disappear and you register an increase of nitrates. These need more time to be reduced. Try to maintain the same nitrates range between 5 and 10 mg per liter in the tanks.
Now the rocks are ready to be used in new systems, or to be inserted in already-running systems.
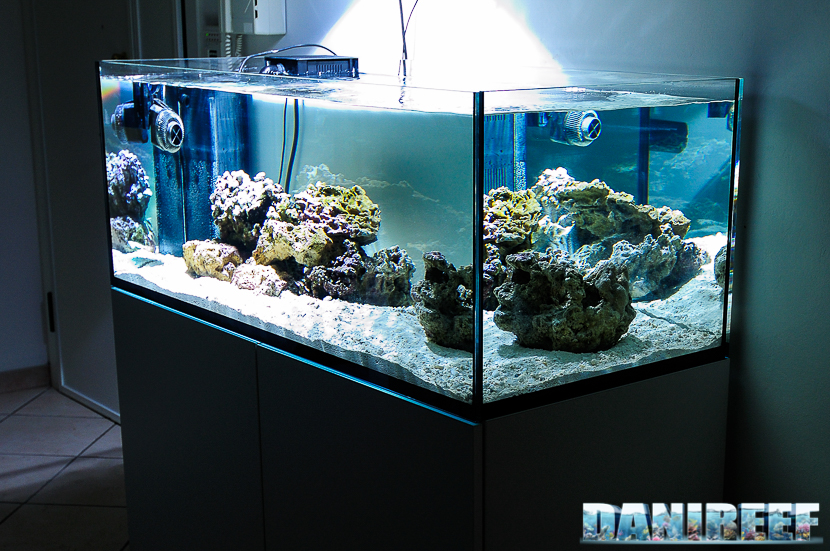
Insertion of living rocks into the aquarium
When inserting rocks into a brand new aquarium, you have to make sure that there is an immediate food source for them, so you don’t lose the bacterial colonies. You must feed the tank immediately, and then continue to do so, and should consider adding a couple of little fish.
In the established tanks the food is already present so that’s no problem.
Alternatives
What we have described may not be the best breeding system in the world. It requires a lot of effort from the seller and the importer. But it guarantees an insertion of live rocks ready to perform their functions.
The difference observed using this system rather than rainy livestocking or dry systems, is that in this way you will retain much more biodiversity, though it may not seem obvious at first, due to the oxidation of the nitrifying agents.
Moreover, the undesirable organisms, in rainy livestocking or dry systems, tend to hide much deeper in the rocks, while in an insertion system, it’s much more likely that they will move around and even out, and then they can end up in the mud and so removed.
Half-dry or rainy systems are excellent if you are hoping for a fast breeding. Insertion systems are better for the maintaining of the rocks for a much longer period and guarantees a stable and active rock.
This breeding system can also be done with synthetic or dead rocks, with a few live rocks mixed in. In this way, you can avoid inserting a lot of live rocks, but still have a small nucleus of them.
Our comments
A procedure like that requires time and dedication, more than is attractive to most aquarists. The alternative, however, is to risk buying rocks packed even months before, or rocks that have lost a great part of their bacteria. You can certainly save money, it’s true; in some cases you can spend up to 40% less. But is it a good choice, in the end?
I’ll leave that decision up to you.
[translated by Agnese Poggi]


0 Comments