
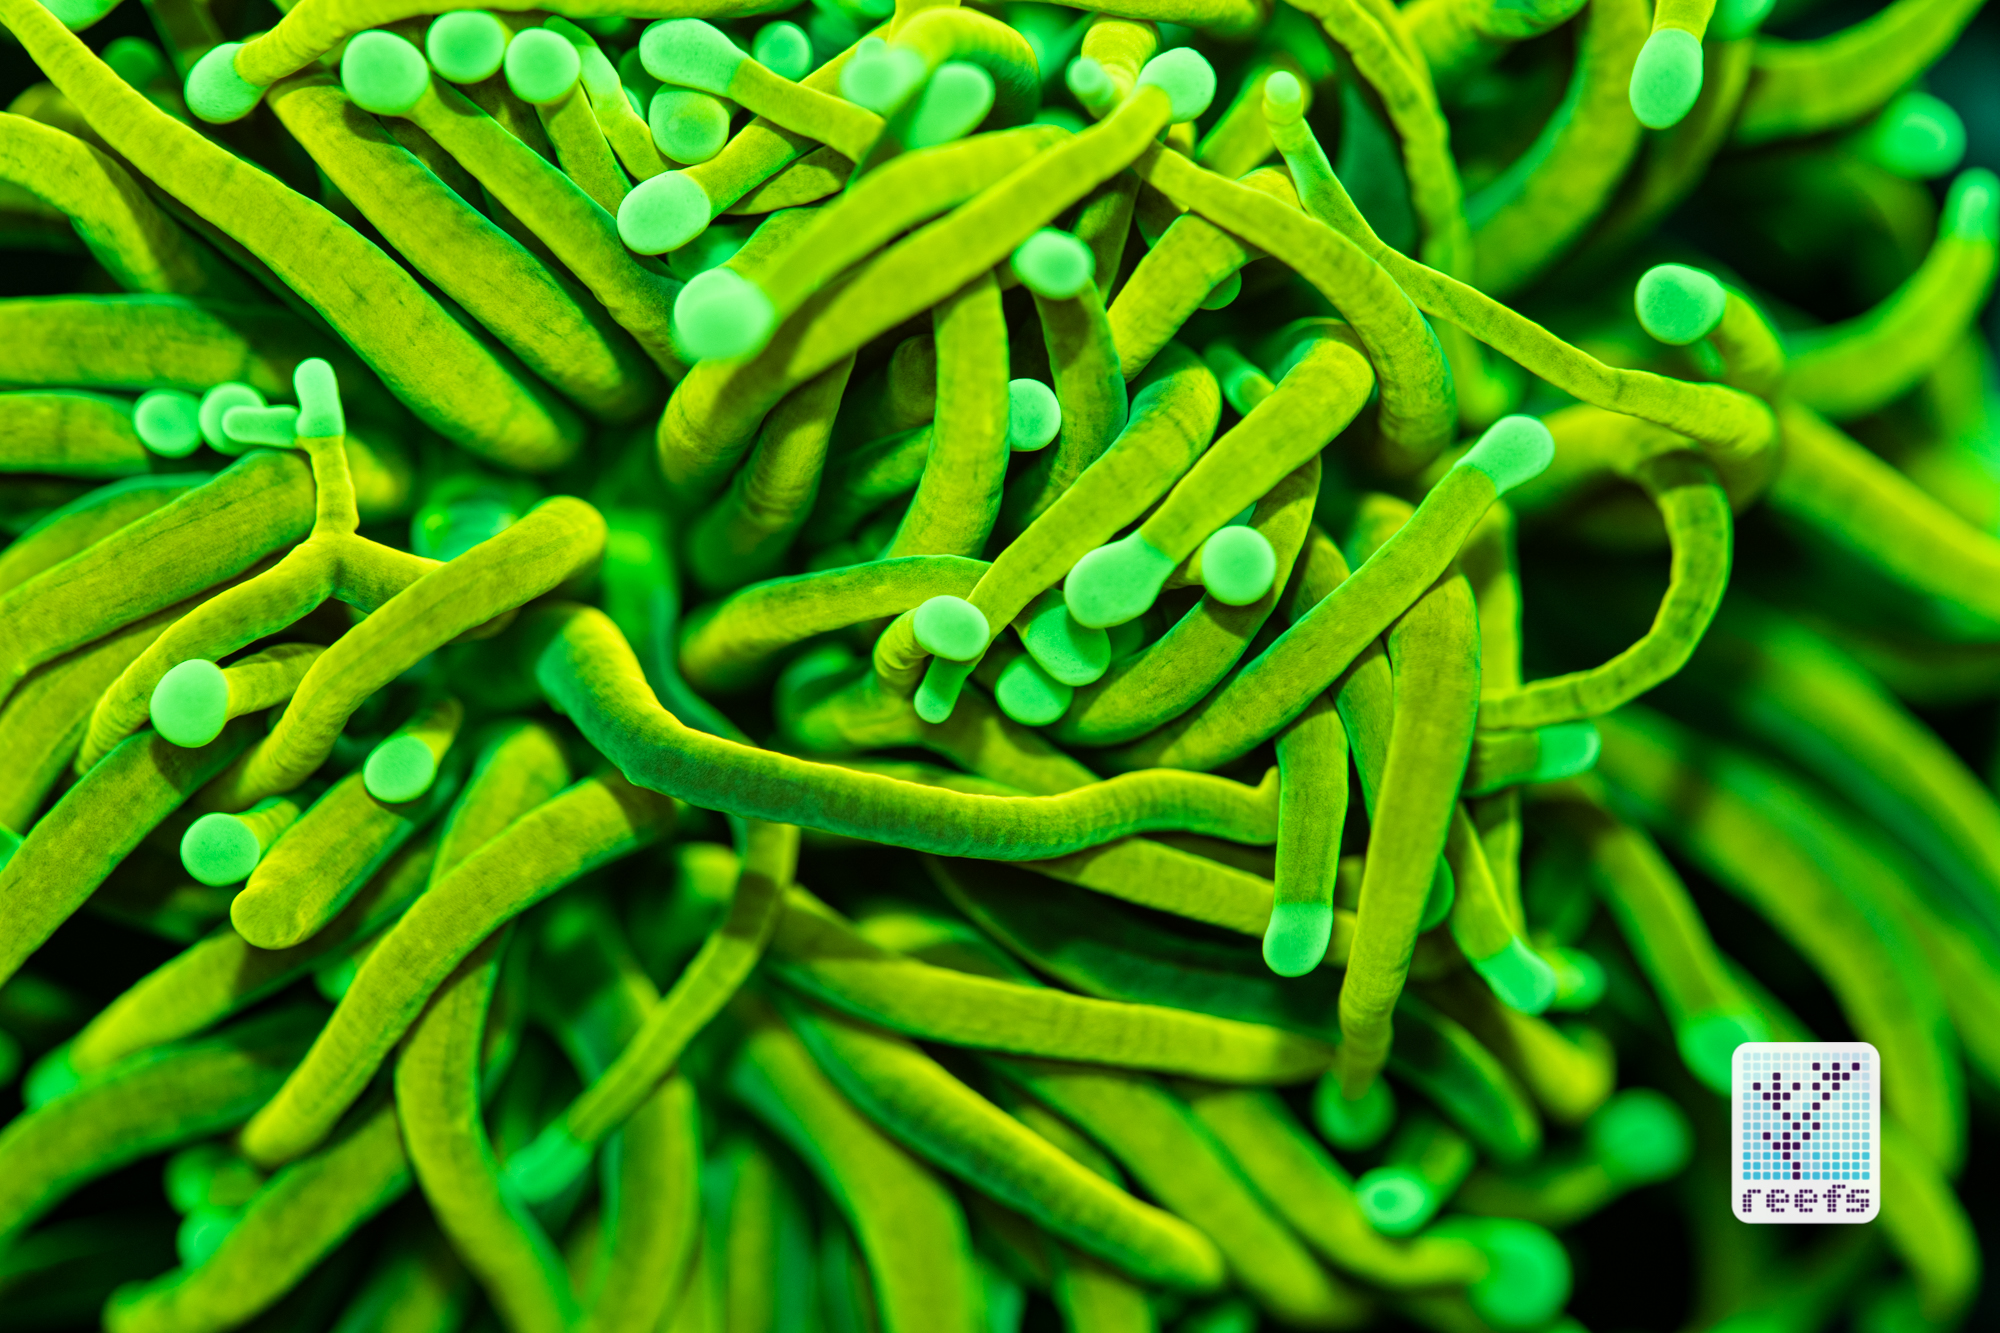
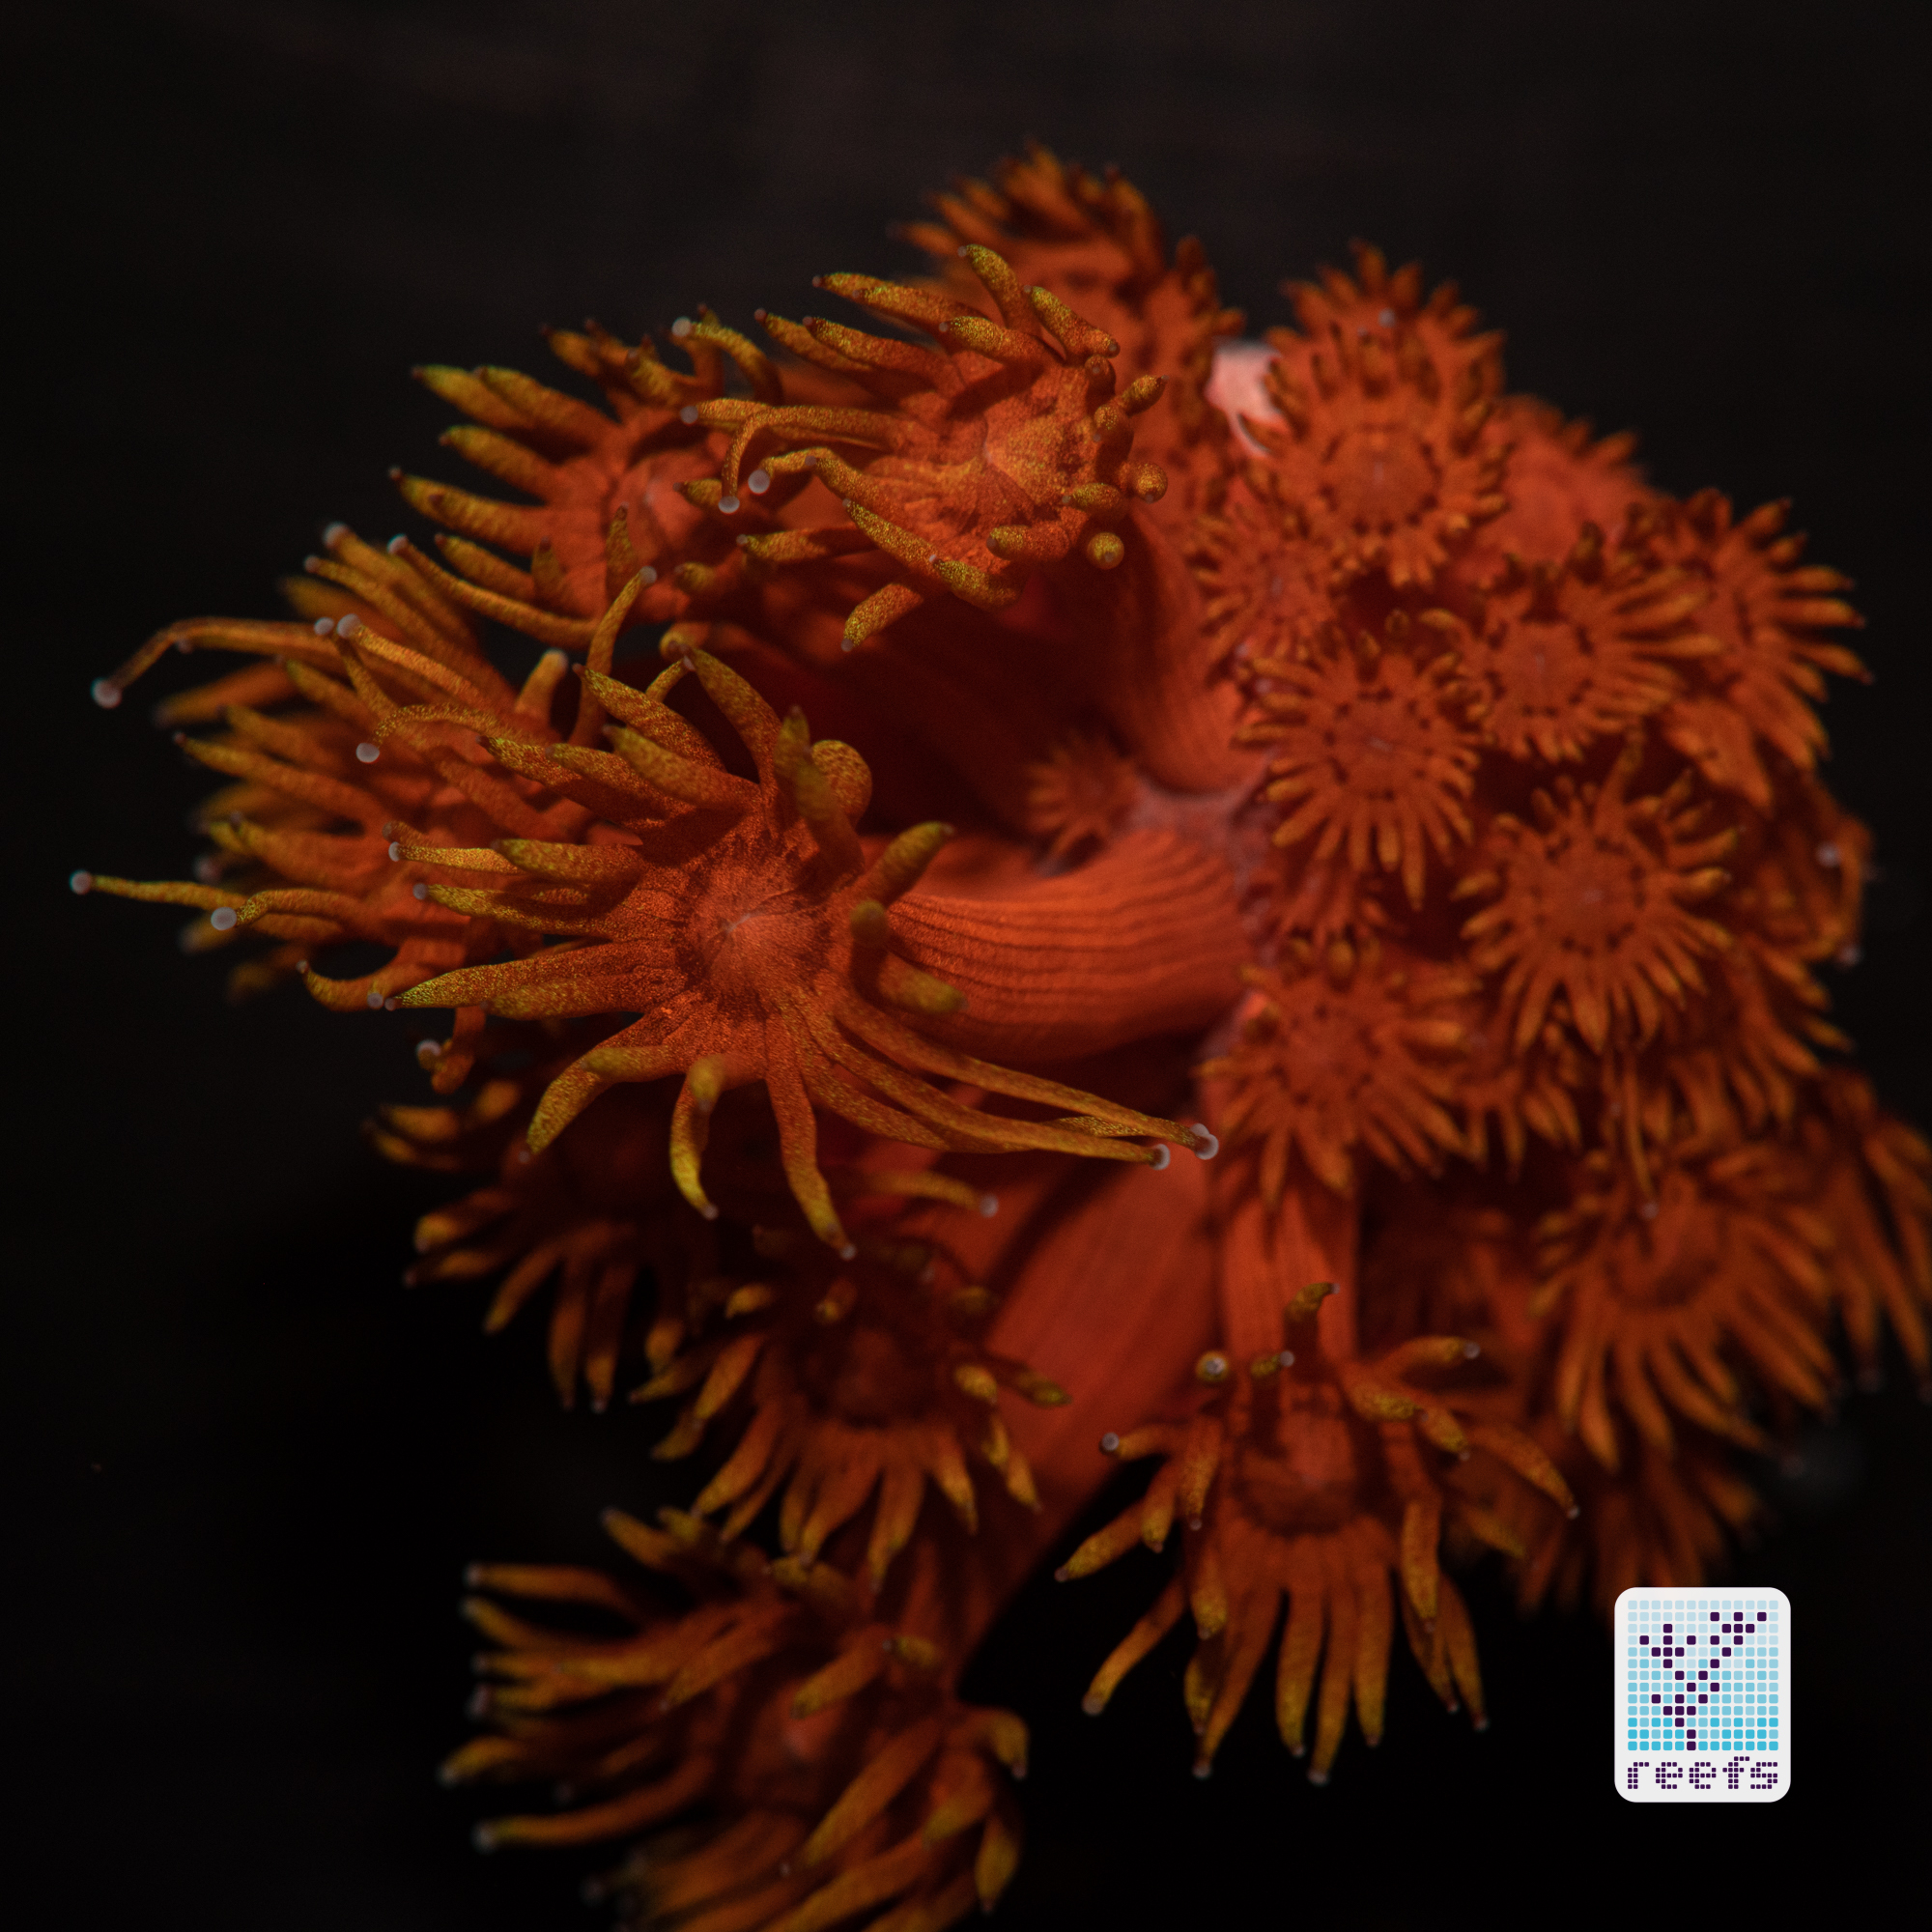
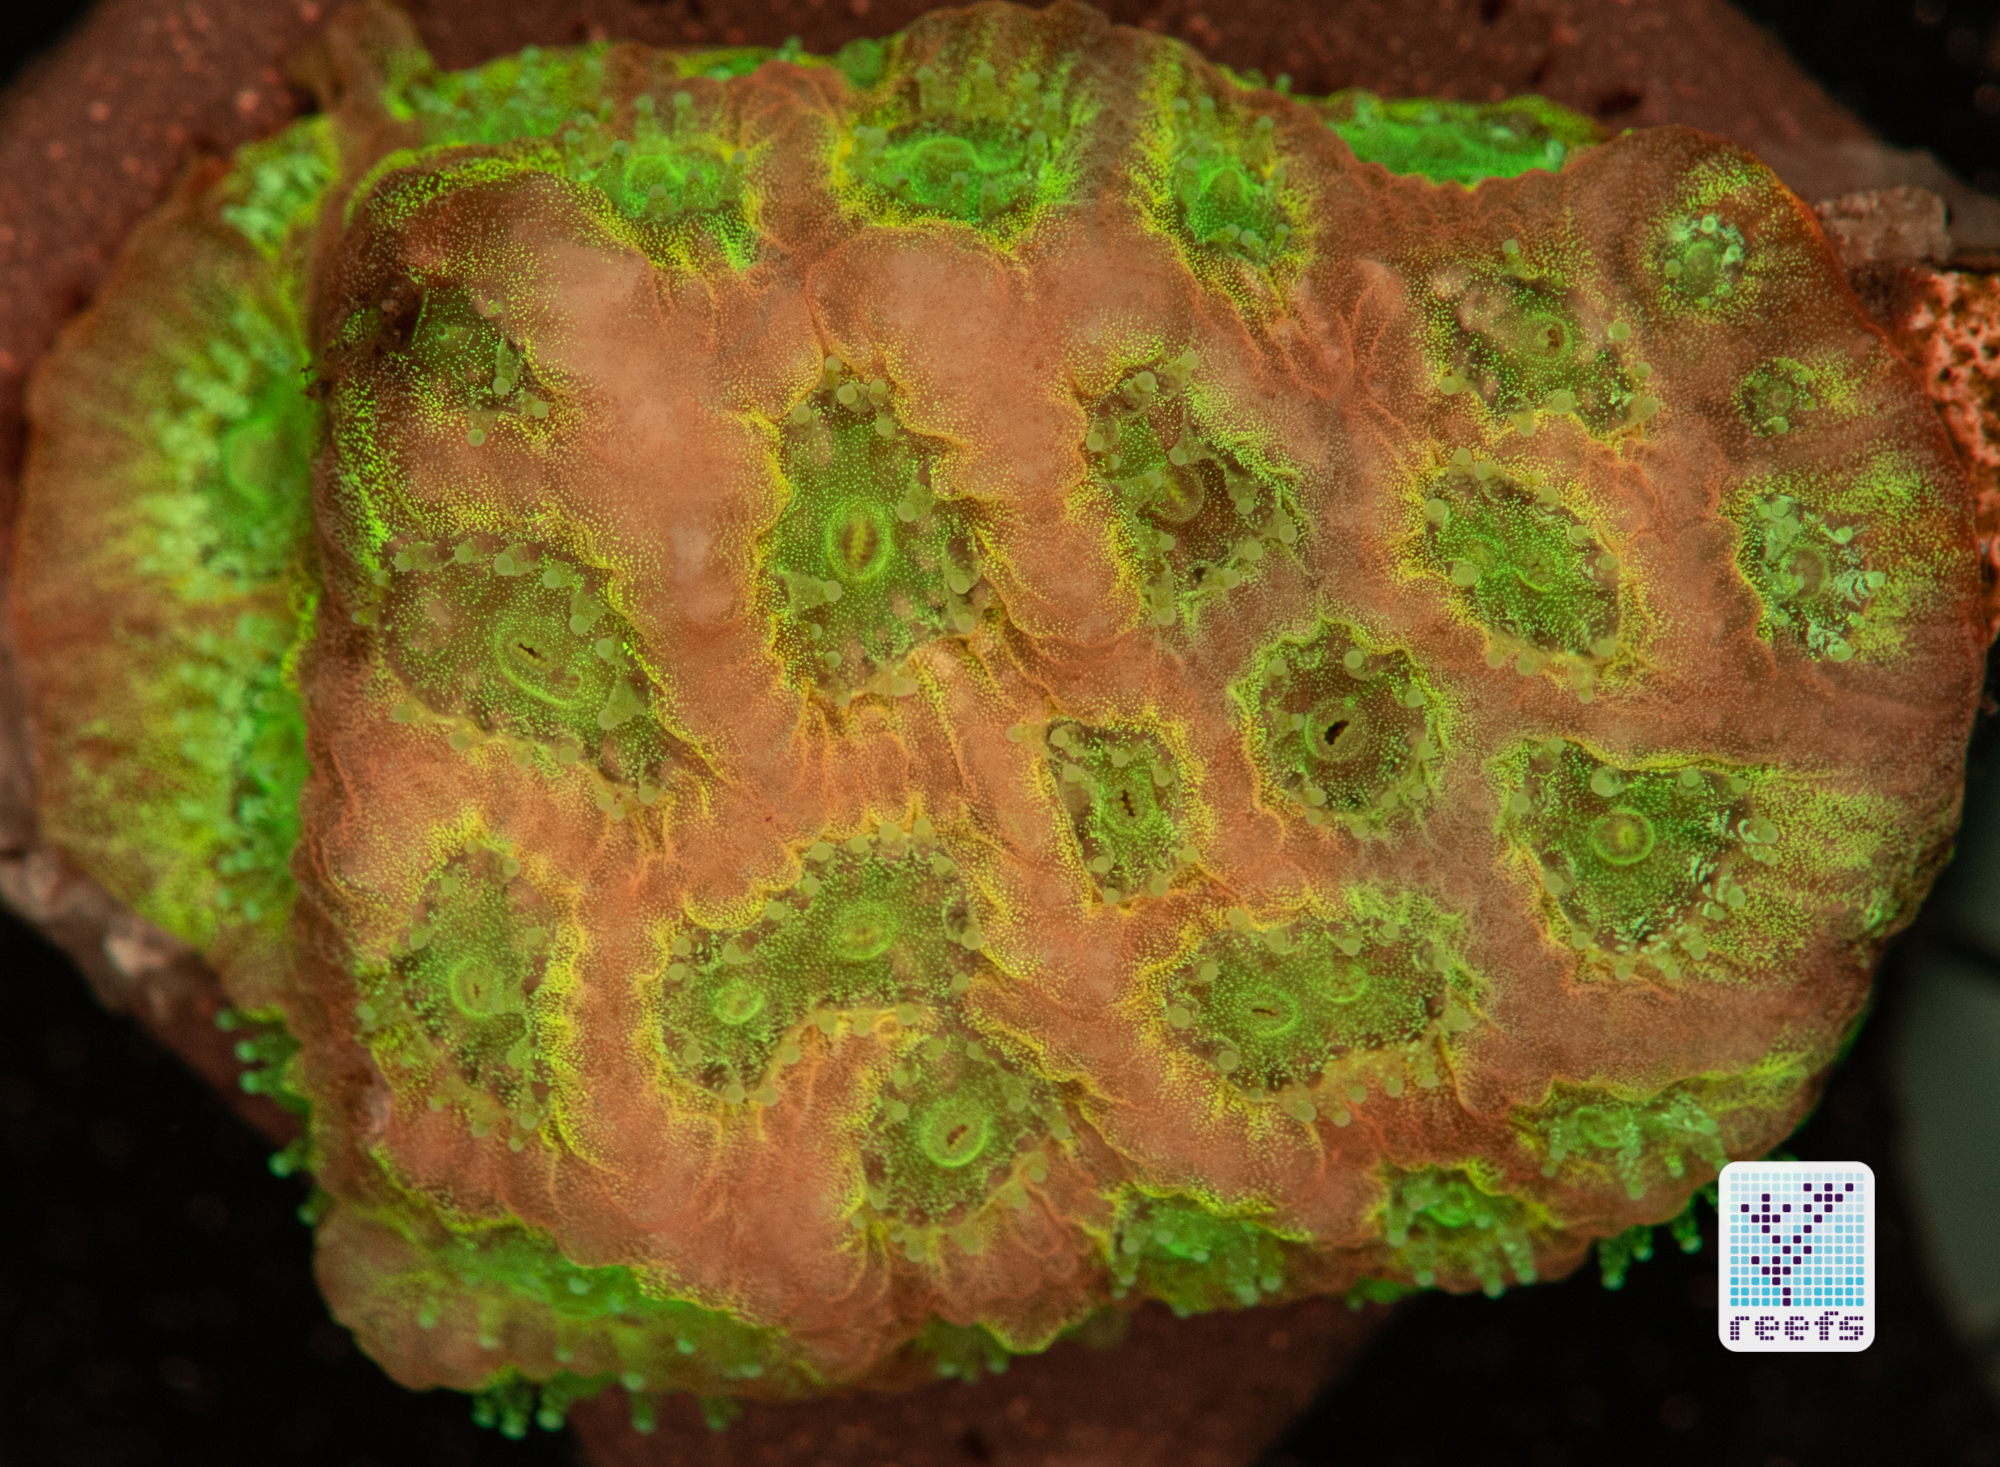
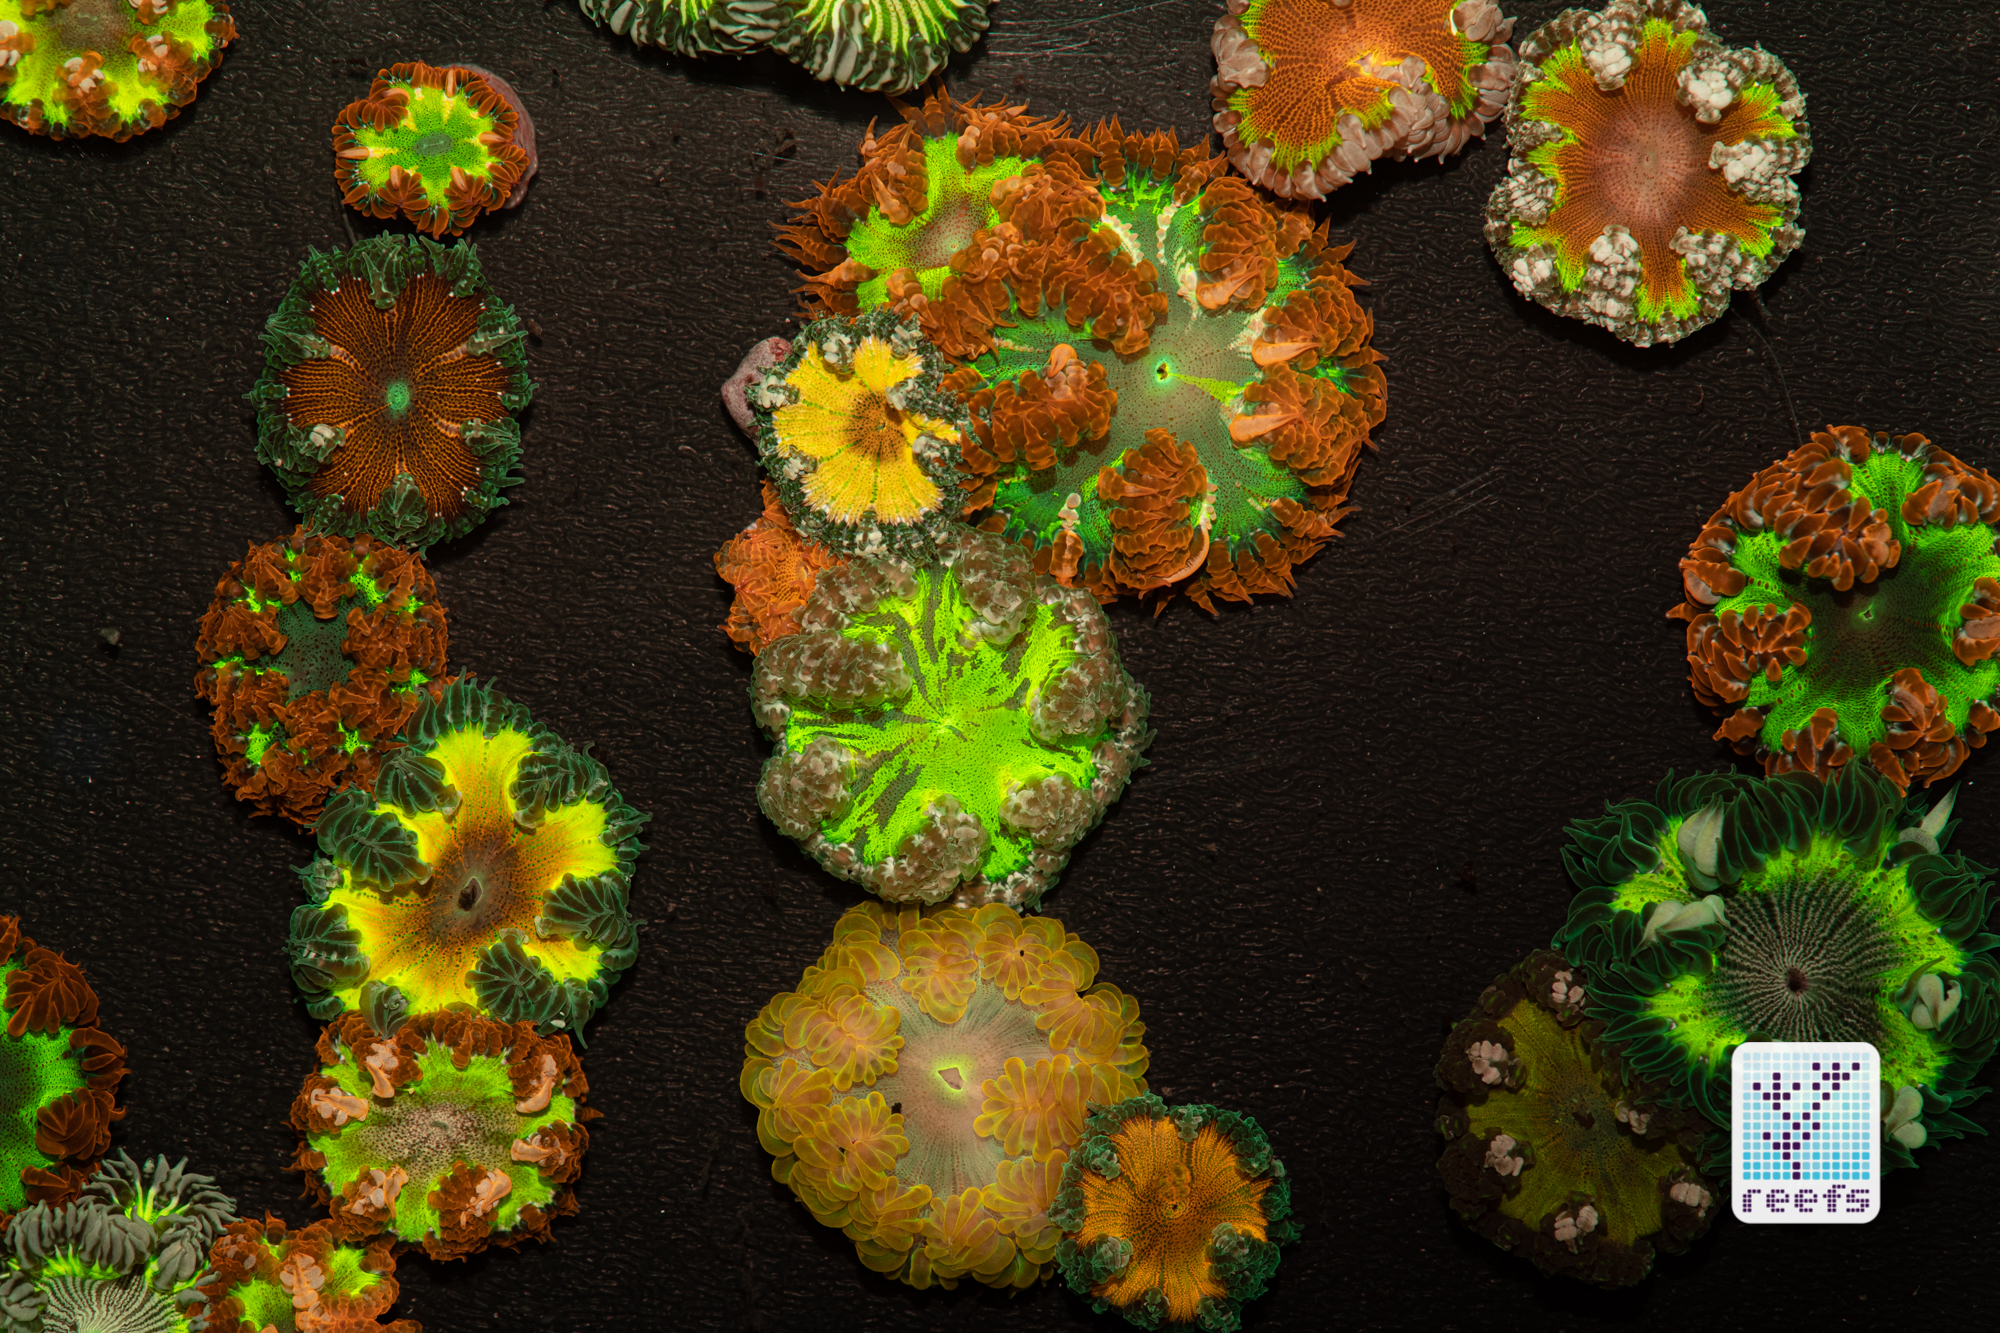
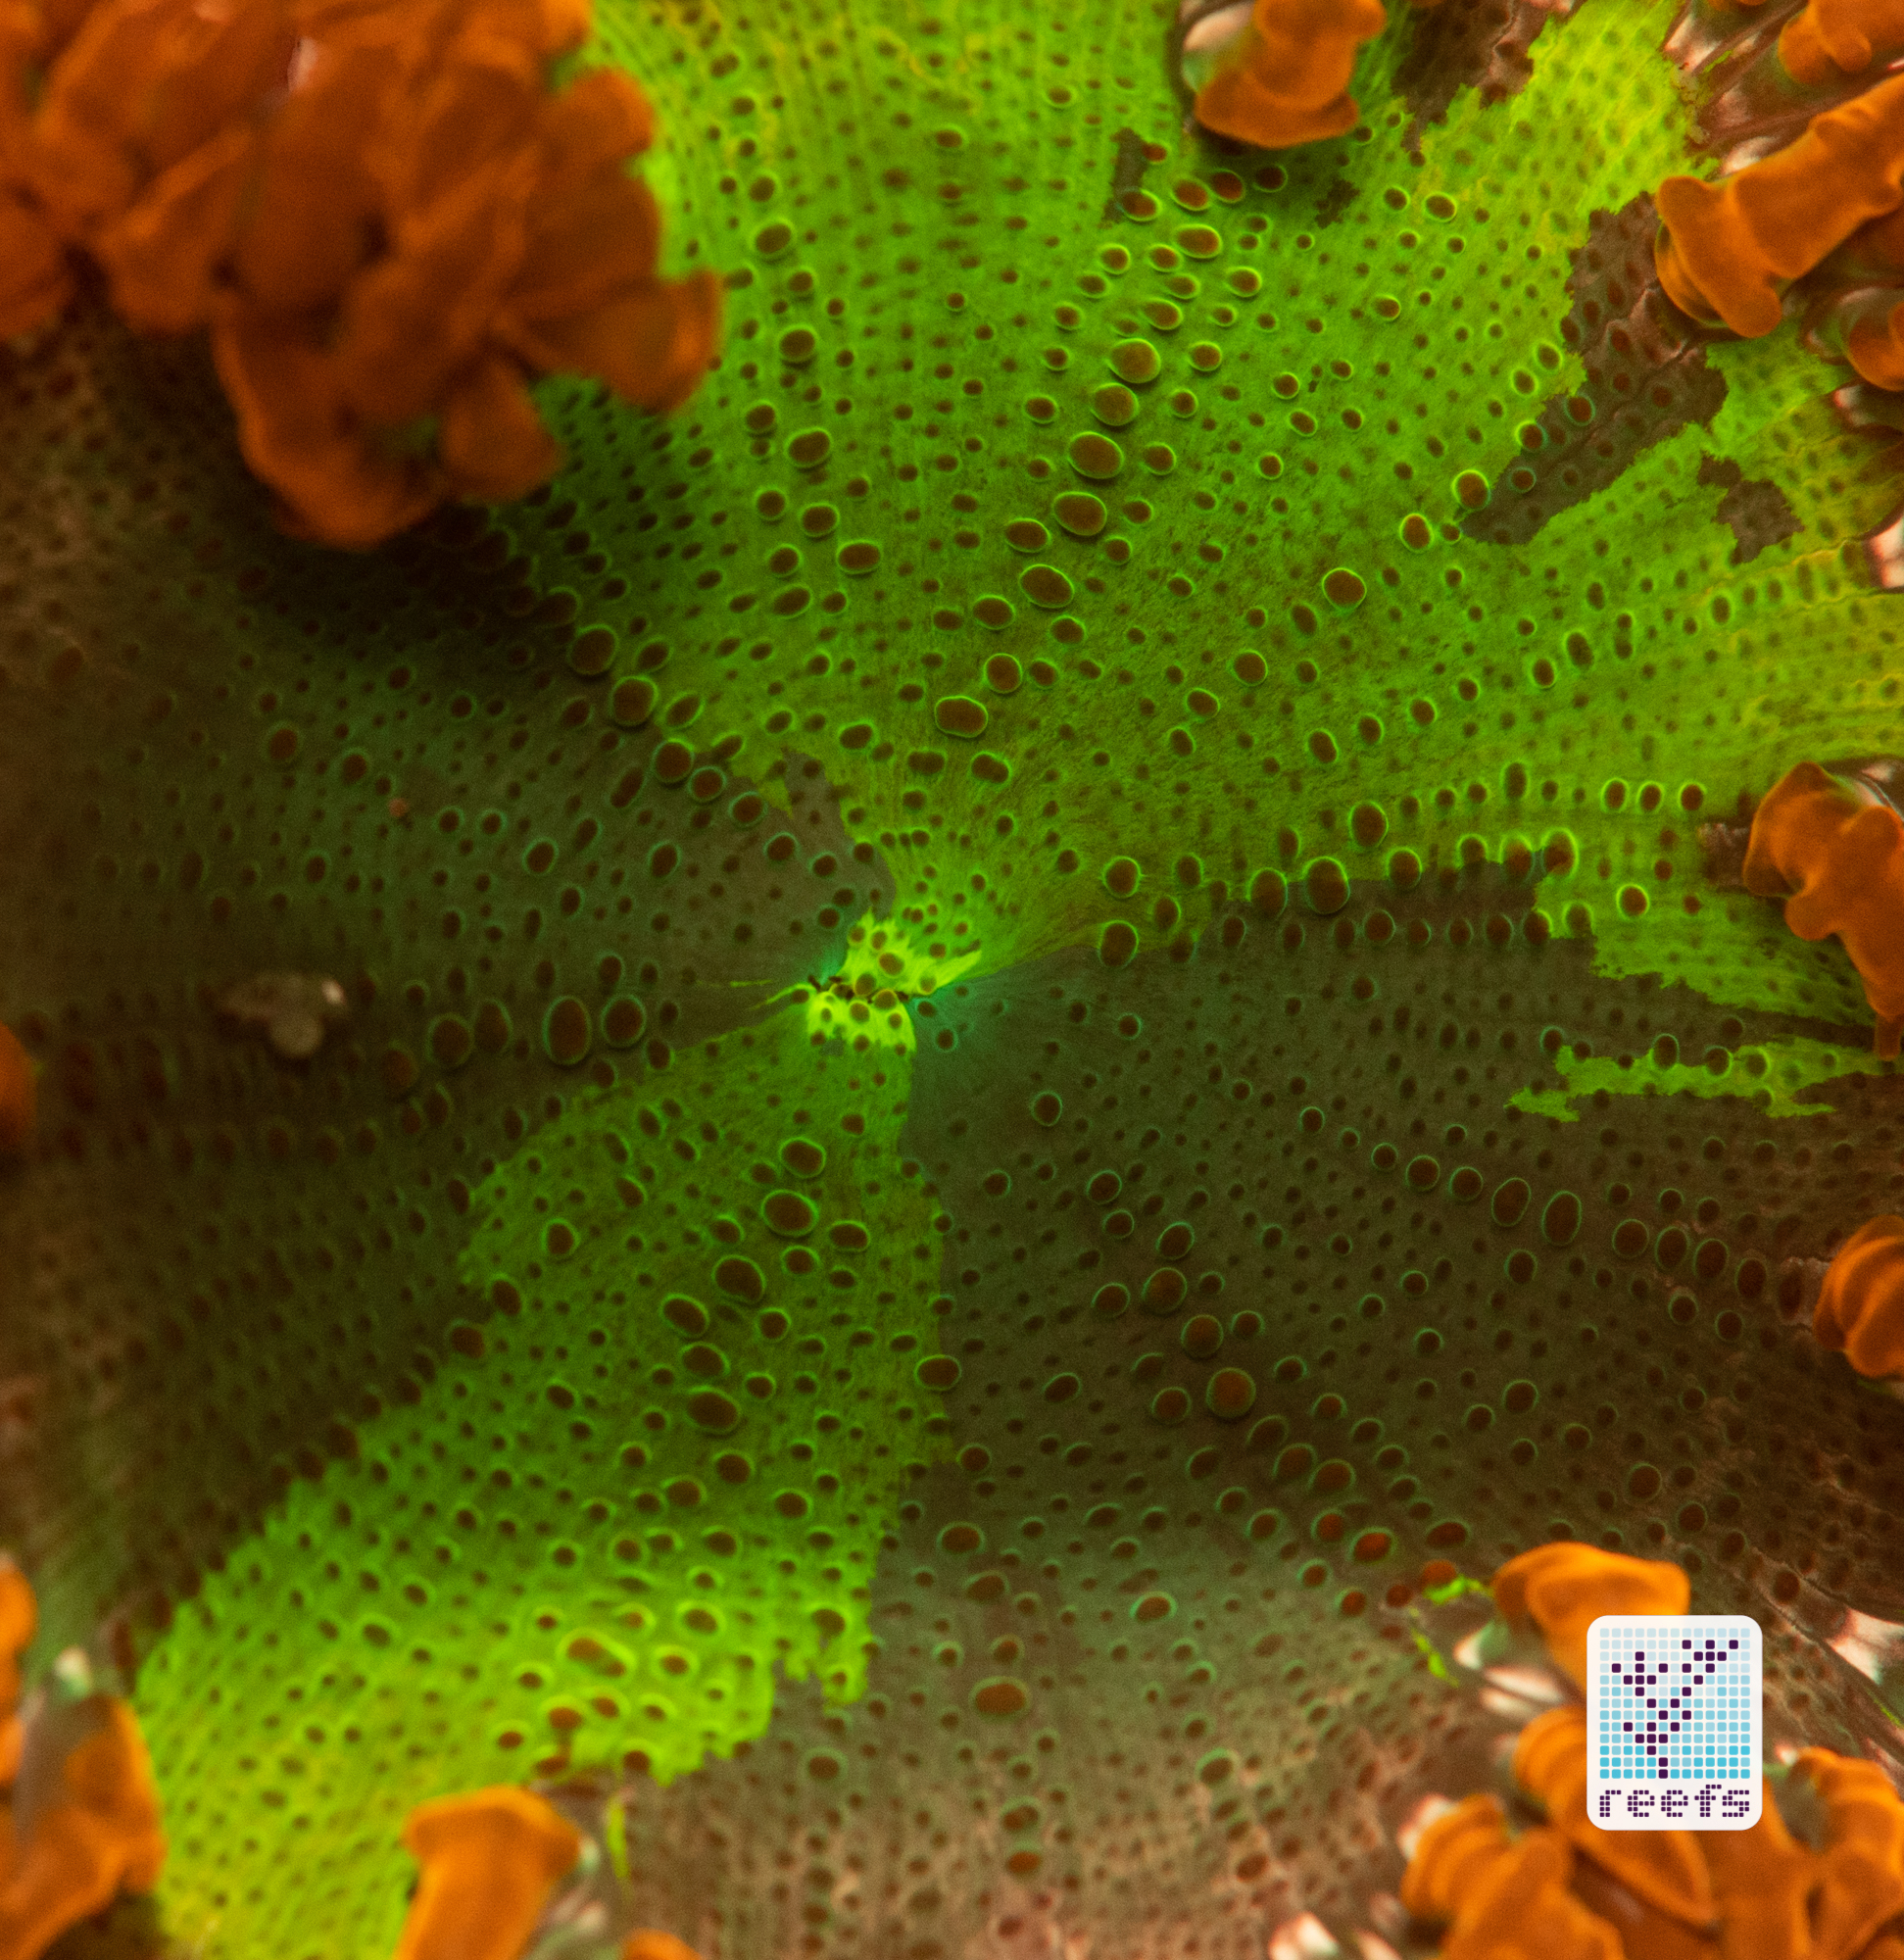
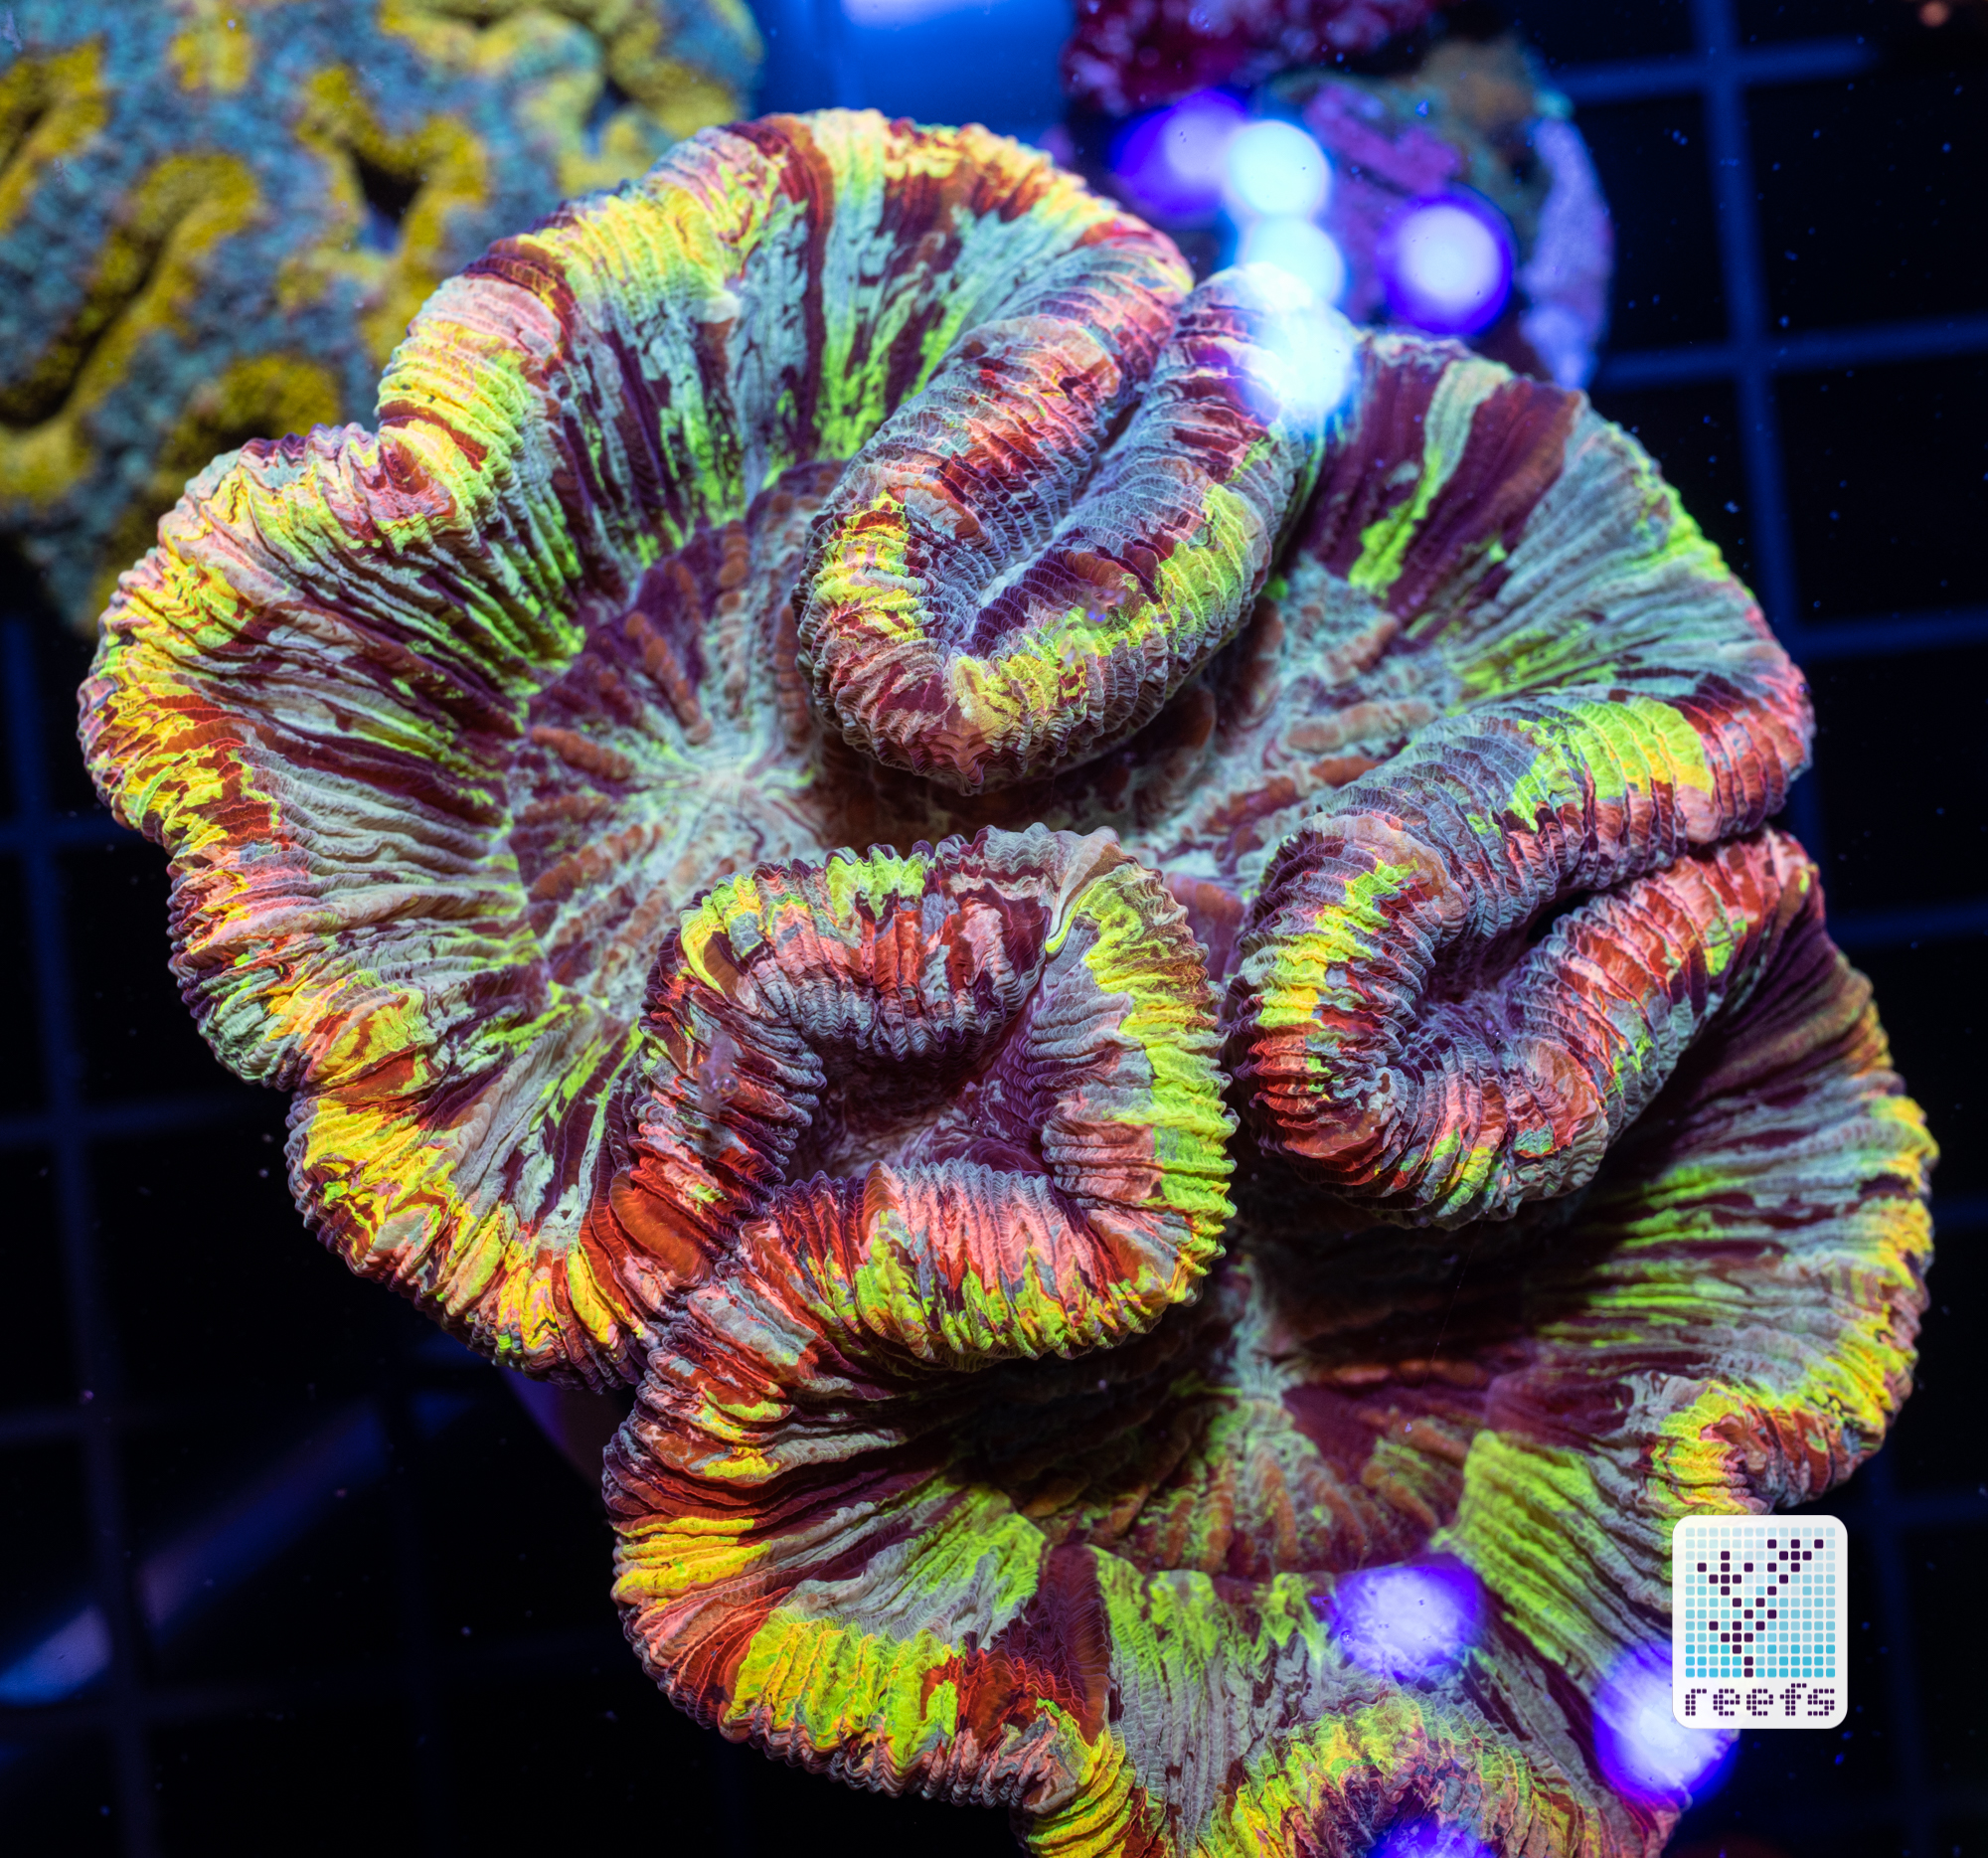
Fluorescence is an amazing natural phenomenon and one of the main reasons so many of us reef aquarists got hooked into keeping reef aquariums at home. When illuminated with black light, corals transform into these otherworldly creatures, glowing in the dark in a kaleidoscope of colors. There is no shortage of patterns and three-dimensional shapes fluorescent proteins in which corals can arrange themselves, and some get so overloaded that the whole coral looks almost artificial. Yet this overwhelming spectacle, induced by the deep blue light of modern aquarium fixtures and fueled by processes we still don’t fully understand, is all-natural. We aquarists are extremely lucky to be able to observe fluorescence undisturbed, through the safety of the glass panels that separate our world from that of the cultivated coral reef we take care of.
From the moment I started learning how to photograph corals in captivity, I was intrigued by the possibility of photographing them under fluorescence-exciting light. Back then, the literature on the topic was hard to come by and focused mainly on underwater “blacklight” photography, but it was enough to understand the basics and how to translate that knowledge into aquarium settings. Here’s what I have learned so far…
It’s not easy to take pictures of corals under fluorescent conditions without proper equipment. No, let me rephrase that- it’s not easy to take pictures of corals in any light without proper equipment. With fluorescence though, it’s particularly difficult, because the fluorescence emitted by corals is very dim. To our eyes, it may look bright (because our eyes are an awesome instrument) but for the camera sensor, it isn’t. I’m not even going to talk about cellphone photography in this regard, because that’s silly. I have nothing against phone pics, mind you, I just don’t think it’s the right tool for this job. The lack of details and sharpness disqualifies it for me. Anyway, I digress.
As I said, the problem we’re facing is that the scene we are photographing is very dim. Even the brightest possible aquarium light cannot provide enough light for fast shutter speeds at small apertures.
Oh yeah, it’s gonna get technical from here. Slightly.
There are three methods of photographing corals. You need to either slow down the shutter, meaning no hand-held macro photography, open the aperture on your lens, which translates to nothing but a single polyp being in focus, or provide an external source of light.
I tried all three and settled for the extra light for several reasons. Photographing corals at slow shutter speeds requires a perfectly still scene- the flow must be completely turned off, the coral needs to stay in the same position and most of all, the camera needs to be on a tripod. That is out of the question in my case, because the lion’s share of my coral photographs are taken at trade shows I attend. Reason- I don’t currently own a collection of $300+ corals so I have to rely on friendly vendors and my setup being as mobile as possible. Which leaves me with option 3, using an external source of light. A flash mounted on the camera’s hotshoe and pointing downwards parallel to the lens is my preferred setup. My speedlight of choice is Flashpoint Zoom Li-On. I love this thing, it’s lightweight, it gives out tons of light, and it has a rechargeable battery that lasts so much longer than the AA battery-powered flashes I used before. Whatever the flash you prefer, it needs to be slightly modified. By default, camera flashes tend to have the light output as closely resembling daylight as possible, understandably so as they are used mainly to light scenes in the everyday world, not in saltwater aquariums. For corals to glow in the dark, we need a high energy light in the blue-to-near-UV spectrum. The easiest method of changing the light’s output is to use photographic gels. I have been experimenting with a range of different gels and found that a combination of deep blue and violet gels works the best for most corals. I use gels from Rosco Roscolux Swatch Book, as the individual samples in the kit cover the flash lens quite efficiently, plus that gel kit is dirt cheap.
So this is what my setup looks like. The gels I either hold by the flash diffuser plate or simply tape to the sides of the flash. In terms of lenses I own, I have two favorites that I use almost exclusively for coral photography: a Nikon Nikkor 105mm f/2.8 Macro lens and a Tamron 45mm f/1.8 Prime. The Tamron, beside being one of the best lenses I have ever owned, is great for larger corals and full tank shots, while the Nikon Macro is a king of close-ups. I find the image stabilization in the 105mm Macro to be superb and without it, taking hand-held pictures with a macro lens is an extremely difficult task.
Now comes the most important part of the setup. A yellow photographic filter. Without it, photographing fluorescence is impossible. A yellow filter, filters out all light coming to the sensor except yellow. A well-chosen yellow filter will also allow some orange and red light to pass through. That’s not its main function, mind you, but rather a side effect. Directly opposite from the yellows on the color wheel are the blues and violets. I know it seems contradictory at this point- you provide an extra light from the flash to flood the scene only to filter it out from the camera’s sensor with the yellow filter. But the truth is, by themselves, these two methods are ineffective, and the result is a picture with a horrible blue or yellow cast. However, when together, they work perfectly to excite fluorescent proteins in coral tissue- the blue from the flash provides profoundly bright light (that your fixture can only dream off) that gives a lot of photon energy for the coral to glow in fluorescent hues. That extra light information, minus the blue, passes through the yellow filter and gets registered by the camera’s sensor in a far better resolution than without the flash.
I use a Promaster Y2 Yellow filter matched to the Nikkor 105mm filter thread as my main tool for fluorescence, but I also have a couple of other color filters, mainly second-hand glass screw-on filters from the film era that I’ve been practicing within my previous fluorescence articles. That combination proved to be the most “elastic” for my hand-held work and the different types of corals I encounter in the field. A deep yellow filter enhances the fluorescence even more, but it also requires slower shutter speeds and/or wider aperture. To photograph marine invertebrates under the blue light most vendors use to showcase their livestock (typically way too blue to anyone’s liking) I usually use the 45mm f/1.8 lens, again with a glass filter from the 80s, only orange in color as it tends to register a bit of fluorescence but also all the true colors that the animals possess.
When it comes to camera settings, the rule is to shoot at maximum achievable shutter speed with the lens’ aperture set at a maximum f/8. That means you need to provide a lot of auxiliary light, so my speedlight is usually set at ½ to full power. The usual EXIF of files I keep is as follows:
ISO 64-400 (depending on the ambient light level)
shutter speed 1/200-1/250 (maximum my flash can handle)
f/8 to f/16, sometimes as high as f/20 if I don’t see any significant distortion in the image
White balance set initially to 6500K, but I play with it when results are not satisfactory.
Post-processing consists of two stages; all my edits are done in Adobe Lightroom and Photoshop:
- Stage one, done in Lightroom- adjusting the white balance if necessary, cropping, and decreasing the background brightness
- Stage two, removing floating particles from water using Photoshop healing brush- this monotonous process is inevitable. No matter how clean the aquarium water looks, a macro lens will pick up the tiniest debris; it takes a lot of time and therefore I don’t do it to every picture I take
That is all the magic behind my fluorescence photography. That and a lot of patience and practice. I don’t even know if I do it right, as I developed these methods on a try & learn basis, and I may someday change them if I find a better way to photograph corals.
I hope you enjoyed this series of articles and my MACNA coverage in general. I encourage everyone to try photographing corals, it’s a lot of fun and a great way to enhance your experience as a marine aquarium keeper. If you want to learn more about fluorescence photography and photographing corals in general, please check my other articles and as always, thank you for reading.
FLUORESCENCE WORK
https://reefs.com/2019/10/12/fluorescence-photography-macna-orlando-2019-edition-part-one/
https://reefs.com/2019/10/16/fluorescence-photography-macna-edition-part-two-what-is-coral-fluorescence/
https://reefs.com/2019/10/25/fluorescence-photography-macna-edition-part-three-why-do-corals-fluoresce/
https://reefs.com/2019/07/16/reefapalooza-2019-new-york-a-fluorescence-extravaganza-part-i/
https://reefs.com/2019/08/31/reefapalooza-2019-new-york-a-fluorescence-extravaganza-part-ii/


0 Comments