
The light I am about to review showed up on the radar sometime last year and I had an opportunity to see it in person while attending 2019 ReefAPalooza in New York. New Jersey to be accurate, but only a short kayak trip across the Hudson River from New York. It’s called ReefApalooza New York though. It’s a long story. Anyway, on that Saturday morning in June, at the exposition center in Secacus, NJ, it was my utmost priority to visit Aquatic Life’s (the manufacturer of said light’s) booth as my first stop of the show and so I did. I did not leave disappointed.
I don’t wish to torture you with unnecessary content and repeat myself again, but I will because you need to know that I have a certain fondness for a T5 aquarium bulb. Not only for the fact that it’s an excellent source of energy for corals (and plants for that matter) but also for its unique look and “feel” that can only be described as “practical nostalgia”. I mean “practical” because yes, it’s a yesteryear technology that has been largely (and rightfully so) replaced by more efficient and ecologically-friendly LED technology, yet even today it has a place in the hearts and fish tanks of reefing aficionados all over the world, myself included. It grows corals and does it very well. It also helps corals color up or at least helps them grow bright and healthy. It virtually eliminates shimmer for those who hate it.
T5 provides a source of light that no other technology can replicate is what I’m trying to say. But that’s just my opinion and you know how it is with opinions, they are like rear ends and so on. Whether I’m right or wrong in my beliefs is irrelevant, what’s important is whenever a new light using that technology in its build emerges, I get excited and I instantly want to dig deeper to find out more about it. It also gives me a broader perspective on the topic of reef aquarium lighting in general. LED is king, no doubt about it, but it’s not the only way to have a healthy-looking home reef. Even Metal Halide users out there today (stay strong, that less than 1% of us) have their say in the debate. While MH now looks like a huge waste of electrical energy and a giant unnecessary heat source, you can’t deny its soul-piercing ability to light even the deepest of aquariums. Some of the best looking reefs I’ve ever seen in my life were lit by a combination of Metal Halide and T5 lighting- just look at Keith from Reefbum, who I respect greatly, talking about his T5/MH combo light while showing his reef aquarium- simply beautiful!
Or just look at the live feed of his tank, it’s better than any screensaver out there.
If I wasn’t residing in a region of the country with the highest average energy rates and wasn’t an apartment dweller in a constantly overheated old building, I would probably try a similar combo.
With all that said, you also need to know that I am a total LED junkie. I jump at every mention of a new reef oriented aquarium fixture; I read about LED emitters, power supplies, new lenses, and emerging technologies related to the light-emitting diode. Hell, I even educate myself about LED street lamps for no reason. I also use an Ecotech radion LED light on my personal reef, combined with 4x 54W ATI T5 bulbs. Looks like I’m a hybrid enthusiast myself. This brings me to the essence of today’s Definitive Review.
A little over a year ago, I published the AquaticLife T5 Hybrid Light Fixture: The Definitive Review. Go read it if you want, carry on with reading this if you don’t. If you did read it, you a) made my life easy as I don’t have to repeat myself and bore you to death plus b) you would deduct that I really liked the concept, the execution, and the overall idea of T5/LED combo light being sold as a DIY framework/starter kit. The Aquatic Life DX18 Hybrid Fixture that I have in my hands today is a continuation of that trend but also a product in a category of itself. We should, therefore, start by bringing up Aquatic Life’s original Hybrid Fixture, and then stating what DX18 is and what it isn’t.
THE OG
In accordance with my self-prescribed guideline of preventing the audience from falling asleep while reading my stuff, I will only briefly describe the idea behind the Aquatic Life Hybrid fixture approach and if you wish to have a more detailed explanation, please read the Definitive Review I mentioned before.
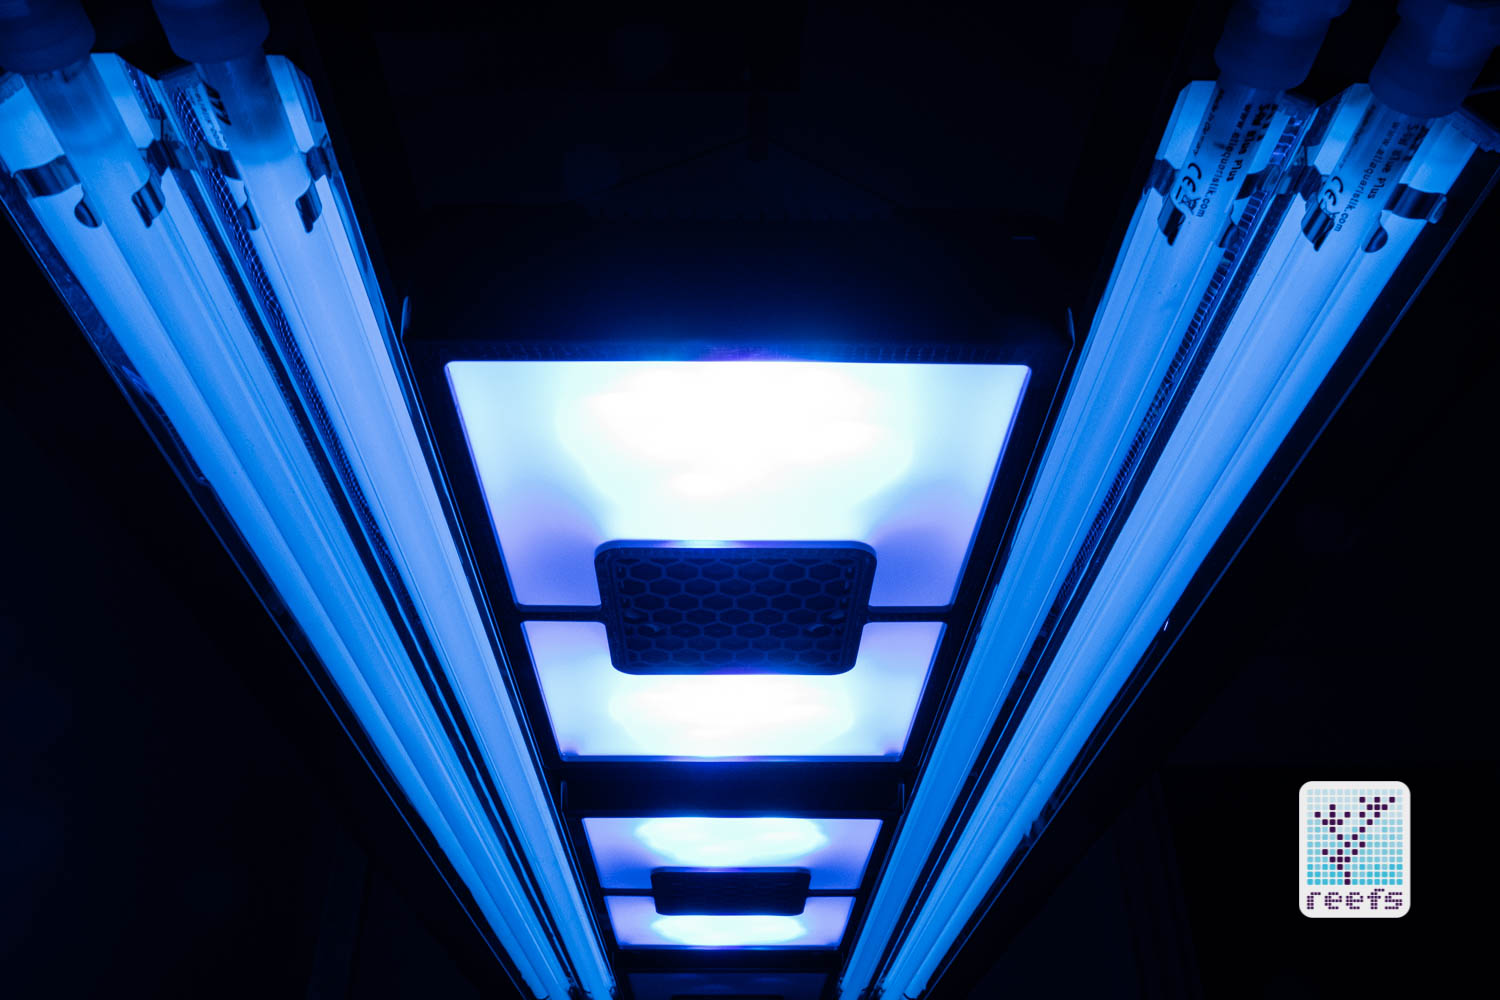
A hybrid fixture, by definition, is an aquarium light that uses more than one source of lighting. Traditionally, it was a Metal Halide/T5 combo, but nowadays this concept shifted to pairing T5 fluorescent lighting with high power LED panels. This mixing of different light sources can be done in several different ways, from simply hanging them next to each other or building a custom canopy to which said lights are affixed, all the way to what Aquatic Life presented with their Hybrid Fixture circa 2018. The company’s forward-thinking solution was to provide customers with a complete T5 light, one they have years of experience in making, design a “scaffolding” around it and pair it with a set of different brackets that allow for a myriad of a readily available aquarium LED lights to be attached to that “scaffolding”. That way, you could use an LED light you already own and install it on the Hybrid fixture.
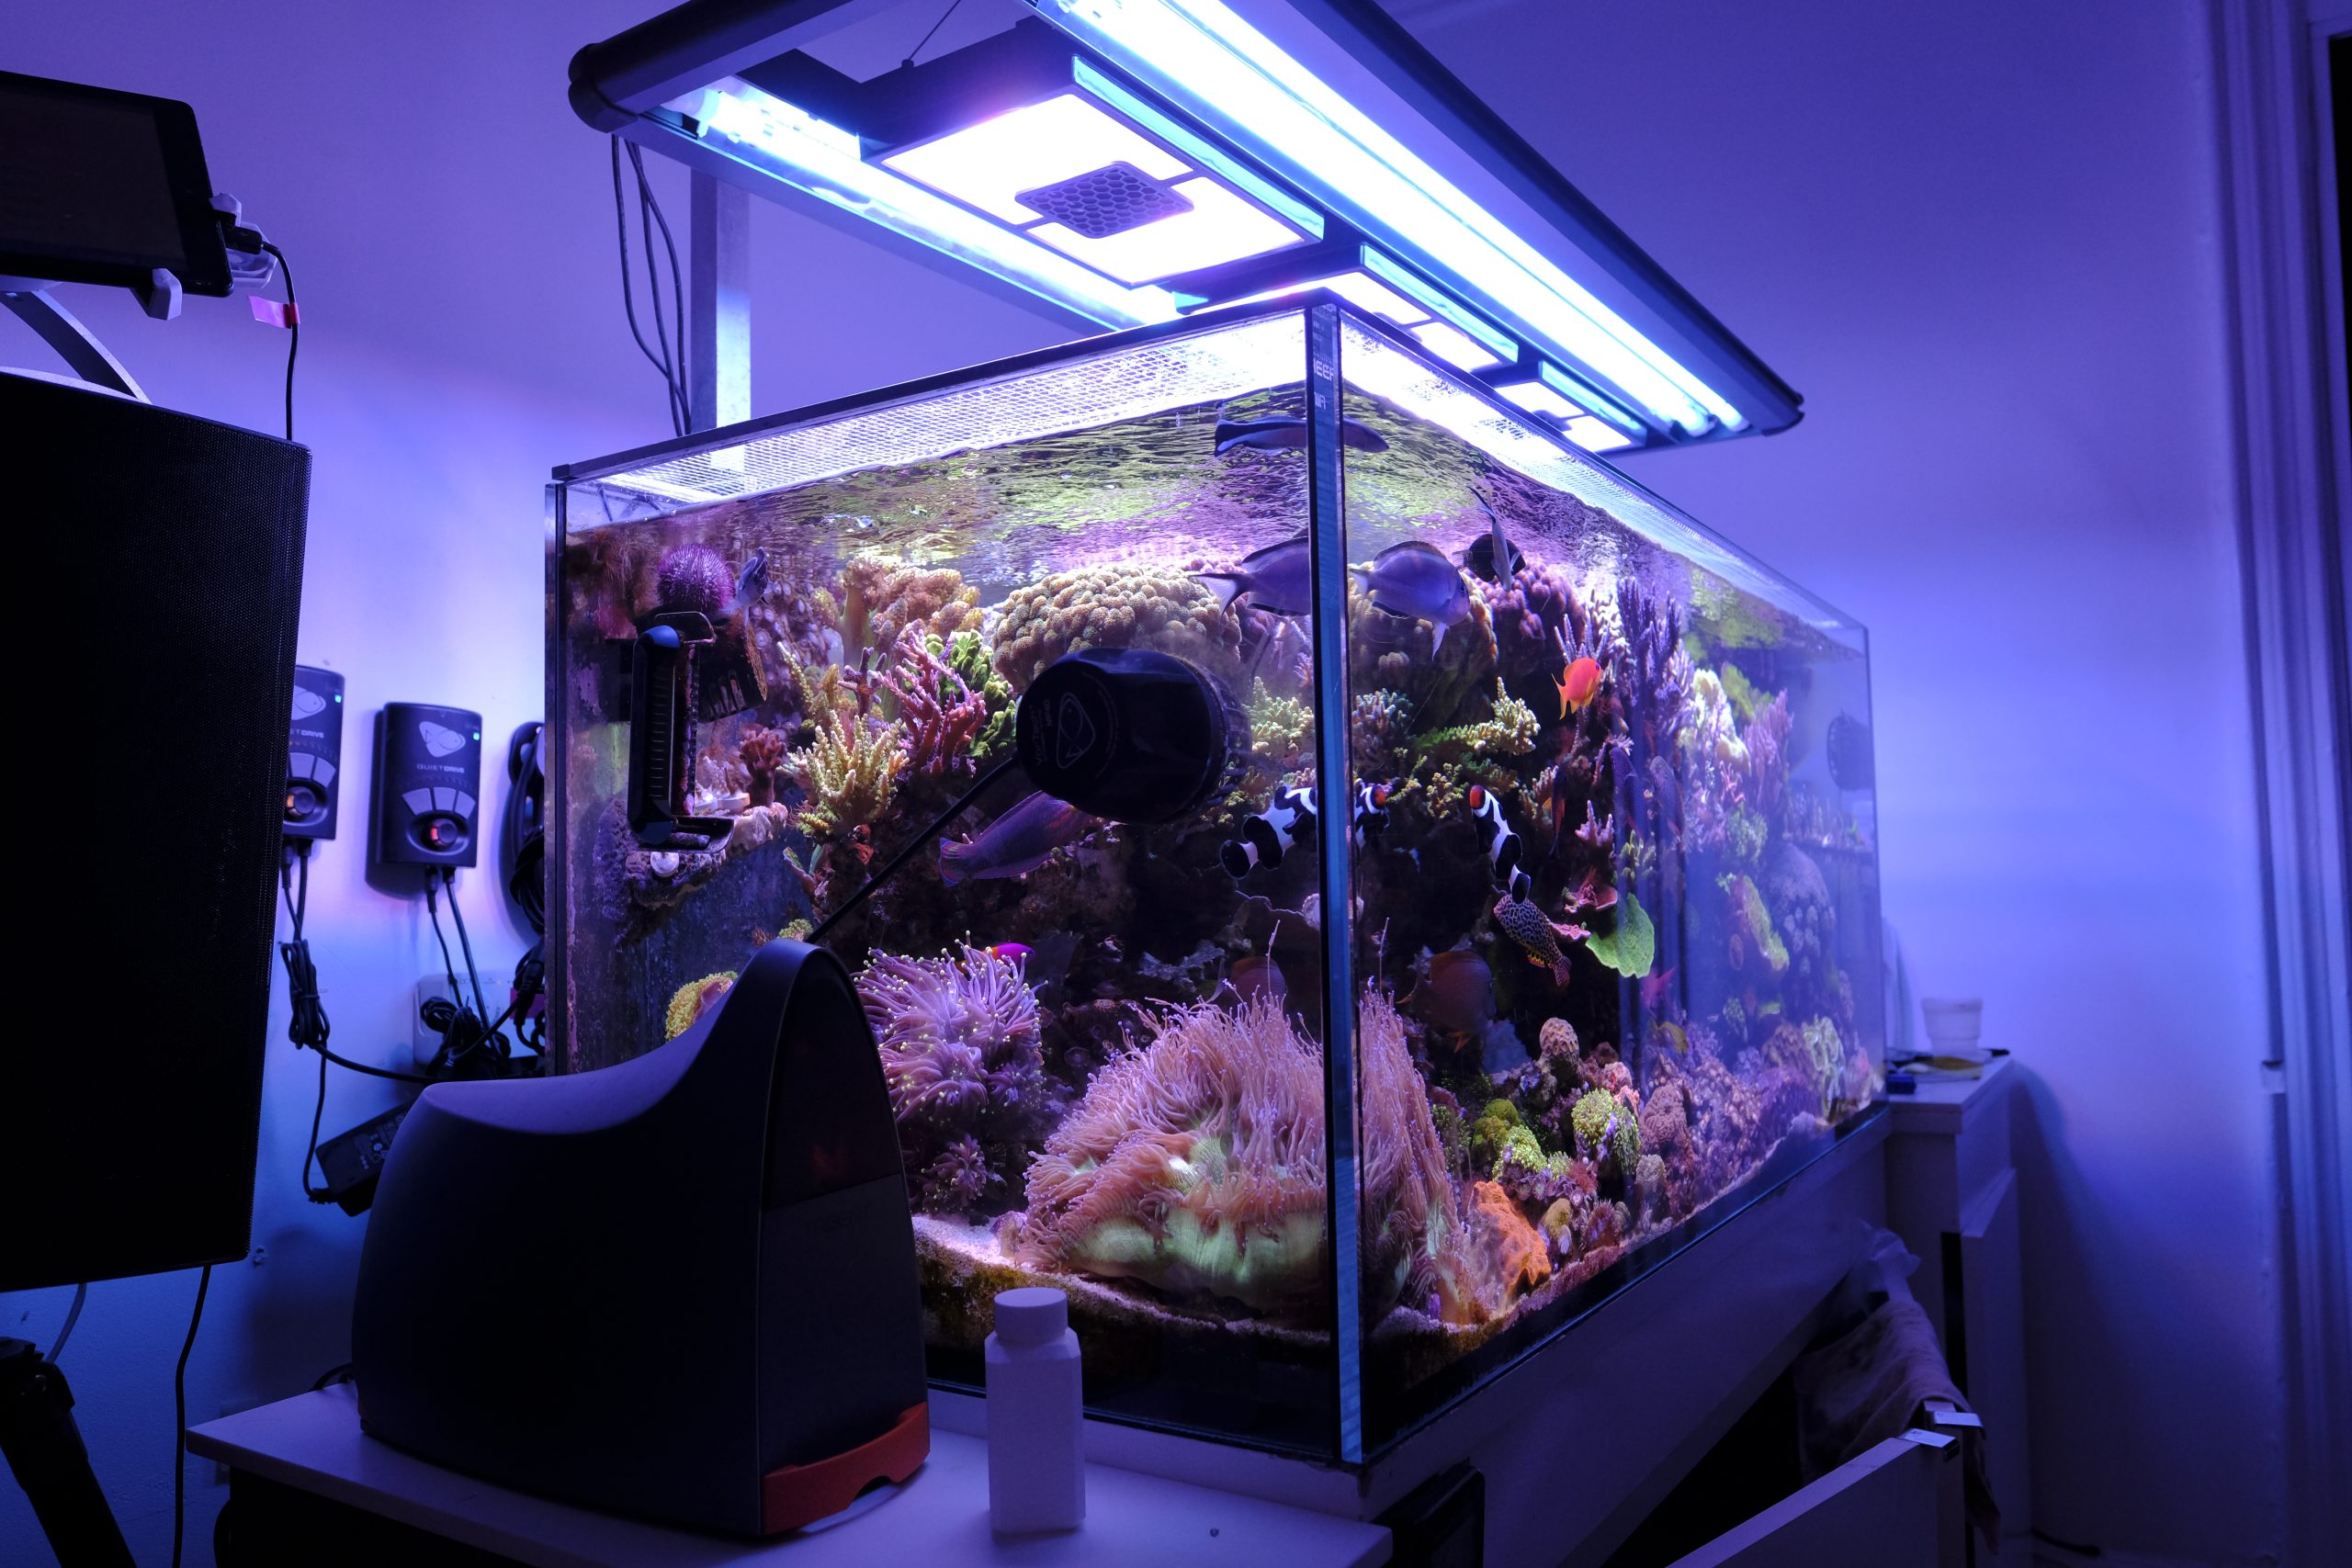
Aquatic Life T5 Hybrid Light Fixture is so flexible in its approach that you can install virtually any LED panel onto it and in most instances, the finished product blends seamlessly together as if it was designed as one product rather than a hybrid between different devices. Furthermore, Hybrid fixtures from Aquatic Life are sold in four different lengths, two different color schemes, and can be set to a different from default width with optional wider or narrower side brackets. Since we all know a picture is worth a thousand words, here’s my tank at the time I was reviewing the original Hybrid Fixture. By the way, if you don’t believe a T5/LED combo is good for coral growth, see farther down the article.

HYBRID LIGHT REINVENTED

I hope the previous paragraph gave you a general idea of what an Aquatic Life Hybrid fixture is. Now let me start describing the new DX18 Hybrid fixture by saying what it is not. It’s not a successor nor a version 2 of the original Hybrid. These two lights exist harmoniously in the same landscape, not necessarily set to compete with each other. After all, that would be a questionable move on Aquatic Life’s side as the original is still being produced and sold. Instead, the best way to describe the new DX18 is with a car manufacturer analogy- if there was X company making only two vehicle models, the Hybrid T5 would be your everyday modern daily driver- not a head-turner per se but a nice and reliable car that blends in perfectly for what it’s designed to be used for. The DX18 is the second model- a fast, sleek machine, made for people who value aesthetics and desire all the bells and whistles they can possibly get. DX18 is for that crowd.
DIFFERENCES
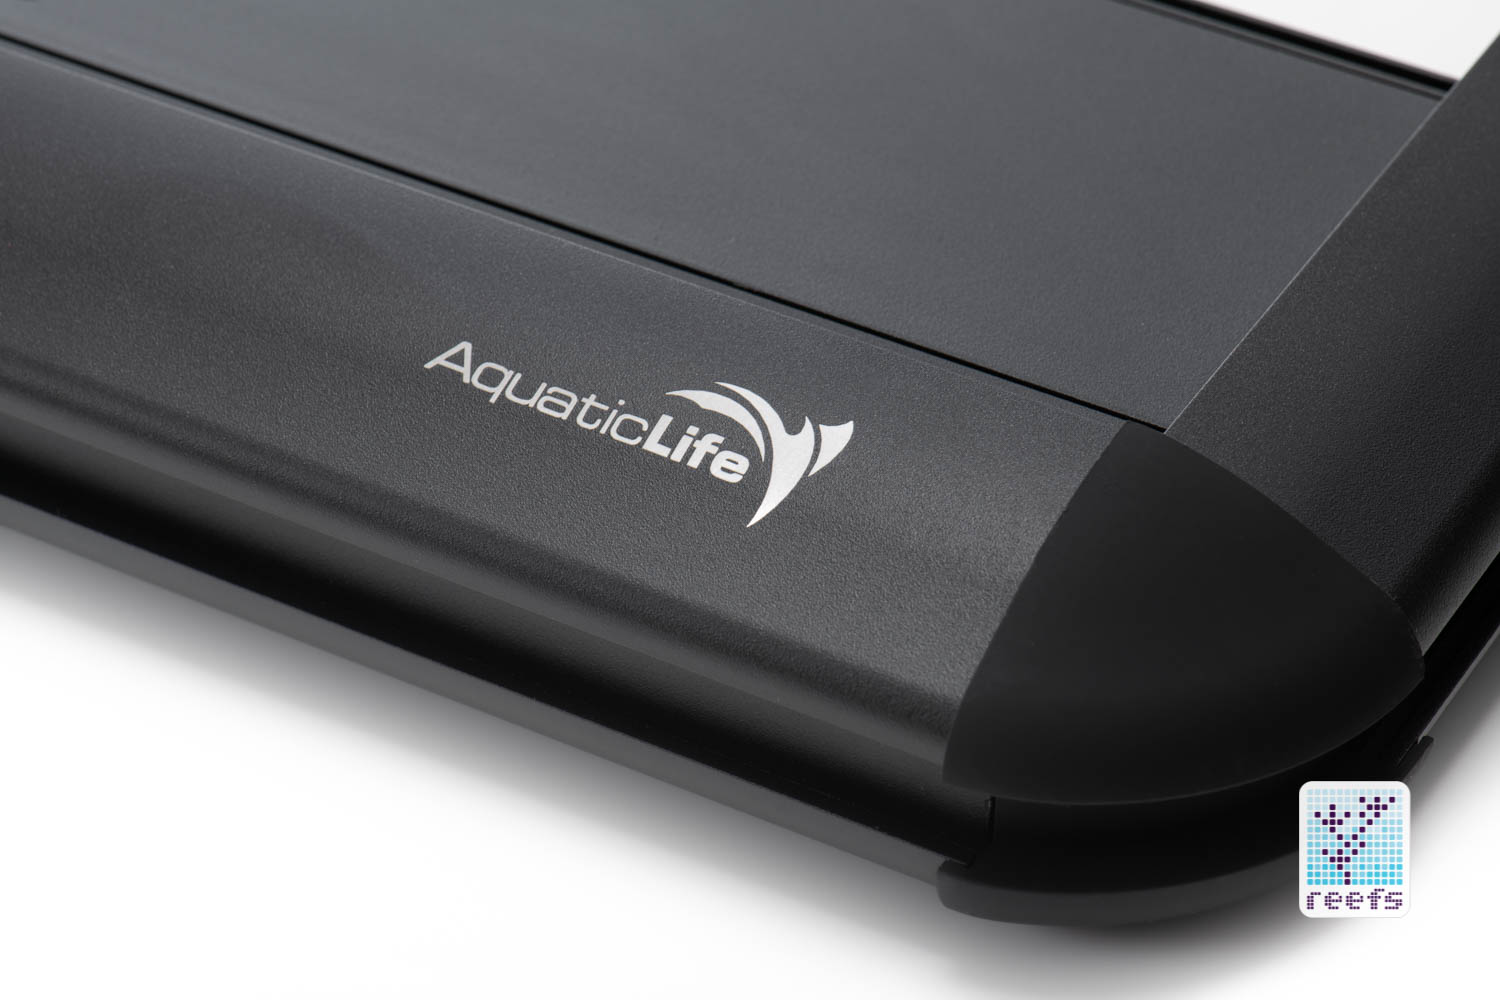
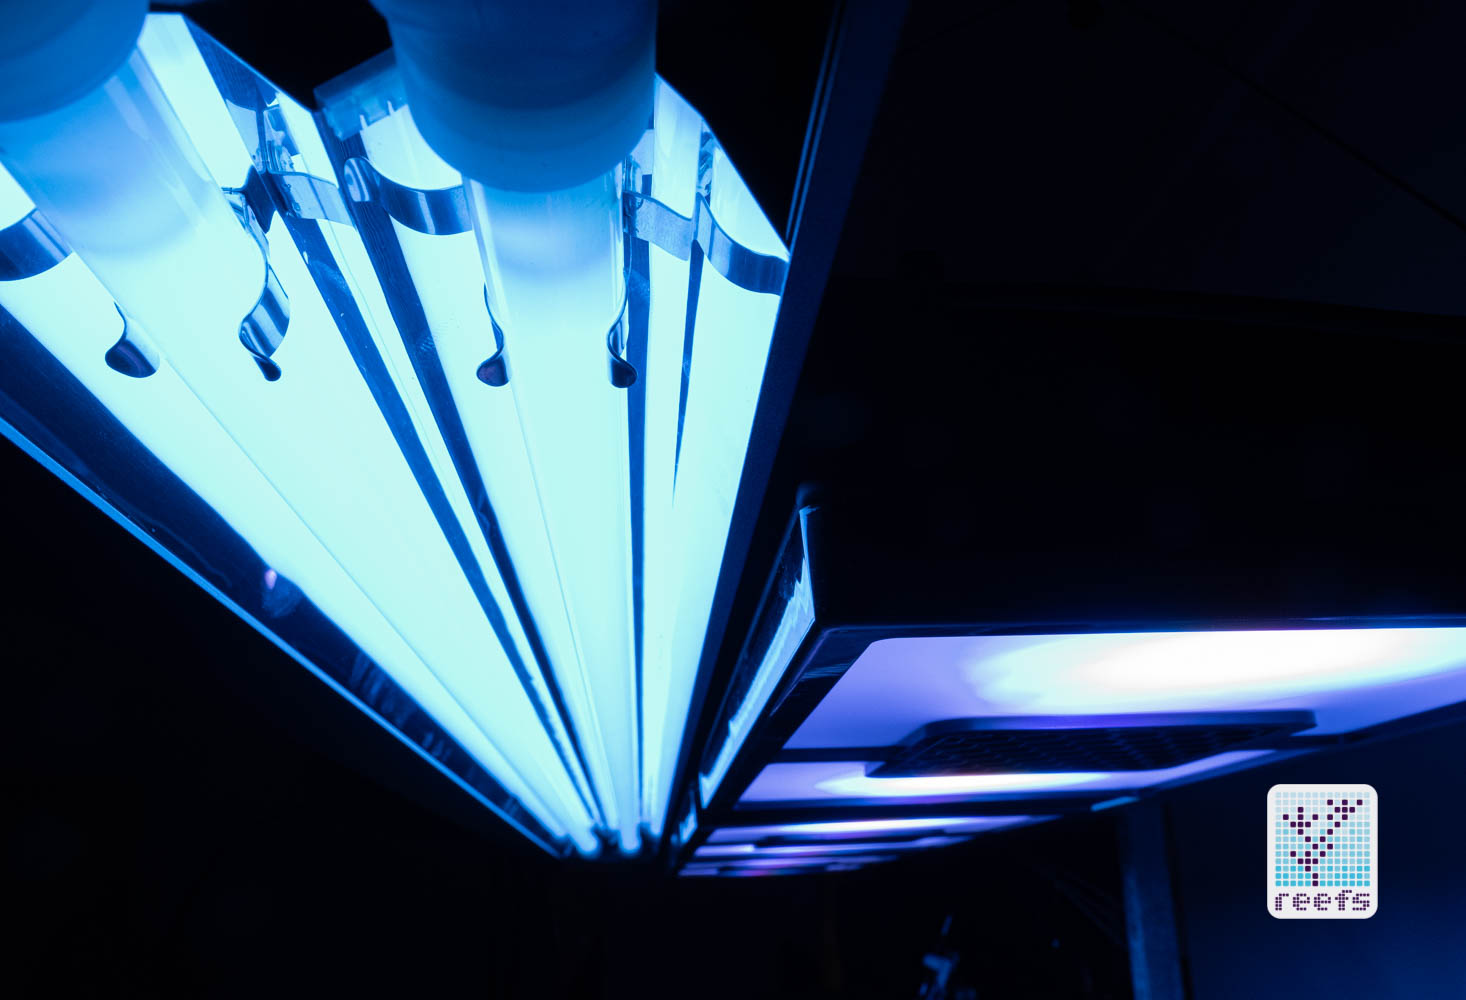
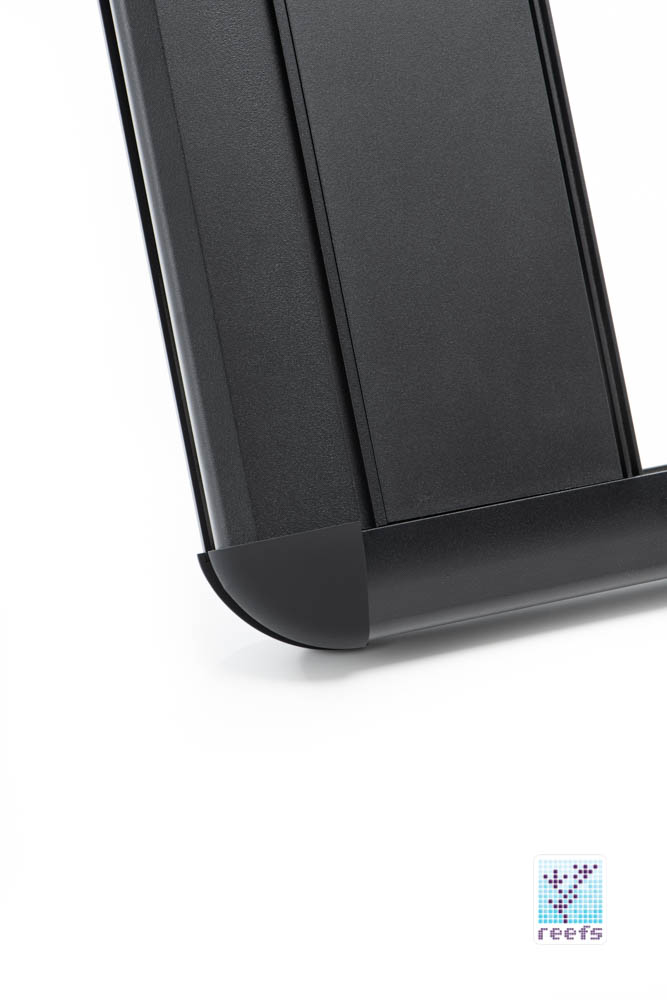
I continue to compare these two products made by the same company side-by-side to let you decide which one is the right choice for you, assuming upfront that a T5/LED Hybrid fixture is something that interests you. The most striking difference between the two is in the looks department- while the original Hybrid maintains its utilitarian approach with sharp, square edges and exposed connectors defining its powder-coated aluminum body, DX18 is an entirely different animal.
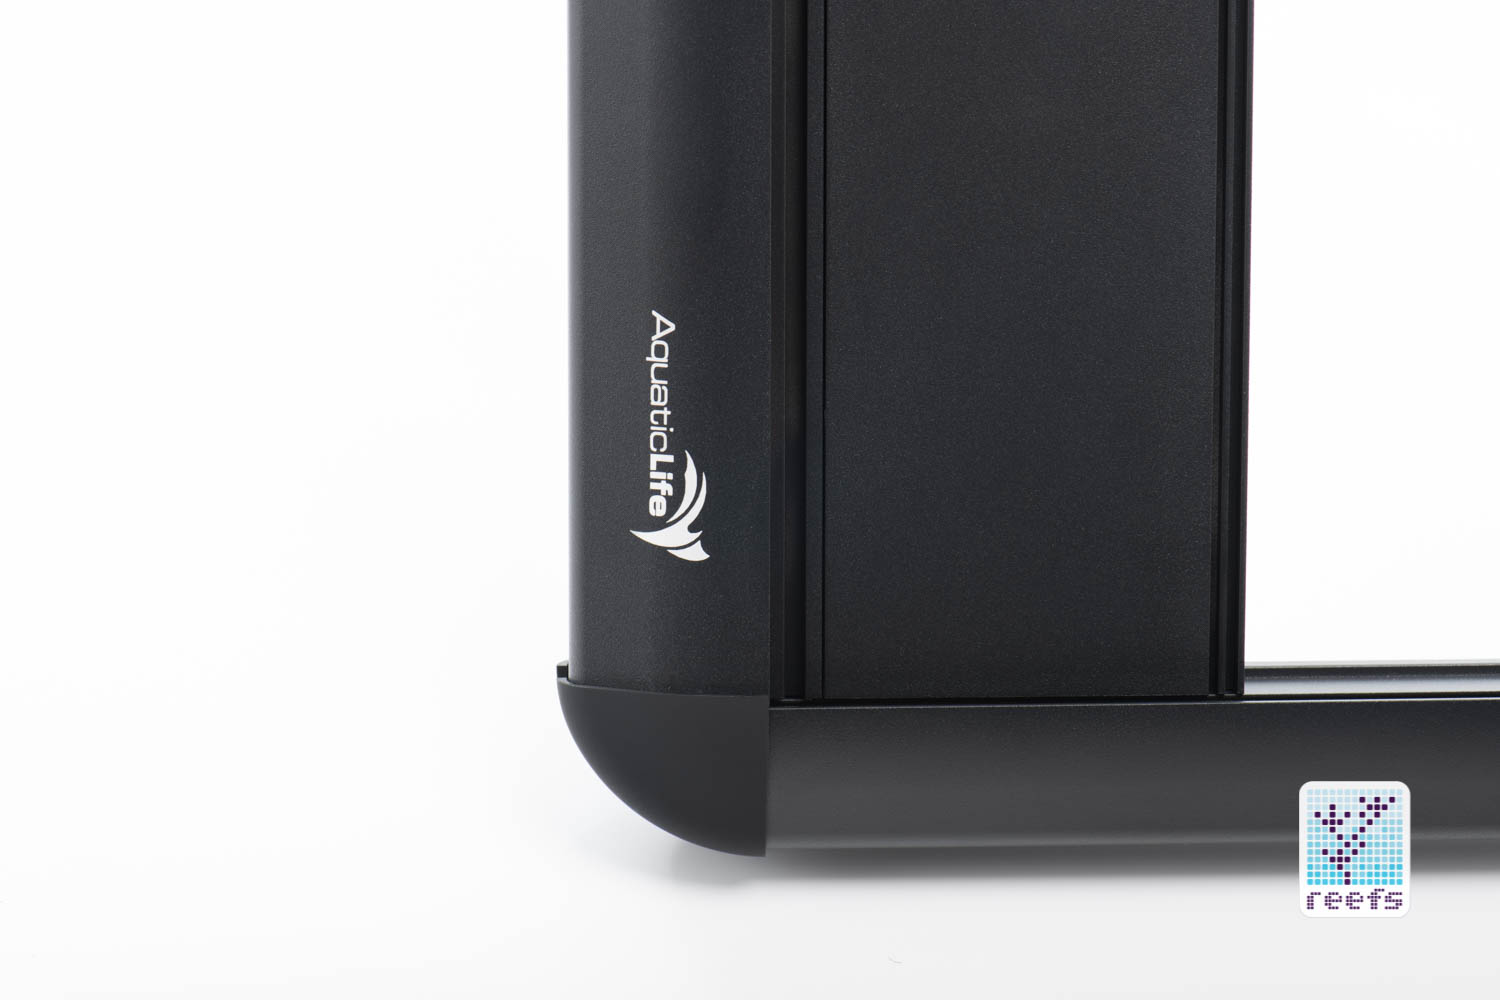
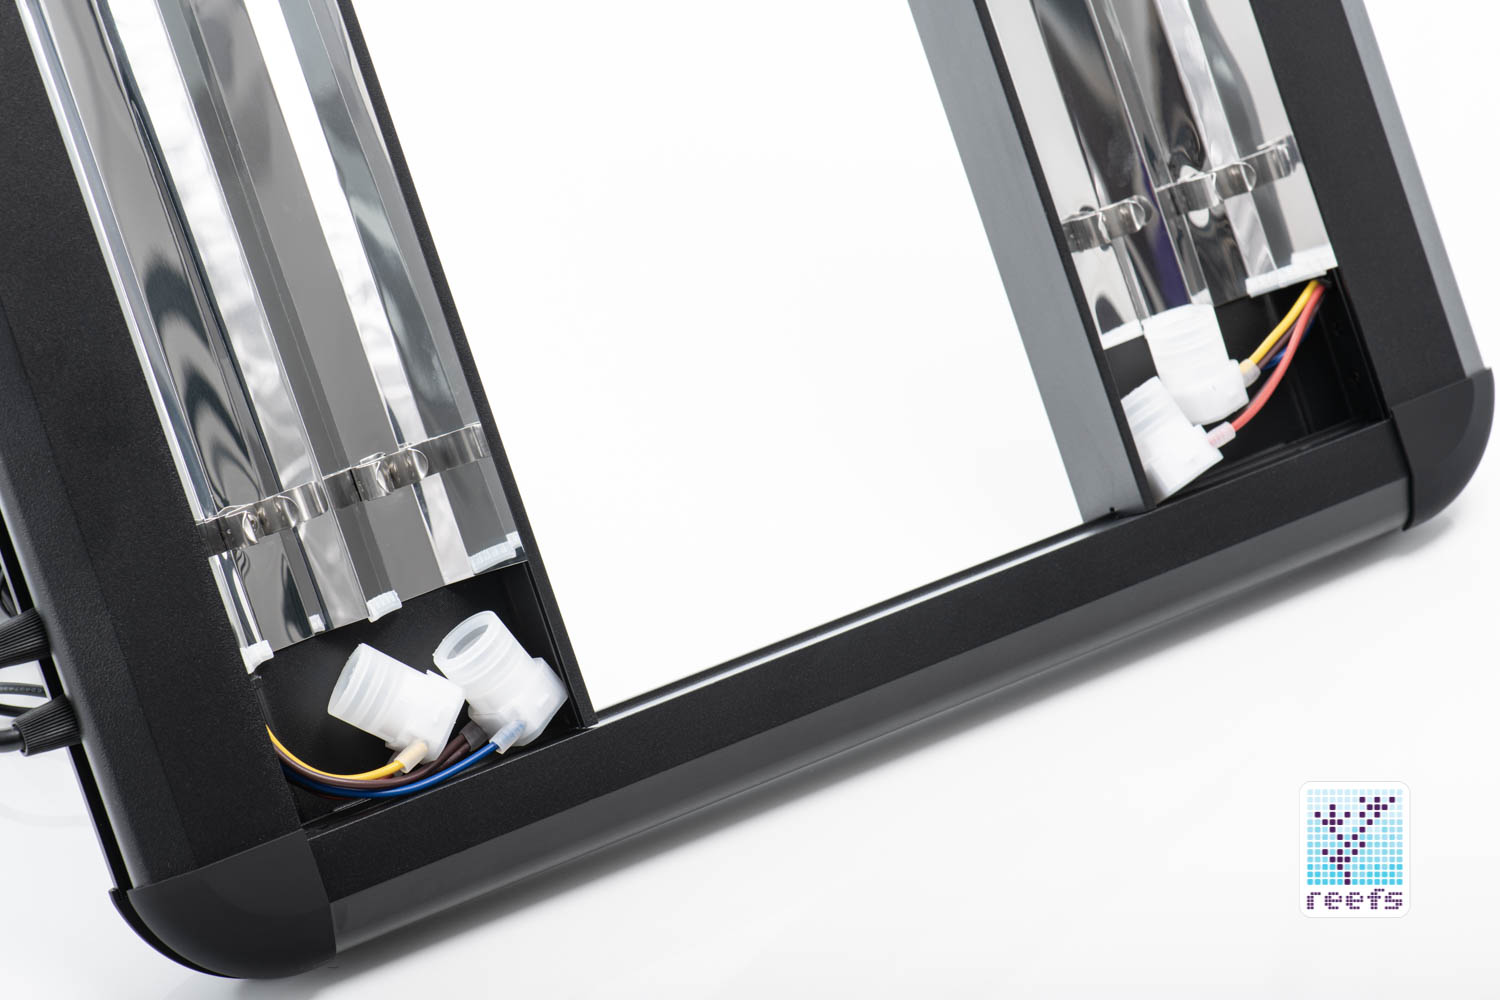
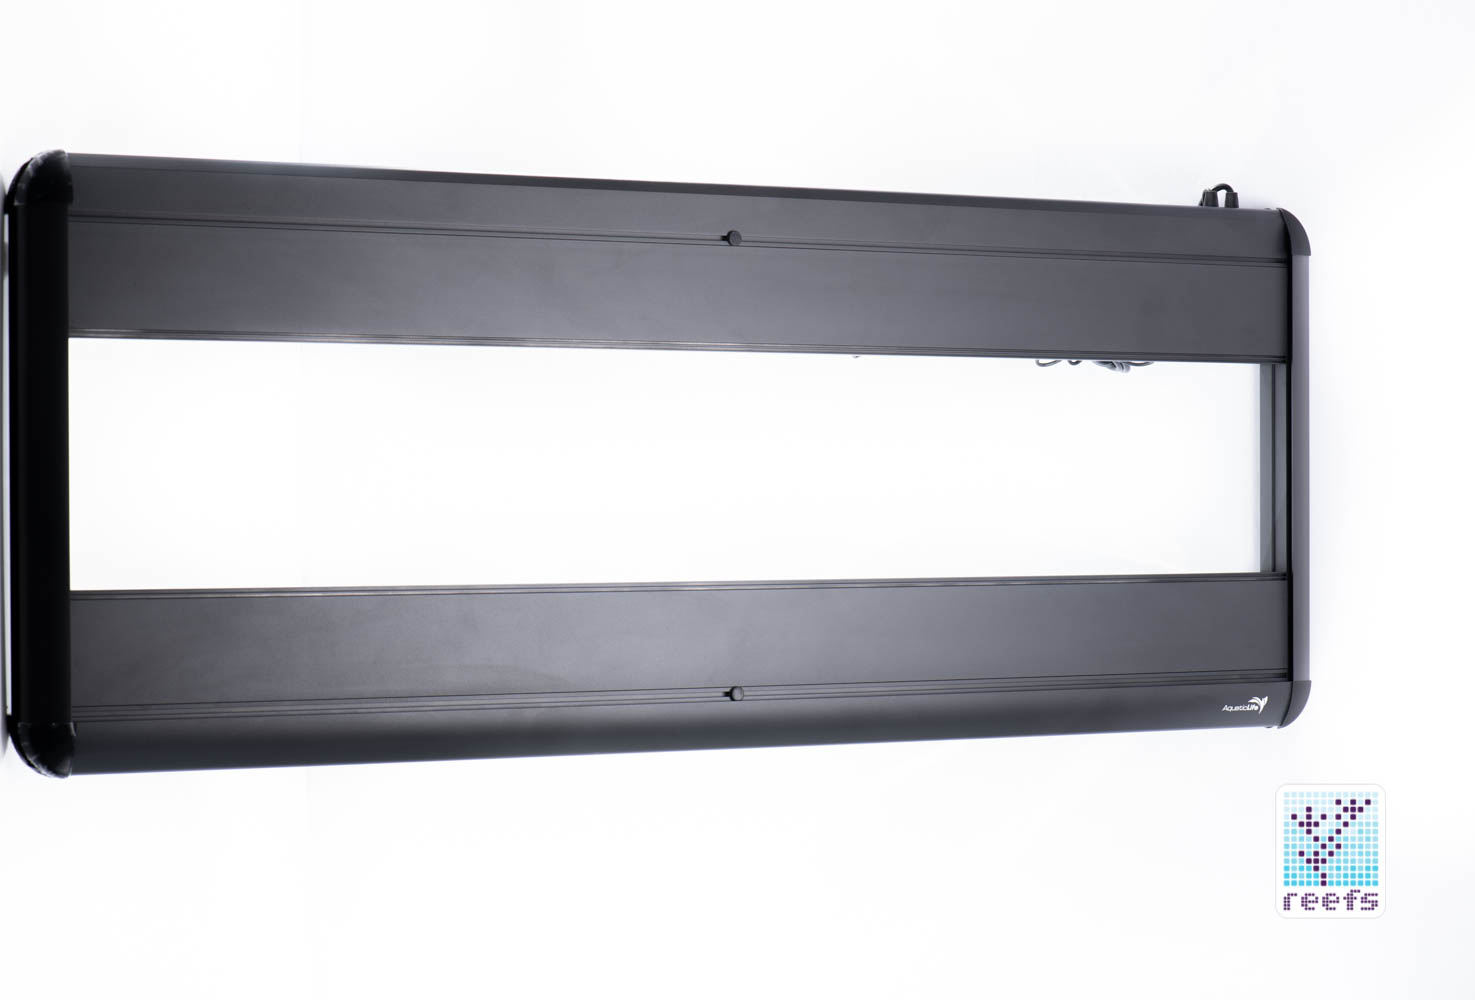
The new fixture is a looker, something that could easily compete with other T5 lights available on the market. Gone are rough edges, visible screws, and exposed wiring. In fact, as with all aquarium lights I receive for evaluation, I was trying to gut the light to get to the fluorescent ballasts and I failed as there is no visible entryway. I think I have an idea of how this fixture was put together, but I simply refuse to mess with it in fear I’ll break something. While individual T5 modules in DX18 are still encased in an aluminum case, the finish has a higher-grade feel to it and combined with the matching rounded plastic corners and strategically located in the back corner power and dimming cords, the overall aesthetics of the light leaves little to desire. There is one downside to this design choice in comparison to the original Hybrid fixture- DX18 is sold already assembled and therefore cannot be modified, meaning you won’t be able to make it wider or to mod it in any other way. To be fair, Aquatic Life specifically stated that DX18 is not made to replace or upgrade the original Hybrid and this proves they were serious about it.
I mentioned a dimming cord, blurting out Aquatic Life DX18’s most exciting feature- the HEP brand ballasts that drive the light’s T5 bulbs are dimmable to 2% of light output with an external controller. The two ballasts are controllable independently and wired so that the outer two lamps are on one channel and the inner two on the other. The supplied dimming cable controls both channels and is equipped with a 3.5mm female plug. Aquatic Life does not supply the light with dimming cables specific to any controllers, which is understandable given the fact the HEP ballast uses a 0-10V analog dimming standard, which in turn opens up the possibility of tethering multiple dimming modules to work with these ballasts. From what I learned researching for this article, a number of different dimming controllers work with DX18. I am personally utilizing one of the 0-10v Variable Outputs on the Neptune Systems apex controller to dim the DX18 using the Aquatic Life DX18 – Neptune Apex Controller Cable I bought separately (around $20 online). I’ll talk more about dimming the fixture later in the review.
MODELS
Identical to the original Hybrid light, DX18 comes in four sizes, with a small caveat. Here’s a spreadsheet of the three basic models I pulled from the Aquatic Life page:

We have the standard 24”, 36”, and 48” (the model I am basing this review on). There is also a 61” version Aquatic Life calls X18 that differs from the shorter models in that it doesn’t have dimmable ballasts and instead has two cords to control the two channels on an on/off basis. The reason the 61” is non-dimmable lies in that HEP does not make dimmable ballasts for bulbs longer than the 54W ones the 48” fixture uses. Other than that, the X18 is identical in look and functionality to its smaller counterparts.
It’s also worth mentioning that DX18 comes only in black version, as opposed to the original Hybrid that is sold in black and white.
UNBOXING
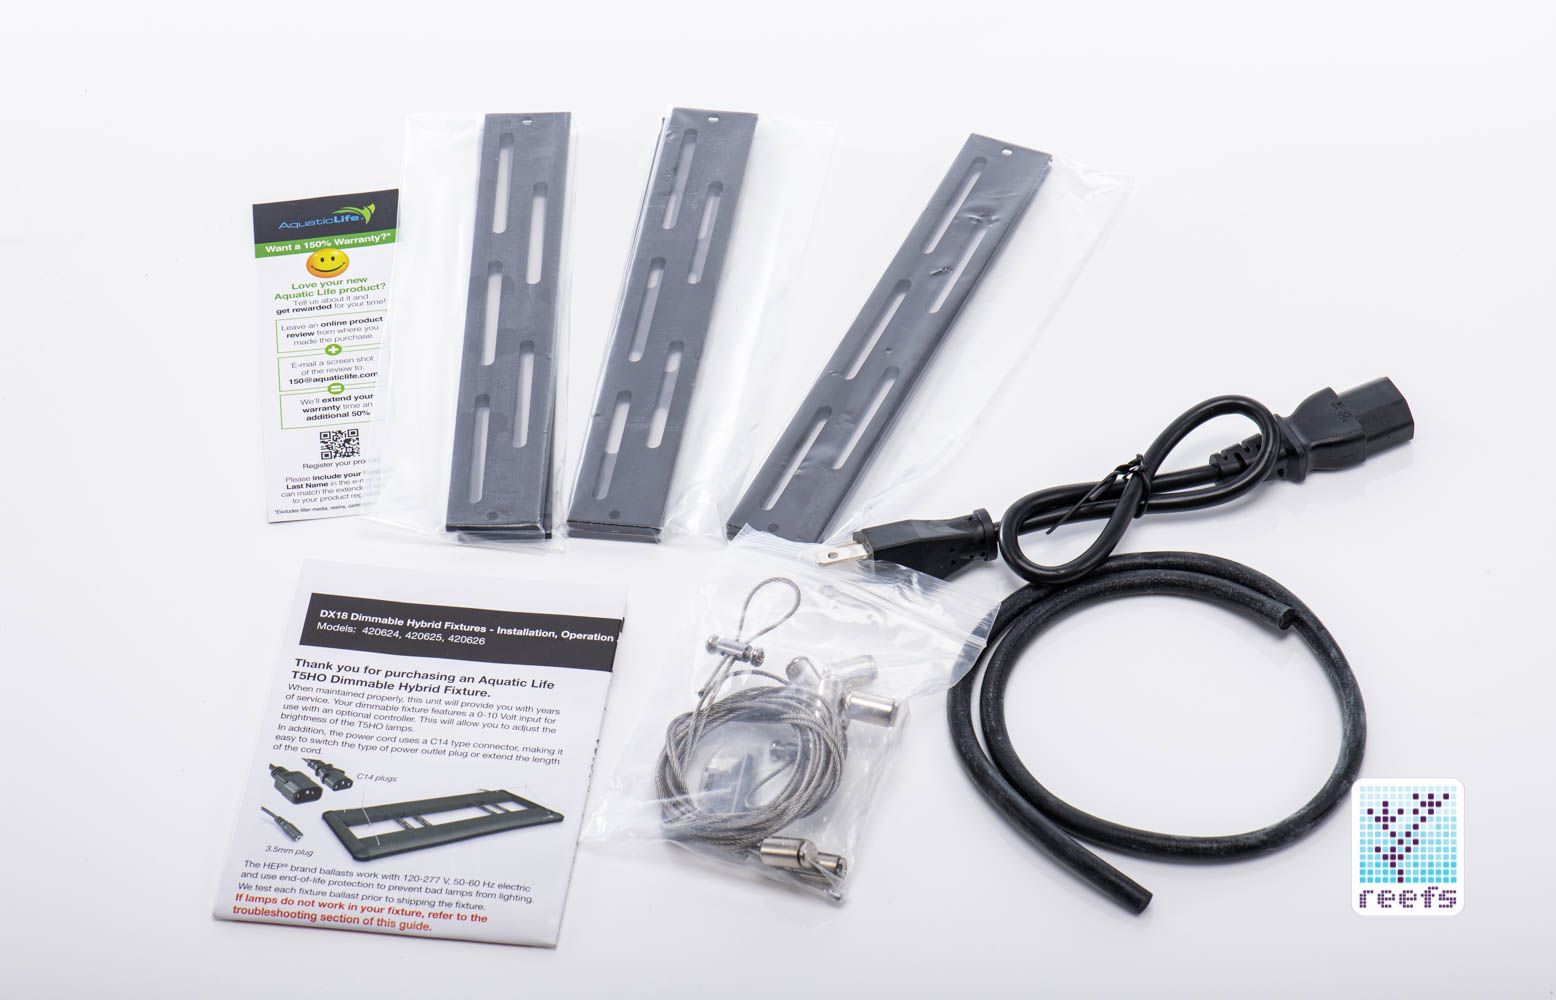
As I mentioned before, DX18 comes fully assembled, therefore the content of the package consists only of the light itself and a small cardboard box with essentials to make it work. In that box we have:
– power cord
– set of universal mounting brackets (6 for the 48” version, 4 for 36” and 2 for 24”)
– set of bracket screws
– hanging kit
– cord management strip
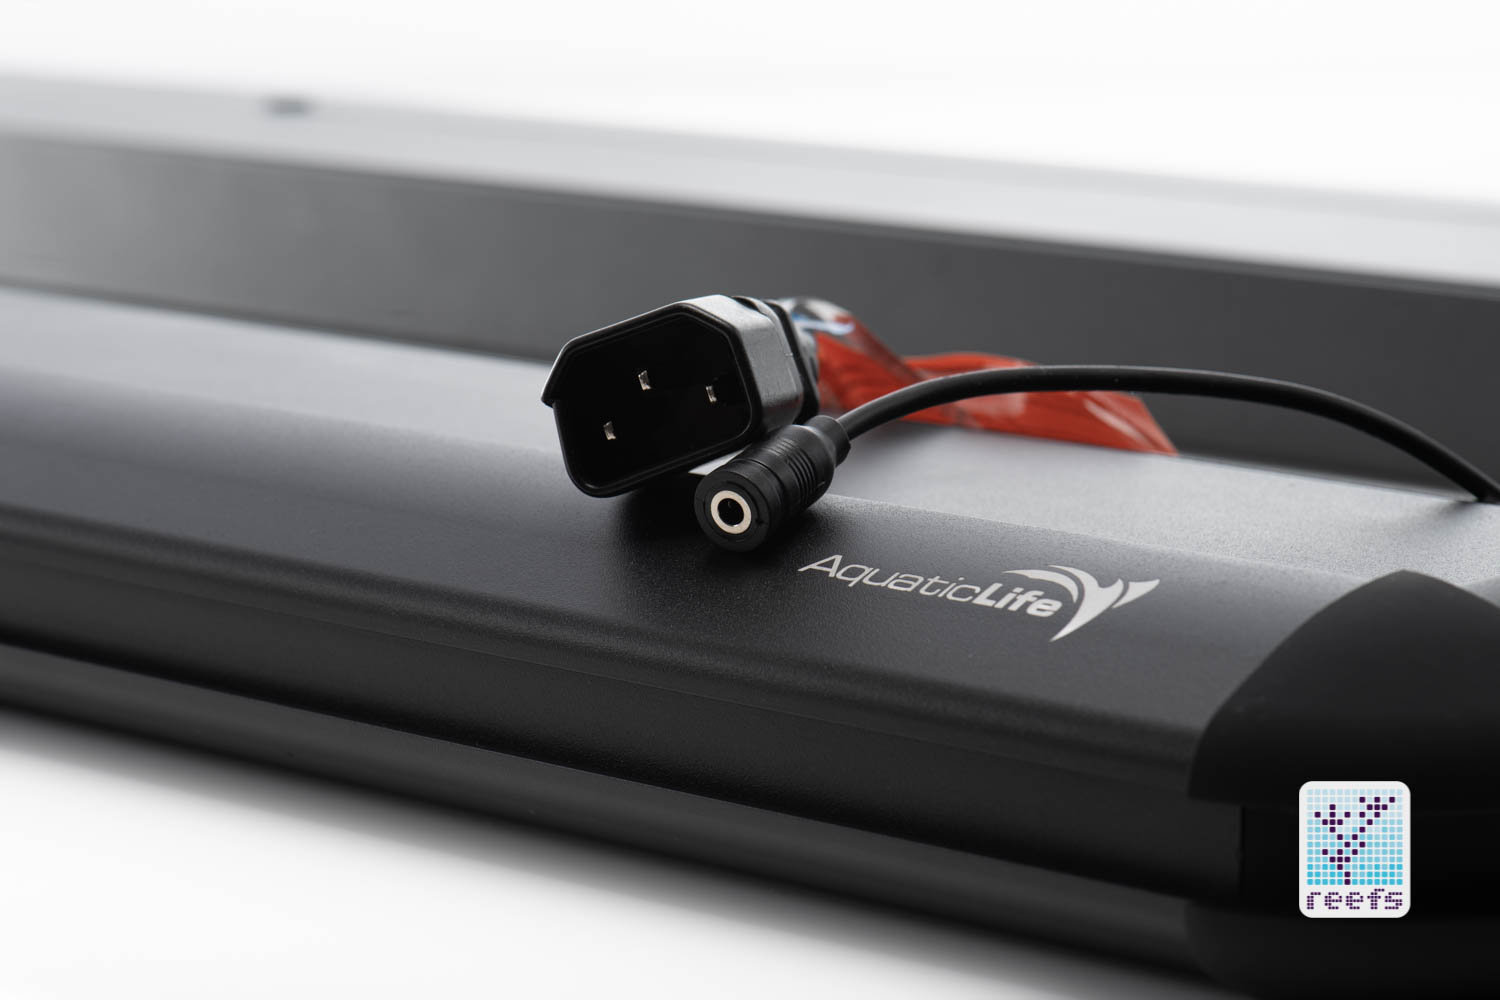
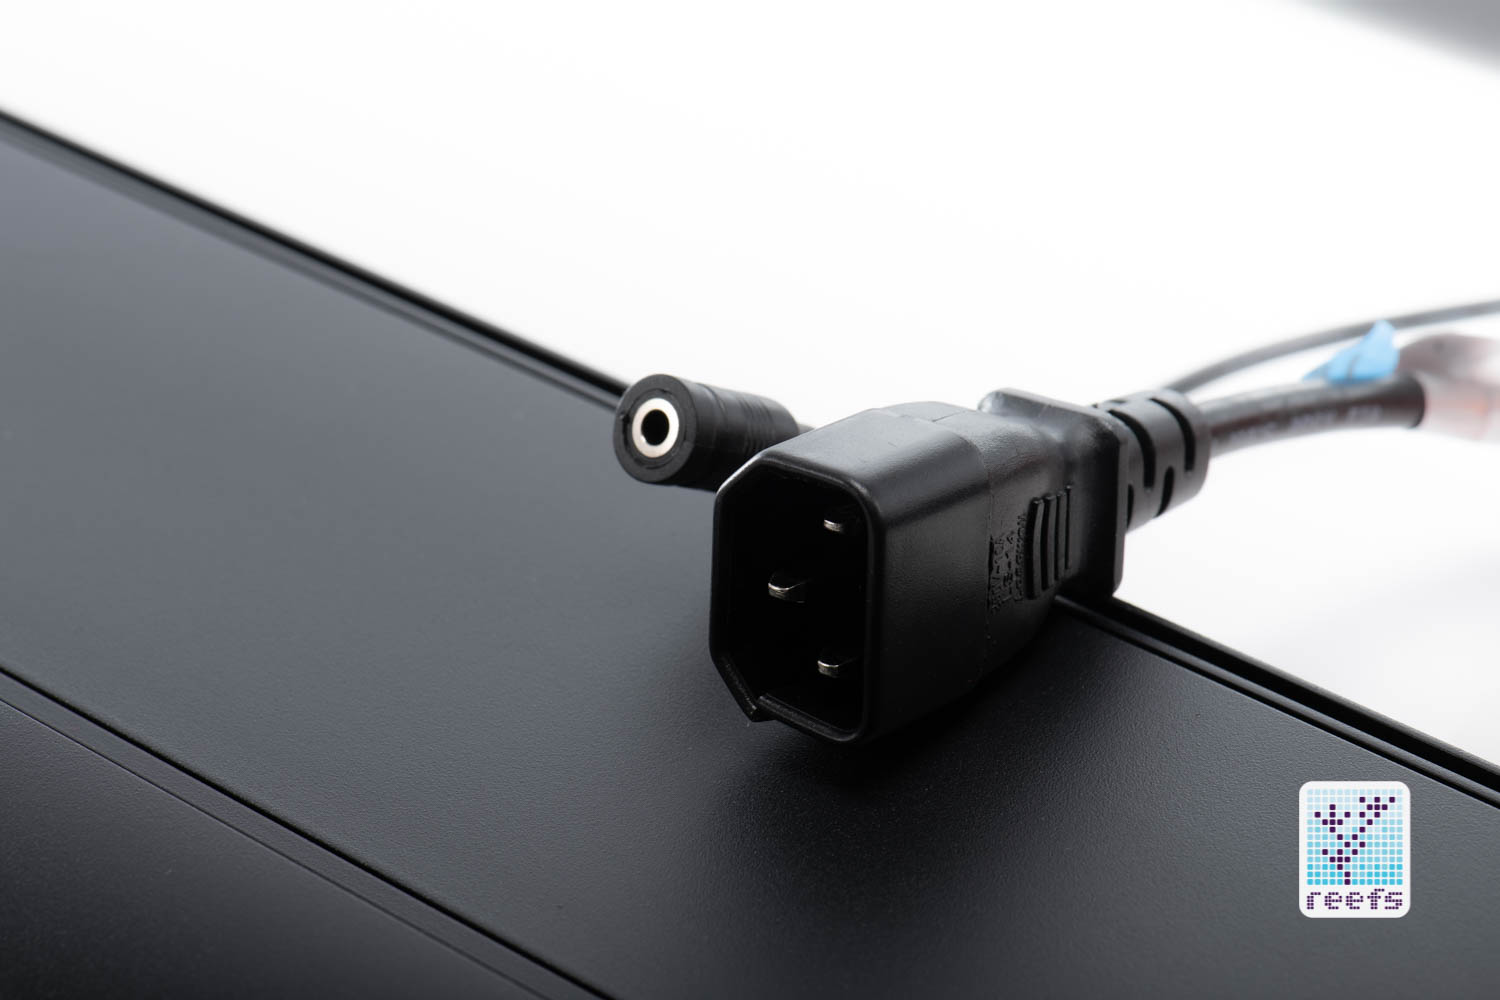
The power cord is a welcome change from the previous Hybrid light. It’s now split in two, with a standard C14 plug/socket (same as the one that comes with most TVs or desktop computers). The socket part on the light itself is placed at the end of a 7 foot (210cm) cord and the plug part adds another foot (40cm) for a total of 8 foot cord length. This solution comes as Aquatic Life’s answer to the most requested feature after the original Hybrid came out as some aquarists complained the cord was too short to reach their outlets. Now you can extend it to whatever length you need with a standard power cord equipped with a C14-type connector. On top of that, since HEP ballasts operate at 120-277 V, 50-60 Hz electric current, you’ll be able to plug it into the wall socket virtually anywhere in the world.
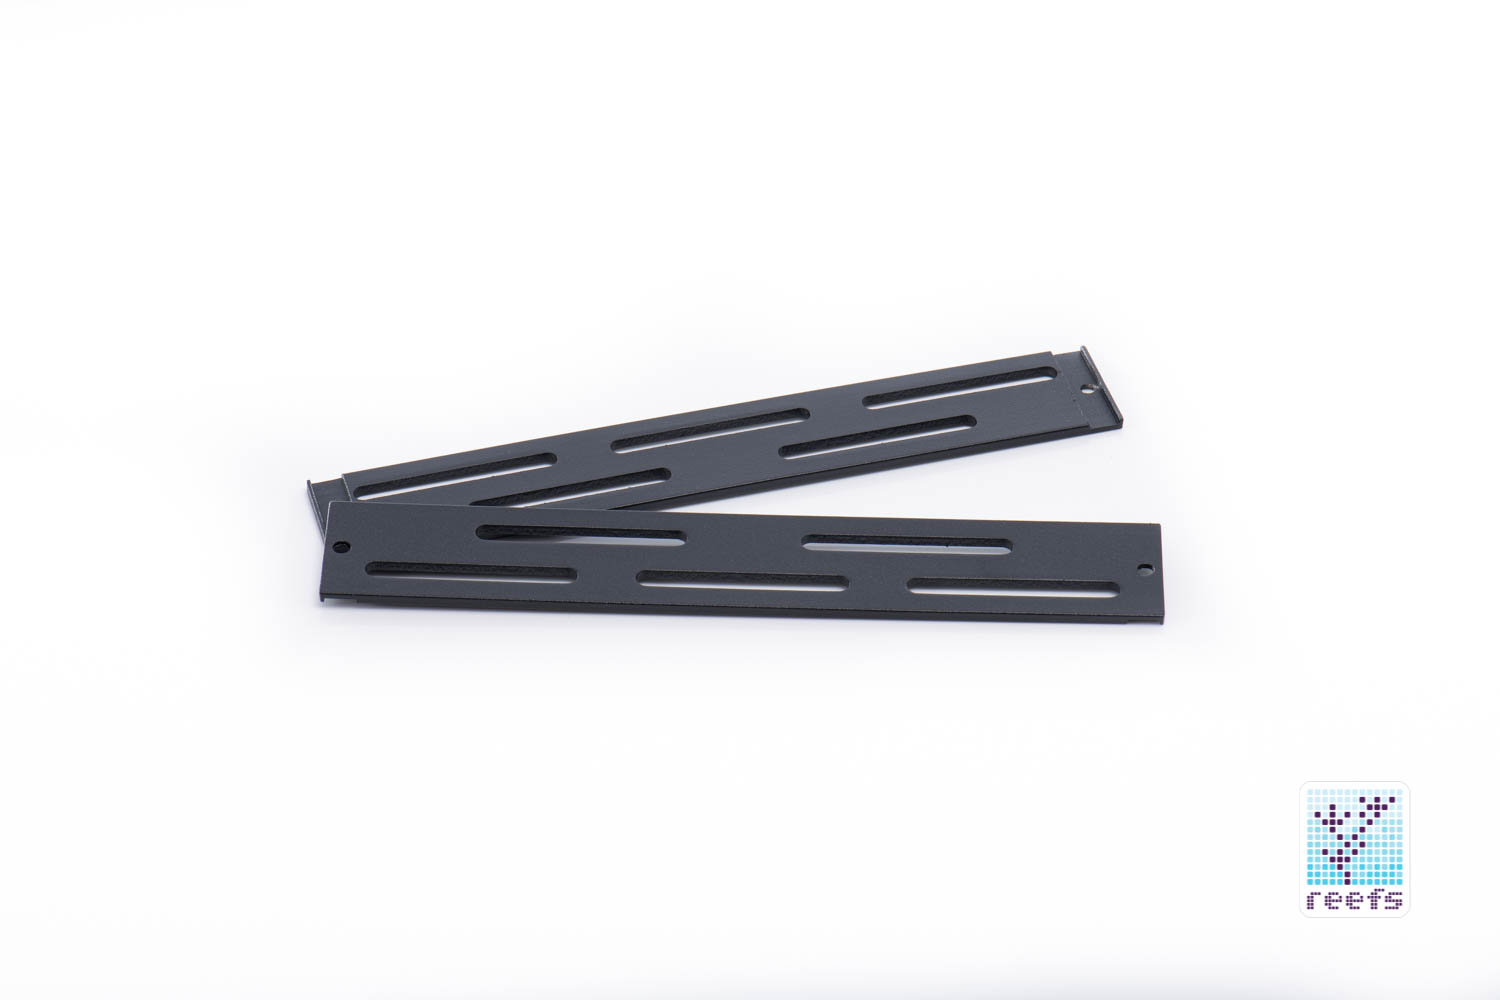

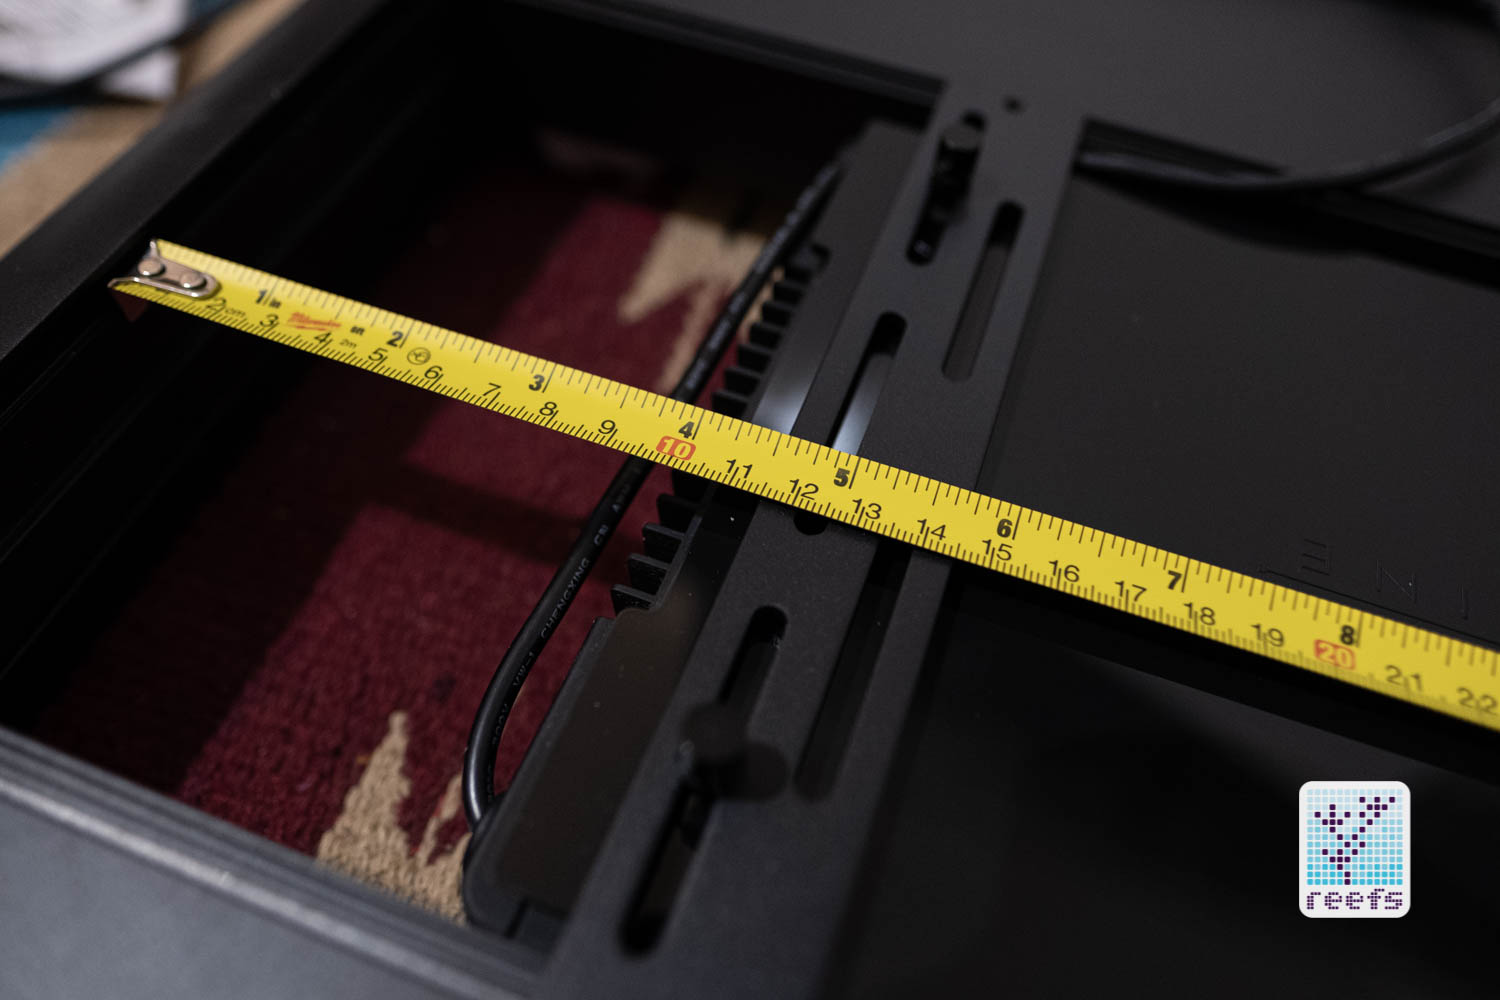
The brackets that come with DX18 are identical to those of the original Hybrid, designed to work with multiple different lights. Even if a particular light does not match the rows of notches on the bracket, nothing stops you from drilling your own mounting holes. I’ve seen people being able to attach a wide array of different lights to the Hybrid by either modifying the bracket or the light housing itself. The only limiting factor for for the DX18 is its fixed width- the space in between the two T5 modules is set at 7-3/16 (182mm), same as the original Hybrid, but again, with a little elbow grease you could mount the auxiliary light on top of DX18 or suspended it underneath. Less appealing for sure, but still functional.
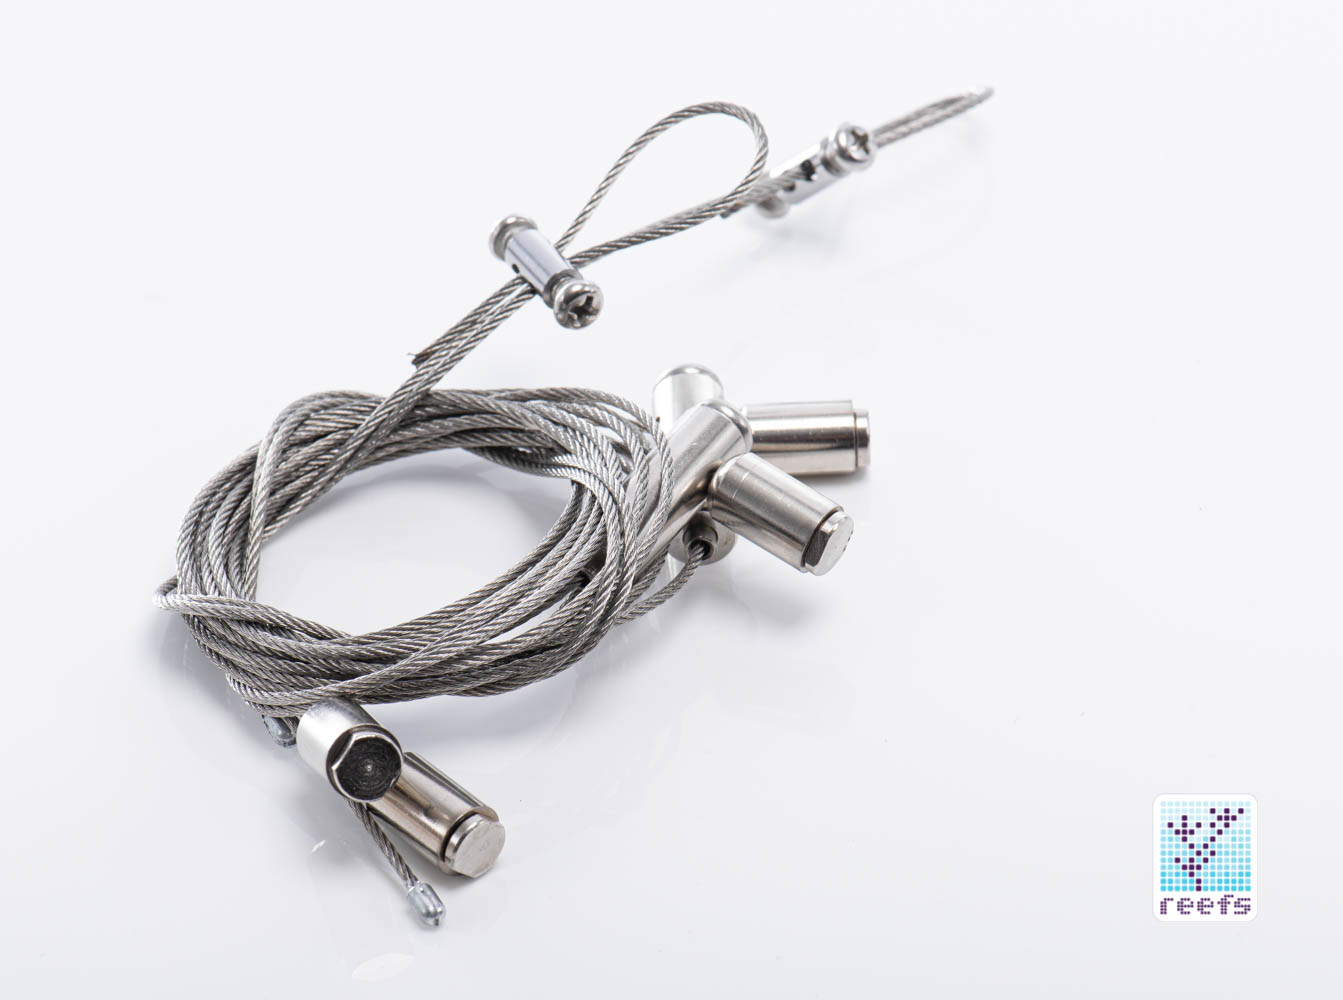
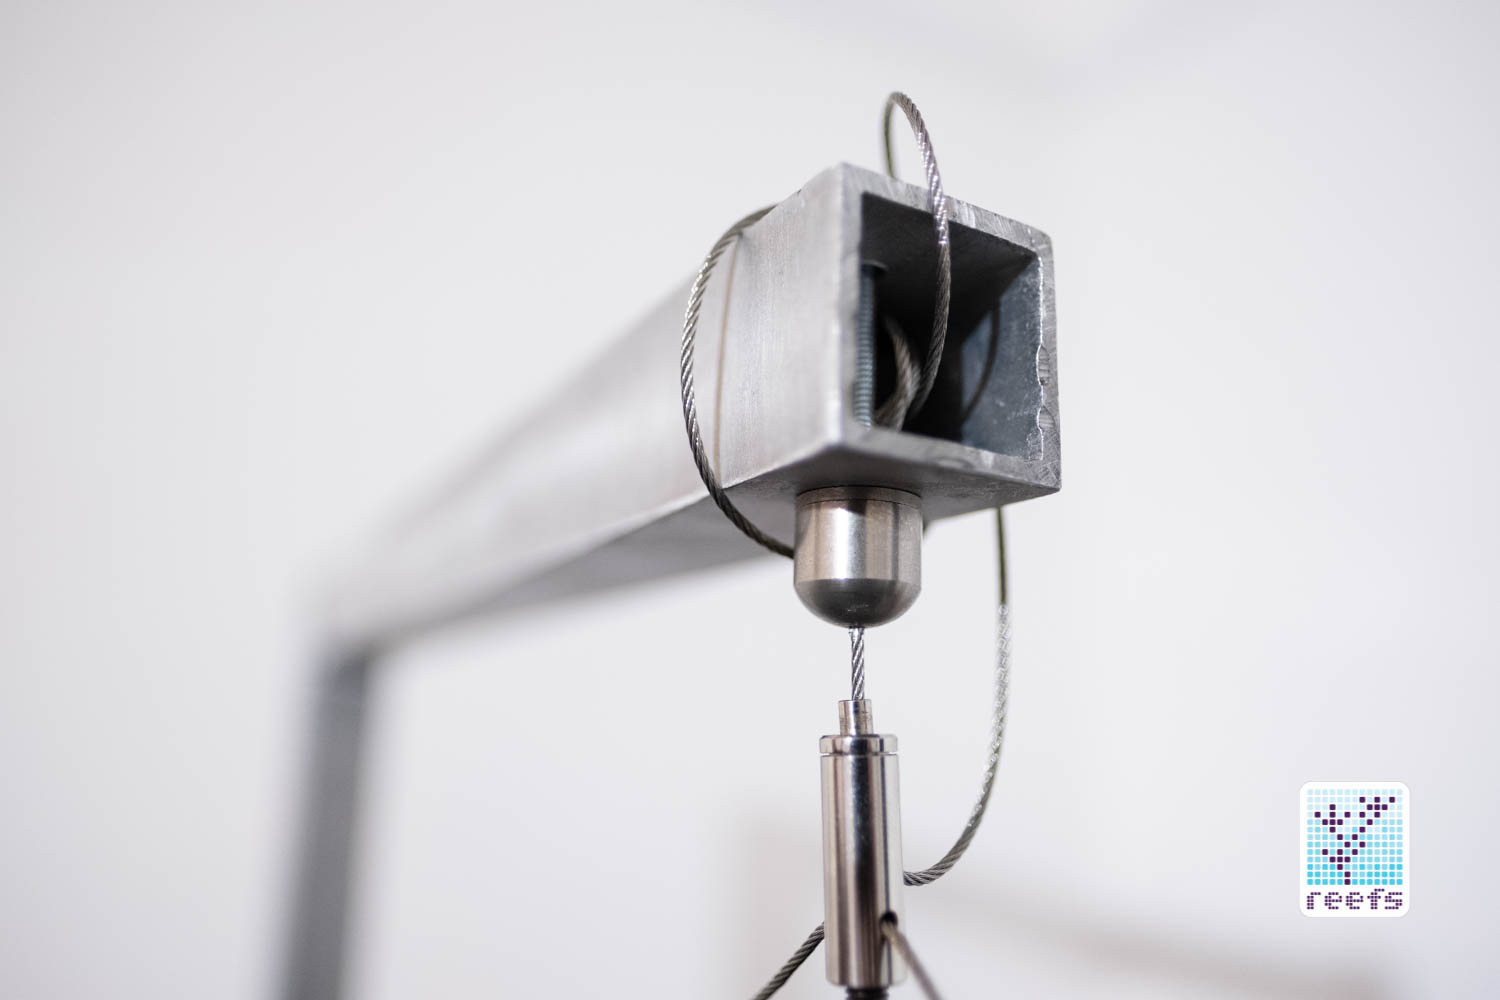
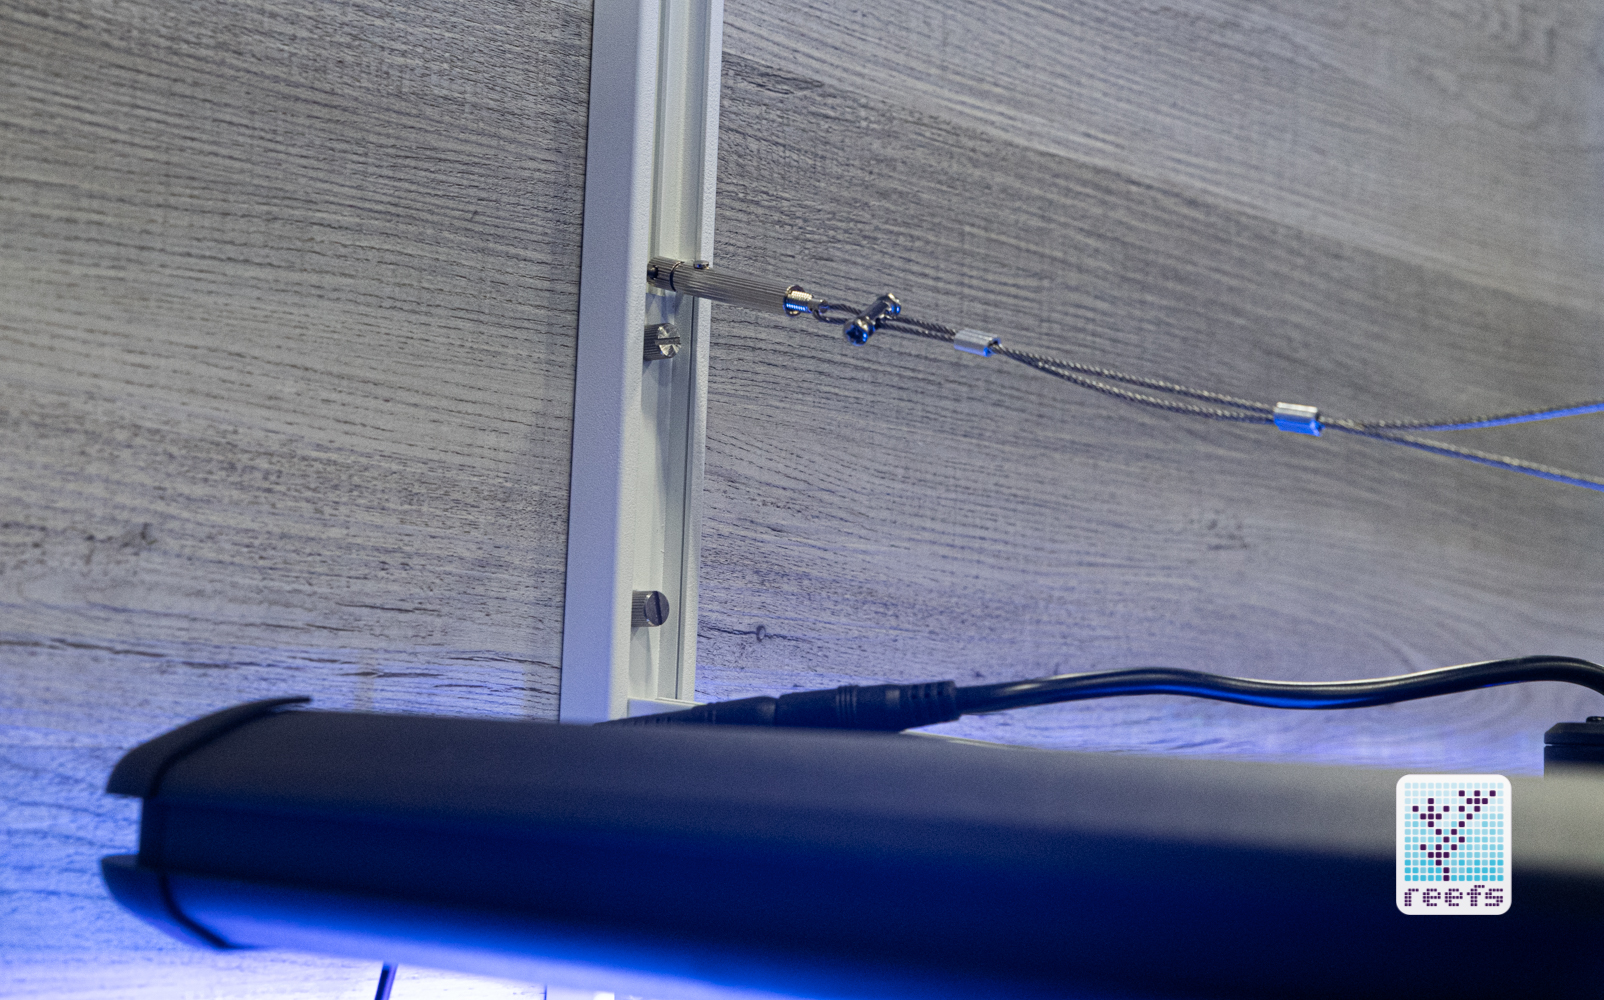
Hanging kit did not change from the original Hybrid, it’s the same simple but sturdy and minimalistic stainless steel cable system with a quick release mechanism for setting up the length of the vertical cable.
Last piece is the so-called cable management strip which essentially is a round neoprene rubber cord that can be cut to length to secure the auxiliary lights’ power cord in place. I’ll show you in the installation part.
INSTALLATION
Aquatic Life DX18 is very easy to put together. If you have experience with the original Hybrid, the process is basically the same, minus the fact the fixture itself is already assembled so you only need to attach the hanging kit and your lights of choice. If you haven’t, a basic knowledge on how to put aquarium lights together and a phillips screwdriver is all you need to have your DX18 hanging above the reef.
There is an included installation manual I forgot to mention, although you don’t really have to follow it step-by step, but rather use it as a guideline for things like attaching the hanging hardware, installing the light rails, etc.
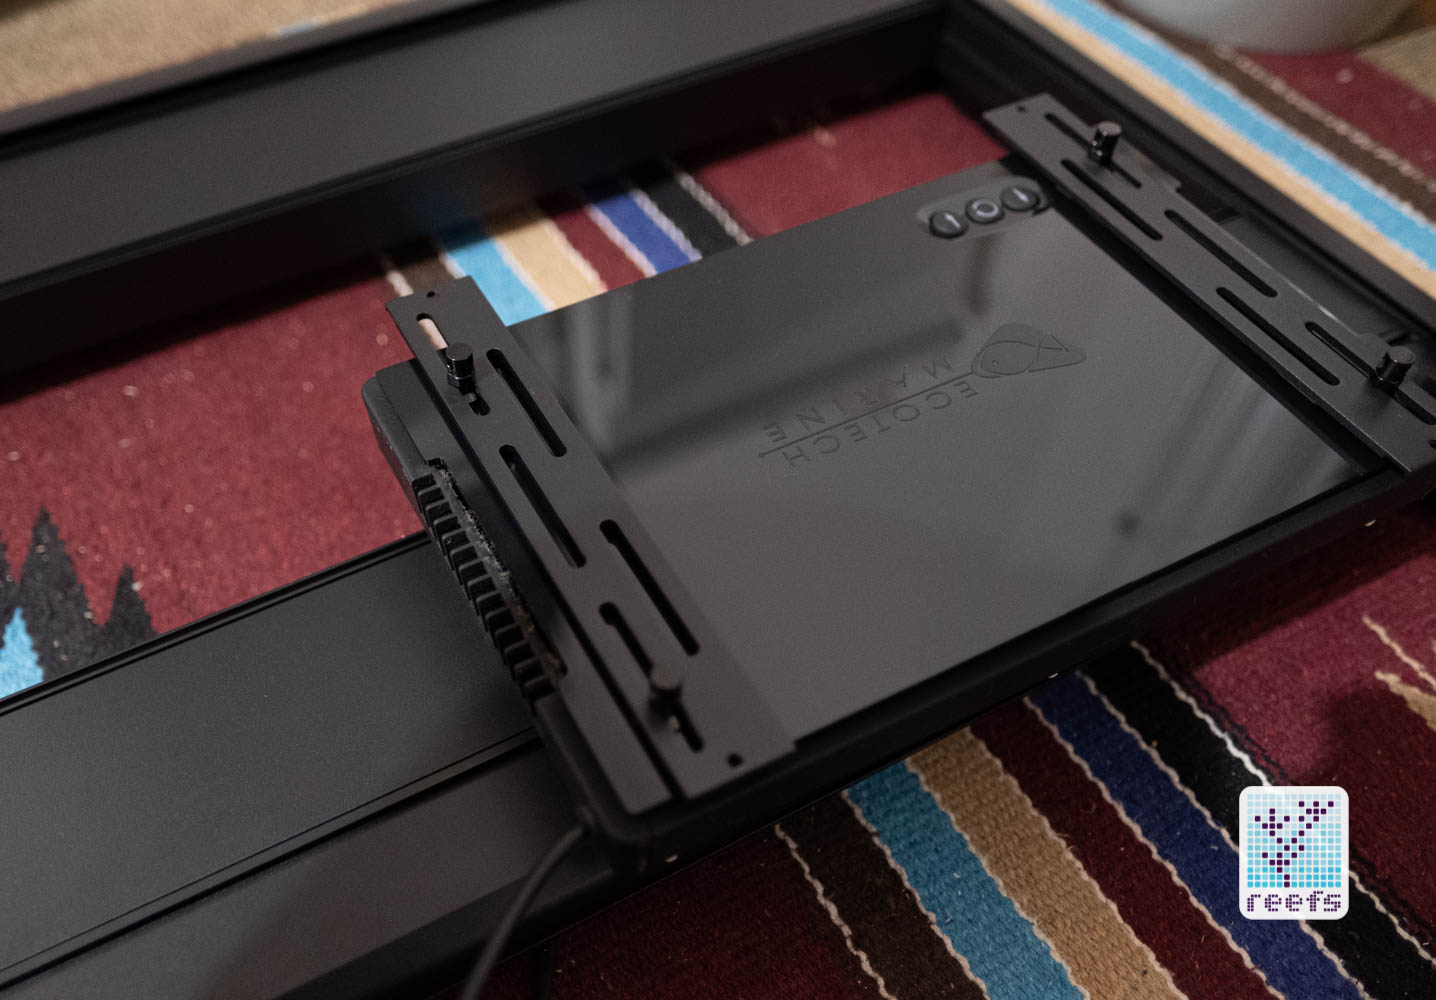
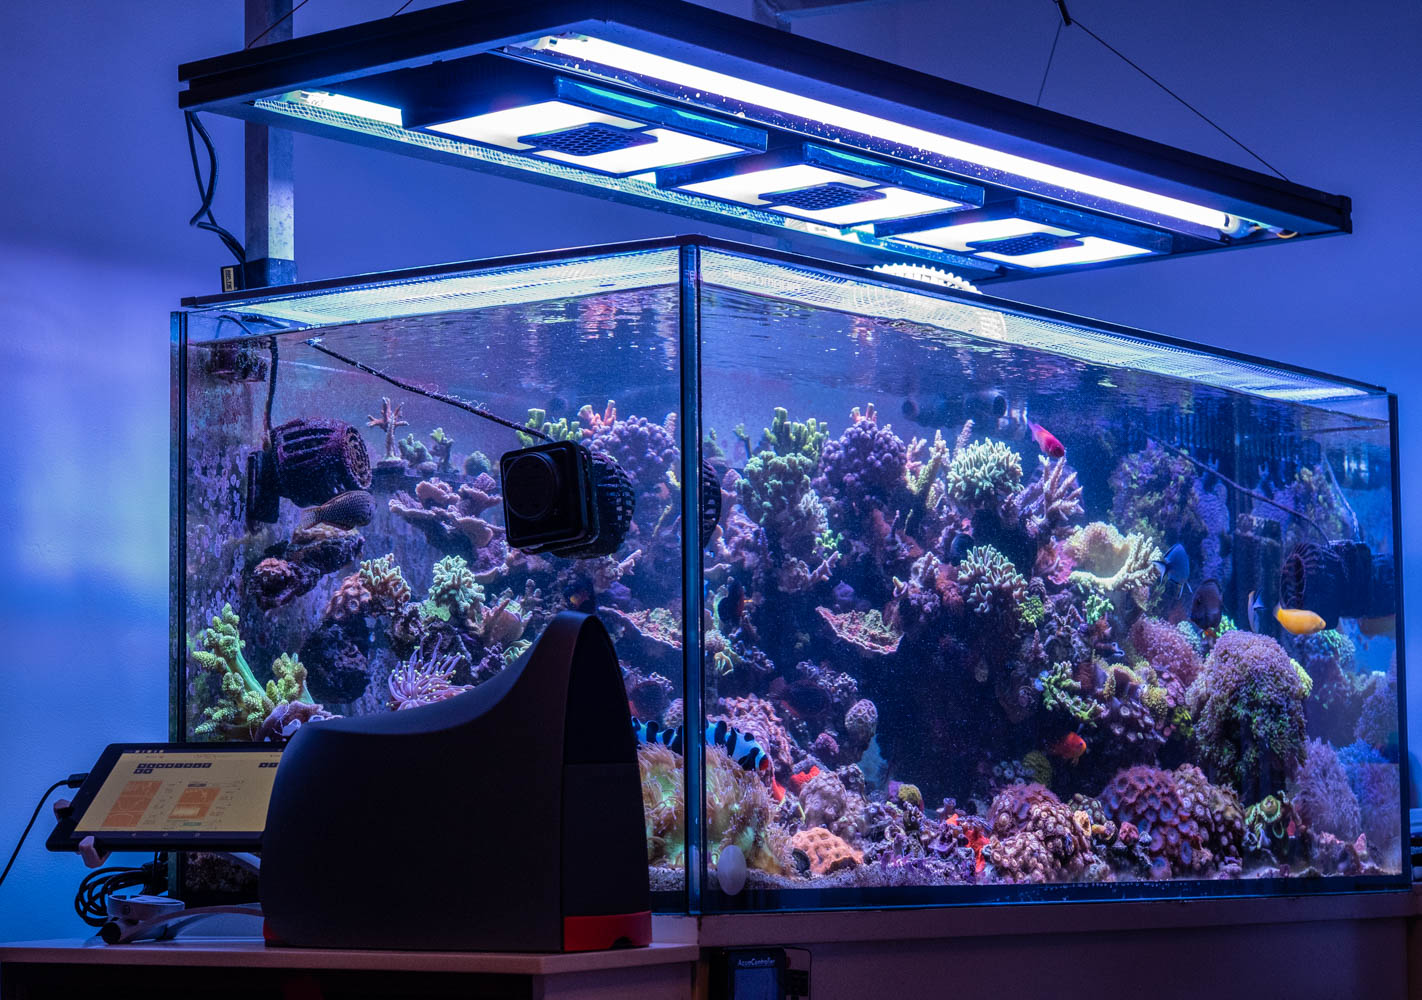
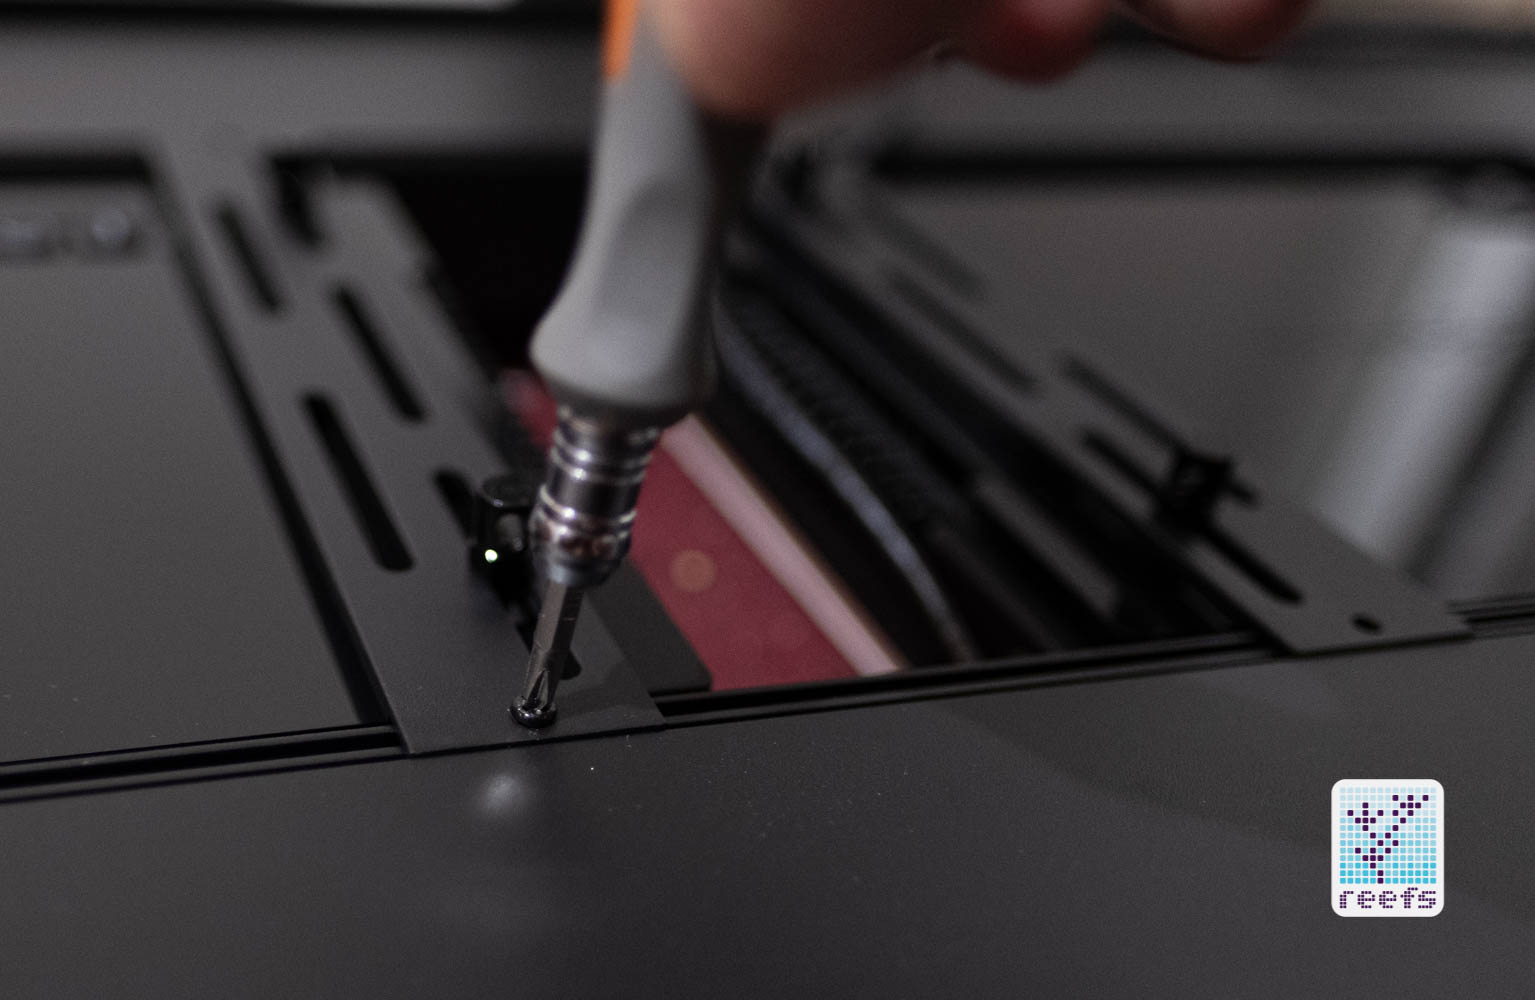
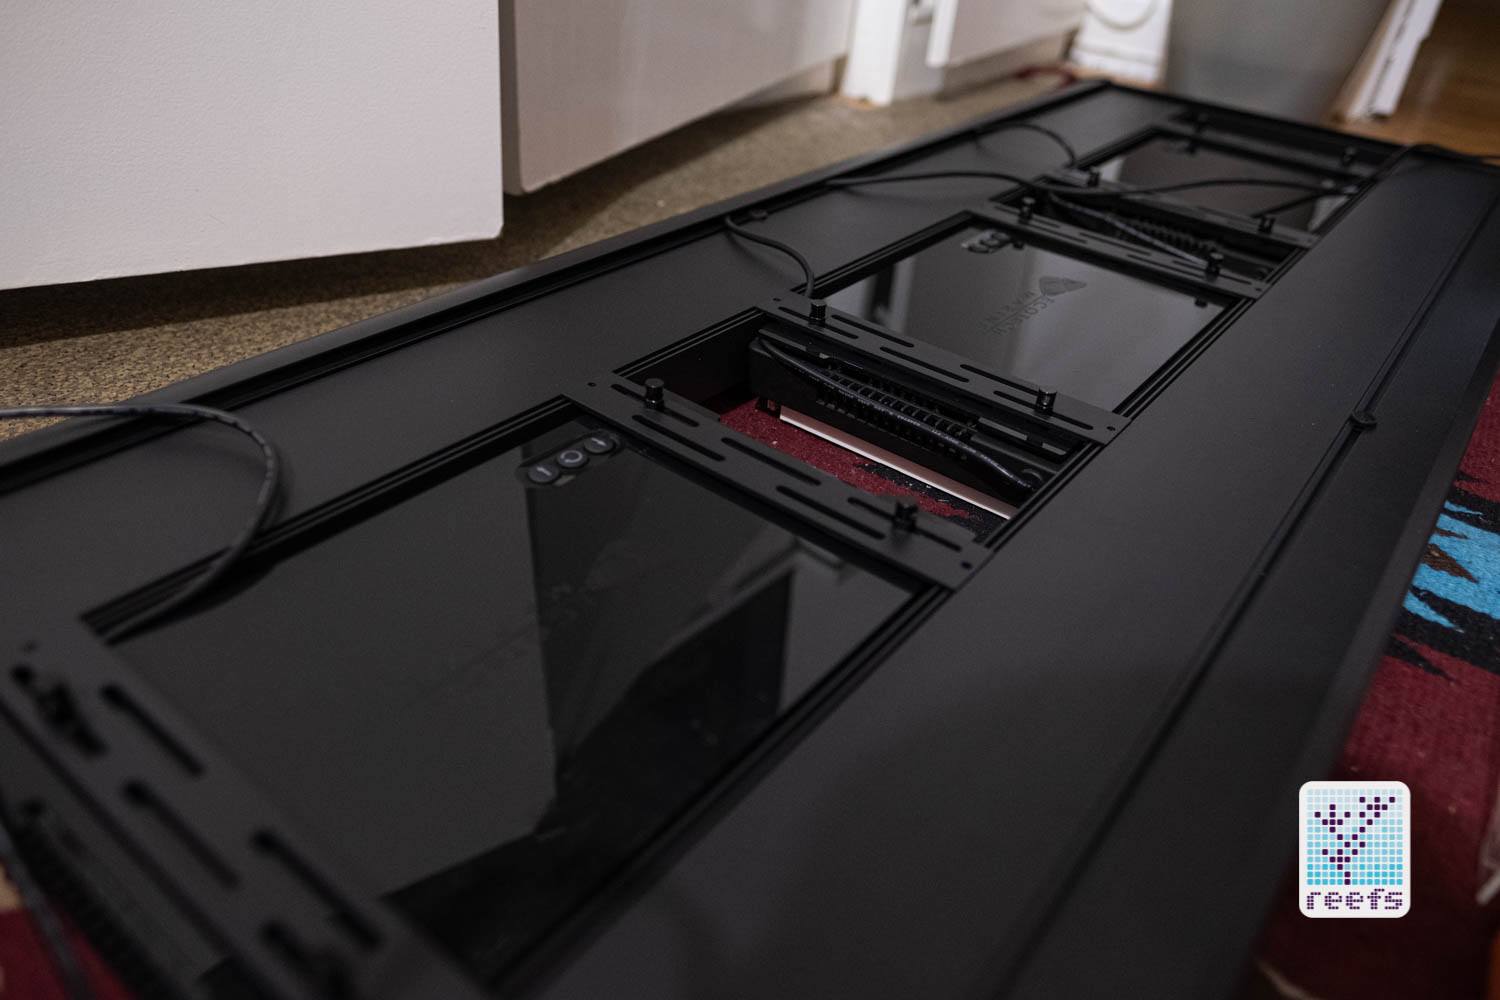
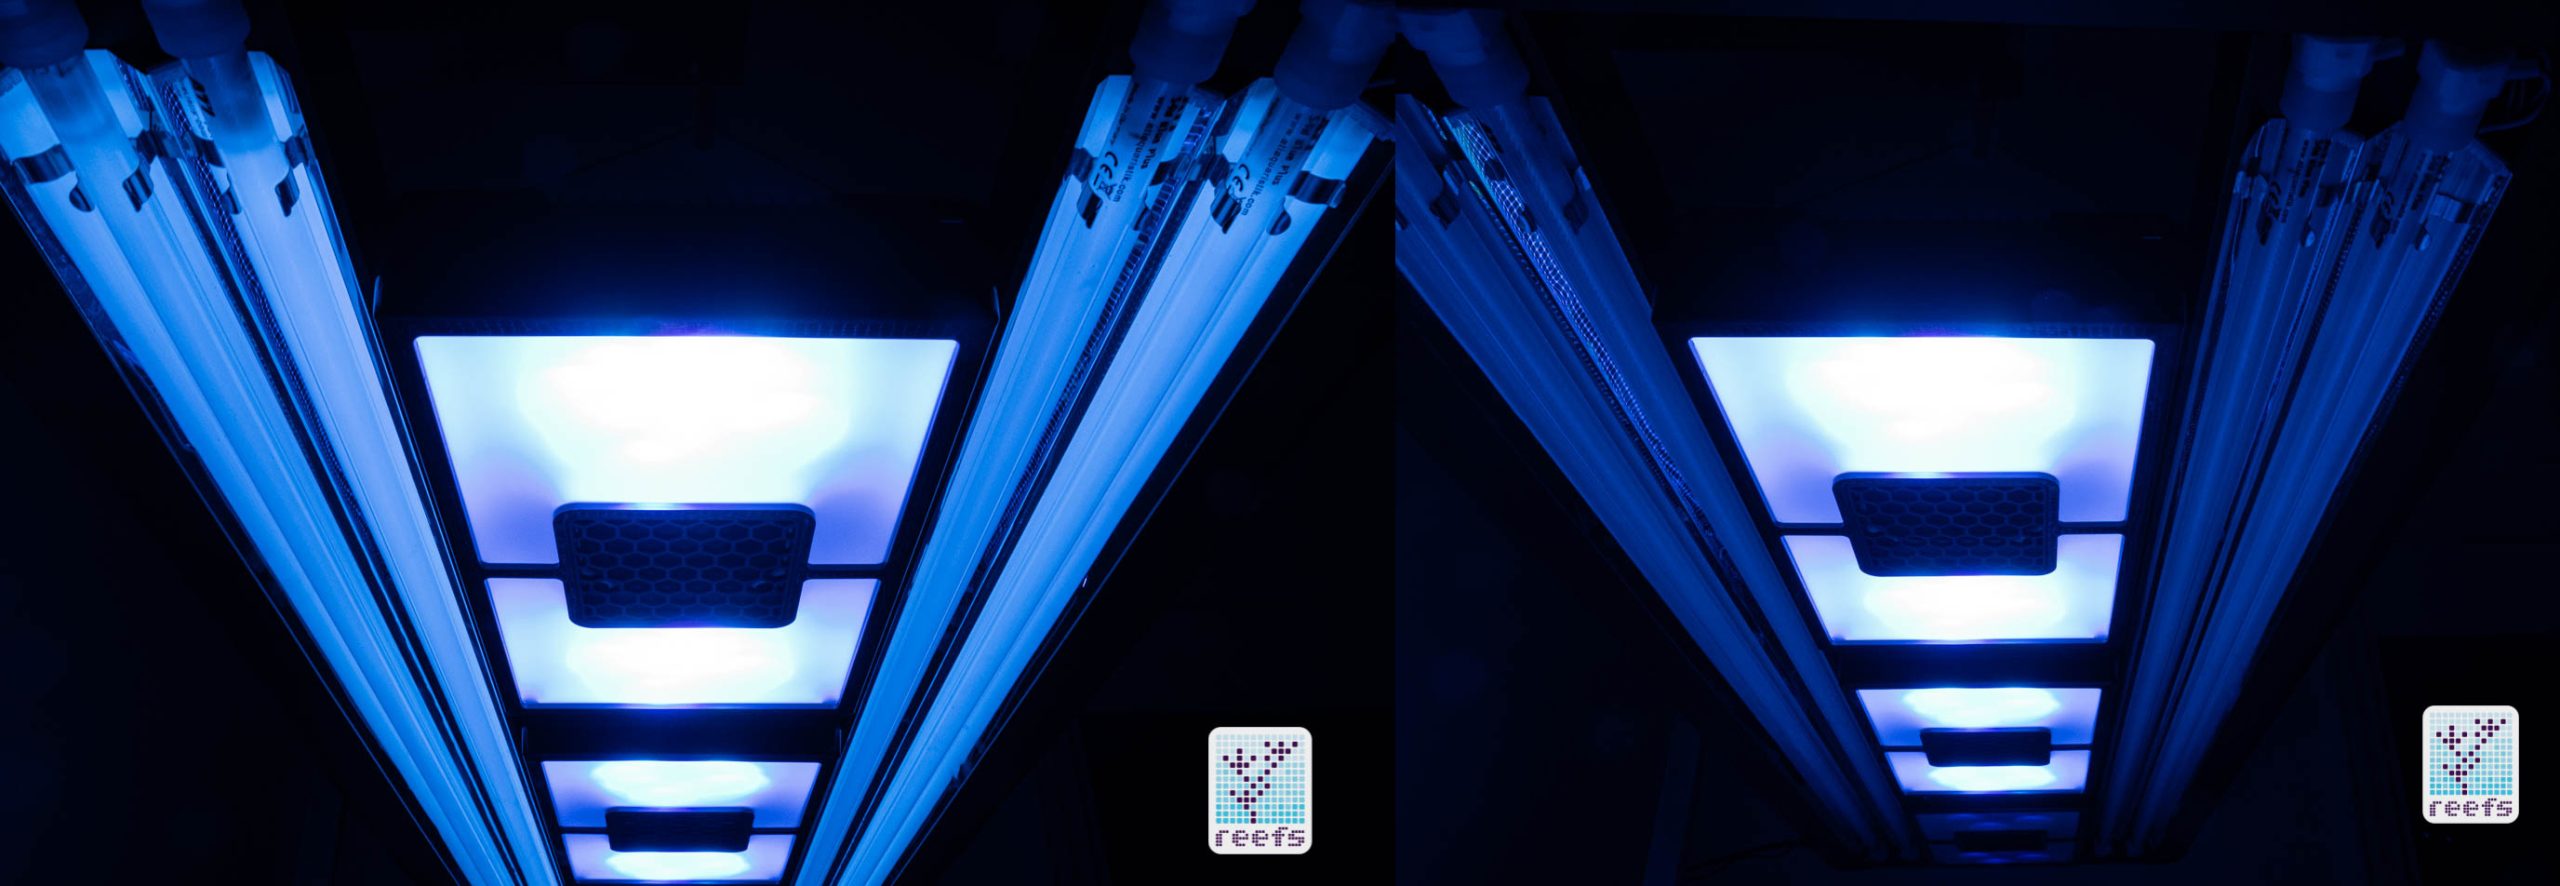
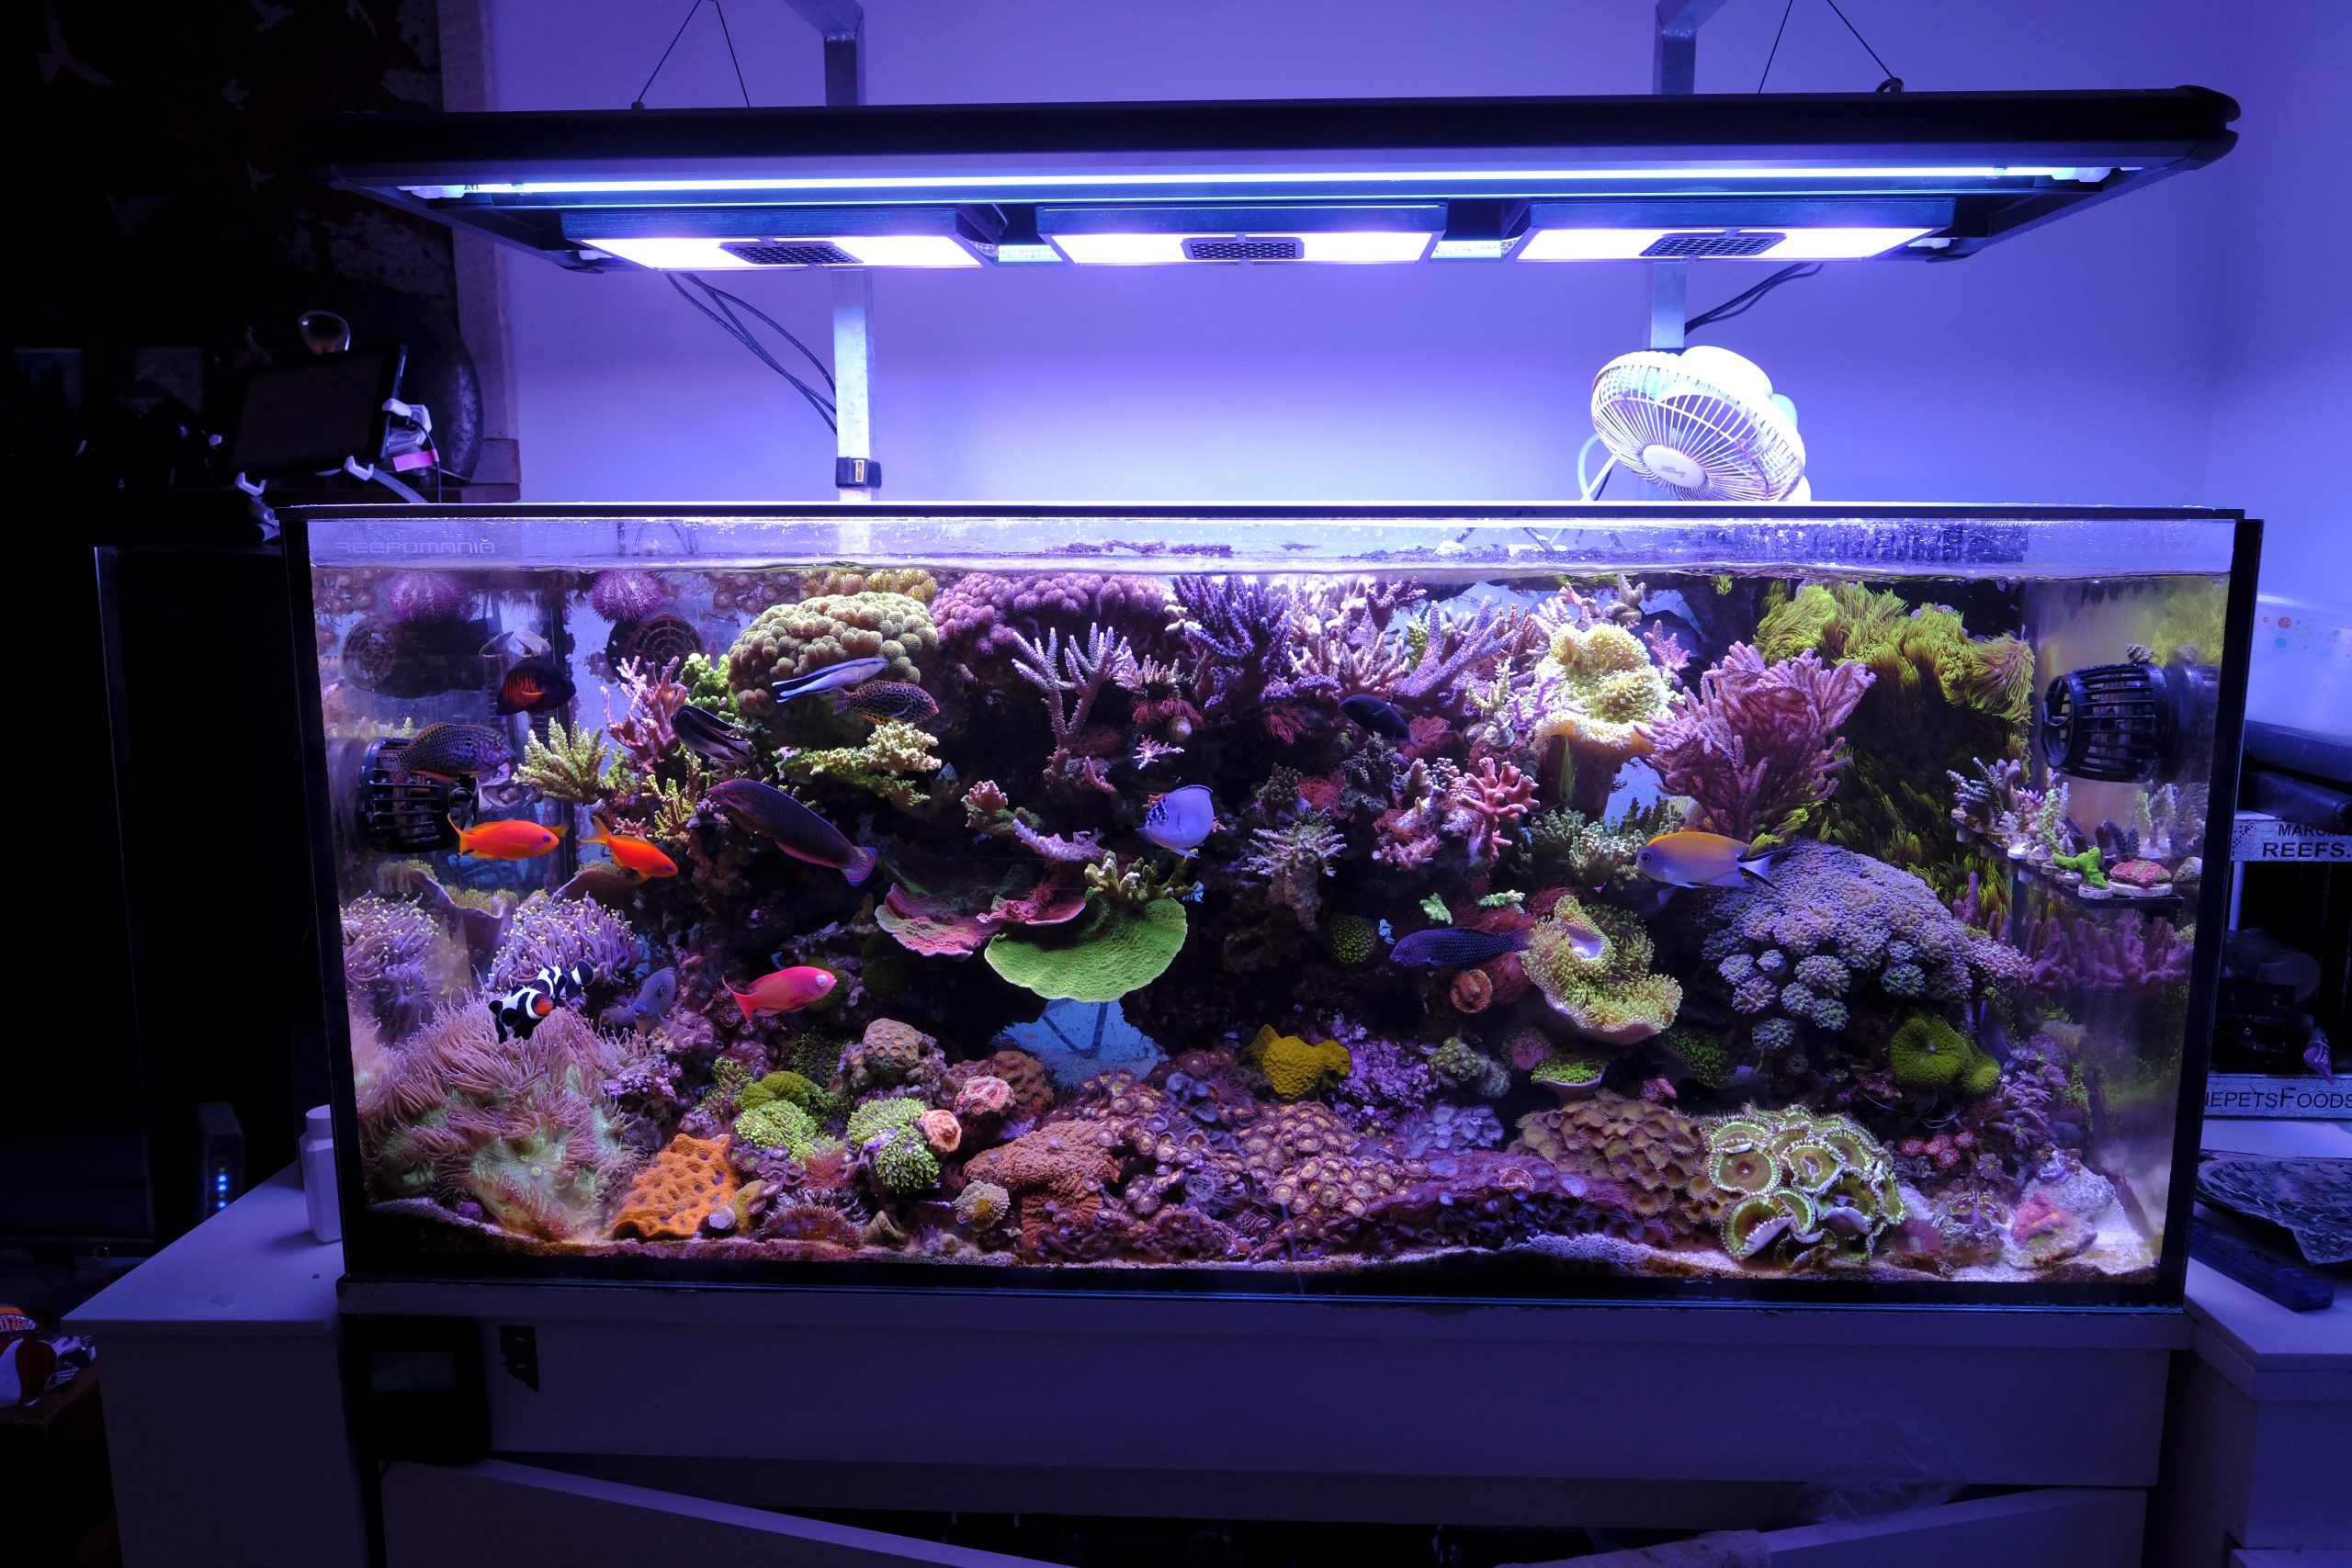
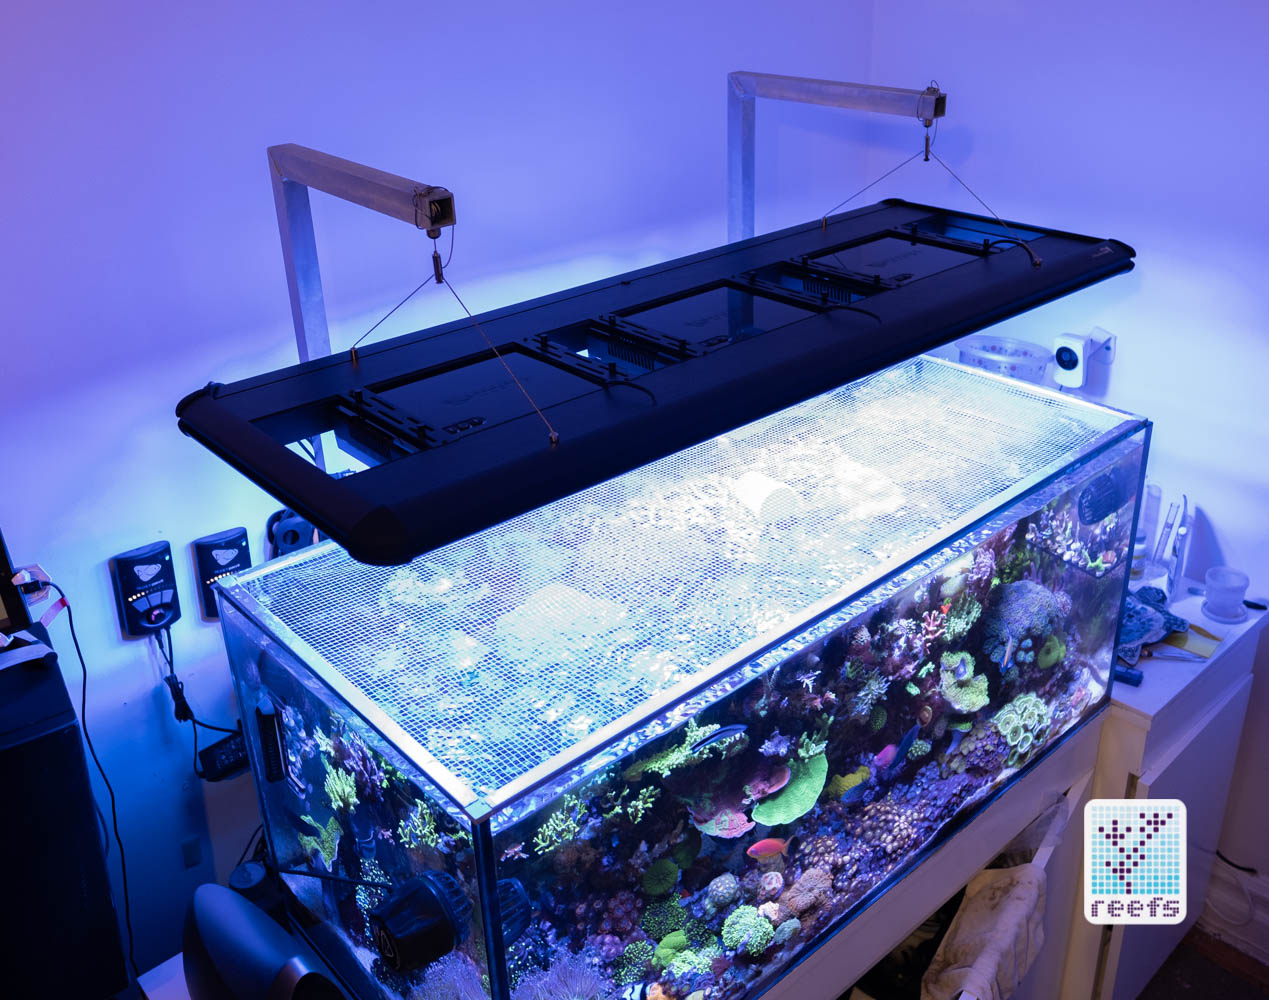
I started the installation by attaching LED mounting brackets to the three Ecotech radion G4 fixtures I own and spreading them equally between the DX18 T5 housings.
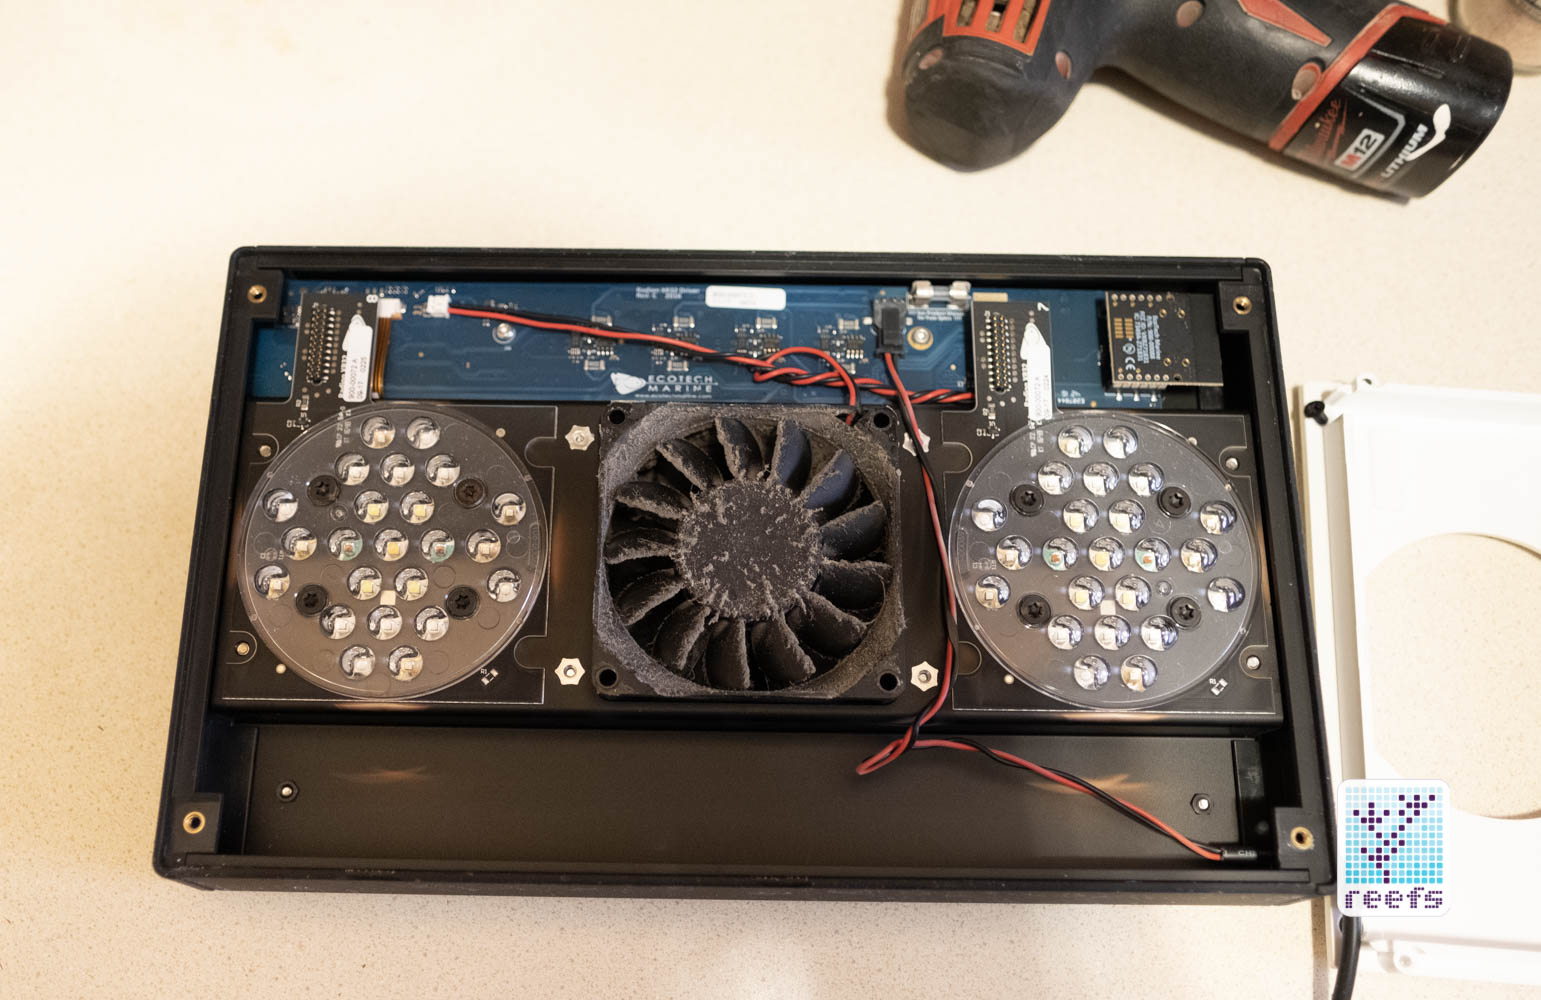
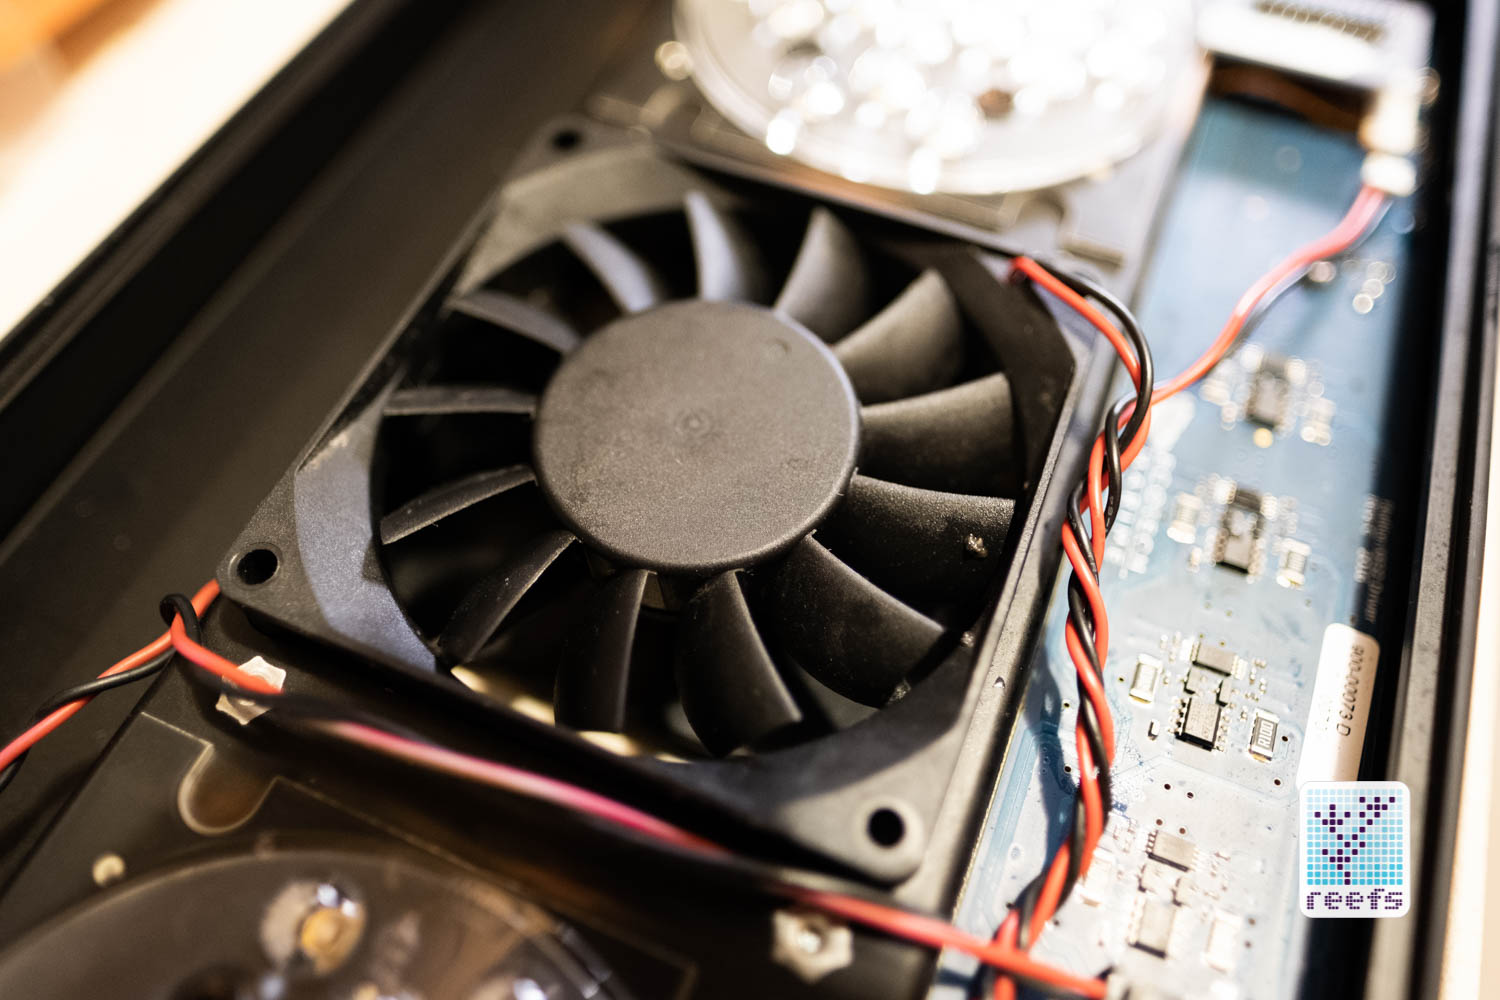
Well, ok, that’s not the full picture. Since we are in a stay at home order due to the coronavirus threat, I literally have all the time I need to do things right, so I forced myself to clean my Radions in and out before I screwed the Aquatic Life brackets on them. I used thumb screws to attach the bracket to the radion for easier access should I need to clean or maintain the LED panels.
Much better!
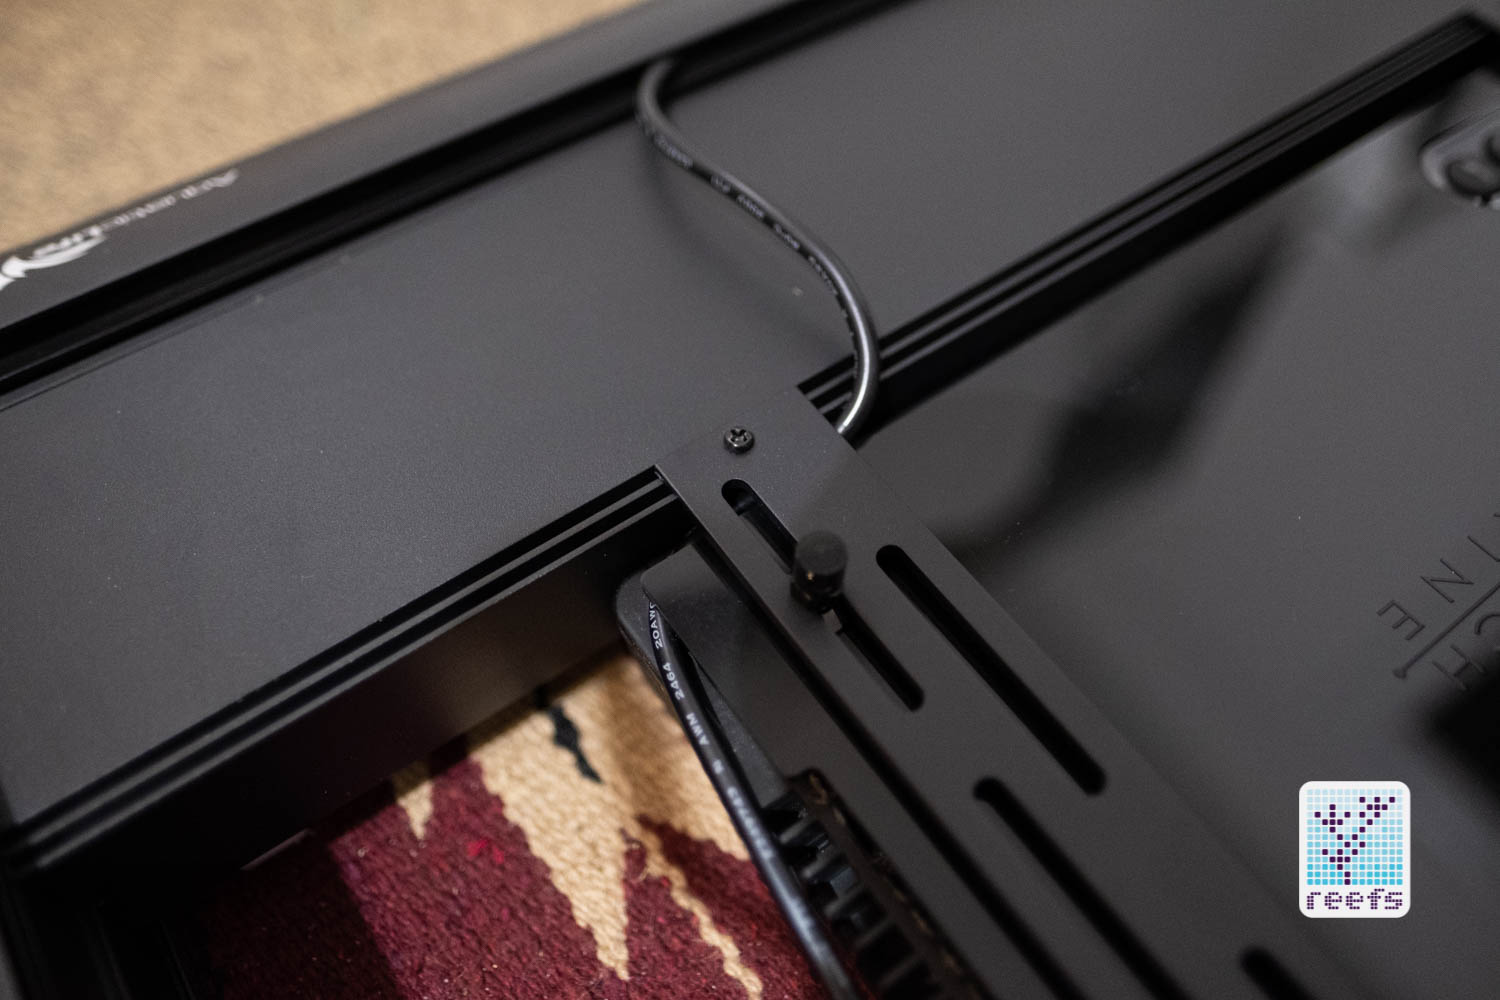
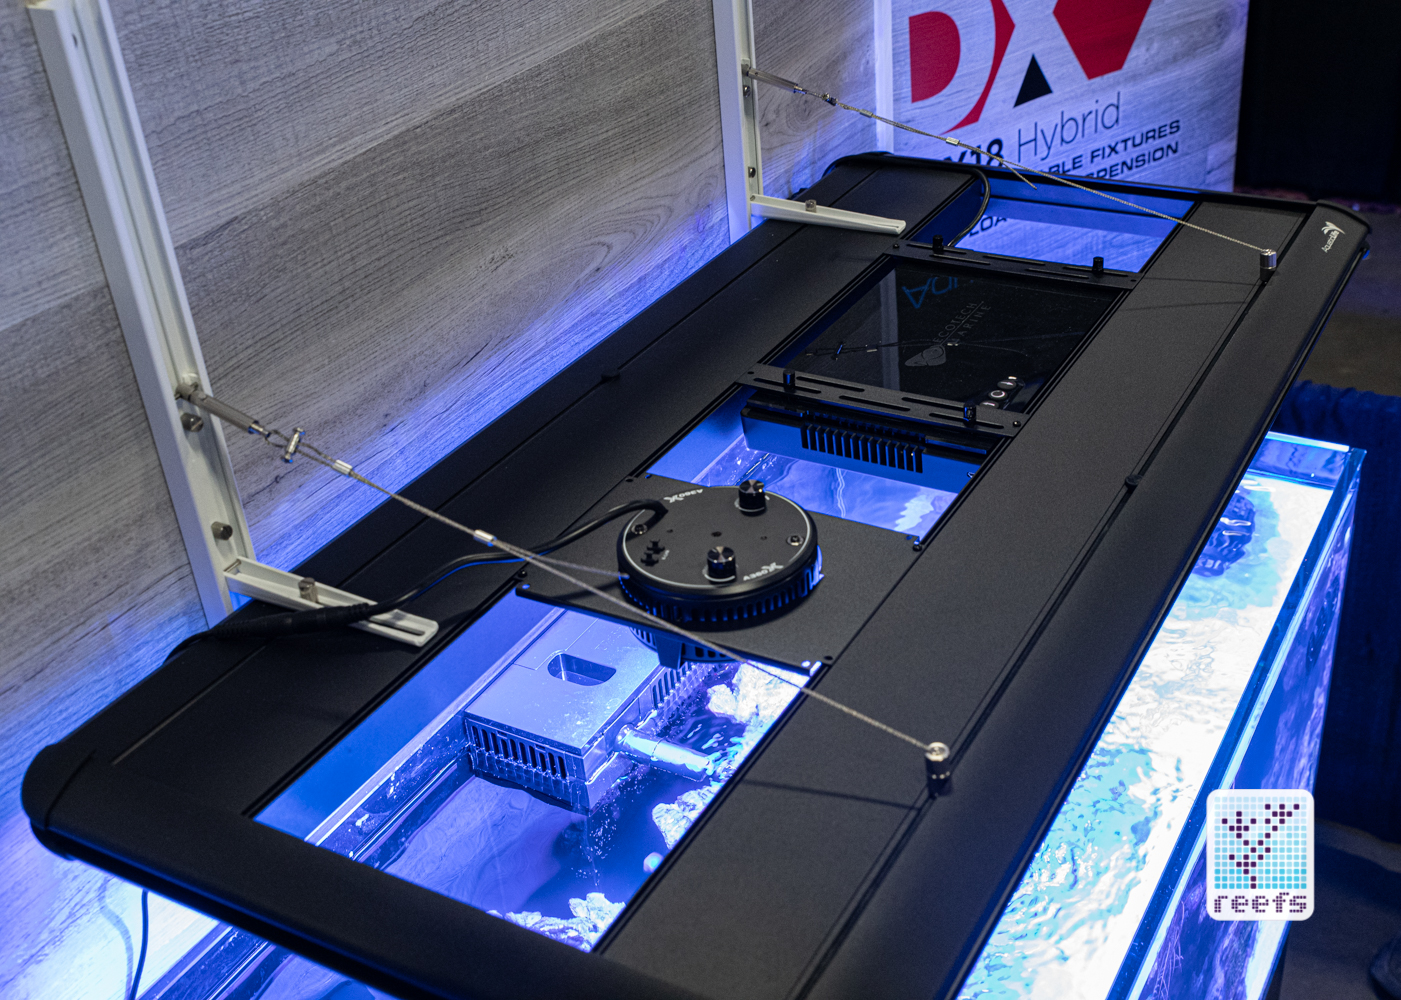
The cable management is resolved differently from the original Hybrid. There is a half-round channel running along the front and sides of the fixture to which the LED power cables are meant to go to get them out of view. It’s a simple and clever system and it works pretty well. The rubber strip comes in handy to hold these cables in place (see below). I managed to stuff three Radion-sized power cables in that channel and that’s about it if you want them to disappear.

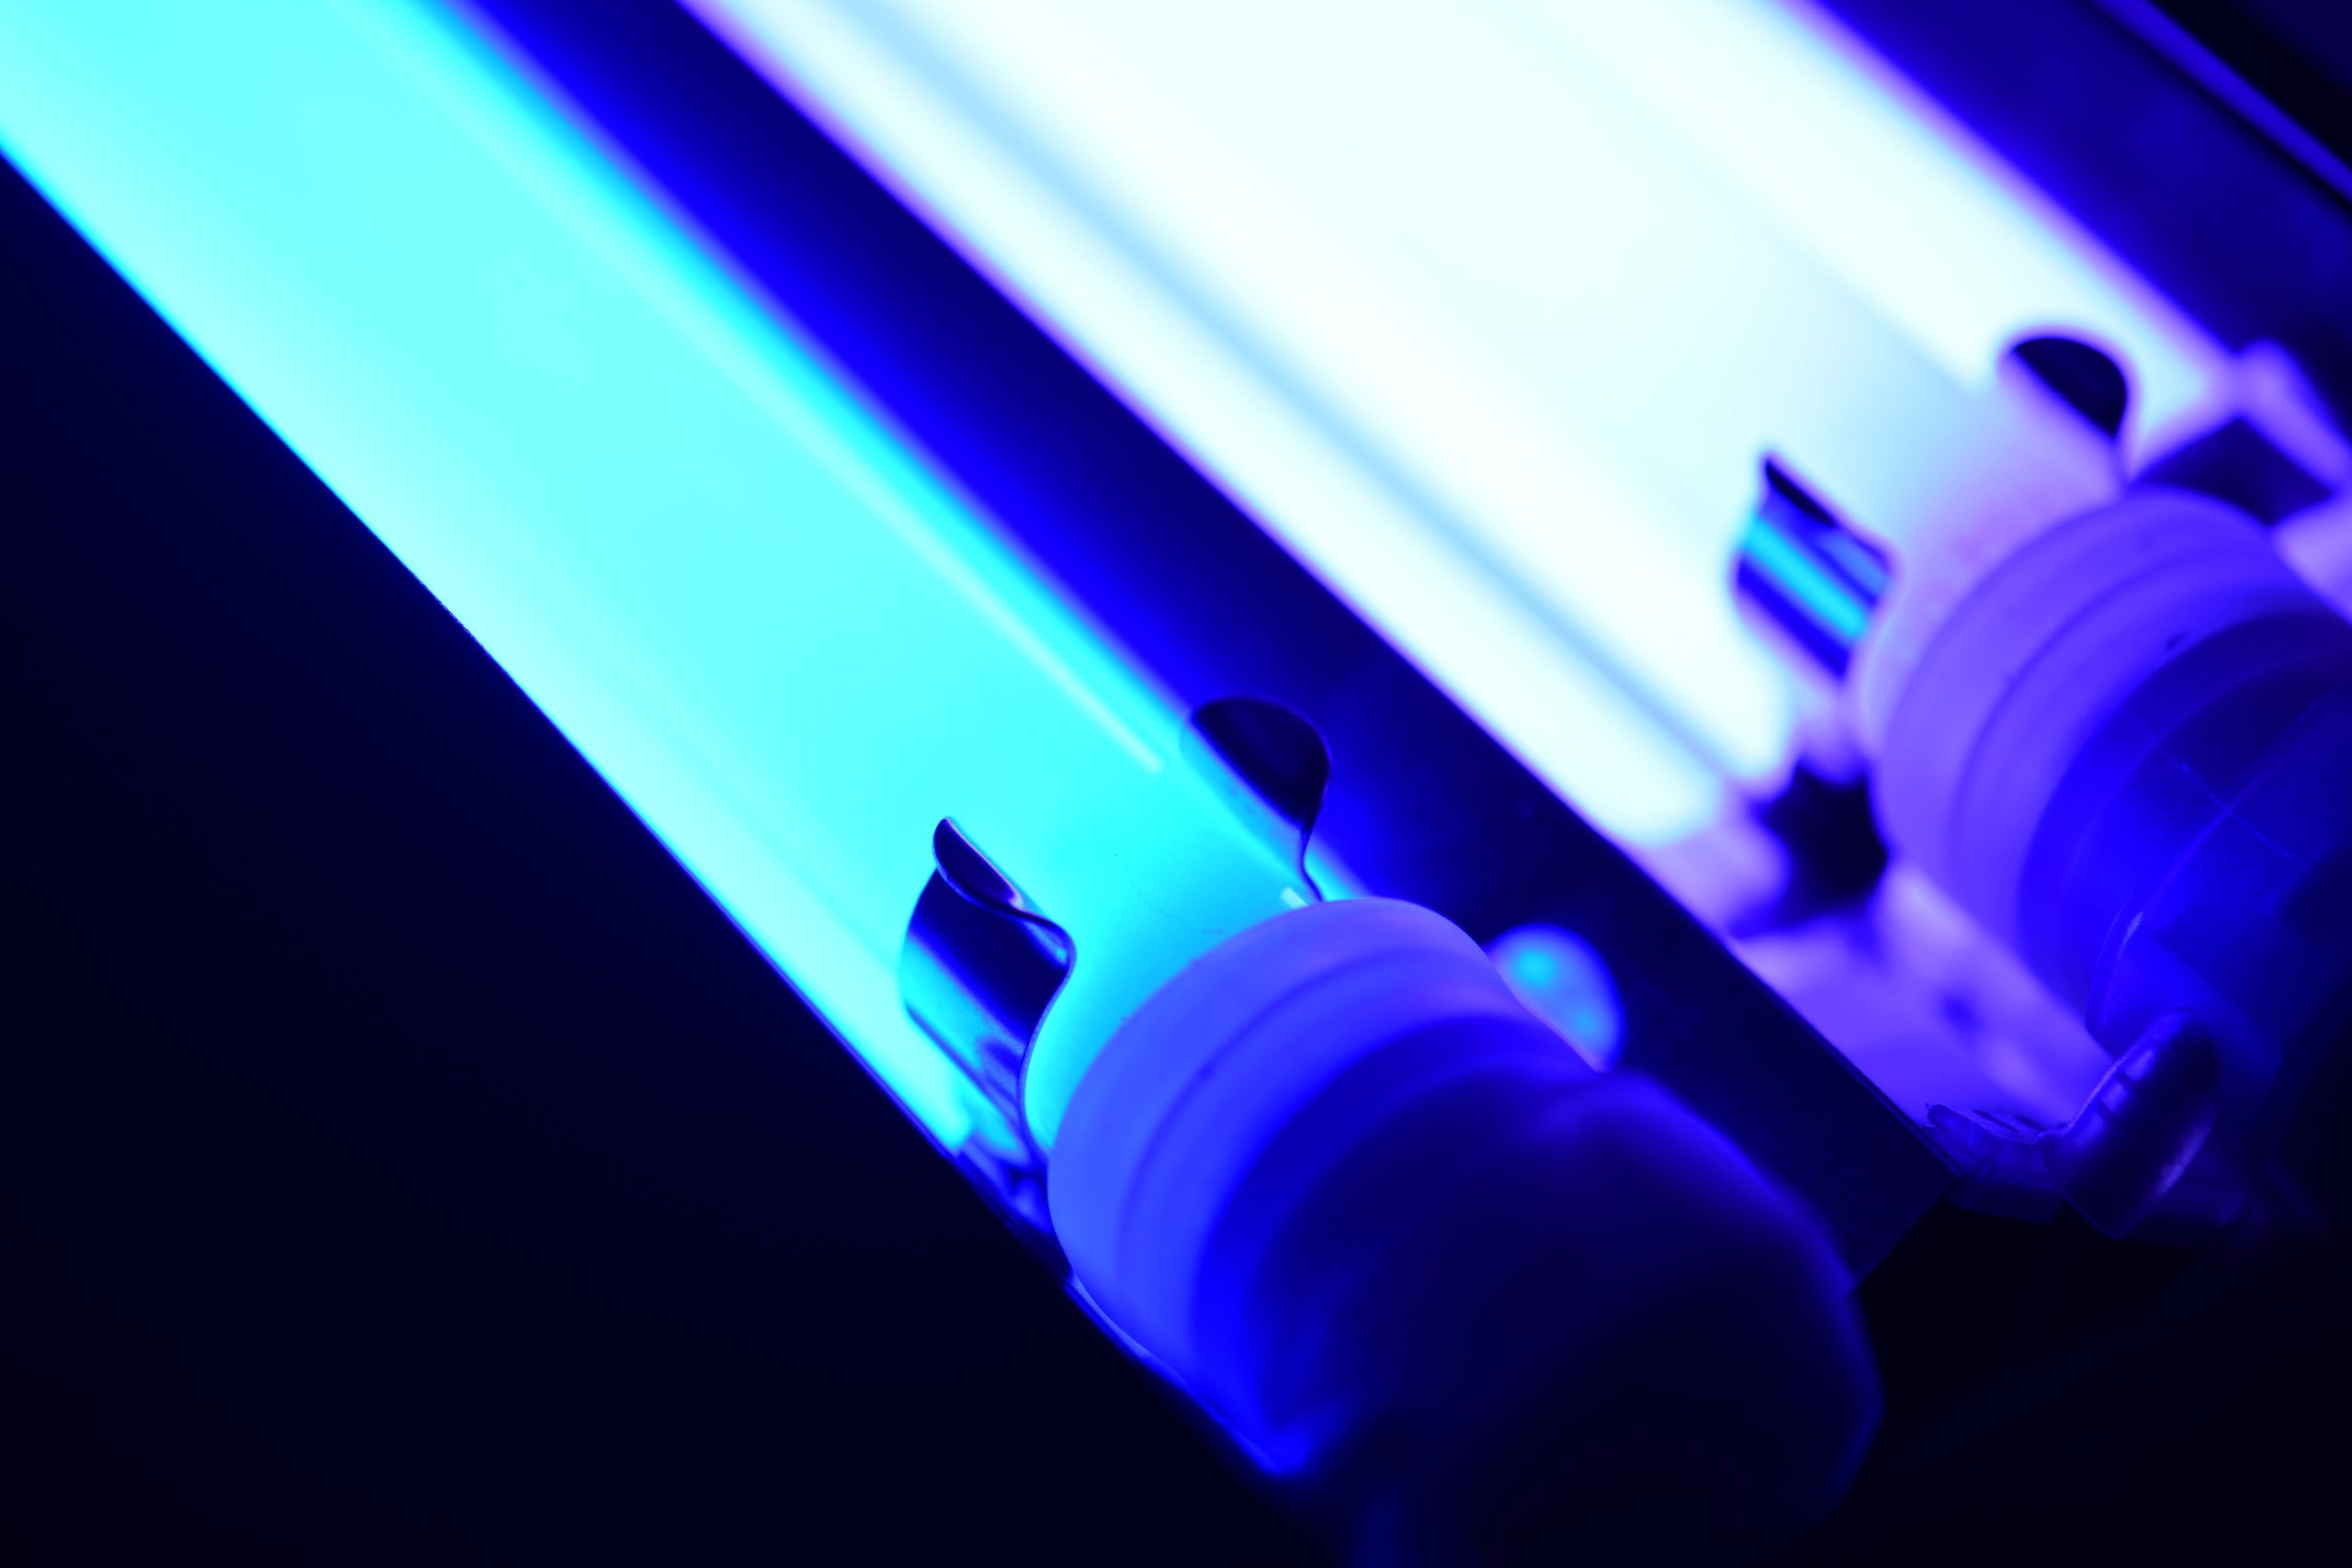
After that is set and done, the next step I took was to install, or rather transfer, the four T5 bulbs from the old fixture to the new. Since I have used them for over a year, a “burn-in” period did not apply to me, but if you are installing new T5 bulbs, you are required to burn them in for at least 50 hours, meaning you need to run them at 100% for that period. Side note, I am using ATI Blue Plus on my reef in all four sockets.
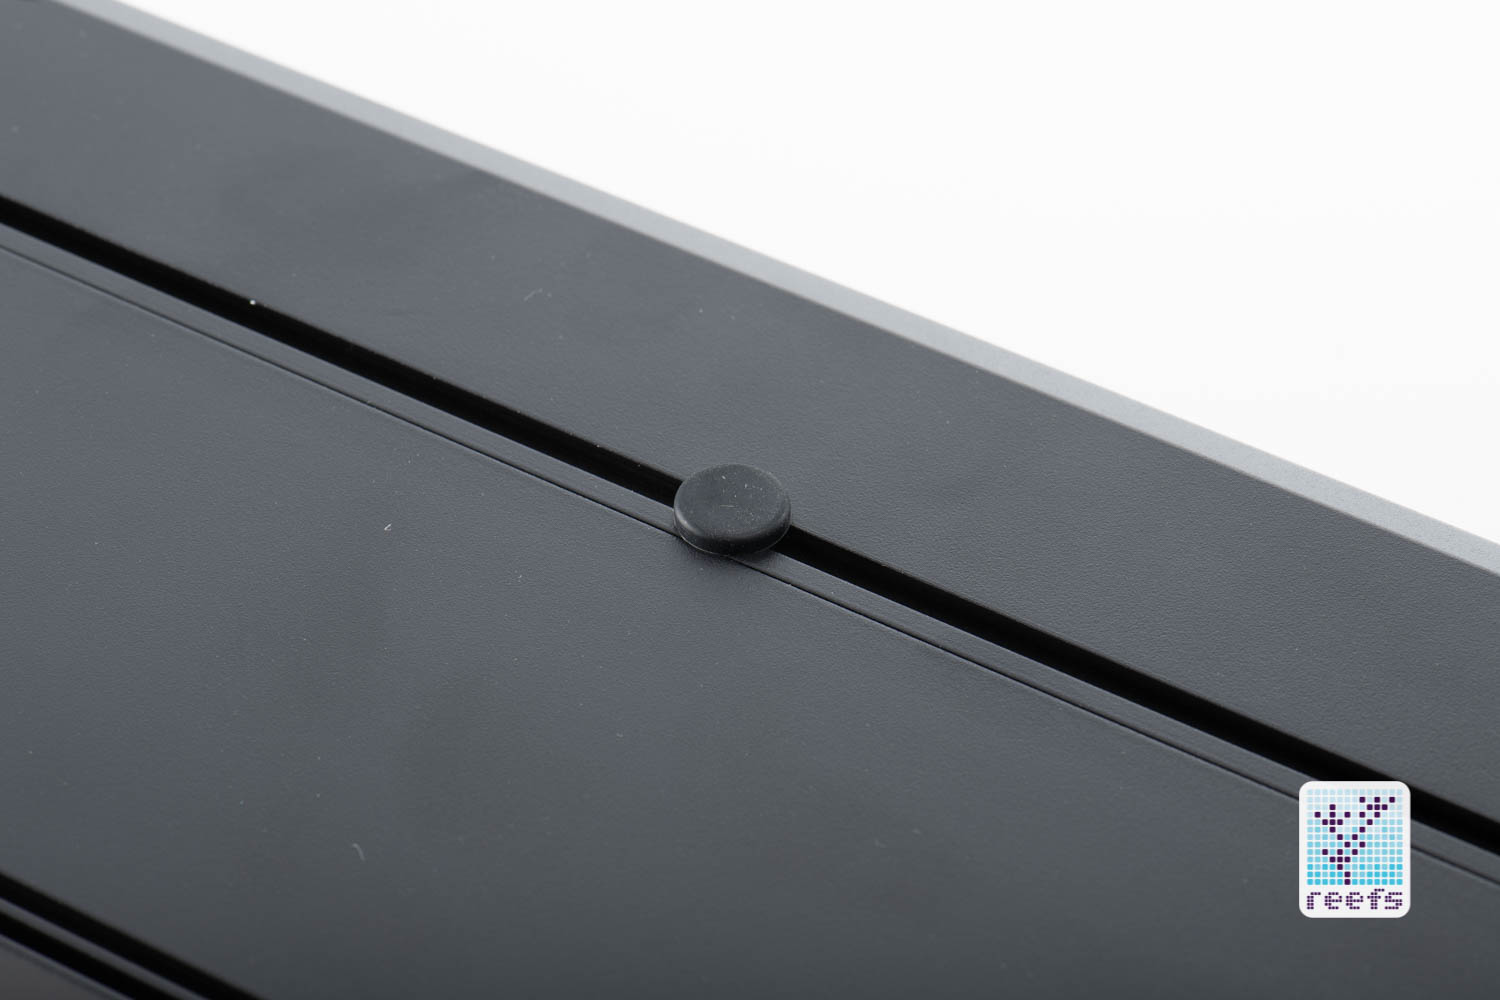
DX18 comes with the same free hanging T5 sockets protected by silicone caps and are held in the reflector by a clip on each side of the light. The end caps are marked for dimming purposes with “I“ for inside lamps and “O” for outside. The last step is the hanging kit that slides to a flush machined notch on top of the fixture. I did it last so it’s out of the way when I installed everything else. It’s better to have a second pair of hands when hanging the light as it gets quite heavy with all LED fixtures on it. I also looped the remaining steel cable around my custom built light hanger as a failsafe.

Remember to keep everything level and equal, your OCD will thank you for it.

OPERATION
There’s not much to discuss here really. I decided not to run any PAR tests because I’m pretty sure they will be very similar to those I did for the original Hybrid, plus I’m already halfway through the T5 bulb lifespan, which could affect the end results. Instead, I would like to focus on dimming, how well it works, and how to set it up based on the neptune System programming language.
DIMMING
For the dimming part to work, you need the earlier mentioned dimming cable, burnt-in T5 bulbs, and a source of 1-10V dimming signal. In my case, that signal comes from Neptune System apex (the 2016 version) variable speed port. You only need to use one cable and one port for dimming each of the T5 ballasts. I should also mention beforehand that you don’t need to have a dimming module to operate DX18 T5s, they will work at 100% intensity without an incoming 0-10V signal. Unfortunately, 0-10V is also incapable of turning the ballasts off completely, therefore you need to use a switchable outlet in order to completely shut the lights down (and you should to prolong T5 bulbs’ lifespan). That’s a little disappointing as I thought I’ll be able to free up one of my programmable outlets for wave pumps, but it’s not unlike other dimmable T5 ballasts I have had experience with before, so I would be surprised if you could.
Dimming setup consists of three parts:
- 0-10V cable hookup
- ON/OFF outlet program
- Dimming program
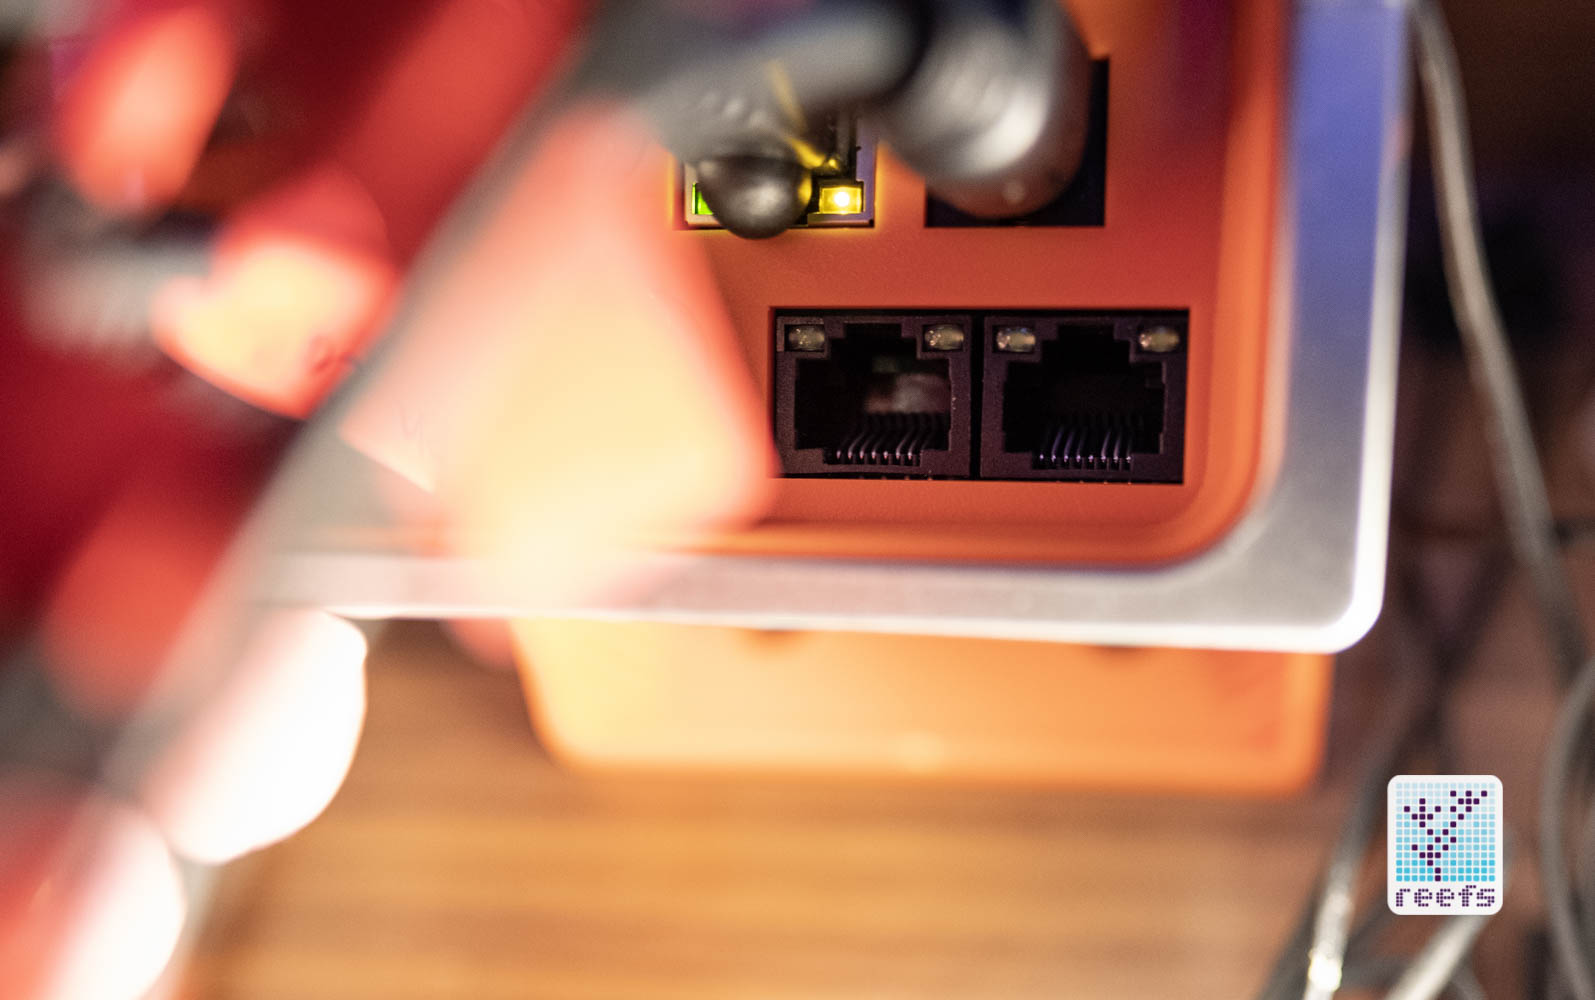
The first part is pretty straight-forward, you simply bring a dimming wire from the light to the controller. I used ports V1/V2 on my apex, located here
Next, you need to set up a simple ON/OFF outlet that will turn the ballasts ON/OFF. I actually have zero free apex outlets left and therefore used a TPLink programmable outlet instead. I set the ON time a minute before the dimming ramps up and OFF time a minute after it ramps down. For the apex controller, program would look something like that:
Set OFF
Fallback OFF
If Time X to X Then OFF
If Time X to X Then OFF
Where “X” is time in 24h format
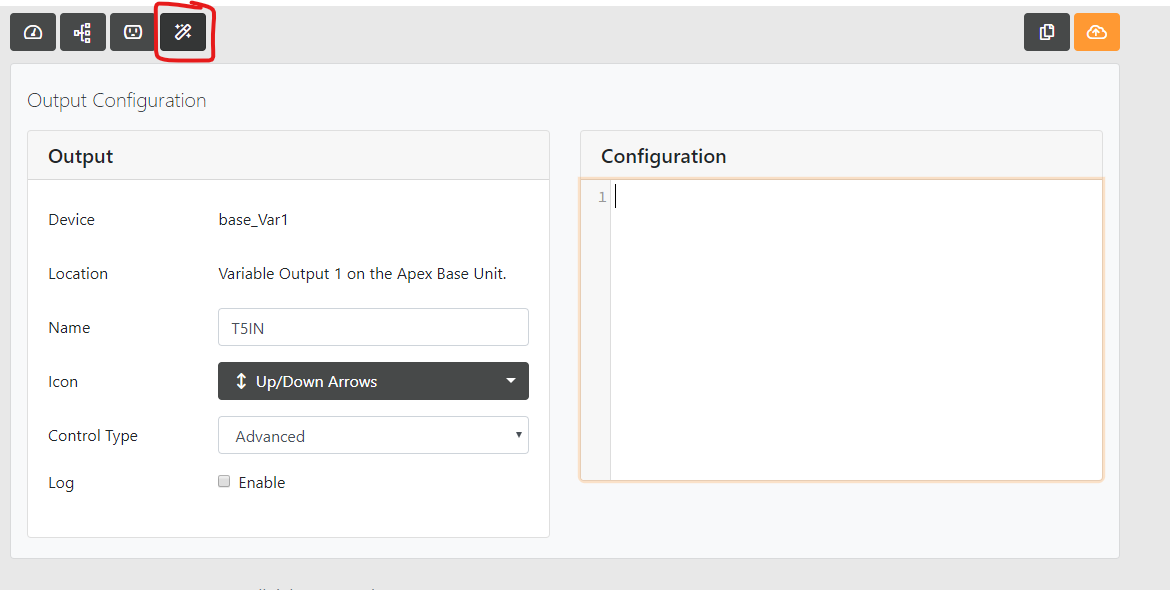
The new apex dashboard has a great visual tool to simplify the dimming schedule and there is no reason not to use it 🙂 unless you are a control freak. First, add the two Variable speed outlets used for T5 dimming to your dashboard (they are labeled by default VARSPD followed by a number) and rename them something like “T5IN” for inner bulbs and “T5OUT” for outer. Click the little gear icon in the right corner of the slider, which will take you to the Output configuration tab.
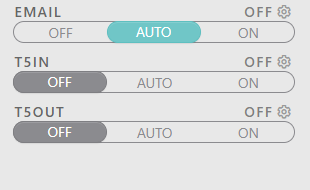
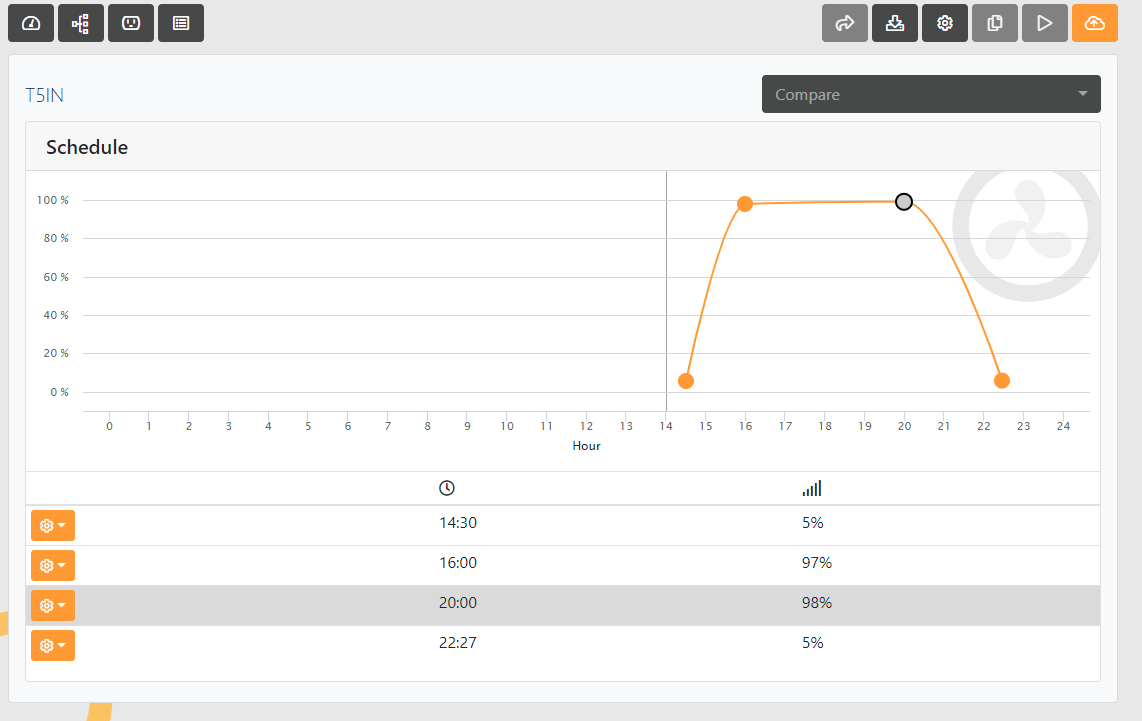
Click the magic wand icon circled in the image below, that opens up a schedule graph, which honestly is very easy to follow and I think doesn’t need any further explanation.
You really only need for points on the graph (unless you are into some cloud cover type of scenario, but let’s be honest, if you are, you don’t need my help setting it up), the “ramp up”, which I set from 5% to 100%, the plateau (frequently used word nowadays) and the “ramp down” which again, I set from 100% to 5%.
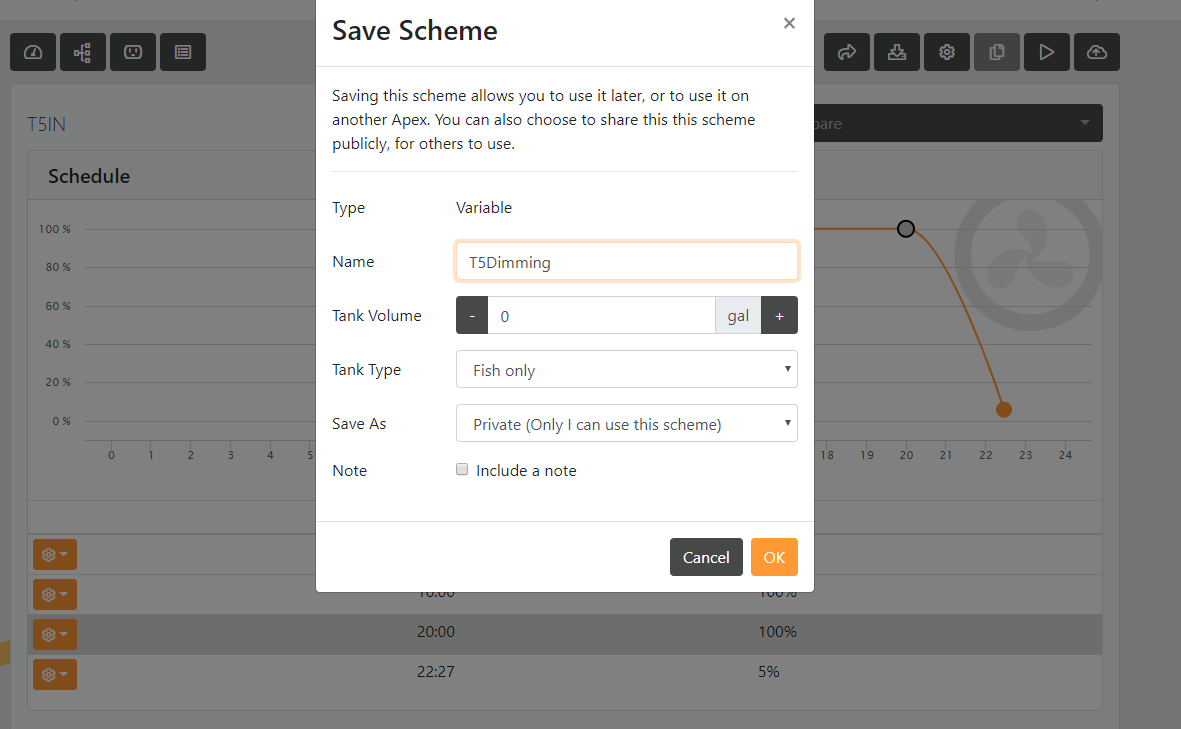
You can also skip all that mumbo jumbo I just wrote, hit the “Download scheme” button (top right corner, second icon from the left), type “T5Dimming” from username “smoq”, download my schedule and use it as you please. I set up both my inner and outer bulbs to go on at the same time, but you can modify them individually, obviously. That’s it.
Dimming T5 bulbs of the Aquaticlife DX18 fixture using Neptune Systems apex controller works perfectly. Nothing else to add here.
CONCLUSION
Here’s what I think- Aquatic Life did it again! They created a great looking fixture with some highly desirable functionality that’s hard to come by in a T5/LED Hybrid light. Should you get it? Ask yourself these four questions before you jump on it:
- Do you care about having a T5/LED hybrid light growing your precious corals? Of course you do, otherwise you wouldn’t read all the way to this paragraph. Proceed to #2
- Do you care about dimming T5 bulbs? Yes- definitely get DX18. Dimming works great and the ballasts use a very popular 0-10V dimming standard. No- continue to #3
- Do you care about aesthetics when it comes to your aquarium light? No- don’t buy DX18. The original Hybrid light from Aquatic Life is all you need- it works flawlessly ( I have it for over a year running T5s for 6 hour a day and so far, everything works just like on day one), looks decent, it’s easy to put up and costs not much more than a standalone T5 fixture. Yes- you guessed it, #4
- Look, Aquatic Life DX18 is not a cheap light, but what you get for the price is a dimmable ballast that alone costs around $65 USD each (for the 54W version), a beautifully designed case that’s made almost entirely of saltwater resistant, powder coated aluminum, plus everything you need to hang the light above your tank. The unit tested here currently sells for $600, while the non-dimmable original Hybrid light of the same size costs $335. I can’t make that decision for you, but I hope the picture heavy review will somewhat help you overcome that dilemma. One way or another, you can’t go wrong with Aquatic Life Hybrid fixtures and I highly recommend them for anyone looking for a Hybrid type of fixture for their reef tanks. The original Hybrid got my seal of approval and I am happy to say the DX18 deserves it as well. Hybrid lights are not for everyone, but if you think they are for you, Aquatic Life fixtures won’t let you down.

Thanks everyone, happy reefing, stay safe, and clean those damn tanks while you are sitting at home binge watching Netflix shows about weird humans and their pet tigers all day long. Or whatever you do nowadays, who am I to judge:)
ADD-ONS
I just wanted to mention an interesting accessory Aquatic Life sells that wasn’t a part of this review. It’s a wall-mounted bracket for their Hybrid fixtures they call the Floating Suspension Hanging Kit. It lets you hang the light from a wall behind the tank and it also swivels for easier access to the display when doing maintenance. I’ve seen it in action at both Reefapalooza and MACNA shows and it’s a very interesting hanging system worth checking out. OK, that’s all for today, thanks for reading everybody!
DISCLAIMER
Just to be clear, I don’t use a kayak to commute from New York to New Jersey. I thought you should know that. Cheers!
LINKS & GALLERY
Head over to Aquaticlife product page to learn more about DX18. Pretty pictures below.


0 Comments