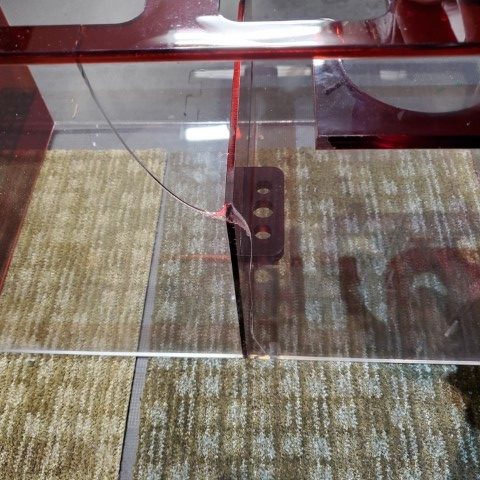
Recently a fellow hobbyist offered me a new sump that arrived damaged from shipping. Do not let anything go to waste! Attempt to repair it if the damage is minor and you can save or even make some money. Keep in mind this will not make it look like NEW but fit, form, and functional is the resulting goal.
I have done some acrylic work in the past. I made my own dual chamber calcium reactor and a 4 foot tall skimmer from just $90 in materials. Acrylic work is not that hard as long as you use the proper solvents and the right tools to make straight clean cuts.
Current Project
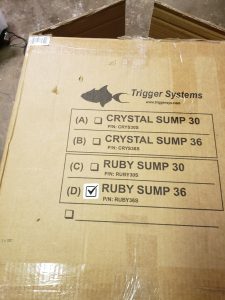
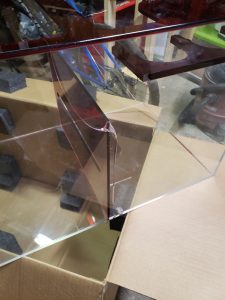
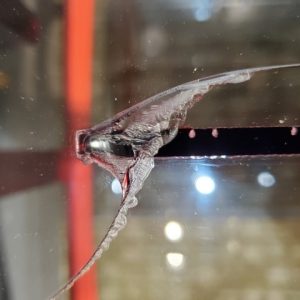
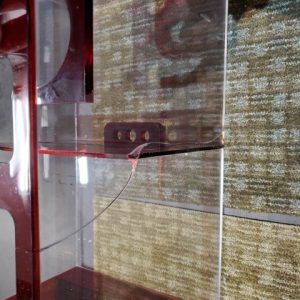
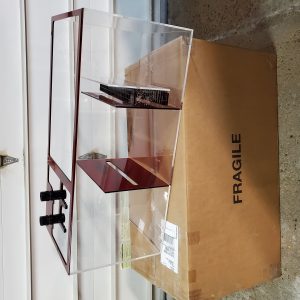
The sump I am working on is a Trigger Systems Ruby 36S. It was originally received with a long crack on the back pane from shipping.
Basic high level steps on this project:
- Inspect the product and assess the level of damage.
- Understand the methods that exist today to address these issues and their complexity.
- Obtain all tools needed.
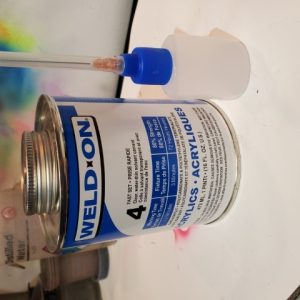
- Weld-On 4 with an applicator
- Cyanoacrylate glue
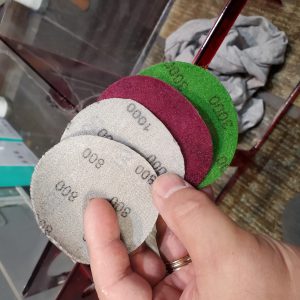
- Wet sanding discs (800-5000 grit)
- Clamps and / or ratchet strap
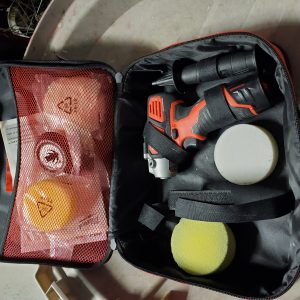
- Hand polisher
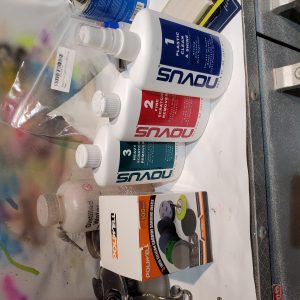
- Novus Polish Kit
- Bucket of water
- Towels to wipe dry
- Make the repair by having the capillary action draw the solvent into the seam from the applicator tip to both sides of the crack.
- Apply compression to hold seam tight to cure and verify the quality of the repair.
- Leak test overnight by filling the sump with water.
- Once repair is verified and holds water, drain, sand, and polish the acrylic if desired.
Visuals of the General Steps
- 1. Sump Model
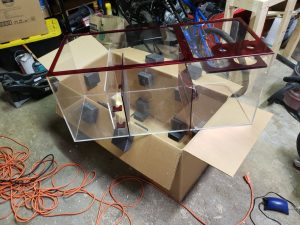
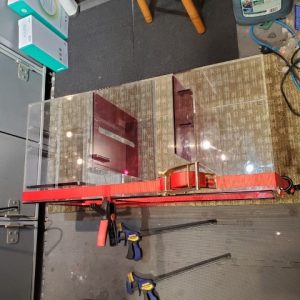
- 2. Initial state
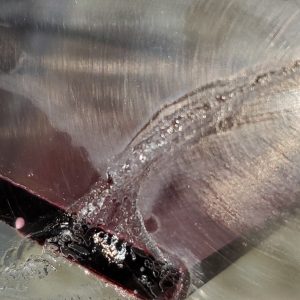
- 3. Closeup of damage
- 4. Search for the largest defect
- 5. Weld-On 4 Acrylic Solvent
- 6. Apply solvent to Outboard seam
- 7. Apply solvent on inboard side
- 8. Apply compression while curing
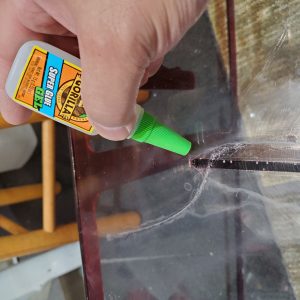
- 9a. Fill Larger Gaps with Cyanoacrylate glue.
- 9b. I used gel in this case.
- 10. Hand buffer used for higher grit sanding and polishing.
- 11. Novus Acrylic Polishing kit
- 12. Use multiple wet sanding discs (800,1000,2000,3000)
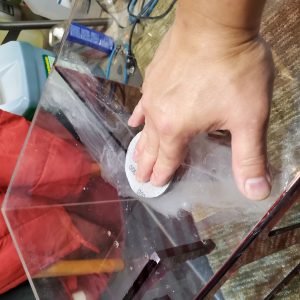
- 13. Manually wet sand seam from smallest to largest grit.
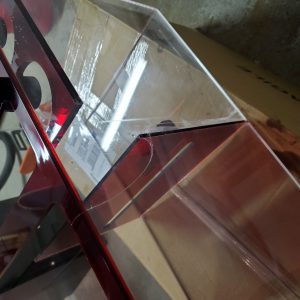
- 14. Welded seam is polished smooth to touch.
- 15. Filled with water over night to leak test.
- 16. No water seepage onto the carpet the next day.
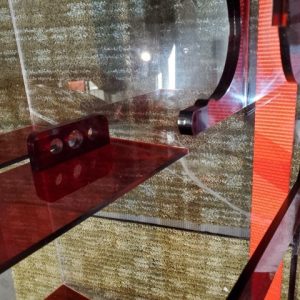
- 17. Sump is fixed and ready
Observations
Applying the liquid solvent can be tricky. It uses capillary action to spread into the crack and will take a good 72 hours to obtain 80% of the adhesion strength.
The solvent melts the acrylic to obtain a stronger bond. The cyanoacrylate gel is used just as a filler for deeper chips.
A powered polisher is not needed. Manually sanding and polishing can also yield good results. This just takes more time and effort.
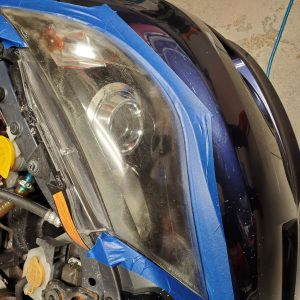
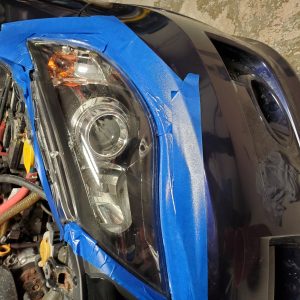
The simple skills learned in this experience can be applied to many other tasks such as restoring automotive head lamps too.
- UV Damaged Headlights
- After Sanding, polishing and sealing with UV protectant.



0 Comments