Most of articles about DIY LED projects for our saltwater tanks focus on providing an adequate lighting solution for photosynthetic corals and other light-loving invertebrates. In this article, I would like to write about something different instead- how to lit-up things inside the stand that support our display tanks.
All images by author
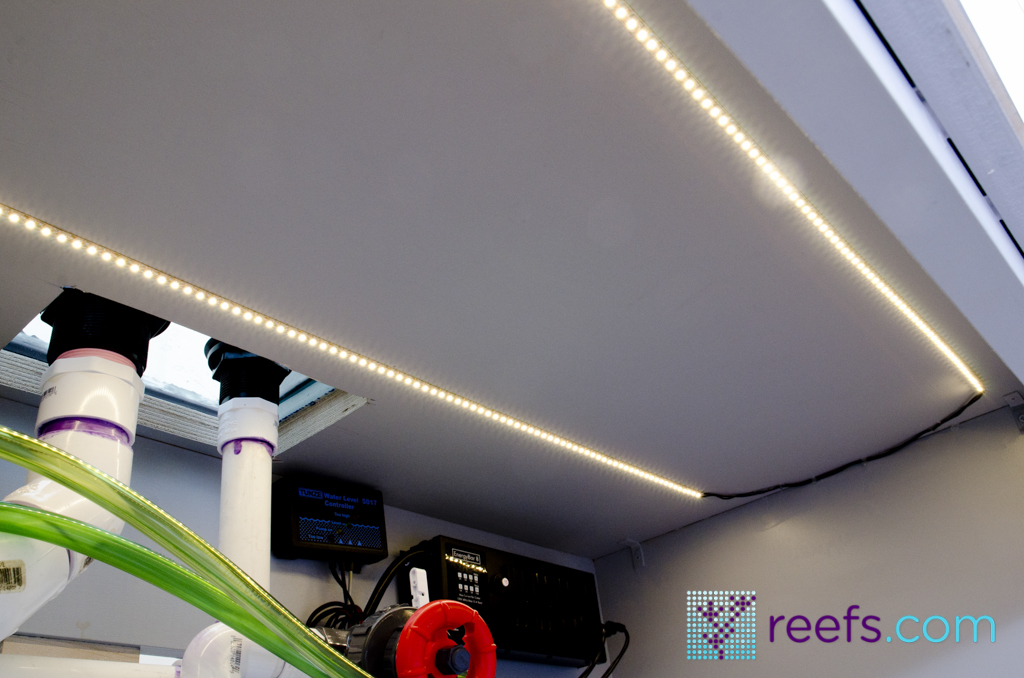
With a little bit of research and experimentation, I found a perfect, low-cost solution for under-cabinet lighting, in this case the inside of a fish tank’s stand. After all, being able to see what’s going on with the equipment that supports the well being of your reef inhabitants is very important and should not be overseen. Many of us stick most of our equipment, including the sump, skimmer, return pump, reactors and other weird machinery inside the stand. Having a good source of light makes monitoring and maintenance much easier, it could also provide light for the critters we keep in the sump.
The DIY project I present here involves the use of SMD (surface mounted diodes) strip lights. Those LEDs are relatively cheap (a spool of about 16 feet costs around $15-20), come in variety of colors and are easy to install inside the stand. They also take much less space than other conventional sources of light and emit little to no heat.
Here are the list of materials needed to complete this DIY project:
-SMD LED string $15-20 for 16ft
-12V DC power converter ~$10 ( you can use any power supply that outputs 12V, I used a computer fan DC power source)
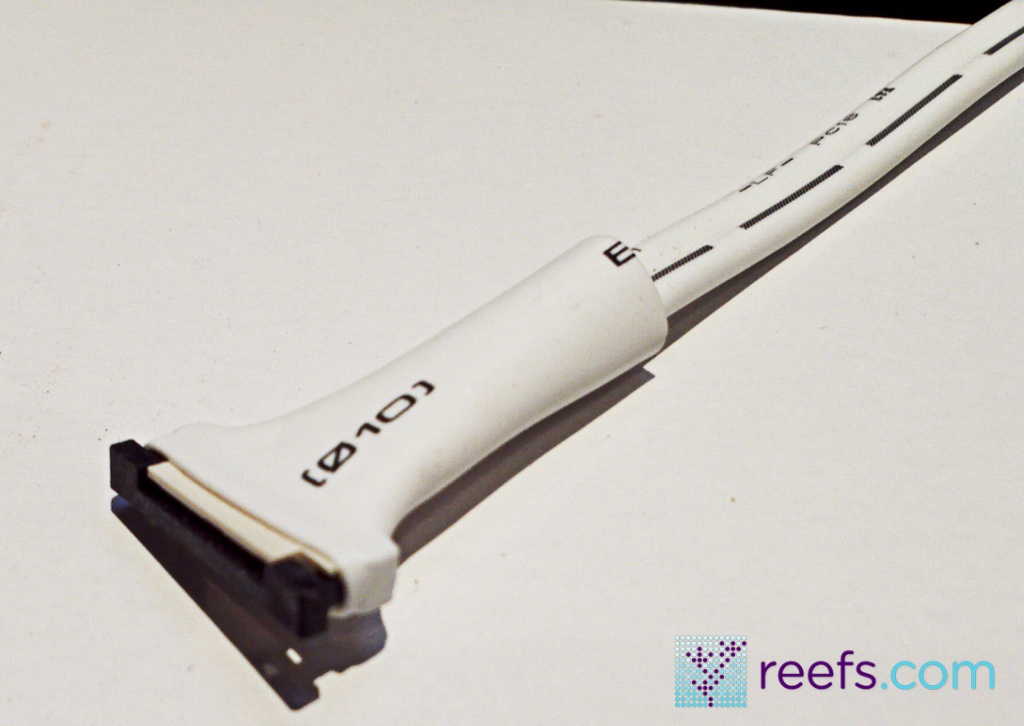
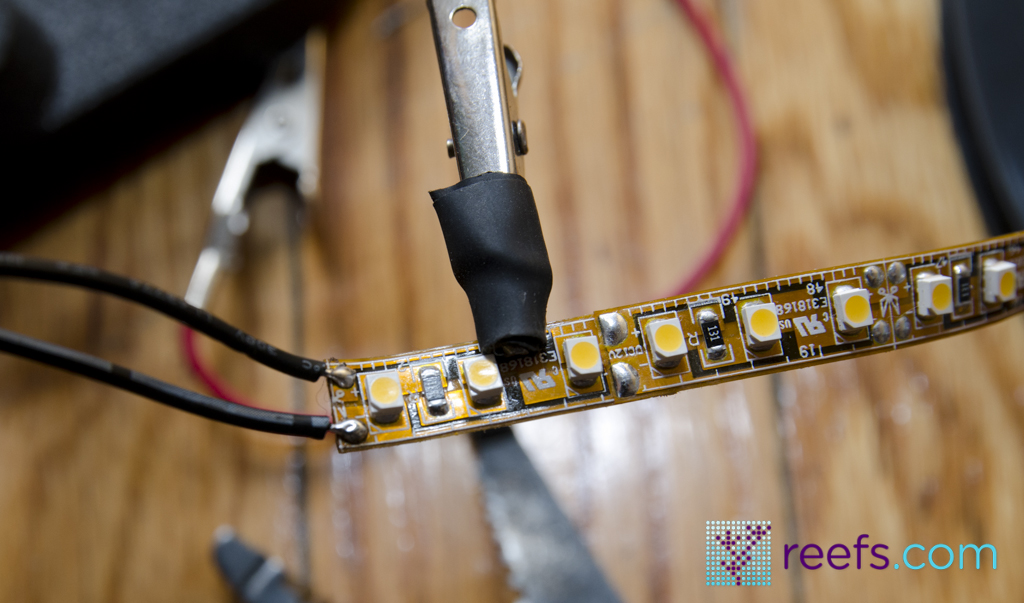
You also need a pair of scissors to cut LED strip to desired length and a soldering iron to connect your DC power to the string (although there are solderless connectors available on the market if you don’t want solder, check photo below).
As you see, this lighting solution is fairly cheap and can be completed in less than an hour.
First thing you need to determine is the length of the string you want to install inside your cabinet. Each string has clearly marked points where you can cut it without breaking the circuit. At the end of the cut section, there are two connectors, this is where you link strings together or solder DC power prongs.
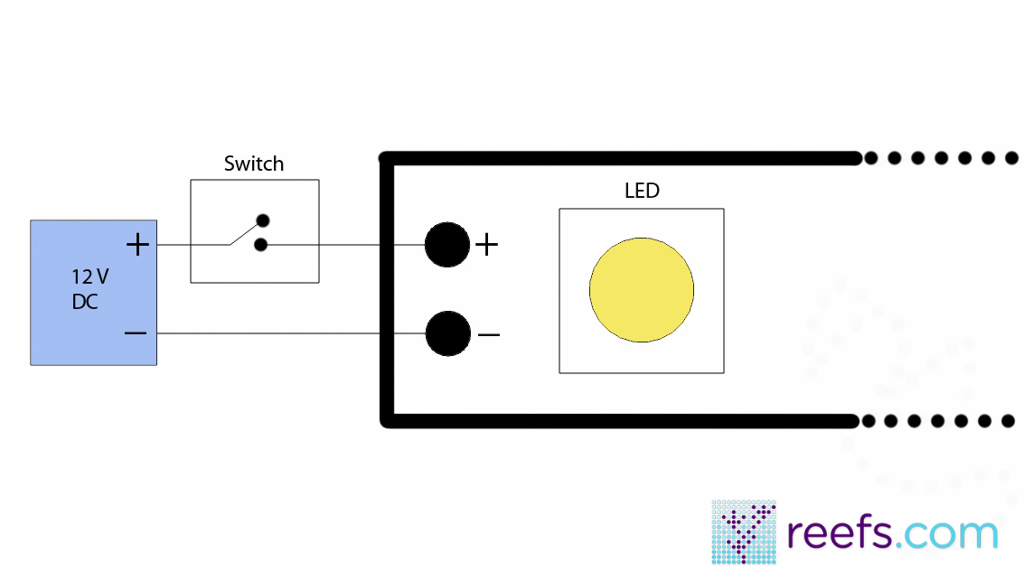
SMD striplight comes with a double side tape, so it’s extremely easy to install. The glue on tape holds very well to any wooden or metal surface. In my example, I used two 45″ sections and attached them length-wise on the underside of stand’s top panel, one in the back and the other in the front. I used an 18 gauge stranded copper wire to link them together and soldered the DC wires to the end of the string. Check the schematics below for a proper installation:
As you can see on the schematics, a switch can be easily incorporated into the circuit by cutting the “+” wire from the power supply and wiring in the switch’s connectors. There are several options available, from simple inline manual switch (like the ones found on desk lamps) to a spring loaded or magnetic switch that you can install on hinge side of doors.
I opted for a manual switch as my cabinet doors remain open during summer months for better air circulation.
I hope this write up help you with under-cabinet lighting project. The light produced by SMD LEDs is extremely bright (although it won’t give you the required PAR values for light demanding corals, if you thought about that). Let me know how your projects ended up!


0 Comments