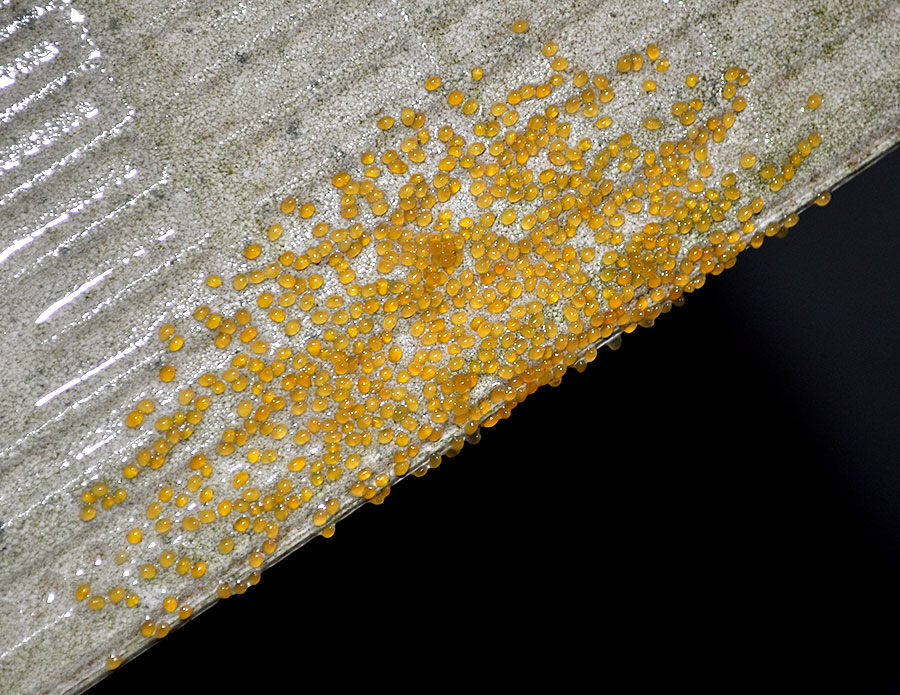
408 eggs to be exact…but who’s counting? Back in 2006, I found myself facing an interesting question – how many eggs were my Onxy Percs (Amphiprion percula ”Onyx”) laying? It’s impossible to hedge anything more than a guess just by looking…definitely more than 10…probably more than 100. Maybe 300? How can you really know? If you really want good data, you have to count. I guarantee I’m not the first to come up with this method for counting, and I’ve seen it duplicated many times since I first put it forward some years back. I’ll give you an easy, step-by-step method you can leverage to do your own precise egg counts (and I’m pretty sure this would be helpful for any other counting of something that is small and or moves). The key lies simply in starting with a clear photograph of the item you want to count. So long as the photo is of sufficient quality and resolution, you should be able to discern each individual item you’re counting. From there, you simply need to count in such a way that you don’t lose track. And here’s how you do it: Each “color group” represents 100 eggs. Can you find the last group, the group of 8? Opening your photo in any image editor that allows you to do something as basic as “paint” can work, and that’s how i was able to count every last clownfish egg in the photograph above. Shifting colors every 100 (or every 50…whatever works for you) helps you keep track. I also have another trick up my sleeve to make it go fast and stay reasonably accurate. So here’s a rundown with an Angelfish (Pterophyllum scalare) nest. Step 1 – get a good photo: Good photo of Angelfish eggs on ceramic tile – check! Step 2 – If you have an image editor that allows for layers (I use Photoshop), create a new layer. If not, you’ll have to forego this elegant extra: Add a new layer “if you can”. Step 3 – get your paintbrush / pencil tool and select a bright, high contrasting color. Step 4 – start counting. It generally helps to work with the eggs at full size so you can easily see each individual egg, rather than trying to click each individual egg looking at the whole picture. Here’s how I count. Working on my new layer, I start painting dots on the eggs. Each click with my right hand I count. 1, 2, 3, 4, 5, 6, etc… Each time I hit 10, I raise a finger on my left hand while continuing to count (1 through 10). So the first time I hit 50, my last finger goes up. I make it difficult on myself by continuing with that hand, 60 being only 1 finger up again. When I hit 100, I stop counting. My image looks like this: 100 eggs in…many more to go… Step 5 – So once I’ve completed 100 eggs, I rename the layer (eg. 100), change the color of my paintbrush / pencil to something different but equally contrasting, and create another new layer. 100 done, more to go. From here, I start over and count up the next 100 (see Step 4.) It is a “rinse and repeat” until you get to the end with all eggs counted. 594 eggs… That last layer, I name whatever number I stopped at; in this case, 94. All counted and accounted for! I always save a new copy of the file with the final count…helps me remember just by the filename. Now, the reason for using layers for each 100 is that it becomes very easy to go back and remove your “dots” (eg should you realize you made a mistake), as well as to keep track of your color groups (remember, each group is 100). Using layers also makes it really easy to show the counting process in an animated gif like this: Egg counting start to finish… I’ve used this technique for years now, and have yet to find a better way to get hard data on something that otherwise is impossible to count by the naked eye (such as the eggs of the Cherub Pygmy Angelfish, Centropyge argi). 539 Centropyge argi eggs. Who’s counting? I am!


0 Comments