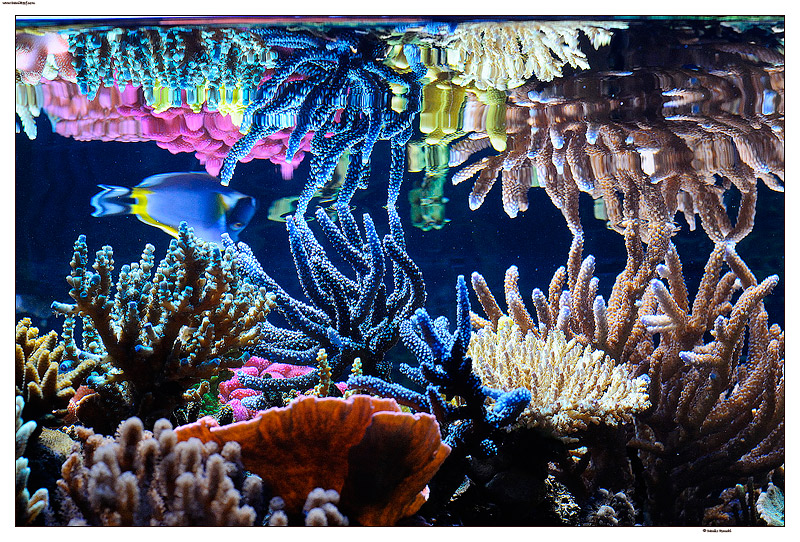
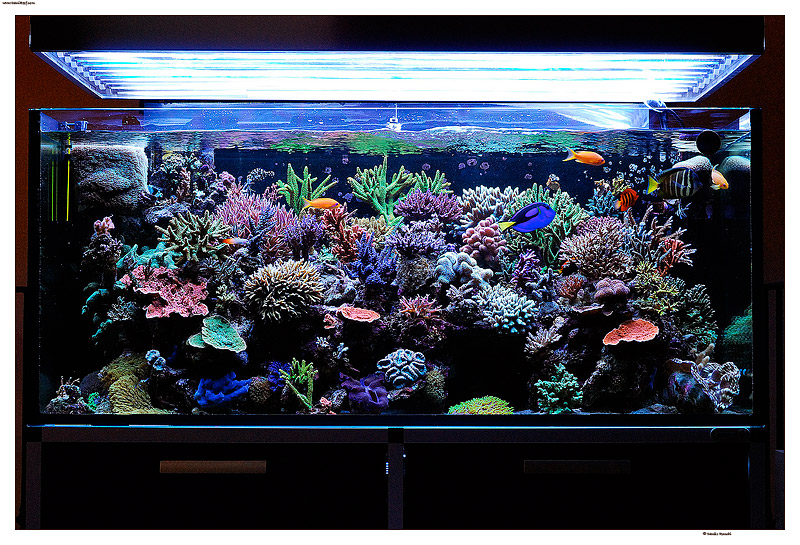
The photo is of the beautiful tank of Paolo Marzocchi
After the great success of the previous section that talked about the general theory of photography and the basics to get great photos, and I recommend you to read if you had not yet done to better understand what I write in this article. I’m going to talk strictly about how to get good photos in aquarium, with many practical examples.
Let’s start with the common rules, which can often seem very trivial and instead are important to the success of photographic reportage.
- It’s vital to ensure the light doesn’t filter from outside and then can’t be able to create unwanted reflections on the aquarium. So before you taking pictures in aquarium is essential to switch off all lights in the house and close down the shutters or blinds of the house.
- Use for all still images a good tripod to avoid blur.
- Taking pictures always with the lens perpendicular to glass.
- Try to go as far as possible from the aquarium to minimize the effect called refraction, which in this case is due to the incidence of light rays, passing from air to water, divert their paths, showing us distorted images, as you can see from the following:
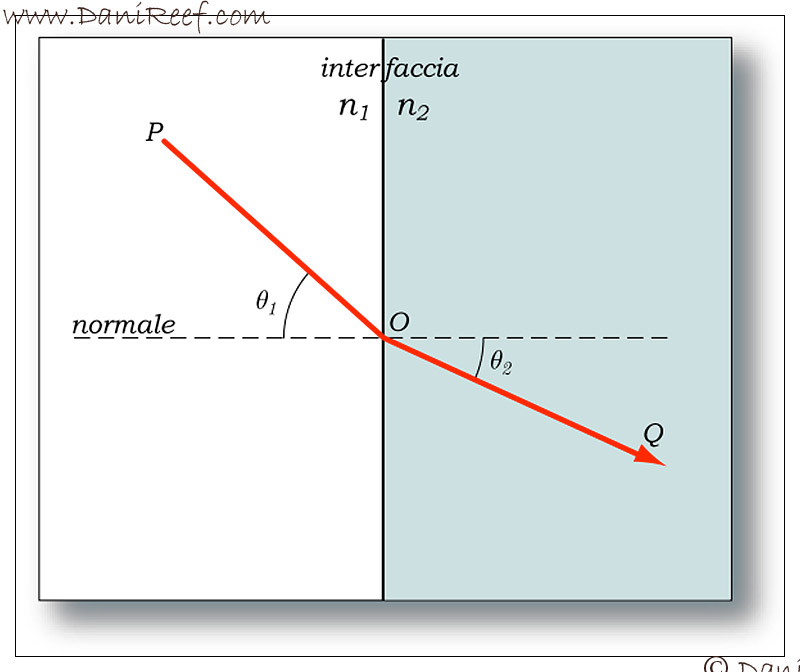
In this case we can understand why we have to take pictures always perpendicular to glass, otherwise we risk not only to have blurry pictures but definitely out of focus thanks to considerable difficulty to achieve a good focus.
Photos aquarium: the Aquascape
Consequent upon what has already been said in the first part of the course we has to assess which lenses will be more suitable for our pictures in the aquarium.
Having to stay away would be preferable to use a telephoto lens, and on a compact camera will try to use the zoom to its longest focal range.
It is obvious that if we could not go too far because of walls or furniture we will have to use what we have and then we can also use a wide angle.
To make best use of our lens would be better to use an aperture quite closed (f8-f11), near the diffraction limit of our camera, in order to maximize depth of field. With a full frame digital SLR camera we can push up until f16-f22. In compact cameras, you can use the scene usually called landscape.
Using a tripod is highly recommended if not necessary to significantly minimizes blur caused by camera shake.
We will also maintain the ISO as low as possible to exploit the full dynamic range of our camera as long as we keep a shutter speed fast enough to avoid the camera shake. The dynamic range is the interval between the largest and smallest possible values of luminosity. A camera with low dynamic range present a photo with the highlights completely burned and without definition and with low lights completely dark.
So let’s see some examples that were obtained by following these practical guidelines:
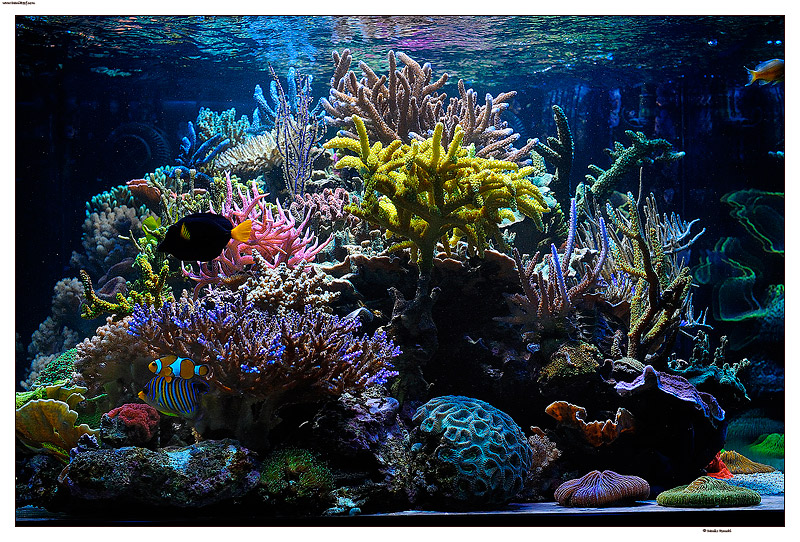
Nikon D300 – Nikon 50 mm AF 1,8 – f8 – 1/160 sec – iso 800 – handeld, almost perfect condition (Paolo Marzocchi’s tank)
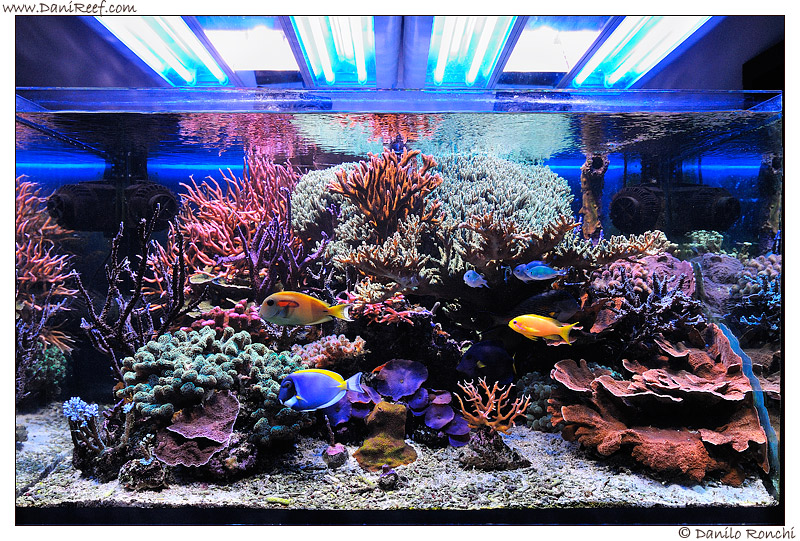
Nikon D300 – Tokina ATX 124 AF PRO DX 12-24 f4 – 24 mm – f5 – 1/160 sec – iso 720 – handeld, condition not so good thanks to small place in front of the tank, wide angle lens and aperture close (Giancarlo Molendini’s tank)
Nikon D80 – Nikon AF 28-105 f/3.5-4.5D Zoom Nikkor macro – 46 mm – f4 – 1/80 sec – iso 800 – handeld, almost perfect condition (Andrea Negusanti’s tank)
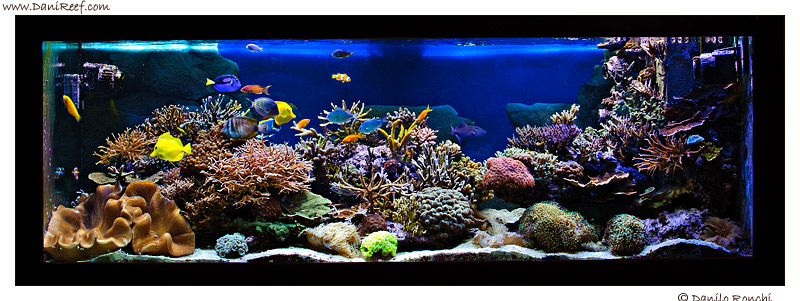
Nikon D300 – Nikon AF-S 35mm – f4 – 1/60 sec – iso 450 – handeld, almost perfect condition (Cristiano Farina’s tank)
Let us now take a closer picture of our corals, because things change from static picture of aquariums .
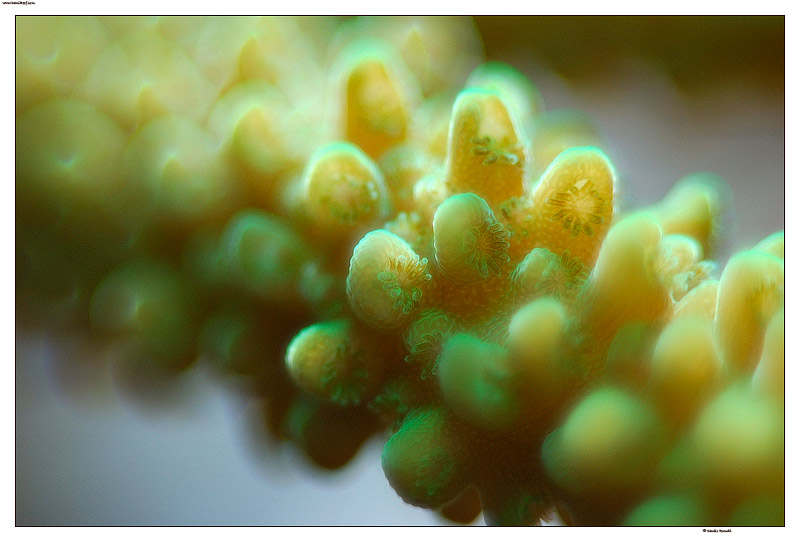
Nikon D70 – Nikon 135mm manual with macro tubes – 1/60 sec – iso 200 – handeld, almost impossible condition (Danilo Ronchi aka DaniReef’s tank)
The lenses I recommend to take pictures of the Corals are obviously macro lenses.
Which is best? Hard to tell, because each lens has its strengths and weaknesses, but in my humble opinion the best is the one that has the longest focal length, but unfortunately it is also the more expensive. I don’t recommend almost any zoom lenses with macro function, because they are not true macro lenses, and you can not get so close to the subject. Among the few good there is the old Nikon 28-105 f/3.5-4.5D AF Zoom Nikkor lens that has a good macro function of 1: 2. Those who have a compact can easily use the macro setting.
For this type of photographs, a tripod is almost mandatory, given the great possibility to have a camera shake that would ruin the picture. The stabilization of the lenses (IS, VR or whatever) is totally useless during macro shoots, because the small distances involved, then a stable support is our only lifeline.
In fact, to make matters worse, the requirement to use very closed aperture, in general, even up to F16 to get more than a few millimeters in depth of field, which will result in the choice of very slow shutter times.
As an emergency solution that I often adopt is to press the lens to the glass of tank, or rather its hood, so you can push on it and be able to use a relatively slow shutter time and otherwise unobtainable without a tripod.
It’s better to always use the lens hood to prevent flare and ghost due to the effect of lighting system, as well as to switch off the pumps to prevent polyps movement while shooting.
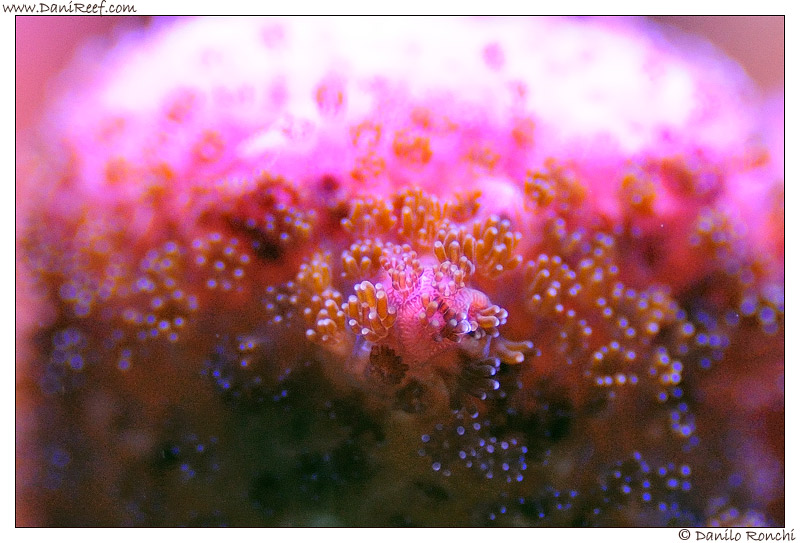
Nikon D300 – Sigma 150mm F2.8 EX APO DG HSM Macro – f4,5 – 1/125 sec – iso 800 – handeld, very hard condition so I’ve opened the aperture, (Giancarlo Molendini’s tank)
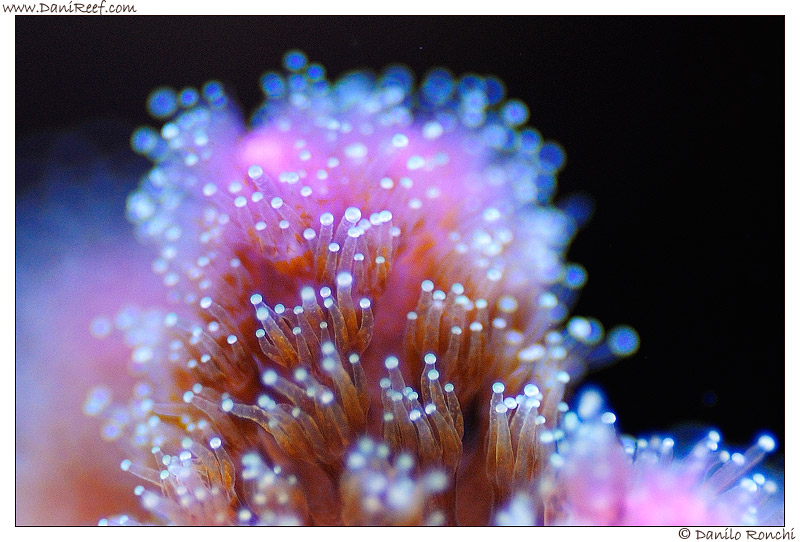
Nikon D300 – Sigma 150mm F2.8 EX APO DG HSM Macro – f5,6 – 1/125 sec – iso 320 – handeld (Giancarlo Molendini’s tank)
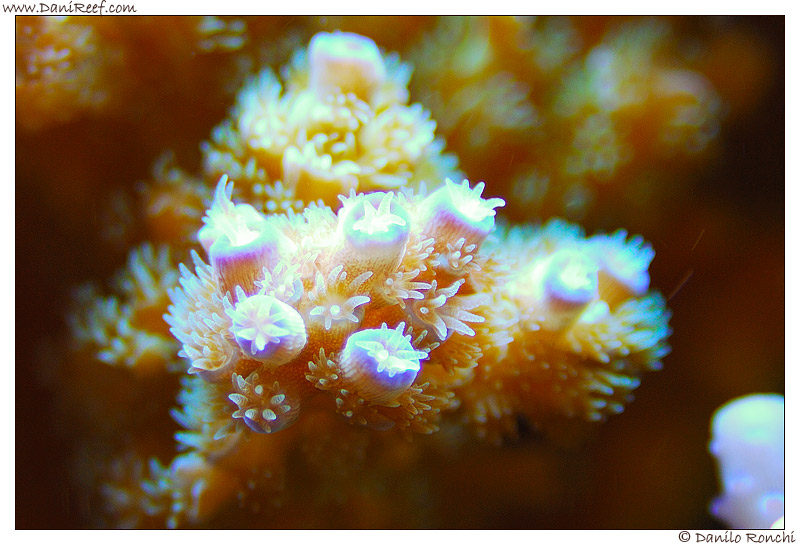
Nikon D80 – Nikon AF 28-105 f/3.5-4.5D Zoom Nikkor – 105 mm – f4,5 – 1/25 sec – iso 100 – handeld (Simone Sandonati’s tank)
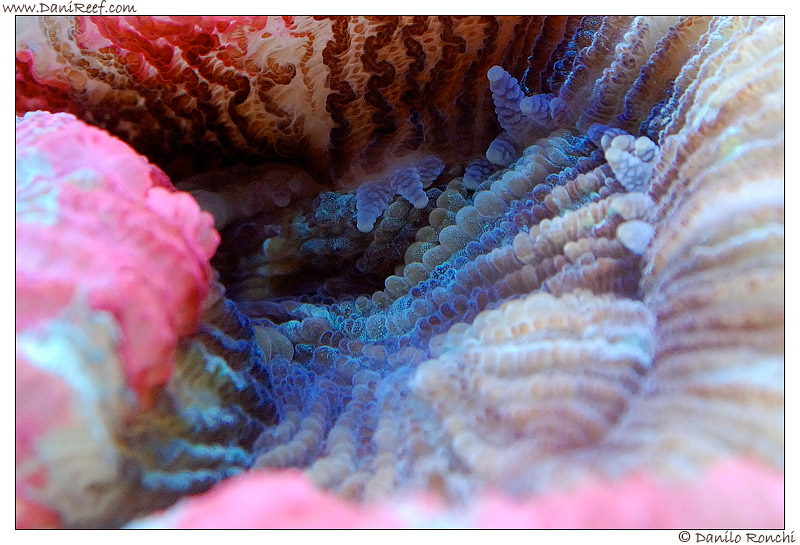
Nikon D80 – Nikon AF 28-105 f/3.5-4.5D Zoom Nikkor – 50 mm – f8 – 1/80 sec – iso 800 – handeld (Abracadabra’s tank)
And here we are finally talking about the photographs of our beloved friends: the photographs to fish
The main lens that I can recommend is the usual and classic 50 mm f 1, 8, both Canon and Nikon have excellent performances and lots of light, or the telephoto lenses are of course preferable to isolate the subject, much used and obviously highly recommended the macro lenses of any focal length.
In addition to the focal length, I would advise to use the most bright lenses you have, which among other things have the peculiarity the give almost their best wide open (f2,8, or f1,8 for example) and you can truly create remarkable creative effects and help to contain a lot of digital noise, even if this last step is less important with full frame cameras.
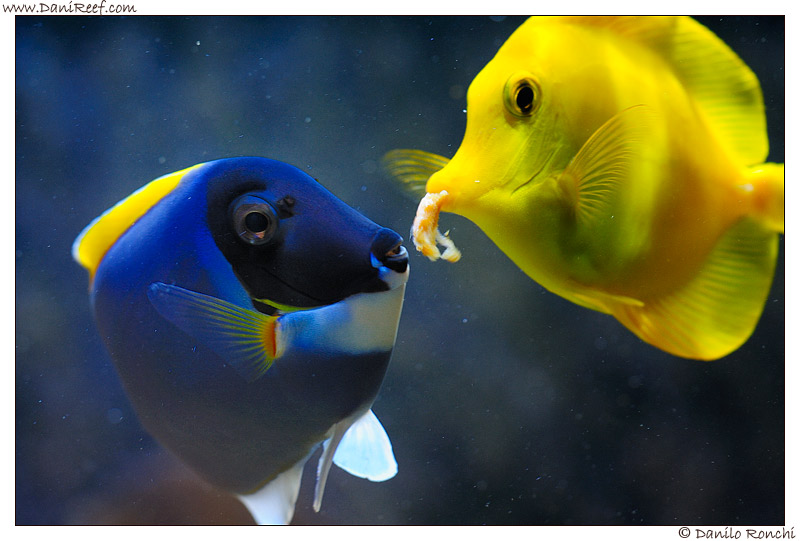
Nikon D300 – Sigma 150mm F2.8 EX APO DG HSM Macro – f/4 – 1/200 sec – iso 640 – handeld (Danilo Ronchi aka DaniReef’s tank)
Useful Tips
Fast shutter time, from a minimum of 1/200 of a second up to even 1/500, the best to freeze the image and avoid camera shake. In compact cameras this can be overcome with the scene generally called sport.
Aperture opens, depending on the desired depth of field, usually from f4 to f5, 6 to obtain the most important parts of the fish in focus, otherwise it is possible and advisable to open even more the aperture, even up to f1, 8 for creative effects.
The ISO will depend from the choices that are made for shutter speed and aperture… say at least a minimum of 1/200 f4 in order to make a nice picture of a fish on the move, but if the fish is motionless enough it may lower the time even up to 1/80, hard to get off again. Obviously you need that shutter speed is connected to the focal length to avoid the camera shake as discussed in Part I of the course (which you can read here).
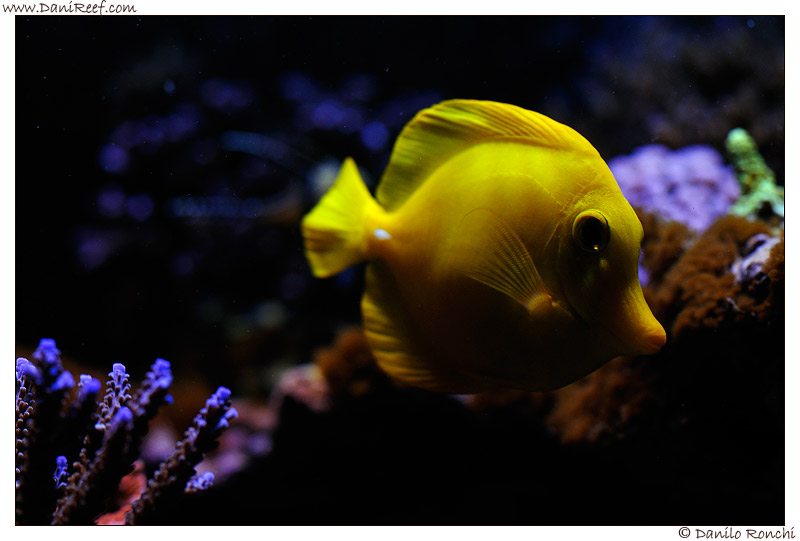
Nikon D300 – Sigma 150mm F2.8 EX APO DG HSM Macro – f/4 – 1/400 sec – iso 200 – handeld (Danilo Ronchi aka DaniReef’s tank)
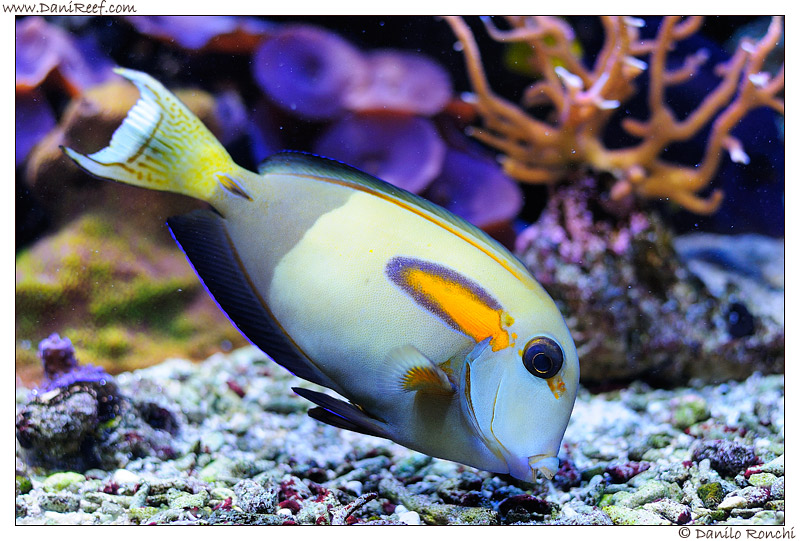
Nikon D300 – Nikon AF-S Nikkor 35mm 1:1.8G DX – f/2,8 – 1/100 sec – iso 200 – handeld (Giancarlo Molendini’s tank)
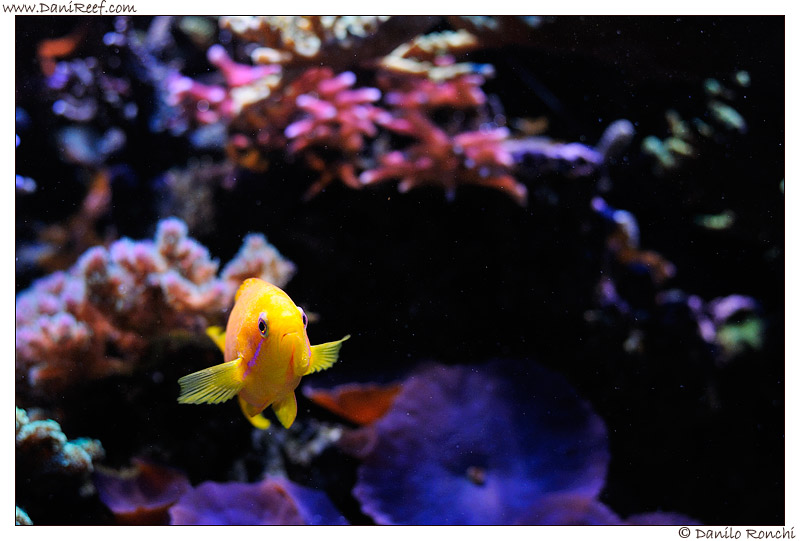
Nikon D300 – Nikon AF-S Nikkor 35mm 1:1.8G DX – f/2,8 – 1/100 sec – iso 200 – handeld (Giancarlo Molendini’s tank)
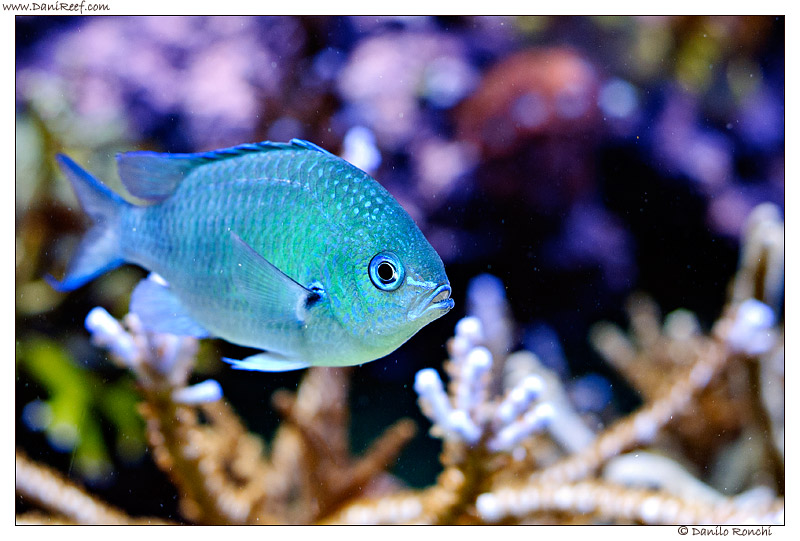
Nikon D300 – Nikon AF Nikkor 50mm 1:1.8 – f/4 – 1/125 sec – iso 640 – handeld (Cristiano Farina “Faro”‘s tank)
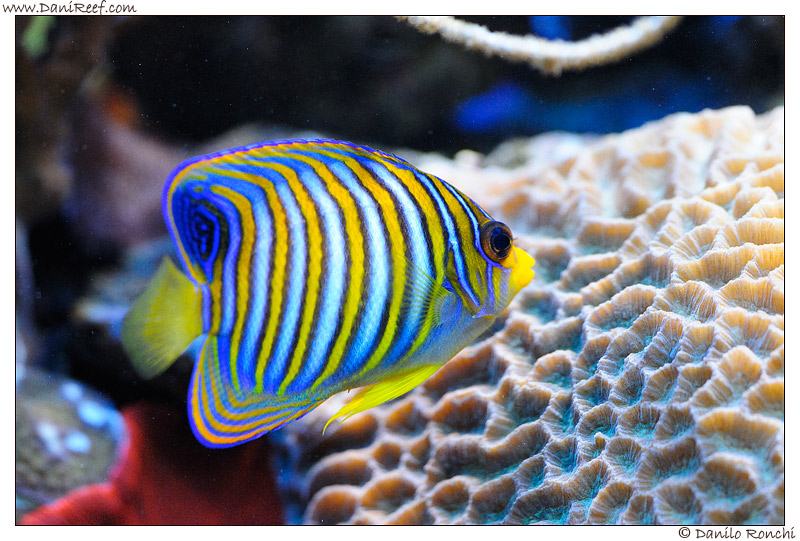
Nikon D300 – Sigma 150mm F2.8 EX APO DG HSM Macro – f4 – 1/200 sec – iso 1600 – handeld (Paolo Marzocchi’s tank)
Then we can go further, once mastered and understood the basic techniques and break the rules to obtain photographs of great impact as the next we’ll see together:
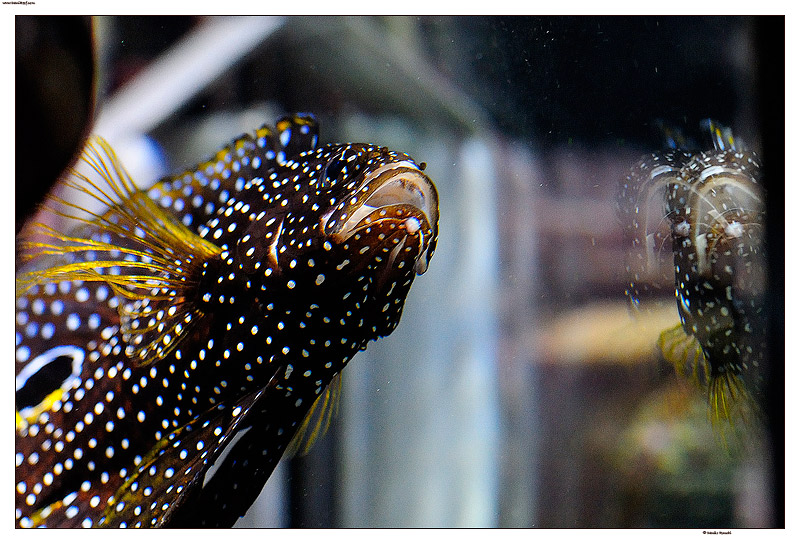
Nikon D300 – Sigma 150mm F2.8 EX APO DG HSM Macro – f/4 – 1/200 sec – iso 1.400 – handeld catching the reflection of the glass (Danilo Ronchi aka DaniReef’s tank)
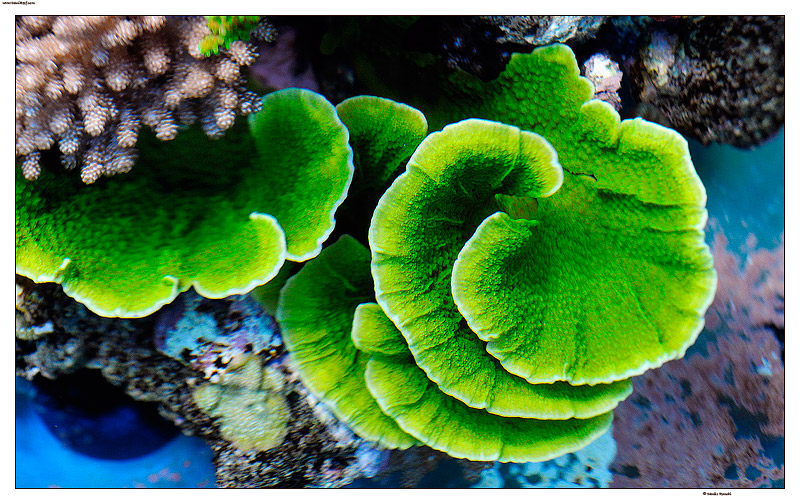
Nikon D300 – Nikon AF Nikkor 50mm 1:1.8 – f5 – 1/320 sec – iso 800 – handeld taken from above the water level with an exposure compensation of -1.7 (Paolo Marzocchi’s tank)
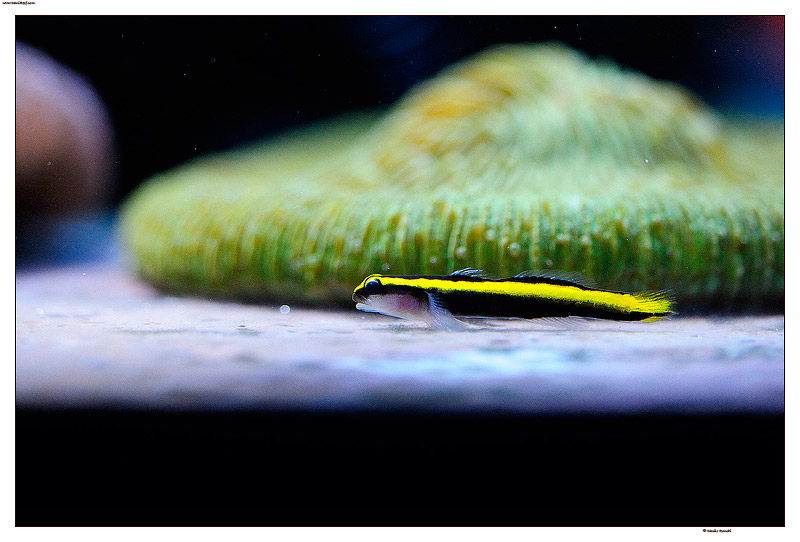
Nikon D300 – Nikon AF Nikkor 50mm 1:1.8 – f5 – 1/320 sec – iso 800 – handeld taken from above the water level with an exposure compensation of -1.7 (Paolo Marzocchi’s tank)
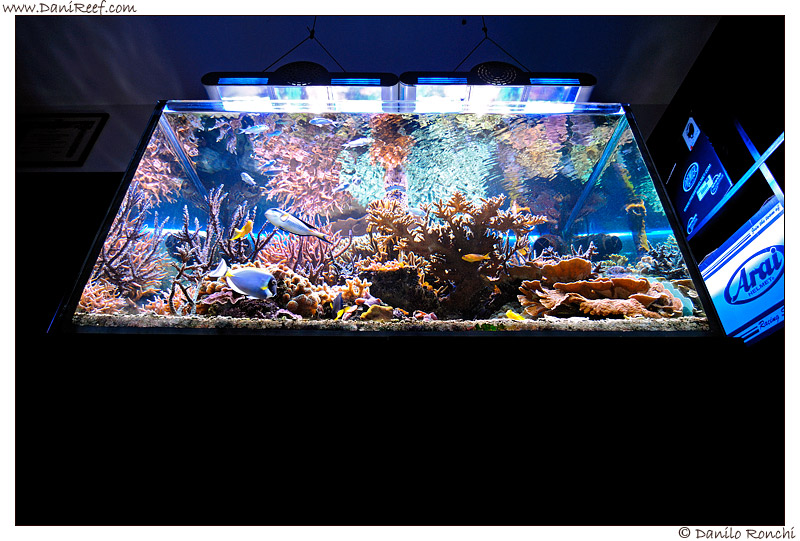
Nikon D300 – Tokina ATX 124 AF PRO DX 12-24 f4 – 12 mm – f/4 – 1/60 sec – iso 400 – handeld taking a from bottom to enhance perspective and capture the reflection of the corals under the water surface (Giancarlo Molendini’s tank)
If you’ve read the comments to the proposed photos you may realize that I have used also digital cameras with 6 megapixels, because in fact, the megapixels has not so important and I used lenses relatively cheap after all. The Nikon 50mm f1, 8 costs no more than 100 €, 35 mm f/1.8 costs little more than double, the highest optical quality at truly cheaper price.
And with that the second part of the course is over, I hope it will be useful to improve yourselves and I look forward to your comments but also the links to your photos made by following these tips!
The third and final part of the course will focus on the development of images using Photoshop or Ligthroom.
Thanks.
Danilo





0 Comments