
The time has finally come to prepare your new reef biosphere for life. The first question is what you want your reef tank to look like. In the early days of reef keeping most aquarists essentially built a “live rock” wall along the back section of their tank, eventually attaching small corals or frags to that wall.
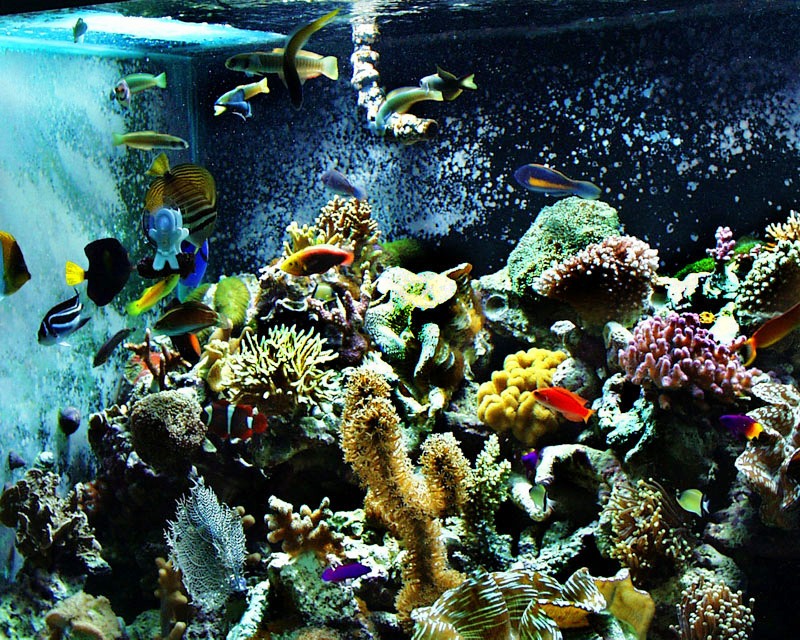
Greg Schiemer’s 500 gallon reef tank.
Rock Wall
An example of that technique can seen in the following photograph; it is of a beautiful reef tank setup by the late Greg Schiemer.
The picture is only of a section of the left side of a 500-gallon reef tank. However, it is easy to see how the tank was created.
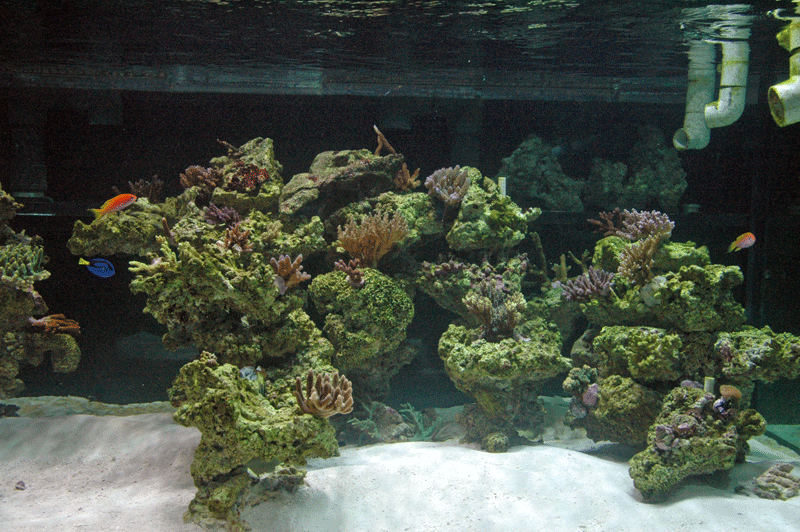
Low Profile
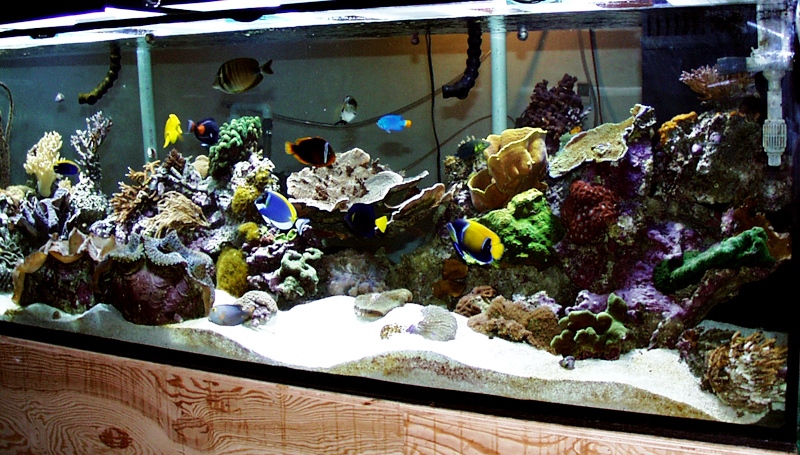
Terry’s low profile setup.
Another technique that developed some years later I will call the low profile setup. It is the technique I preferred back in those days—around the year 2000. I came upon this technique naturally, because as many of you know, when I moved 3 reef tanks from NY into one 10-foot tank, I didn’t get any new rock and simply placed the corals that had grown large along the bottom of the tank. My hope was that the corals would have plenty of room to grow towards the light. I also hoped that eventually my reef would have a more natural look. From the next photo you can draw your own conclusions.
From the absence of coralline you can tell that the tank was newly setup. I might add that it didn’t take long before corals like Acropora sp. reached the surface of the tank.
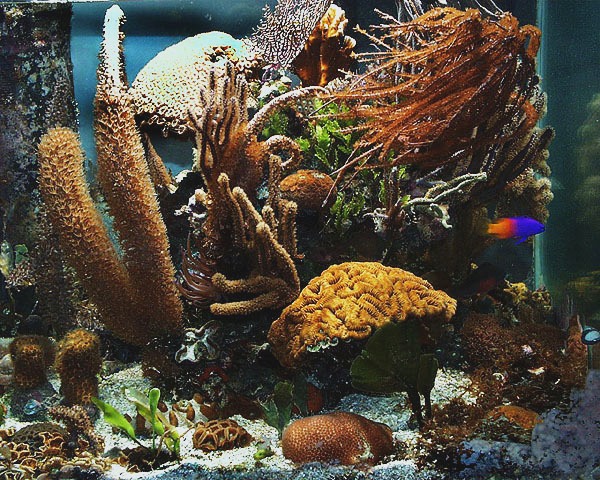
Julian Sprung’s 40-gallon cube.
Coral Head
Sometime later Julian Sprung setup a 40-gallon cube, within which he created in the center of that tank a coral head. This made this small reef visible from all sides, and allowed the fish to swim and graze around the head. This is clear from the photo coming next.
Julian also wanted this small reef to be representive only of a Caribbean reef, so all of the fauna and flora came from the Caribbean.
Sanjay’s Reef
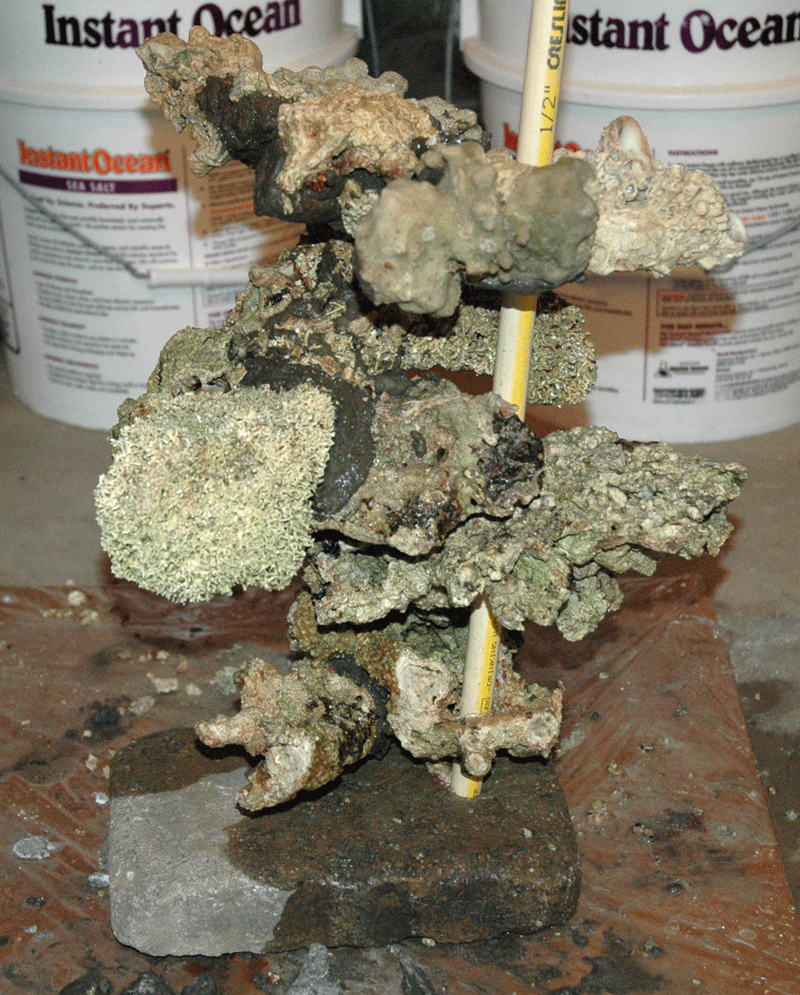
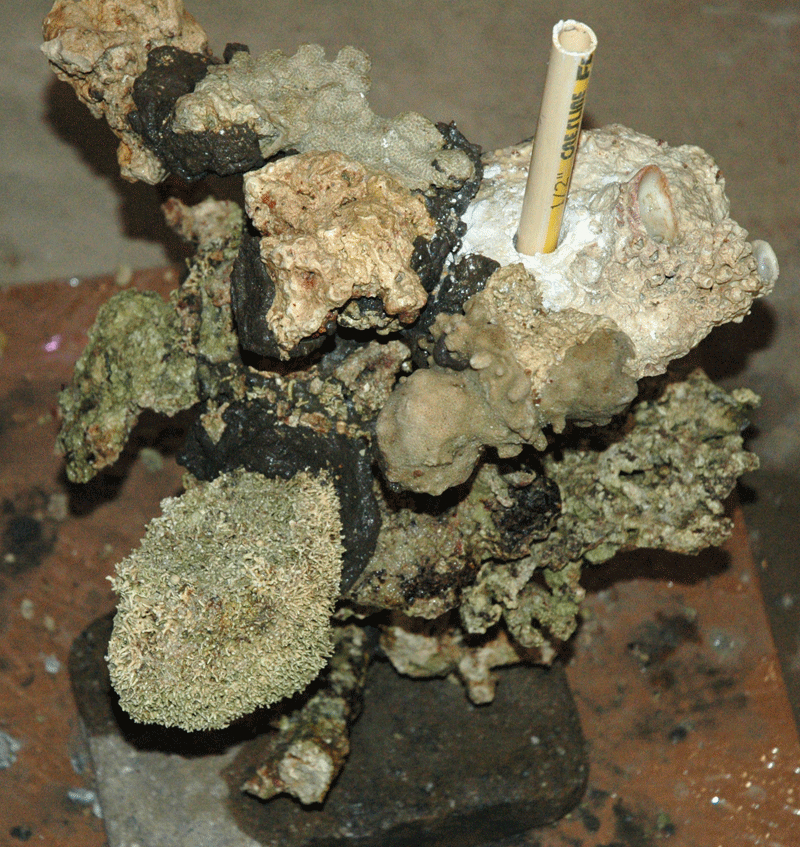
Sanjay used 1/2″ PVC as support to build a pillar.
When he setup his new 500-gallon reef tank Sanjay Joshi perfected what Julian started in his Caribbean reef. Following is a group of photos that demonstrate how to work this technique to perfection. In my opinion, whether in a small reef or a large reef tank this is the ideal way to setup a reef tank. Once populated it gives the fish plenty of swimming room and looks the most natural.
From the first 3 photos notice that Sanjay got a vertical pillar of live rock by using a concrete block as a base to which he attached a PVC pole and then used Thorite to attach the rock to the pole and to one another.
NOTE: I have heard that Thorite is no longer manufactured. I suspect that most of the underwater two part epoxies will work as well. Whatever material used it must be thoroughly rinsed before use, and must not leech toxic chemicals into the water after a period of time.
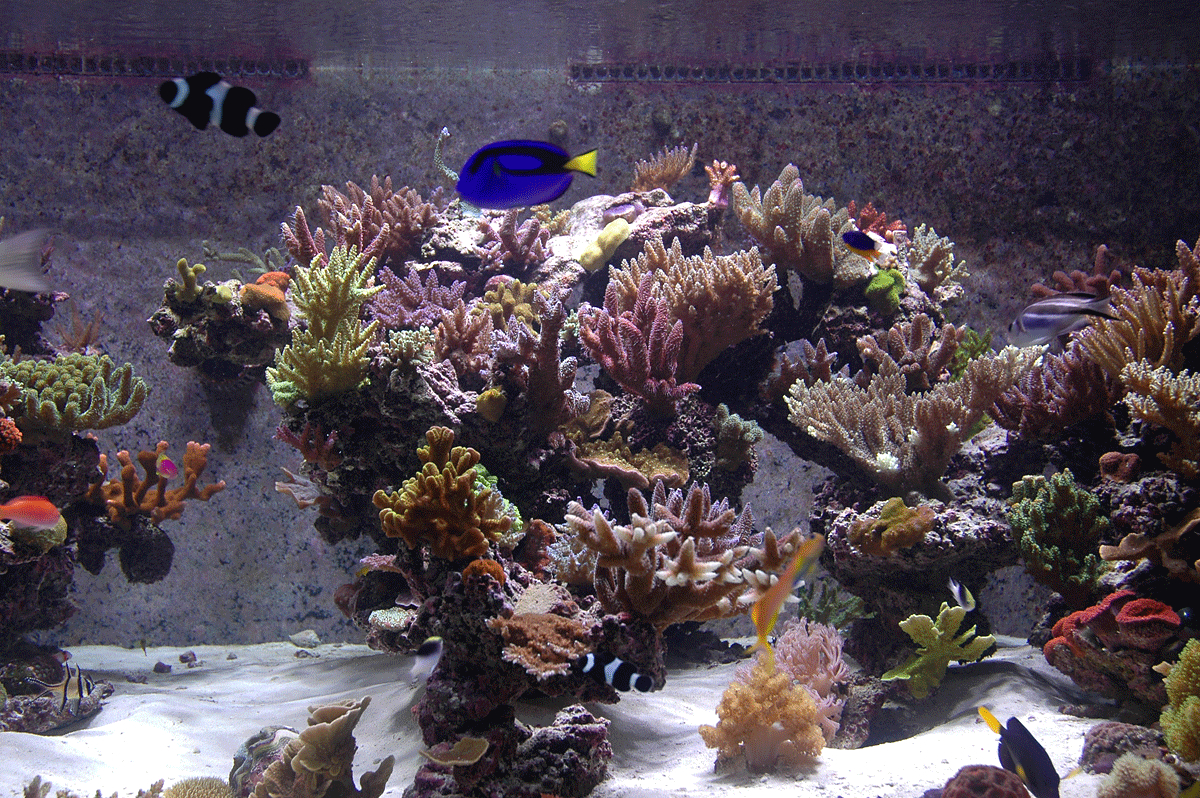
As can be seen from the series of photos, Sanjay was able to create a very functional and beautiful, authentic looking captive reef.
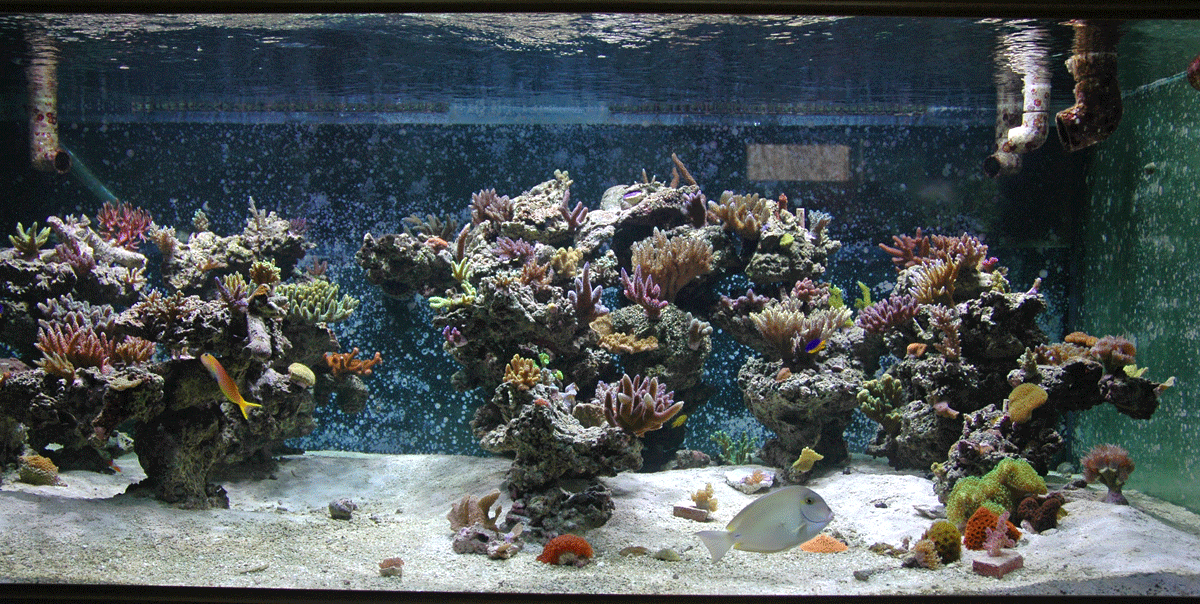
This last photo is of the middle section of Sanjay’s 500-gallon reef a few years later.
He then used Thorite to add additional structure to the pillar where needed.
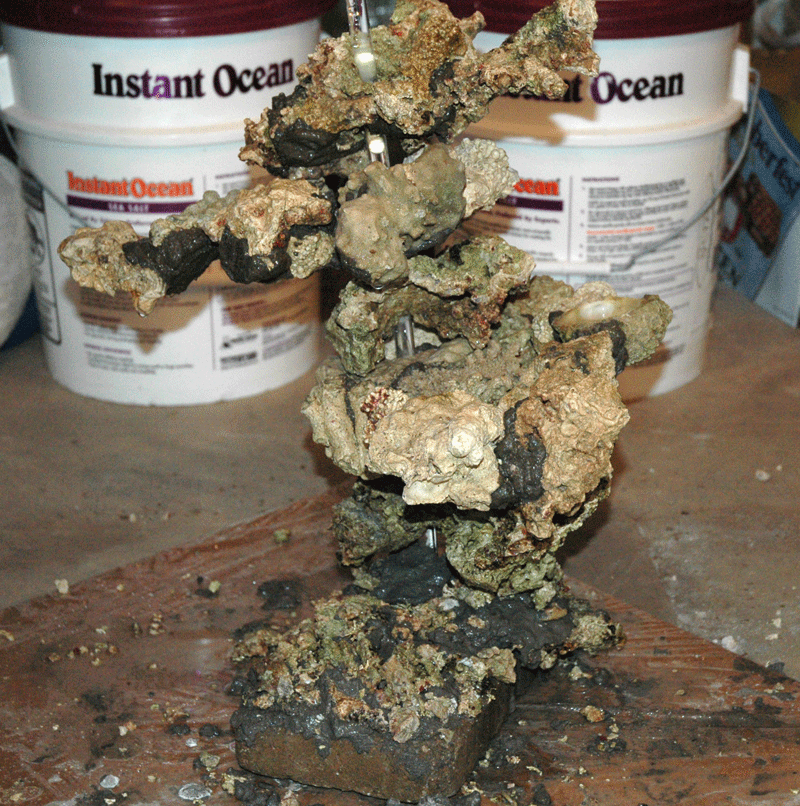
The finished pillar.

One of the finished pillars in the reef tank. A second one can be seen in the background.
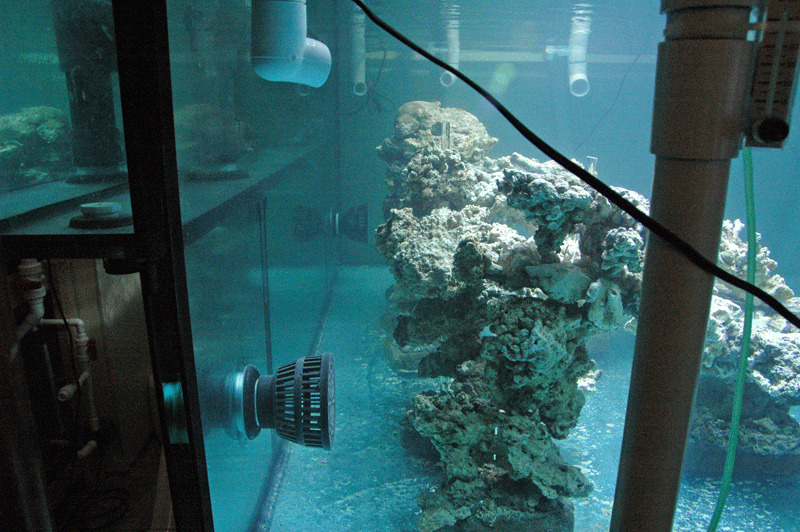
A side view of the pillars in the tank.
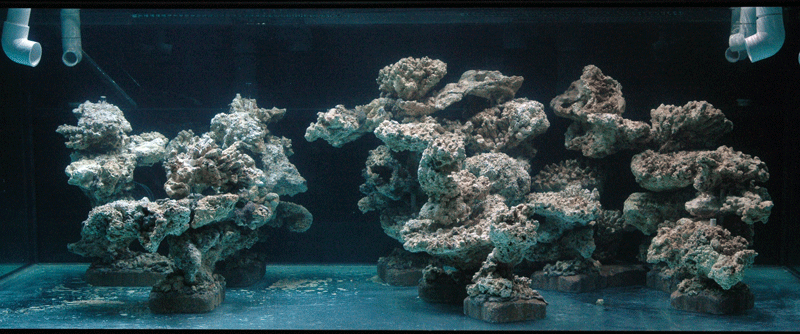
A front view of all of the pillars positioned in the tank.
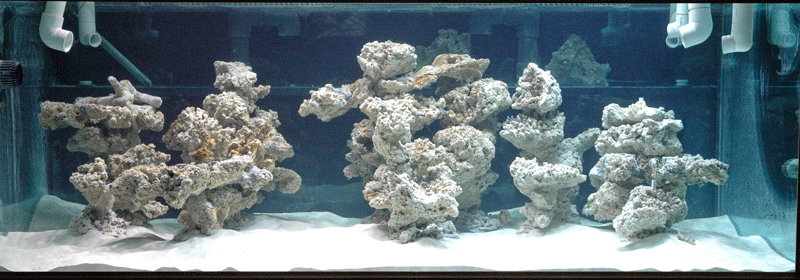
Sand has been added which hides the cement block base of the pillars.
Coral is added along with fish.
The tank several months later.
The middle of Sanjay’s 500-gallon reef after a few years growth.

0 Comments