By Richard Aspinall
Clownfish are some of the most engaging and characterful fish a diver is likely to encounter out on the reef and for photographers, both new and experienced alike, they provide a constant source of material as well as the occasional burst of frustration. But what makes them such great subjects?
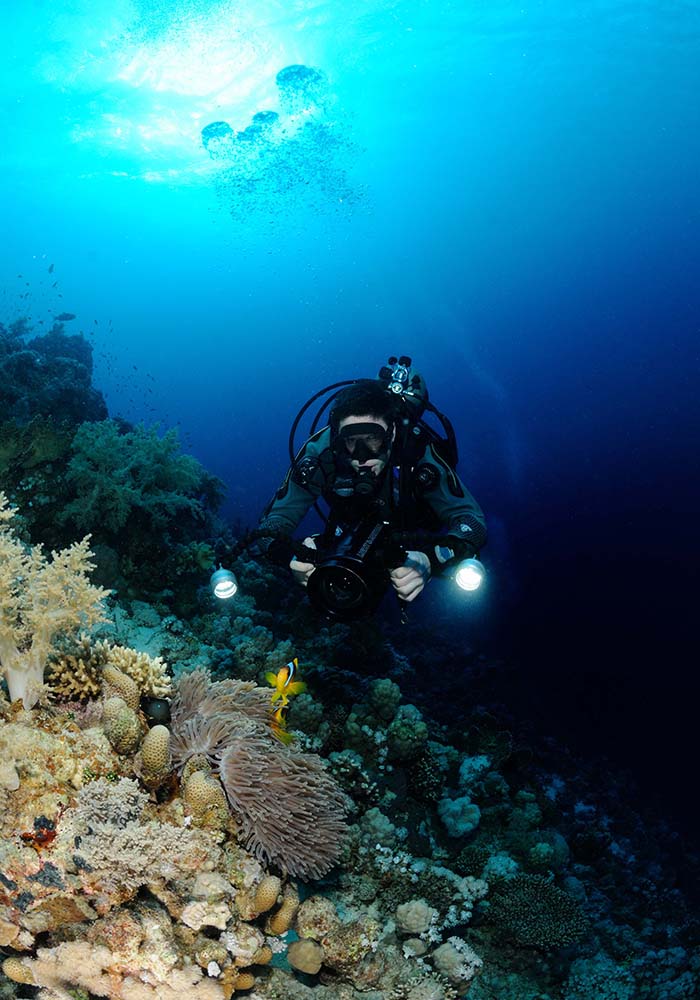
There are roughly thirty types of clownfish worldwide, most are found in the Indo Pacific, Red Sea and the Great Barrier Reef. The chances are that if you’ve dived in any of these locations, you’ve spent time with these charming fellows.
A fish geek like me, never tires of spotting the different types of clowns. Some look very similar – ‘orange with white stripes’ – and are hard to tell apart, whilst others may be predominantly black or brown with blue-white stripes and there are even some that have no stripes at all. The variation is fantastic and a real testament to what evolution can achieve given enough time, blind luck and a basic body pattern.
There is though one thing that will always stick in the throat of any true fish geek, and that is a certain computer animated film about a wee fish and his dad… You know the one: you may well have watched it on a Liveaboard. I know I have.
You can tell the nerdier divers on the boat by watching them wince slightly when on deck a diver will say, “Ooh there were lots of those Nemos down there. Aren’t they lovely?” or similar. A true fish geek will mutter something under their breath about, “No, they were bicinctus not ocellaris,” or some other response. A fish geek who values their social standing on a liveaboard will refrain from fishing out their text books and launching into a full blown explanation of the taxonomy of the genus Amphiprion at the dinner table. However, if they are asked to, it will make their trip.
So Why Are Clownfish Such Great Subjects?
The first answer to this has to be the fact that they don’t swim away – always a bonus to the diver with camera in hand; the furthest they will go is into the tentacles of their host anemone. Unlike most reef fish, they have a very small territory and won’t scarper at a vast rate of knots as soon as they see your camera pointing in their general direction. Instead, they will hunker down and hope you will go away. Having said that, a few of the more feisty ones will ‘have a go at you’ and attack your dome point, your fingers or both.
Being so closely tied to the anemone means they are always ‘on show’. You might have seen an anemone without a clownfish, but you will never see a clown fish without an anemone – not for long anyway! Spot one ‘hovering’ above the reef and you are sure to see an anemone a few metres below.
Not only are they easy to find and relatively easy to fix in your camera’s viewfinder, they are also remarkably coloured. Vivid orange on white just looks great especially against a blue background: these fish have such great contrast.
So let’s look at some typical clownfish shots:
The Close-up Portrait or Macro Shot
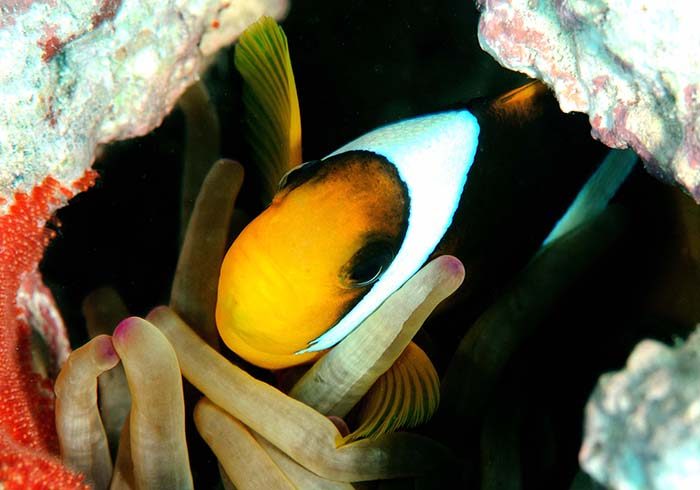
This clown had followed its host anemone into a crack in a coral bommie which framed the shot nicely; the fish’s bright red eggs to the left were a lucky find. Note that the fish’s eyes are in perfect focus.
In my experience, of all the clownfish photos, the macro shot is the easiest to achieve and even with quite modest cameras most divers can get some great images.
Macro has a specific meaning in photography, but for ease of argument let’s just call it the ‘close up’. Most compact cameras have a macro setting (often indicated on the dial with a flower graphic). The camera will select a fast shutter speed and a wide open aperture to catch as much light as possible and ‘freeze’ movement. Most professionals with expensive dSLR cameras (in even more expensive housings) will have a macro lens and port designed specifically for that lens/camera combination and will talk you through it at length if you are unlucky enough to be trapped by them as they complain about the size of the rinse tank and folk dumping SMBs on top of their prized possessions.
Flash is necessary: the limited ‘subject to camera distance’ means that even the low power of a compact camera’s built-in flash will stand a good chance of fully illuminating the fish to reveal those glorious yellows and oranges.
The trick though is to get the focus right. Macro lenses have what photographers call limited or ‘shallow’ depth of field, which means that not a lot of the subject will be in focus. This is great for fish portraits as it means the background will be blurred and you’ll see the fish stand out, but it can also mean that a lot of the subject may be blurred too. To get round this, and create images that you’re going to be proud of and that magazines might want to use, requires you to focus carefully to get the fish’s eye as sharp as possible. Just try for yourself. Look at any magazine with fish portraits and it’s the eyes that you are instantly drawn to as we subconsciously try to make an emotional connection with the animal. The better the eye is in focus, the better the image is likely to be judged and the happier you will be.
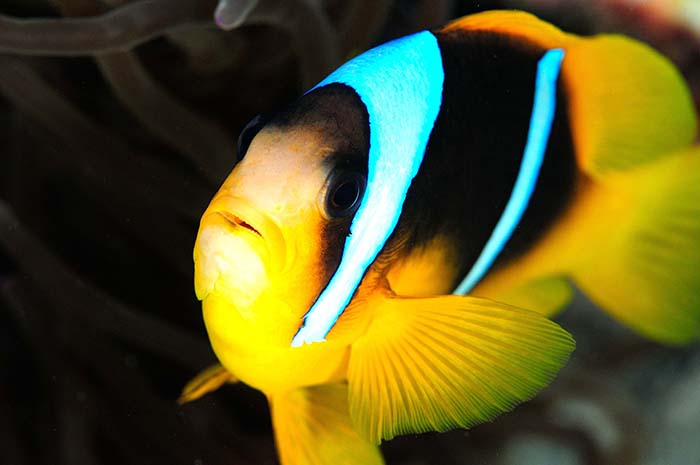
The other tip here is to take as many images as possible, back in the days of film you had to save those frames just in case a whale shark pootled past, these days when many of us carry 16, 32 or even 64 GB cards as standard, we can afford to shoot scores of frames for that one perfect shot.
Close-ups are made easier by the fish’s ebullient nature. Some individuals will stay close by their anemone and get in between you and their home, filling your viewfinder nicely. Others will come right out of the ‘nem and get very close: ideal for the ‘extreme close-up’. This does have its down side though; I swear I have heard some photographers muttering, “Get back in the bloody thing,” through their regs as they wait for a boisterous clown to retreat back to its anemone.
The Clownfish in Anemone Shot
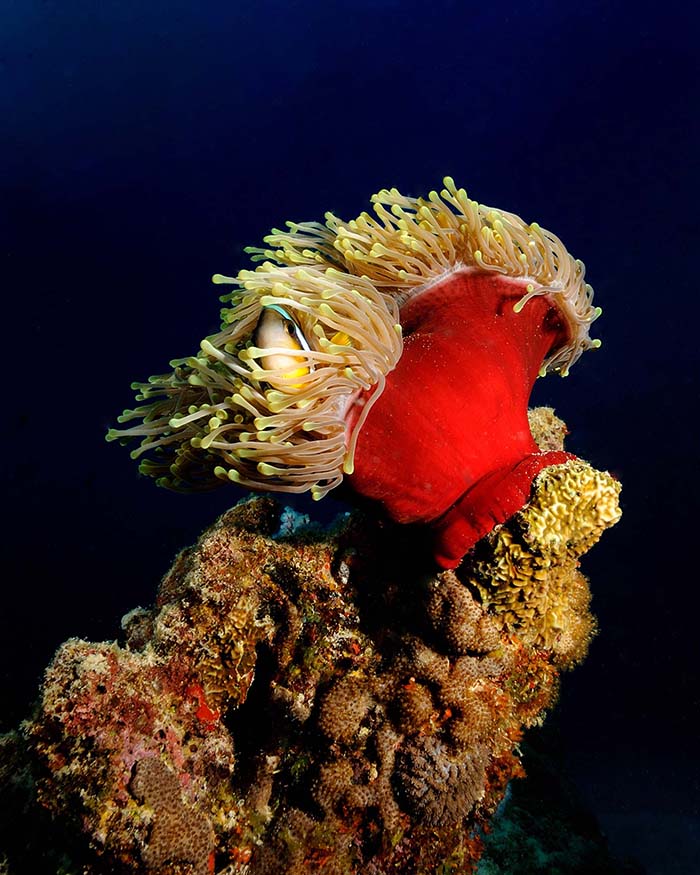
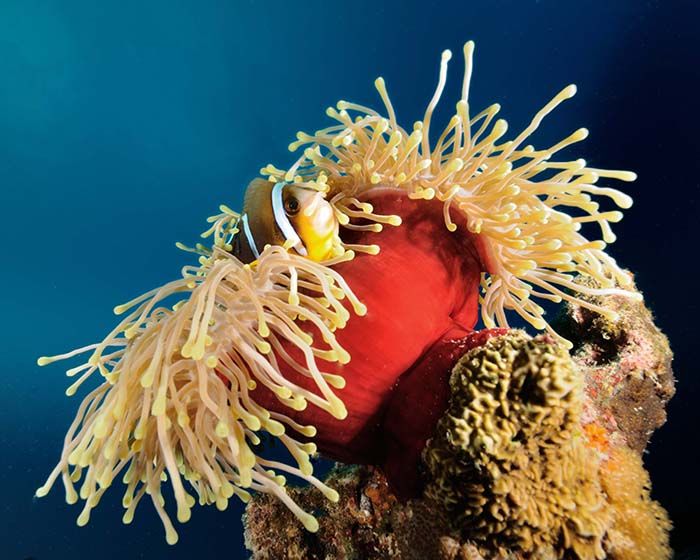
Anemones are remarkable animals, related, though distantly to corals and jellyfish, their attractive, swaying tentacles and overall flower-like structure belies a downright unpleasant nature. They are in fact merciless predators that can devour quite large fish. At the centre of each ‘nem is an oral opening that can expand to quite a large degree to engulf any reef fish that is foolish enough to wander within range of its stinging tentacles. But why don’t clowns become anemone food you ask?
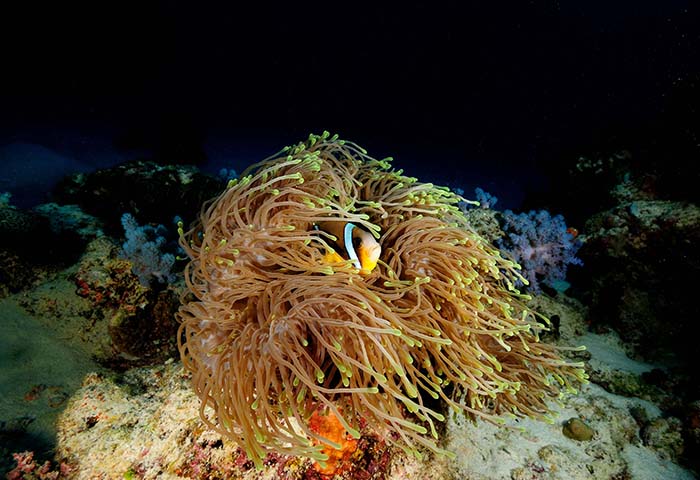
The precise answer to this is still a little unclear, the clowns don’t trigger the anemone’s stinging cells to fire (these are called nematocysts and are actually microscopic poison filled harpoons – I told you they were nasty). The clown’s skin mucous contains chemicals which allow them to remain unstung and research has shown that a young clown, looking for an anemone will carefully touch an anemones tentacles until the anemones becomes ‘used to’ to the clown’s presence.
The result is that the clown gets protection from predators and the anemone can feed on any scraps left over from the clown’s meals. Recent studied have also shown that on a night the swimming motions of the clowns can increase the amount of oxygen in the water around the anemone’s tentacles. The scientific term for this is ‘mutualism’, meaning that both species benefit.
Clowns’ boisterous behaviour also means they will chase away hungry coral nippers like Butterfly fish that might try to take a cheeky bite out of the anemone’s fleshy tentacles. The upshot of this is that the photographer is presented with a remarkable subject; the biology just makes it a little more interesting in my book.
To get the ‘clown in the anemone shot’, you can use a macro lens or a macro setting on your compact, but if you want to see the entirety of the anemone you may prefer to use a standard lens with a fairly fast shutter speed or on a compact zoom out a bit and select a suitable mode such as ‘sport’. Again, the flash from a compact camera may well be enough here, but the further you pull away the more you will benefit from an off camera flash or even better two powerful strobes that will provide even illumination without shadows.
Try as well to capture the anemone’s skirt – some have bright red or purple ‘bodies’ that look great against the blue.
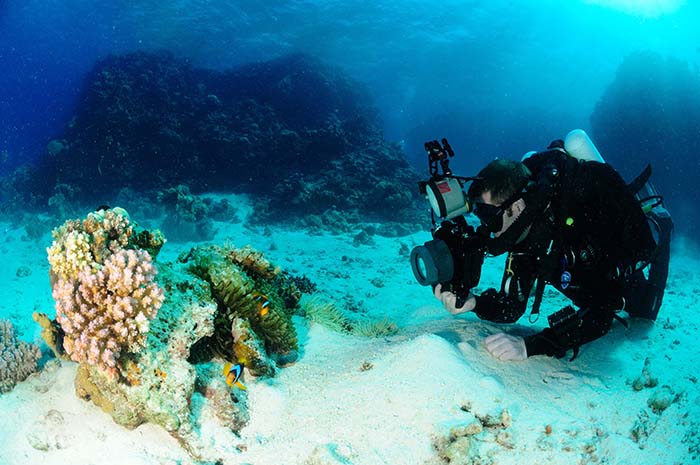
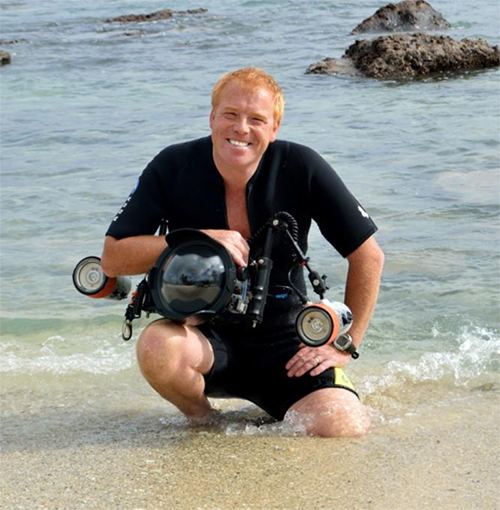
A diver using a macro lens and twin strobes. There’ll be some back scatter on his images.
One of the best tips I ever picked up regarding photography was to try and shoot the subject on its level or from below. Many divers will simply point their cameras downwards at the anemone and its residents as they waggle about charmingly (they are more likely very annoyed), this results in often fairly ‘flat’ images that have little impact, but if you can get on a level with the subject you are able to better show the anemone in its setting.
The ‘Anemone in Context’ Shot
This is the hardest of all in my opinion, but shots of anemones, clowns and people interacting look great. If you can shoot an anemone and its clownfish with divers in the frame, it works very well and looks great in print and on the cover of magazines, but it is quite tricky and will require a lot of patience, excellent buoyancy control and a very tolerant buddy. It is best achieved using a technique known as ‘Wide Angle Close Up’ photography. This is exactly what it sounds like: it exploits the ability of wide angle lenses to focus very close to the front of the camera’s port so you can place a camera within inches of the subject and know that the subject and most of the background will be in focus – quite different to macro lenses.
This technique works very well for static subjects like anemones, but does require careful use of available light and strobes. Cameras fitted with two strobes are ideal here especially if they can have their power output varied manually – the one closest to the anemone can be turned down so as not to over illuminate it, whilst the other can be given a fair crack at illuminating the reef beyond. Even so, the background is likely to remain dark, so look for silhouettes or the sun to add some interest.
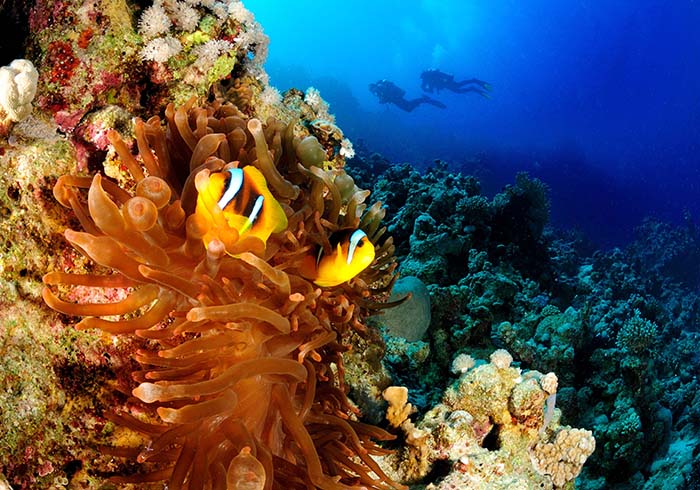
I spent many long buddy-annoying minutes waiting for this shot to ‘come together’.
Getting so close to the subject and occasionally stirring up the sand will present another issue – the scourge of the photographer – back scatter!
Back scatter is best avoided at all costs, it occurs when suspended particles reflect light from a flash back into the lens and results in an image covered in little white dots. The best way to deal with back scatter is to perfect your buoyancy and not kick up particles in the first place, but if you do, careful use of the Spot Healing Brush tool in Photoshop will be needed. Backscatter is most prevalent in images shot with cameras where the flash is situated close to the lens: If you’d ever wondered but were afraid to ask, this is the reason professionals use strobes on long arms.
Other Tips
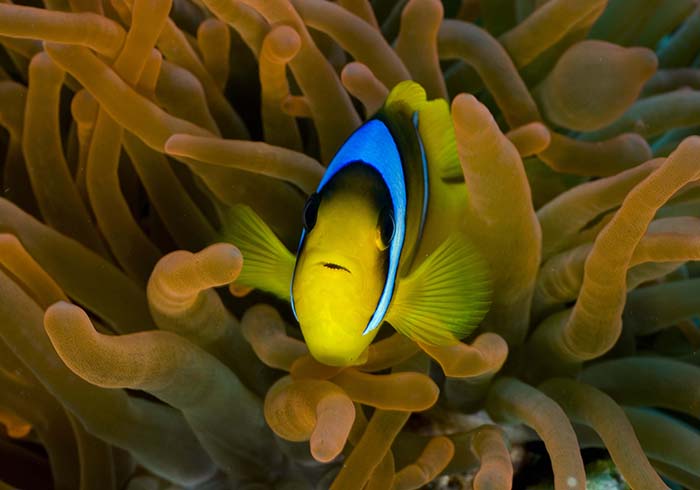
Seek out Coloured Anemones
Most anemones are a rather dull brown colour, but some individuals are luminous green, sky blue or on occasion bright red and really seem to glow under water. Red anemones are that popular with divers that they often feature in dive briefings which isn’t always good news for the surrounding reef. I can think of a few red anemones that have a badly eroded area of coral in front of them caused by photographers and their gauges and cameras scraping the living coral away and creating a dead zone.
I’m sure from time to time I’ve not exhibited the best buoyancy when I’ve been after that shot, but if I can foresee I may cause damage I will take extra care, adopt an inverted position or simply accept that if I can’t get the photo I want without damaging the reef then the reef wins and I look for another subject.
Fool Around in Photoshop
There’s no doubt that the ability to work on images back home using Photoshop or another editing package has revolutionised photography. We all tend to work on our images to a greater or lesser degree, removing backscatter, enhancing contrast and adjusting white balance are the norm, but should you be so inclined clownfish offer a chance to indulge your arty side or to go crazy and create artworks that will divide opinion to say the least.
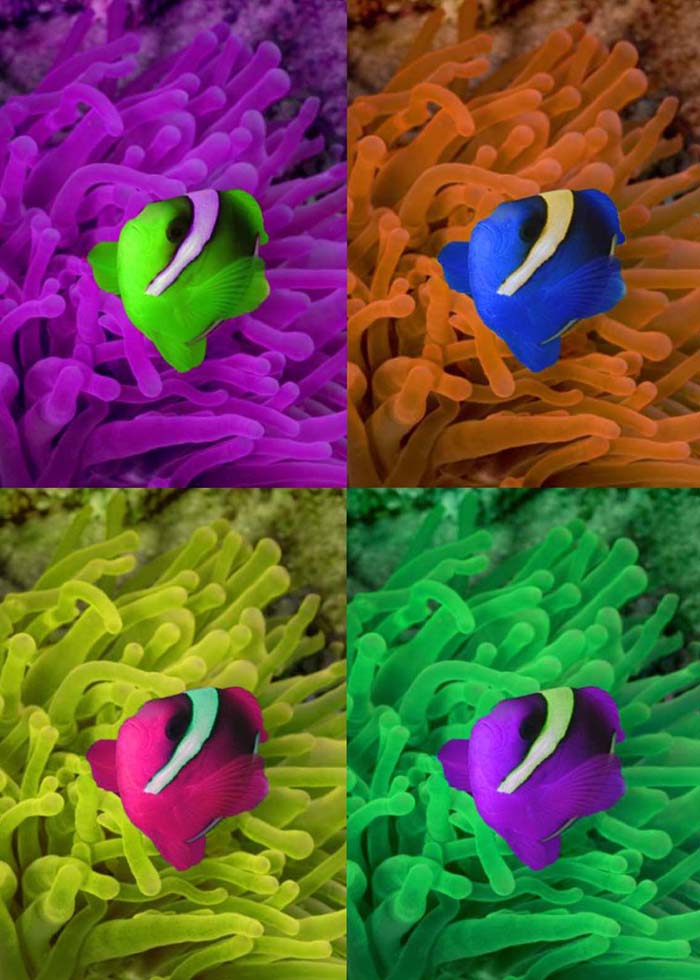 This might not be to your taste, but I offer this Warhol-esque composition for illustration purposes only. The clear colour boundaries and our expectations of the clownfish’s colouring makes for an interesting afternoon messing around in Photoshop when you’ve nothing else to do and the club trip to a cold, dark Stoney Cove is less than appealing.
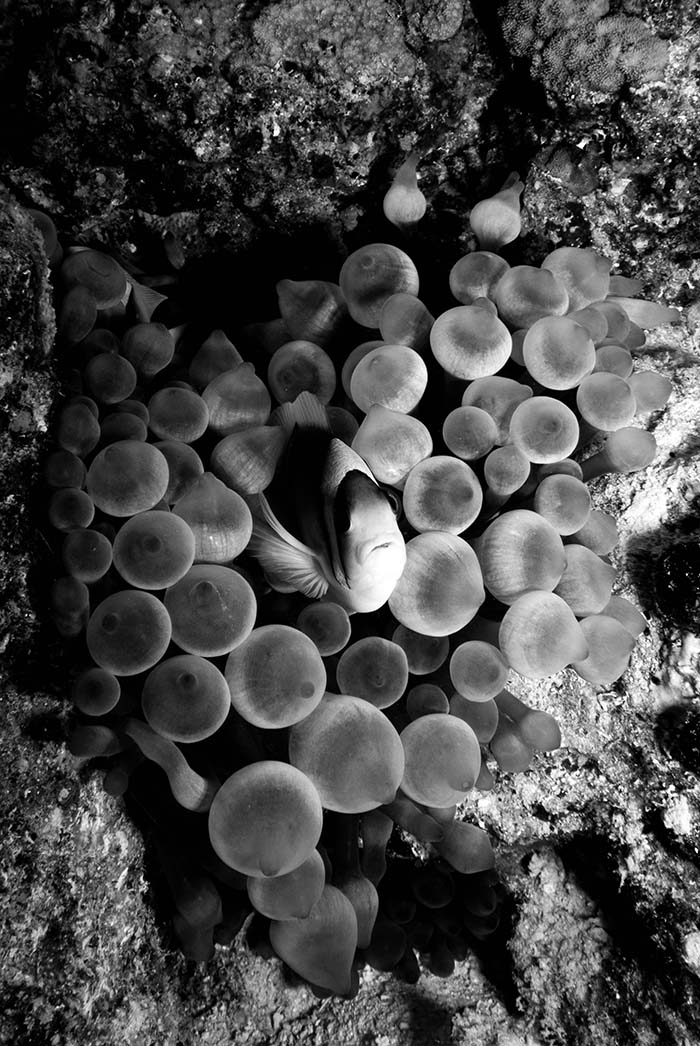
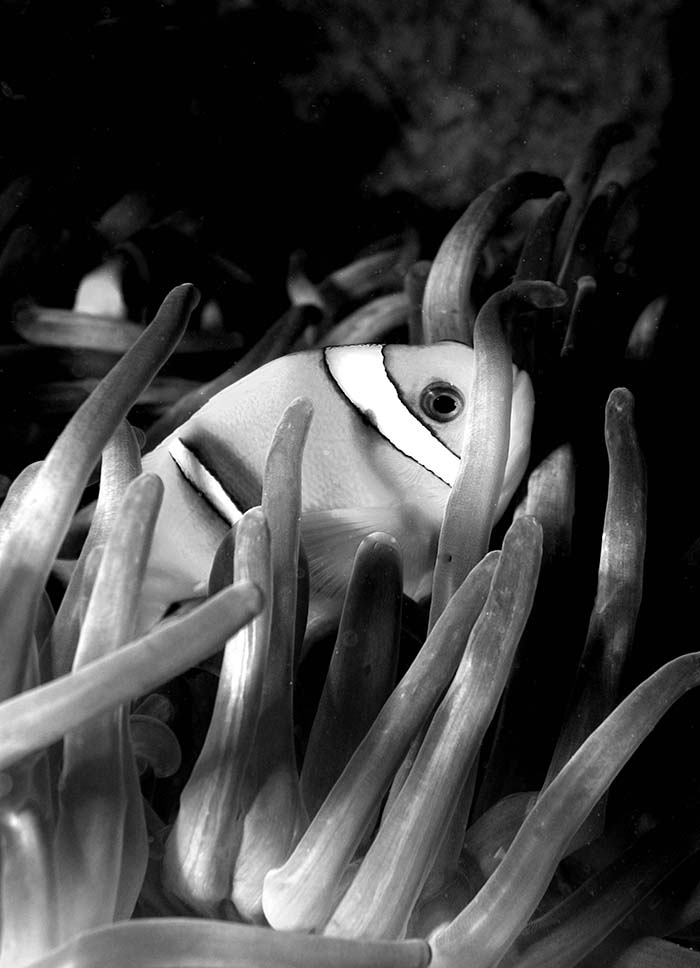
If this is a little too much try converting some of your images to monochrome: the strong contrast offered by clownfish makes them ideal for this kind of treatment. You can tweak the individual colour channels in Photoshop to vary the contrast between different colours.
In monochrome you are looking to capture, shape, and texture and contrast three things you have in abundance with clowns.
Capture the Blue
One of the best tips I ever picked up regarding photography was to do everything I could to include the colour of the sea and to shoot upwards capturing that blue we enjoy so much and if possible a sun burst.
The truth is though, the blue is never quite as blue in real life and photographers tend to ‘balance exposure’ to emphasise the blue quality of the ocean.
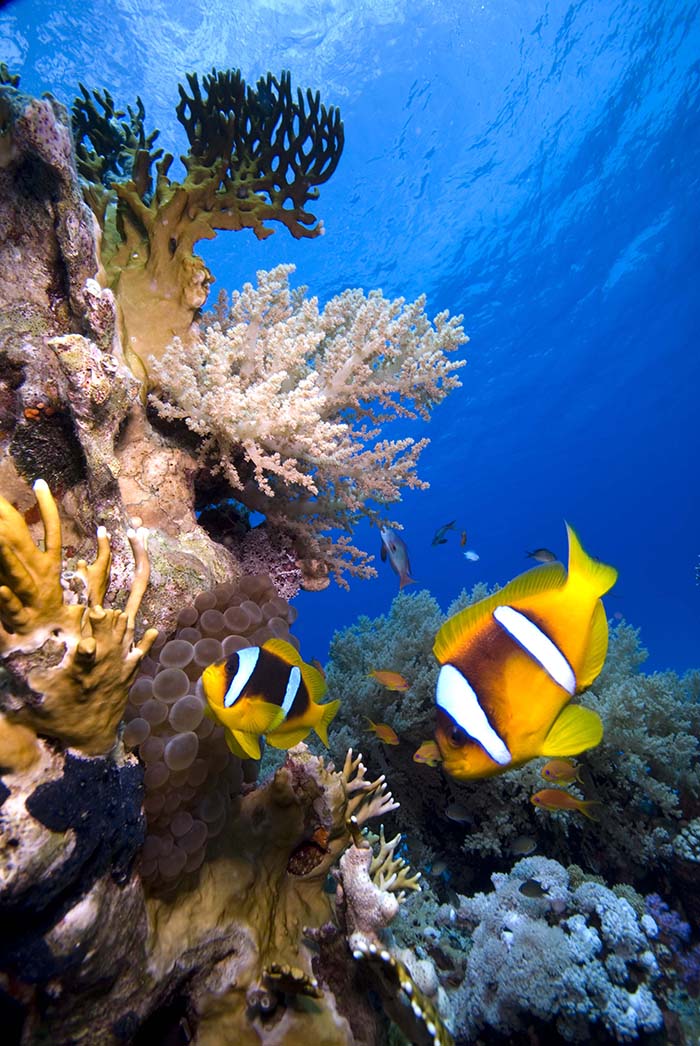
The best way to achieve this is to select a narrow aperture (high ‘f’ number) on your camera. This will mean that the main subject will be illuminated correctly by the flash and only a small percentage of the relatively dim light coming from the sea will enter the camera resulting in a darker and deeper hue to the blue. If you can get the orange of the clownfish to appear against the blue then even better you’ll get a great high-impact shot.
Find a Really ‘Busy’ Anemone
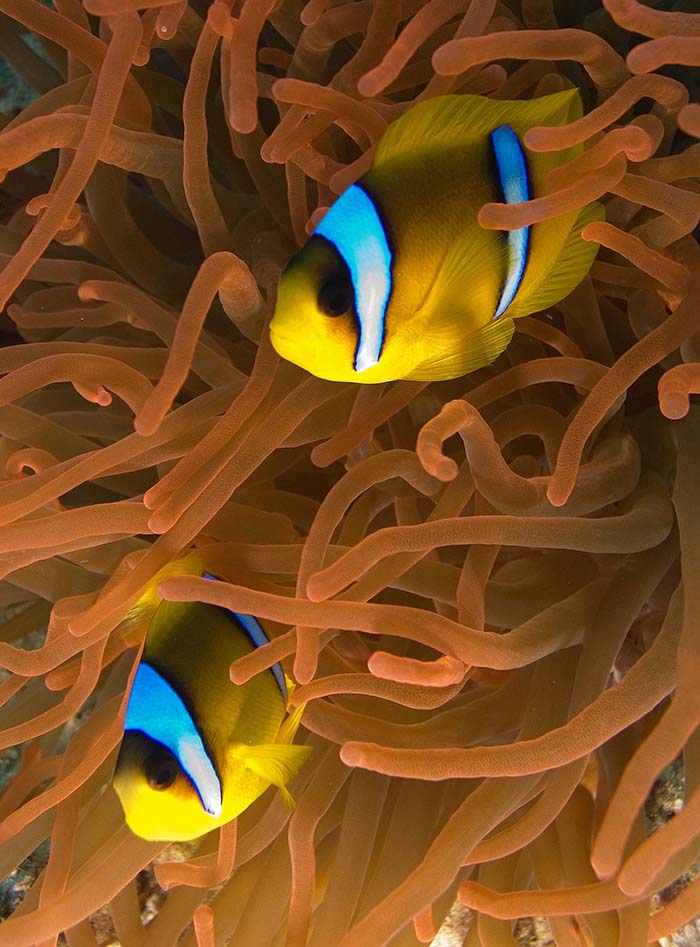
In most cases an anemone will host a pair of clownfish, a larger female and a smaller male, but in some cases more than two fishes will live together. In this case, all the smaller fish are male and if the larger female is eaten, then the larger of them will form into a full egg-laying female.
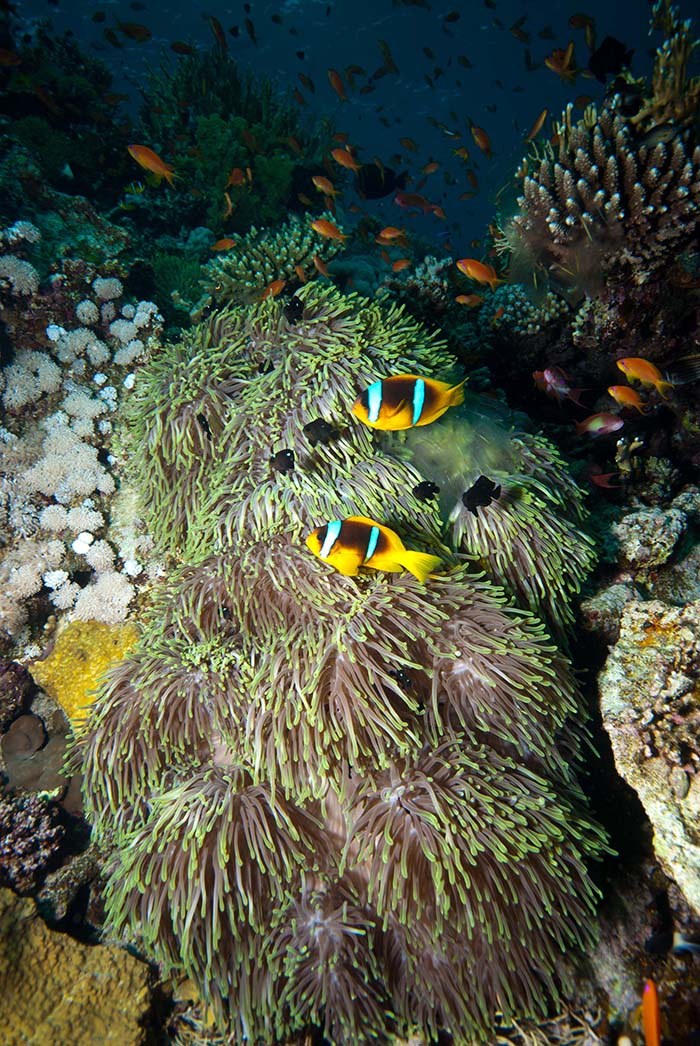
Sometimes, Clowns have to share their homes with other fish like some species of Damsel – something they seem to take exception to, but it makes for quite interesting photographs if you can capture this interesting biology.


0 Comments