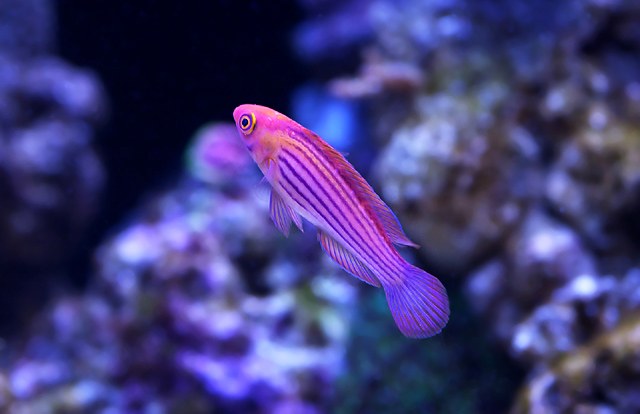
Read Nikon USA’s article for some helpful tips on taking good aquarium photos. Here are some additional advice to help portray your glass box in the best possible light:
- Use a tripod or monopod when possible. Shooting moving objects like fish is difficult enough; You don’t need more help blurring your photos by handholding your camera.
- Perhaps an obvious suggestion, but one that is critically important: Clean your glass/acrylic before you start your photography session. The greater transparency allows more light to reach your sensor, meaning faster shutter speeds, better (and more accurate) colors, better contrast, and more precise auto-focusing (most camera systems’ AFs are based on contrast). P.S. Do not shoot photos right after you’ve cleaned your glass, tank, or filter. Wait a few hours for the water to clear.
- Experiment with different over-the-tank lighting. If you’re running halides and fluorescent actinics, try turning off the actinics. If you’re using an adjustable LED fixture, try different color settings. Often times, what the camera captures will be different than what your eye sees and vice versa, so lighting conditions different than what you’re accustomed to may actually produce more realistic photos.
- Photograph subjects as close to the camera lens as possible. There is obviously a clear limit to how close you can get to a subject thanks to the glass and water. However, the farther into the tank you photograph, the worse the photo will turn out. This is due to many complications that occur when light has to travel through water … particularly aquarium water.
- Shutting off circulation pumps can help with macro and specimen shots. Fish move more leisurely in low flow environments, and of course corals and invertebrates do not sway without water movement.
- When in doubt, shoot under-exposed. You can post process your photos with software like Adobe Photoshop to increase brightness and contrast. It is much more difficult (sometimes impossible) to retrieve details from bright,”blown” highlights versus shadows.
 Buy or DIY a shoot-down viewing acrylic box. Have you ever wondered how some reefkeepers capture such clear and amazing top-down shots of their tanks and corals? They use viewing boxes. Check out Sanjay Joshi’s Advanced Aquarist article on top-down photography.
- Know your animals’ behaviors. Fish, for example, often have set habits like people do, so knowing their habits will help you know where and when to photograph them.
- If your camera has a continuous shooting mode, use it. We aren’t all Ansel Adams, able to carefully prepare each perfect frame … nor do we have that luxury (aquarium photography is a lot more dynamic and difficult than landscapes). Shoot a lot of “burst” photos and select the best of the group. Professional wildlife and sports photographers do this and so should you.
- Camera phones are not your friend. Yes, some camera phones are better than others. But in general, you want the best dedicated camera possible for challenging aquarium photography. Rule of thumb: The bigger the sensor size, the better. Camera phones < Consumer point-and-shoot compact cameras < Four Thirds or APS-C cameras < Digital SLRs < Full-frame SLRs.
Aquarium photography is a challenging but highly rewarding discipline! If you have more aquarium photography tips to share with fellow aquarists, please post them in the comment section below.


0 Comments