We all know that the cost of this hobby is not low in general, but due to the influx of hobbyists, there are many opportunities to find deals in the used marketplace. The used forum has everything from individual pieces of equipment to full systems with livestock. Pick your poison, but know what you are purchasing by researching the proper functionality and how to inspect if purchasing locally. If you are purchasing from a remote source, you will have a higher risk by default. The only way to check is asking for detailed photos or even requesting a video to show it working.
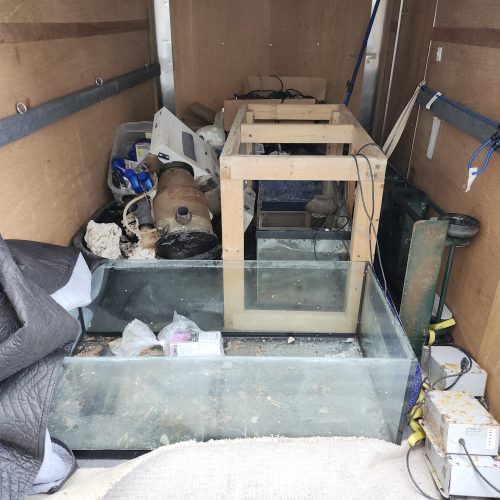
Recently a friend of mine offered me all the used reef equipment and rocks from his old 500 gallon system. Unfortunately, all this has been sitting in his garage for over 7 years, so this is probably the worst case scenario due to time and contamination buildup from sitting around exposed. Everything was somewhat scattered without any knowledge if things are functional or not. Right now I have time to work on such a project so I decided to take his generous offer. Below are the steps I have takes to determine what is salvageable and useable out of a trailer full of stuff.
Step 1: General Cleaning
Materials Needed:
- Large tub / buckets deep enough to submerge the object completely
- White Vinegar or Citric Acid
- Unscented Bleach
- Microfiber cloths
- Toothbrush and melamine sponges
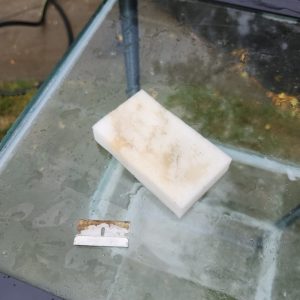
- Razor Blades for cleaning glass
- High Pressure water hose
This should be the obvious first step. If you are not lucky enough to have equipment pre-cleaned by the seller you will want to perform a full disassembly and cleaning of every part. I highly suggest to look up a full parts diagram of the equipment to be sure nothing is missing.
Submersed Equipment:
- Dust – General wipe down with a damp cloth
- Leftover coralline algae and dried algae films – soak in a light acid (diluted white vinegar or citric acid and water in a bucket). Place a pump to circulate the water to help agitate the surface debris.
- Deep clean – Disassemble and use a toothbrush and/or melamine sponges to remove any stubborn contaminants.
- Sanitize & bio-film removal – Soak in diluted bleach mixture for a few hours.
- Rinse and scrub with toothbrush/melamine pad in freshwater and dry
Rock & Substrate:
- Dry rock should be inspected and take smell test to understand if there is a lot of organics left on it.
- Power wash the rocks to physically removal loose debris and surface organics.
- Soak in a mixture of bleach and water to remove internal organics and biofilm.
- Rinse and soak in fresh water until there is no more bleach smell. Change out the water often and, if necessary, apply some water conditioner like Stress Coat to dechlorinate.
- If you let the rocks dry, any bleach smell will dissipate passively.
Step 2: Validating Functionality
- Inspect for any cracks or seized parts. For example, impeller magnets, dried/cracked power cords are usually suspect.
- Perform a simple power on functionality check.
- If the electrical component is being submerged, test for stray voltage with a low impedance voltmeter. If voltage is detected, throw the component out as it’s not safe.
A quote of how to test from artisticoceans.com:
The main job of the multimeter is to measure the voltage in your aquarium water. This stray current tester comes with two probes, each of different color: black and red. To use it, be sure to set the dial to AC Voltage or VAC.
The black probe should be inserted into a grounding hole of an outlet or an extension cord and then stick the red probe’s tip into the aquarium water. If the reading reflected is above zero, then this indicates that you have stray voltage in your water.
When the voltage is already reflected in the device, remember (or label) the wires that belong to that certain device and try to unplug them one by one.
- Once you identify things that work, perform a full teardown to clean everything inside and out. This also includes lighting fixtures and other electrical accessories.
- If you have the knowledge, try to troubleshoot and repair the item.
- Throw out any un-fixable or questionable items.
Step 3: Organize by Functionality for Storage
- Tidy up all the power cords and band all related components together for a complete system.
- Label and use clear storage bins if you have many similar items
- If items are too large for totes, place in clear plastic bags and label them to prevent dust buildup.
- Once organized, everything can be photographed for easy selling, if you choose to.
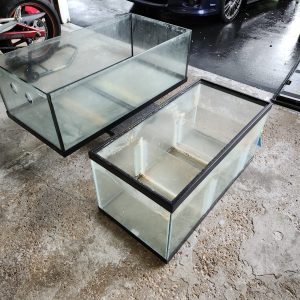
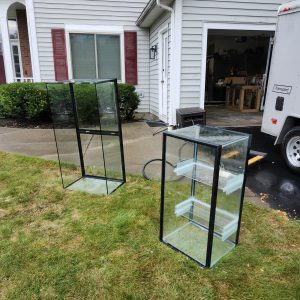
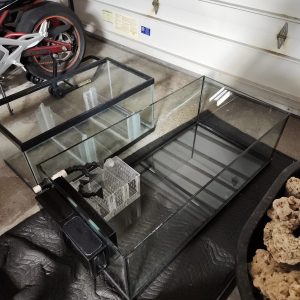
- Filthy Tanks
- Scraped clean and polished
- Melamine sponge, razor blade, and Elbow grease will get the job done.
- Like New Deep Blue 80g Rimless and 40B Sump
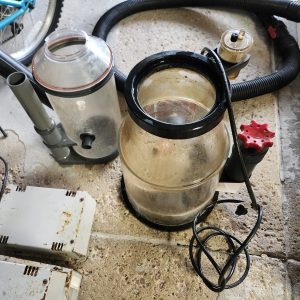
- Skimmer parts scattered everywhere
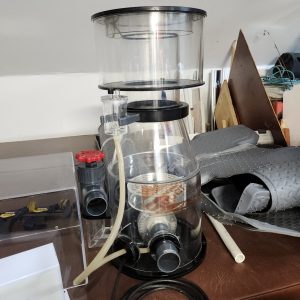
- Like New Reef Octopus SSS-5000
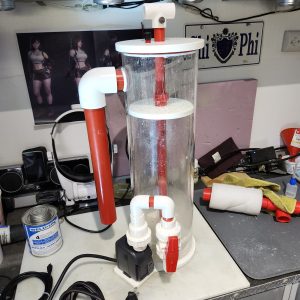
- Vertex Zeovit Reactor
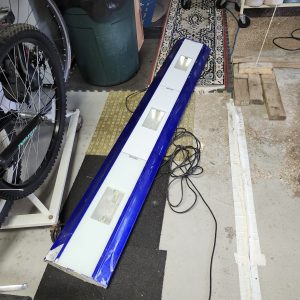
- Giesemann 72″ 3 x 250 HQI MH fixture
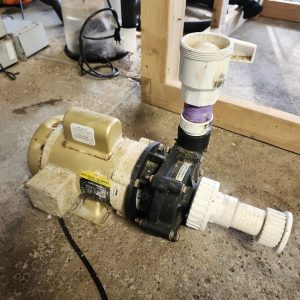
- Reeflo Hammerhead Pump I couldn’t save since it was seized up.
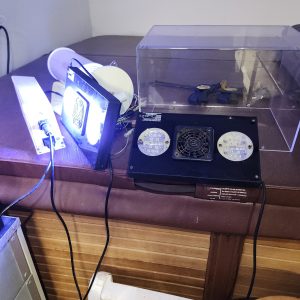
- Ecotech Gen 1 Radions
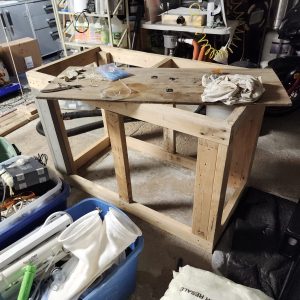
- DIY Stand
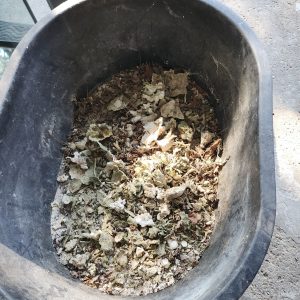
- 75 gallon Rubbermaid Tote
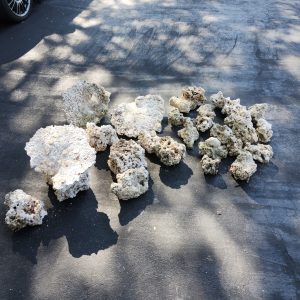
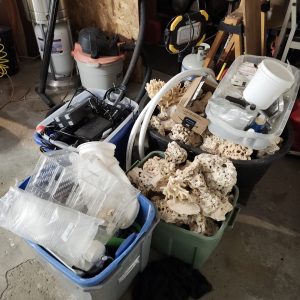
- Portion of the Rocks to be cleaned.
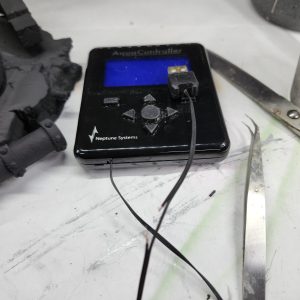
- Neptune Apex Classic Display with Pinched wire
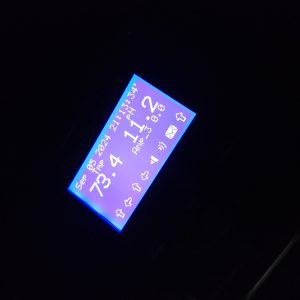
- Fixed the Display
- Everything that’s cleaned and not used in new build.








0 Comments