One of the most crucial purchases anyone starting a saltwater aquarium faces is a reverse osmosis/deionization (RO/DI) filtration system. Distilled water ranks at the top of the list of “ingredients” for a successful reef tank, and is a necessary factor in maintaining optimal parameters for captive ocean life. Unfortunately, the cost of an average reverse osmosis unit and the fact that water filters aren’t readily associated with aquarium equipment often leads beginner aquarists to overlook this essential element of a healthy fish tank.
AquaticLife, the California-based company known for their line of aquarium lights, pumps, and filtration devices, aims to change that trend with its compact, affordable RO/DI filtration unit called RO Buddie. Keep reading for a detailed review of this interesting new addition from AquaticLife.
PRINCIPLES OF REVERSE OSMOSIS FILTER
Any RO/DI filtration unit marketed for aquarium use should, at minimum, have these basic components: a sediment filter, an active carbon filter, an RO membrane, and a mixed-bed DI cartridge. Each of these components plays a different role in the filtration process, and each is indispensable to achieve purified water for saltwater tank use. Without going into too much detail, the process of reverse osmosis filtration and deionization goes like this: first stage, where the sediment filter sits, filters out large particles from tap water and passes it to the carbon filter stage, which traps smaller particles and adsorbs dissolved solids. The carbon filter also deactivates chlorine and chloramine that would otherwise destroy the next stage- RO membrane; it is the most important stage of filtration and should always be protected from sediment and other particles present in tap water. It’s made of a thin, semi-permeable (allowing some molecules to pass through it and others to be trapped) composite film that prevents any molecules heavier than water from passing through. At this point, water exiting the RO membrane is considered purified through reverse osmosis. However, home reef aquaria are unforgivable environments and even RO membranes cannot trap all dissolved solids from tap water, so an additional filtration stage is required. The particles that escape the RO membrane are usually ions.
They’re very small in size so even the best membranes on the market cannot block all of them. Ions have a weakness though – they carry an electric charge due to their imbalance in protons to electrons ratio. A deionization filter media is made out of a resin that contains both negatively charged ions (anions) and positively charged ions (cations). As water from RO filters enters the DI stage, ions in the DI resin attract ions from the water like a magnet, making permanent bonds that cannot escape the filter. As more of these permanent “bonds” get trapped in a deionization media, that very media gets depleted and at some point, needs to be replaced with a new batch of “ions without pair”.
RO BUDDIE
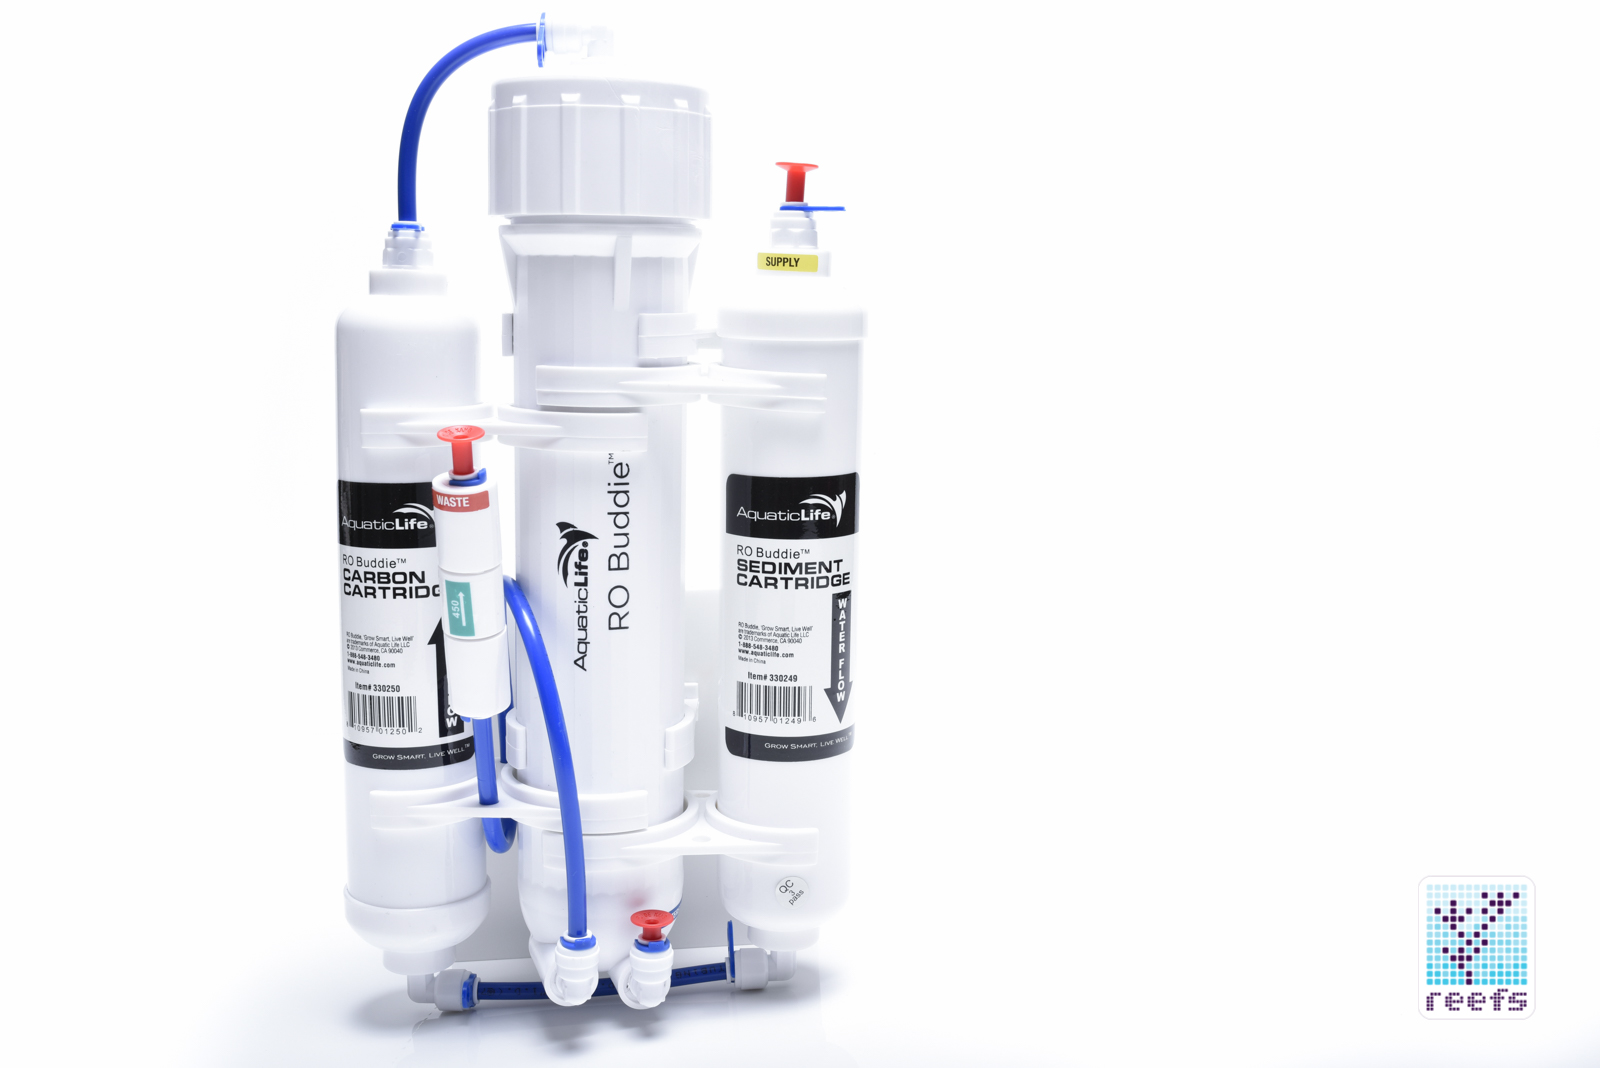
Now that we know the works behind RO/DI filtration, it’s time to introduce AquaticLife RO Buddie, the topic of this review. AquaticLife has a long history of producing RO/DI filters for the home aquarium, bringing innovative changes to the proven design we are accustomed to. RO Buddie is no different- it is based on the same idea as standard RO/DI units, but in a much smaller form. Compactness is possibly RO Buddie’s biggest asset and the one thing that puts it in its own category of tap water filtration for aquarium use. But can we really get the same level of filtration, mandatory for mixing saltwater, as in standard size RO/DI out of a compact unit like RO Buddie?
NUMBERS
RO Buddie comes in two models, a 50 gallon per day unit and a larger, 100 gpd one, which defines the maximum capacity of water it can filter in a day. Therefore, a 50 gpd filter will make (in an ideal setting, where ideal means high intake pressure and low sediment count) 50 gallons of deionized water in a 24h timeframe. They are also sold without the DI stage, as RO-only filters
The second most important value that characterizes RO/DI filters is a filtered/waste water ratio. Every RO/DI unit on the market must output waste to produce clean water. The average waste (also called flush water as it flushes the membrane, protecting it from being clogged) to filtered water ratio for budget RO/DI systems is 4:1. Very few manufacturers actually post that ratio advertising their products, mainly because it depends on the water pressure entering the membrane and the membrane’s rejection rate, so it is not consistent from one setup to another. I will be testing this ratio based on my water supply, but remember, your results may vary.
WHAT’S INSIDE?
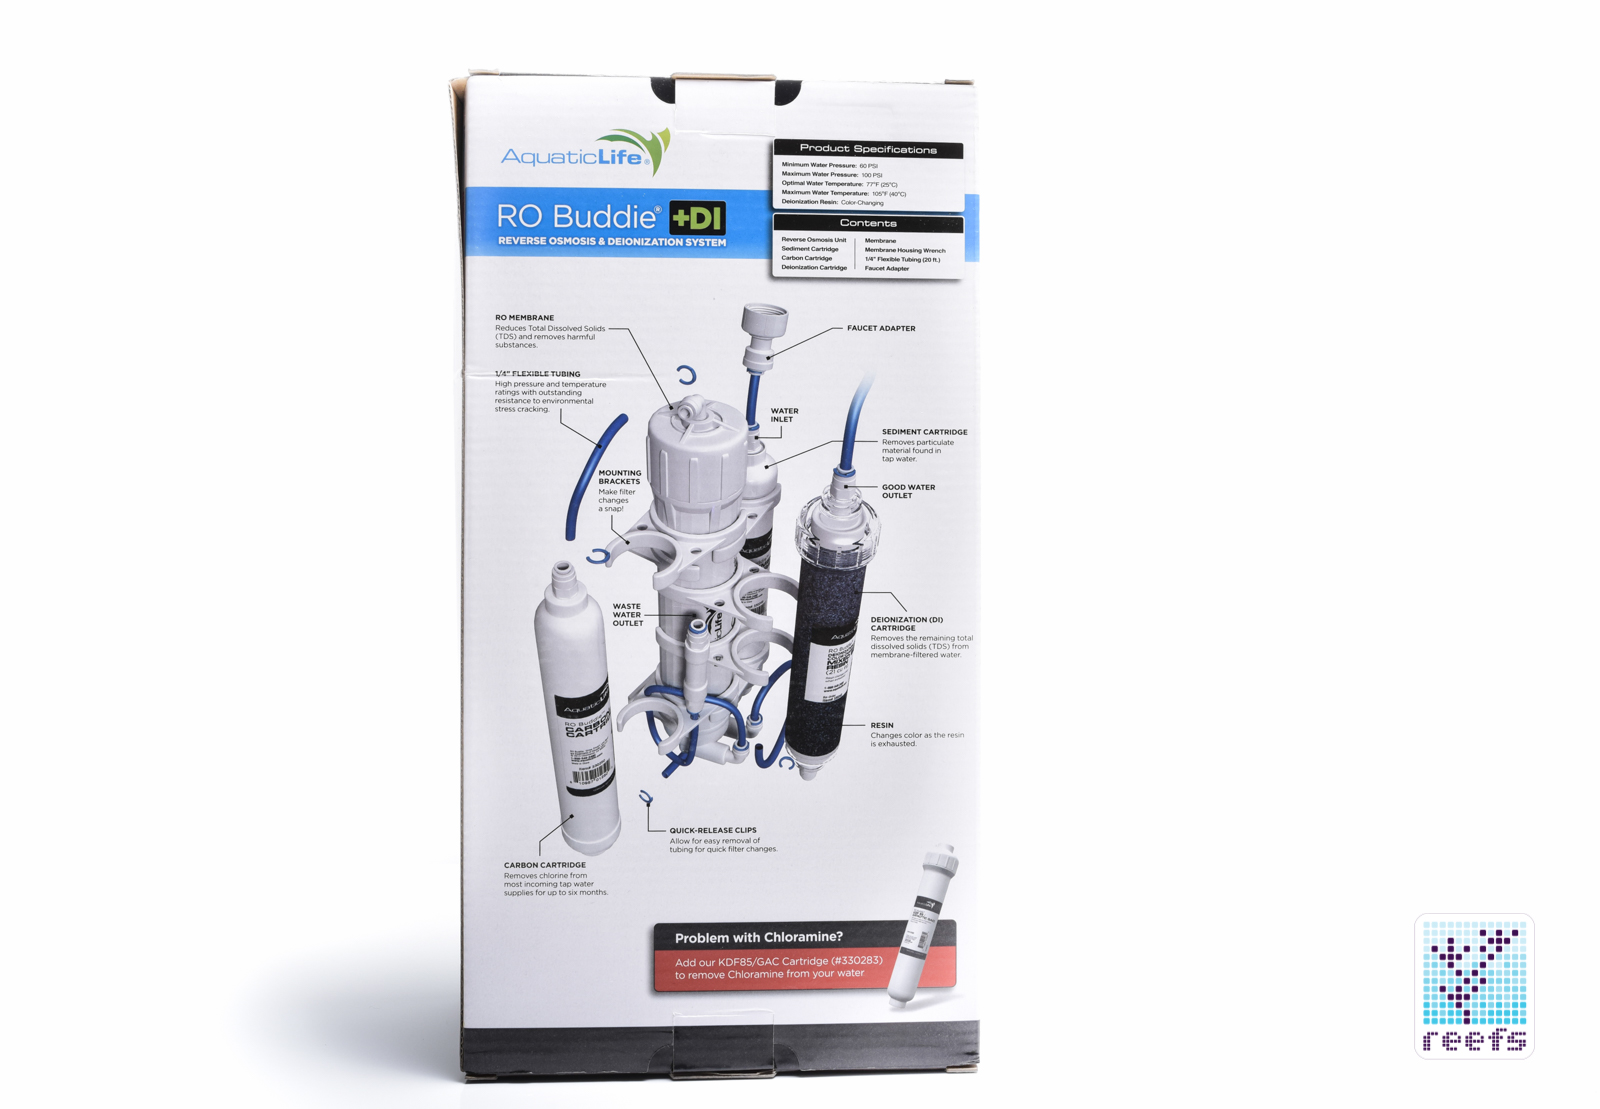
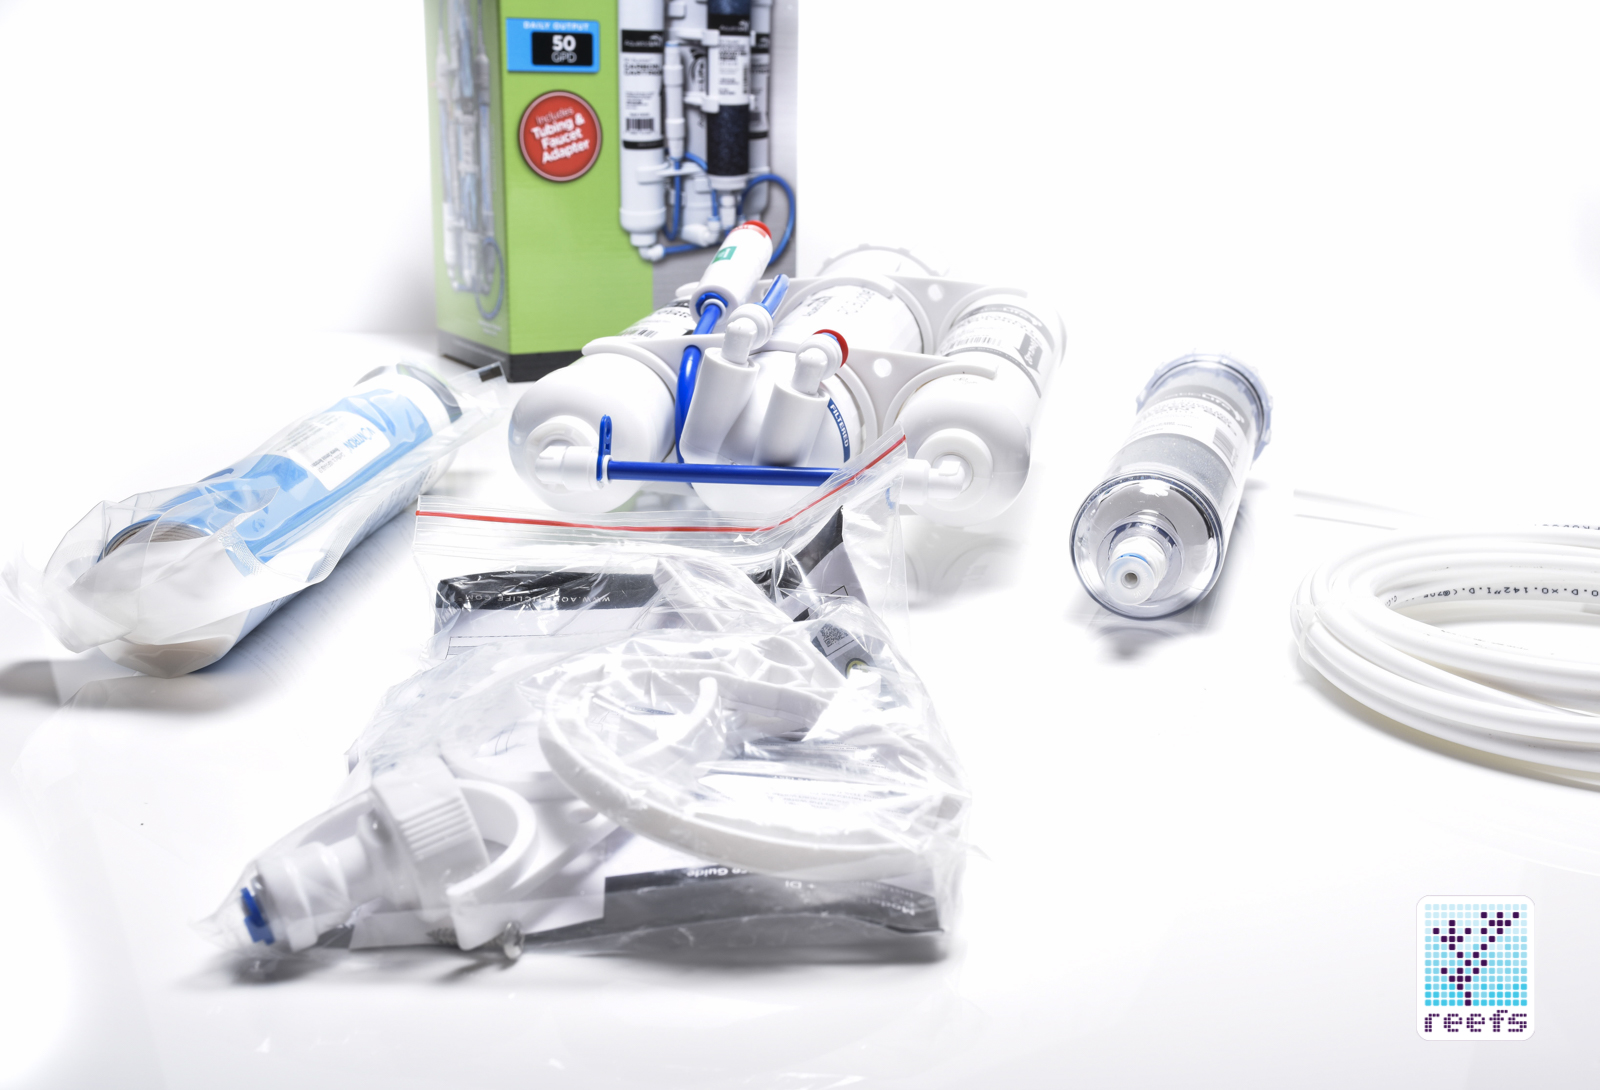
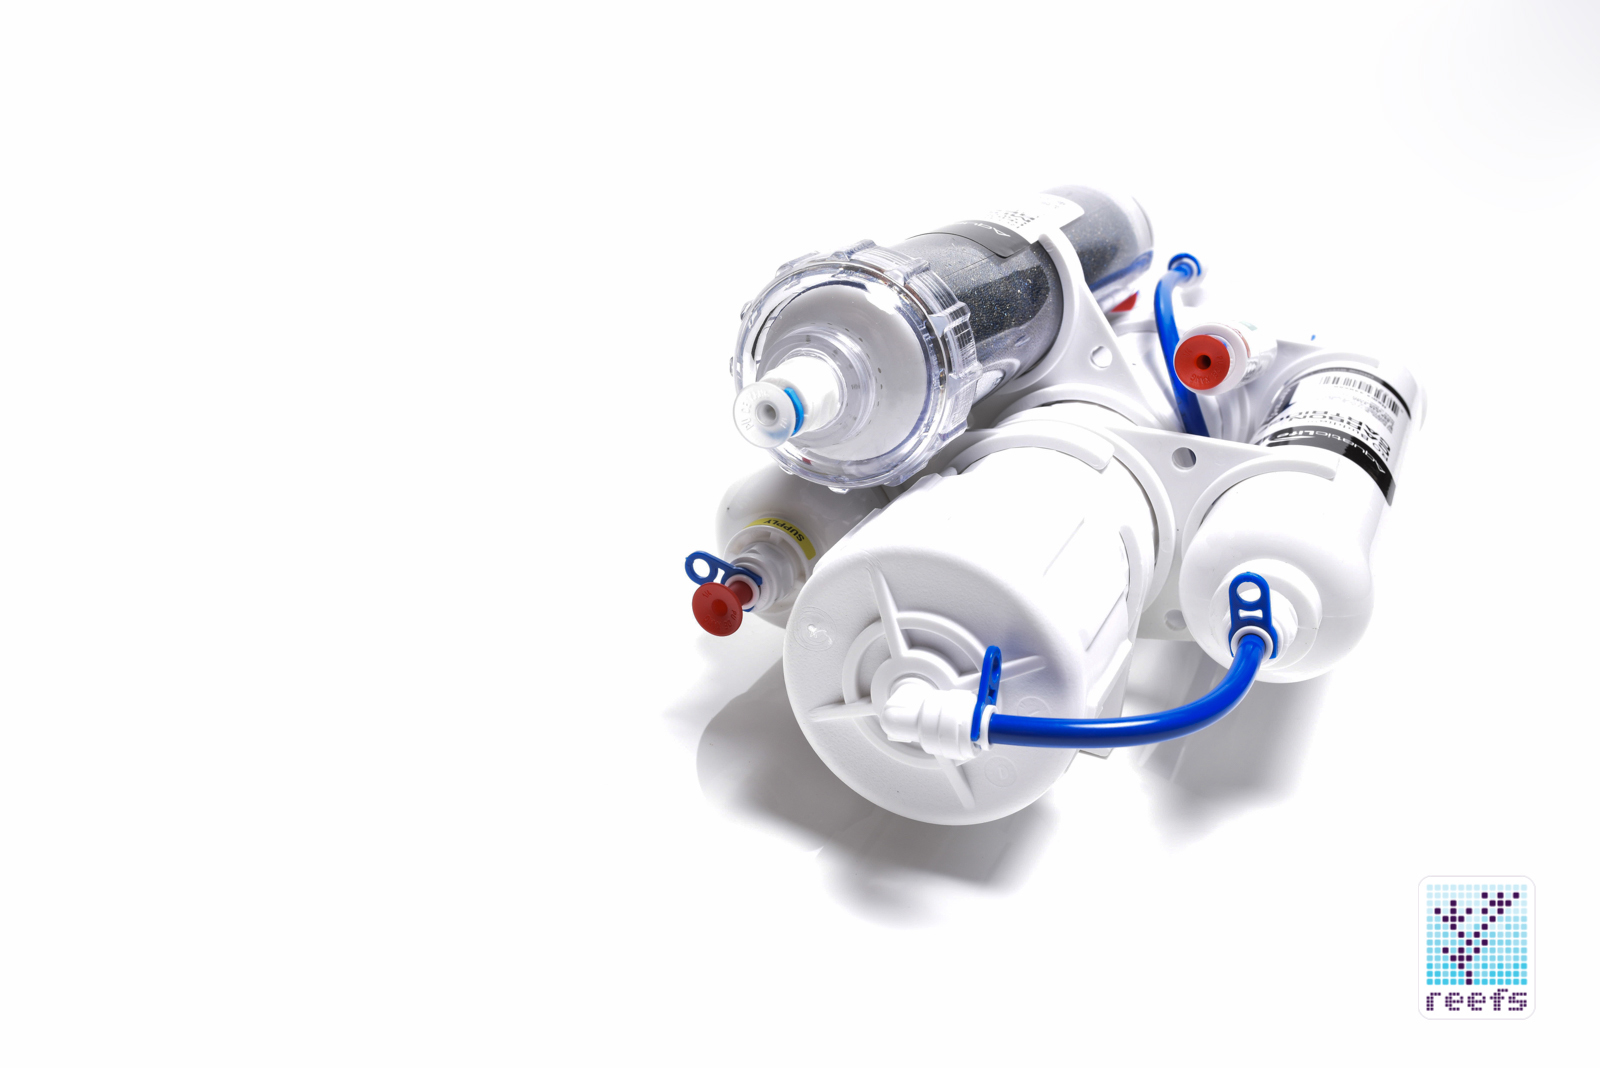
RO Buddie comes in a retail box with a bunch of info about the unit printed right on its sides. The filter I received is a 50gpd, 4-stage RO/DI model. The package consists of:
- A 3-stage RO unit with removable sediment, carbon, and membrane cartridges in a opaque, white housings
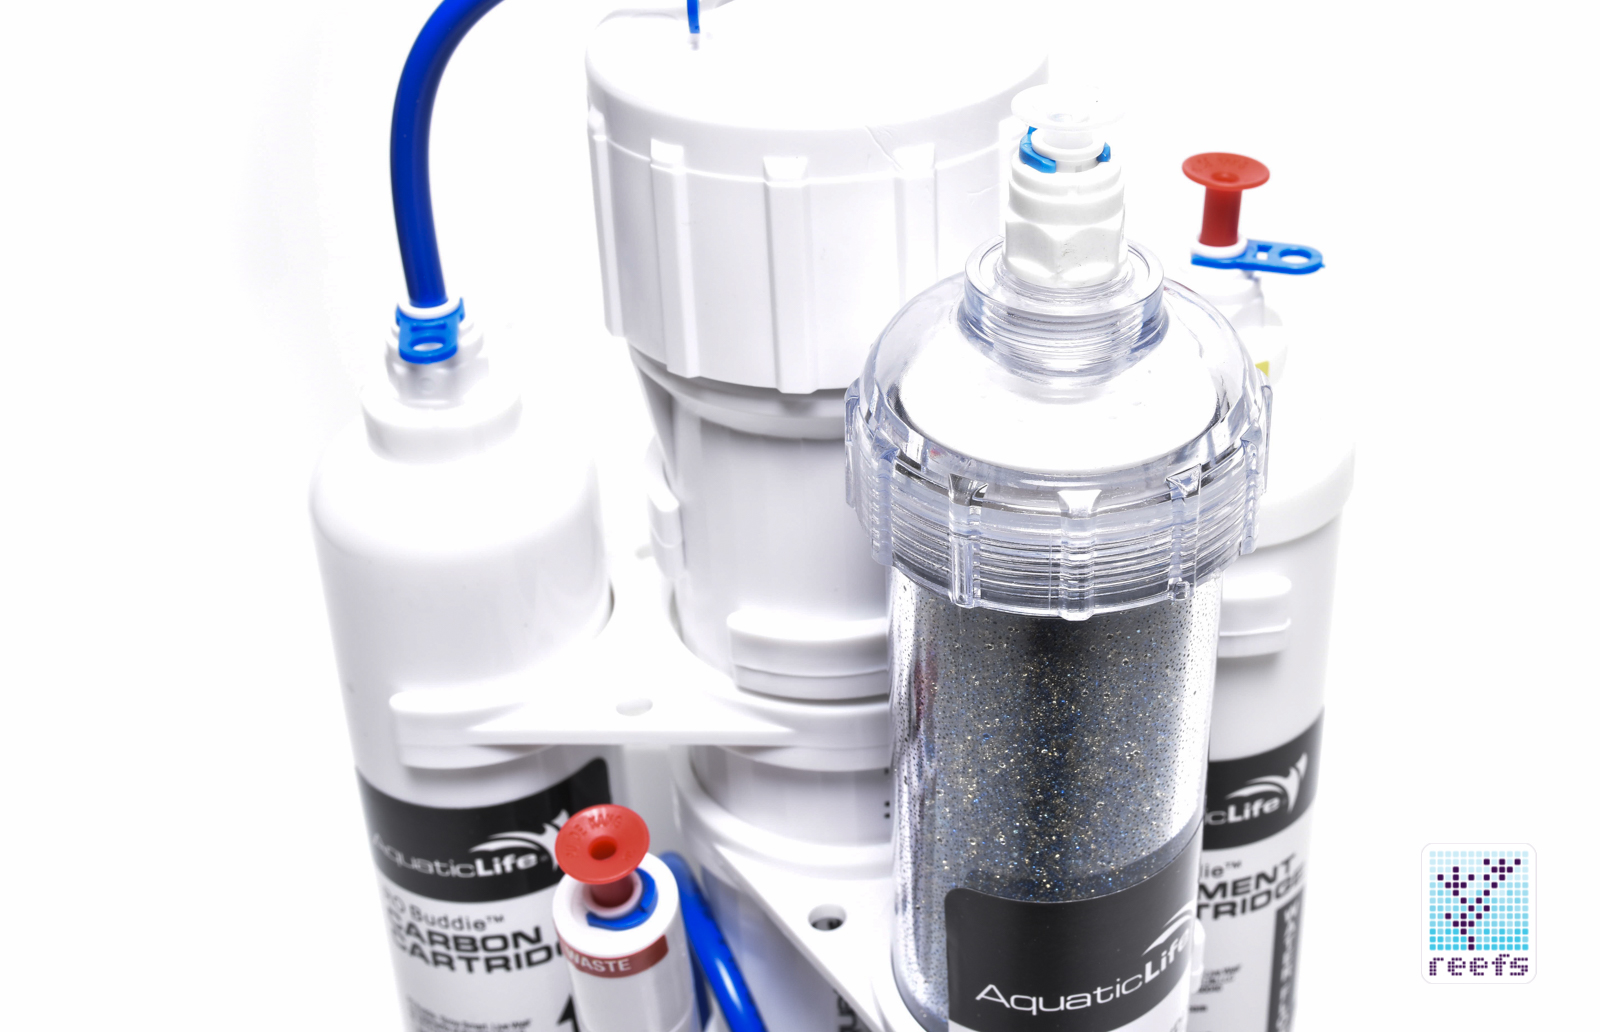
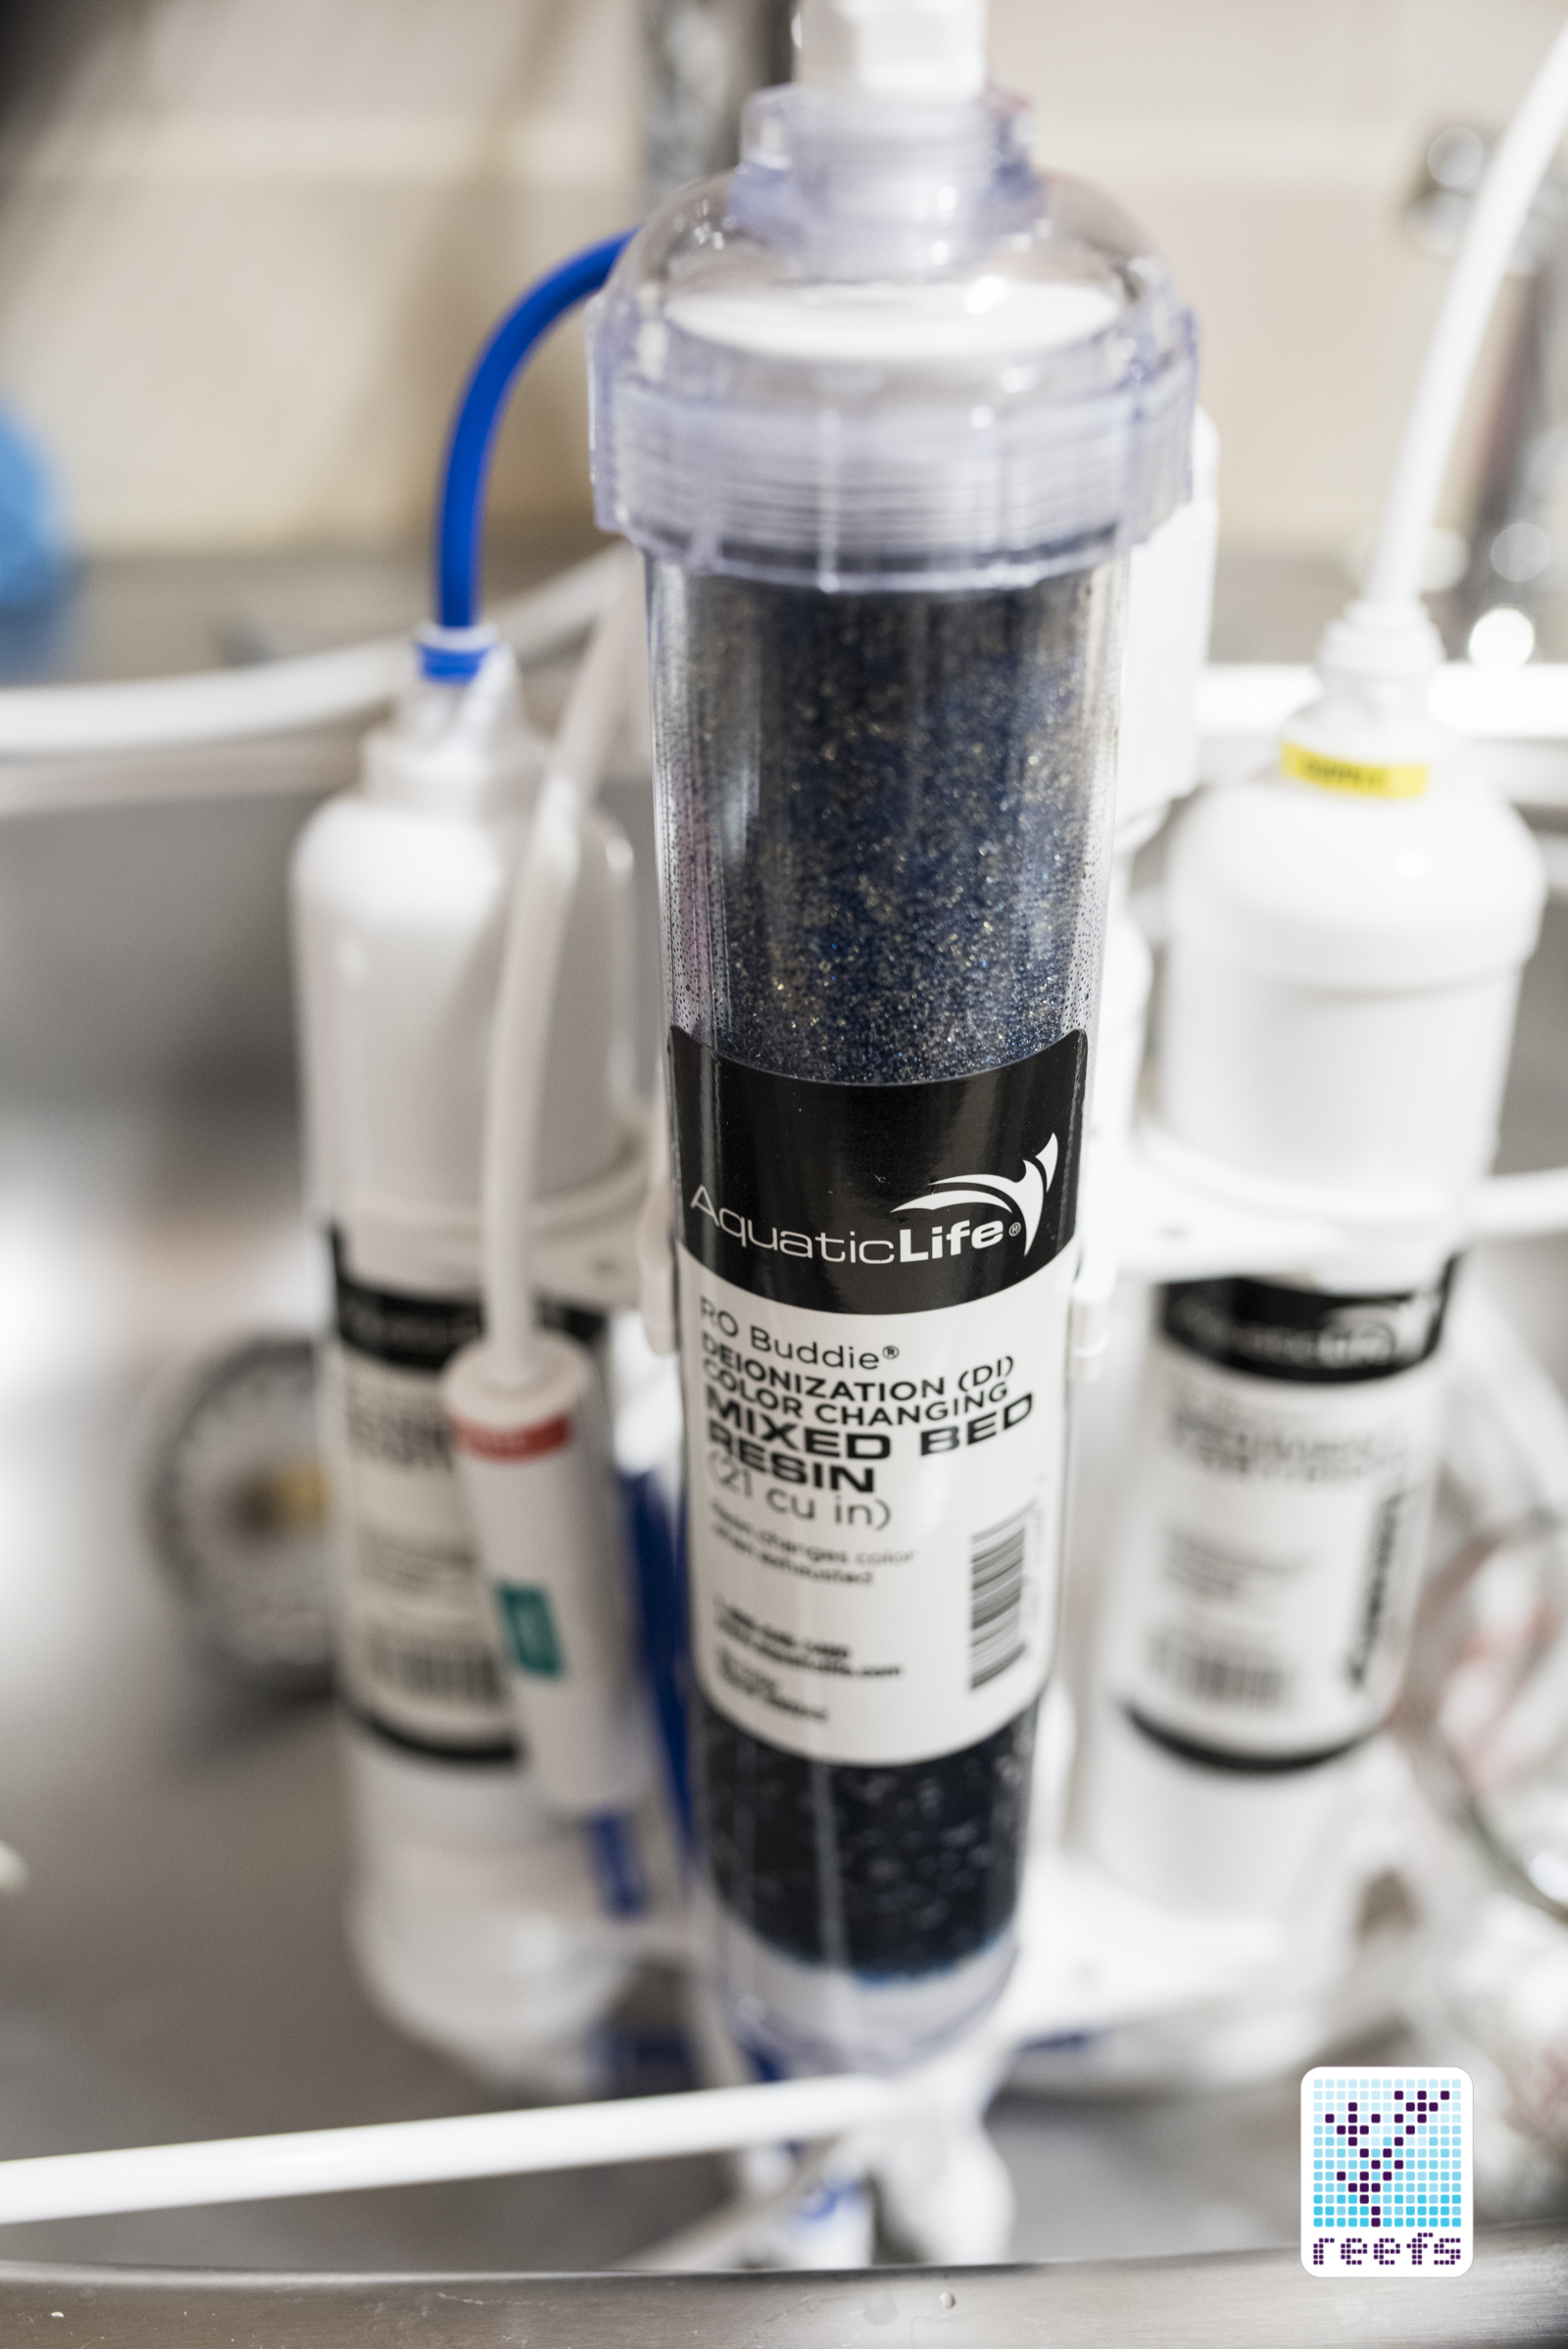
- A sealed DI stage filter in clear housing
- A spool of ¼” polyethylene tubing with quick connect attachments
- Mounting brackets for DI stage and a set of wall mounts
- Plastic filter wrench
- Faucet adapter
- Printed manual
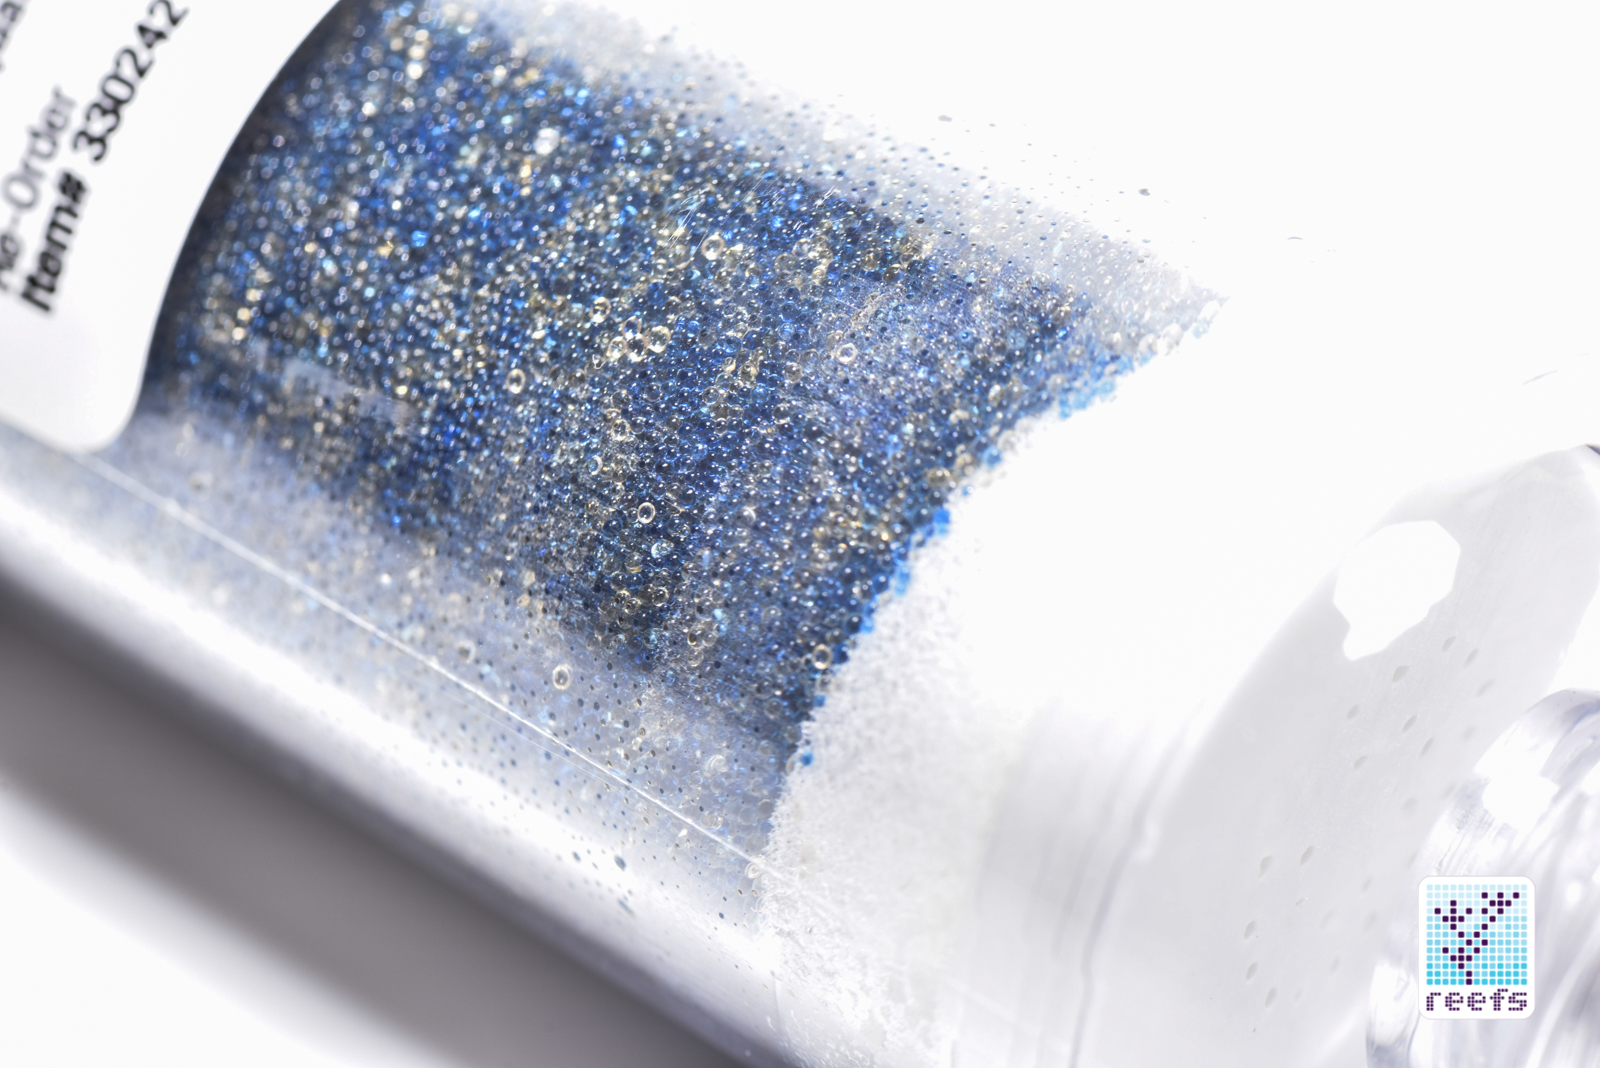
The membrane inside RO Buddie is a Thin-Film Composite (TFC) and has a standard size (11-3/4”), which means it can be replaced with other brands if preferable. The sediment and active carbon cartridges, on the other hand, come in a custom size exclusive to AquaticLife and replacements need to be purchased from the manufacturer (or a dealer carrying AquaticLife products). The DI filter housing has a threaded cap and the resin can be replaced without changing the entire stage. AquaticLife ships it with a color-changing, mixed bed resin that changes its hue from blue to yellow to white as it gets depleted.
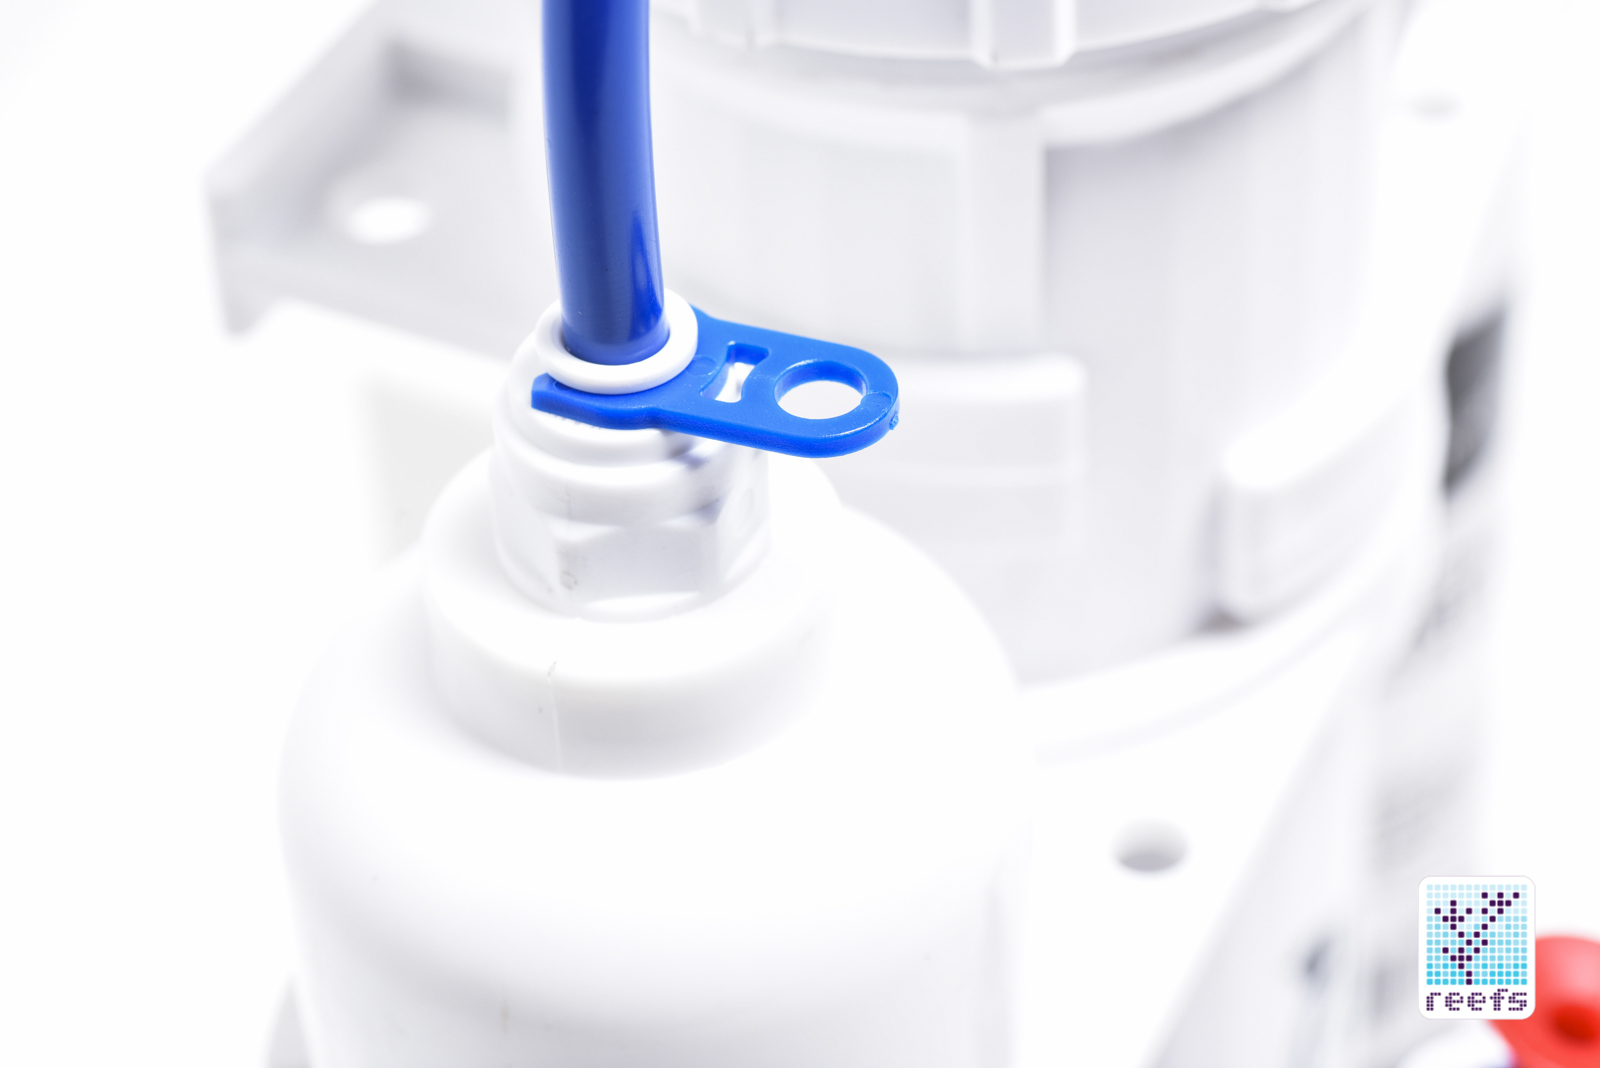
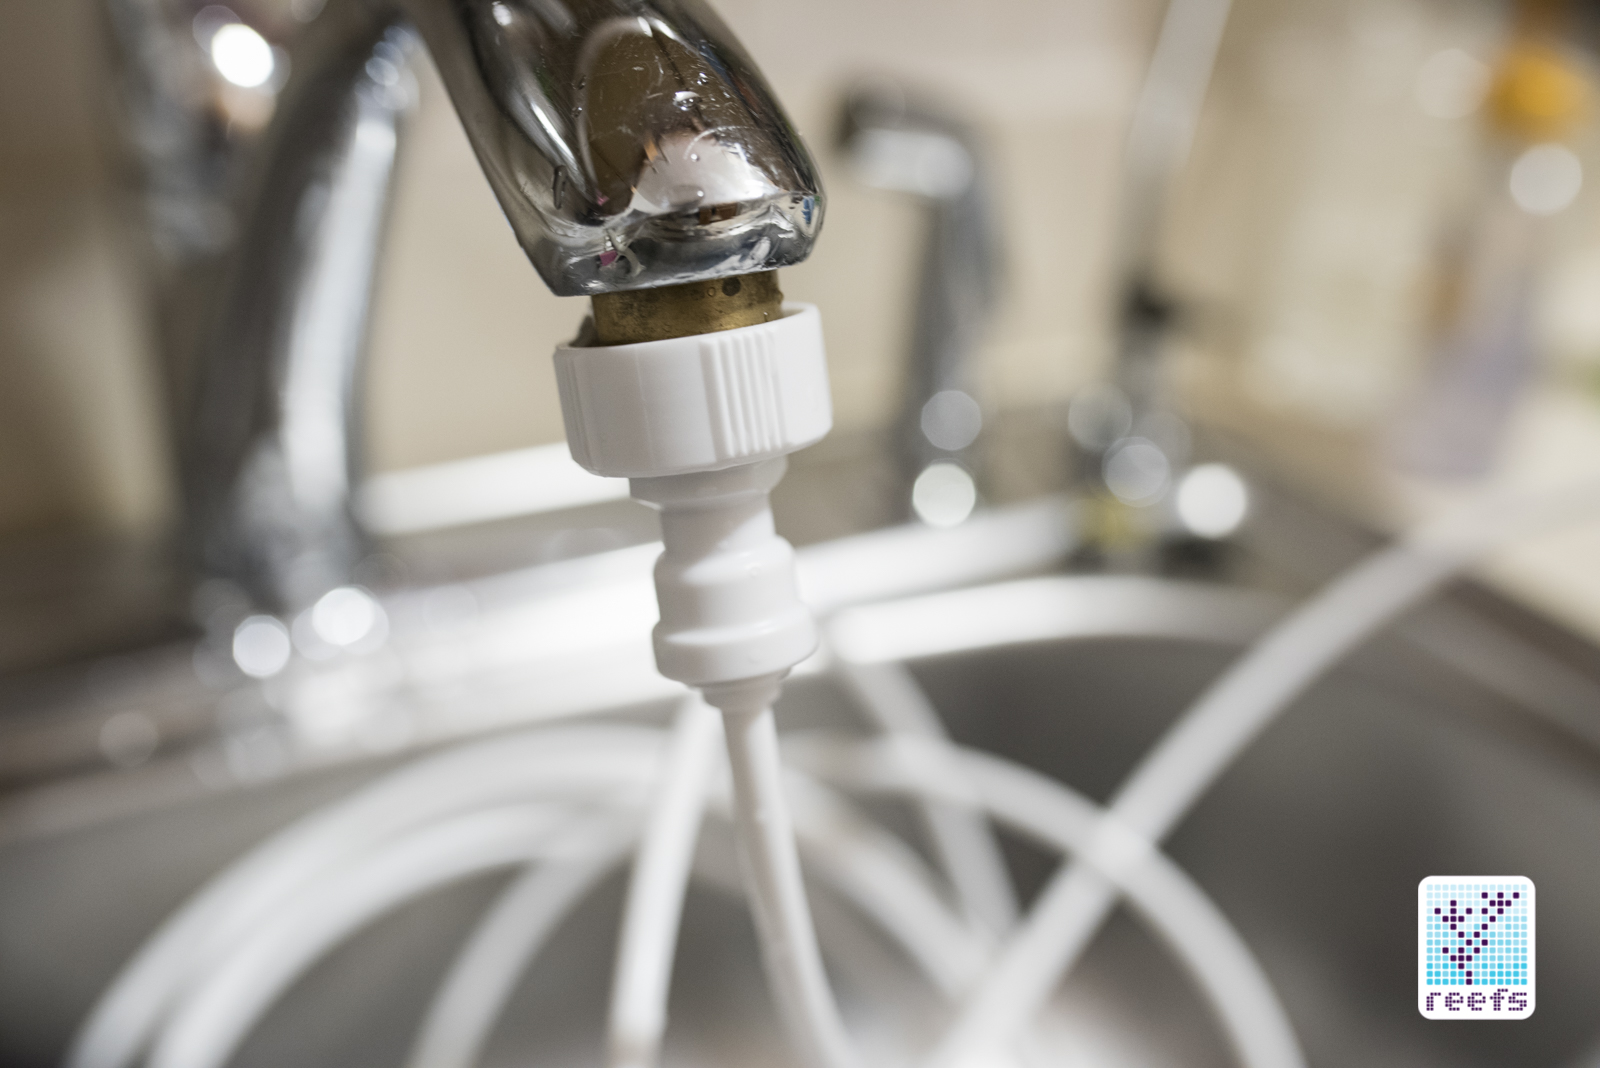
RO Buddie uses standard ¼” tubing that can be used with any standard quick-connect fittings. The included Faucet adapter has female garden hose threaded connection, so you can hook it up to a hose bib or a ¾” laundry valve. To connect the unit to a standard kitchen faucet, an adaptor is required (see the “initial setup” part of the review for reference).
INITIAL SETUP
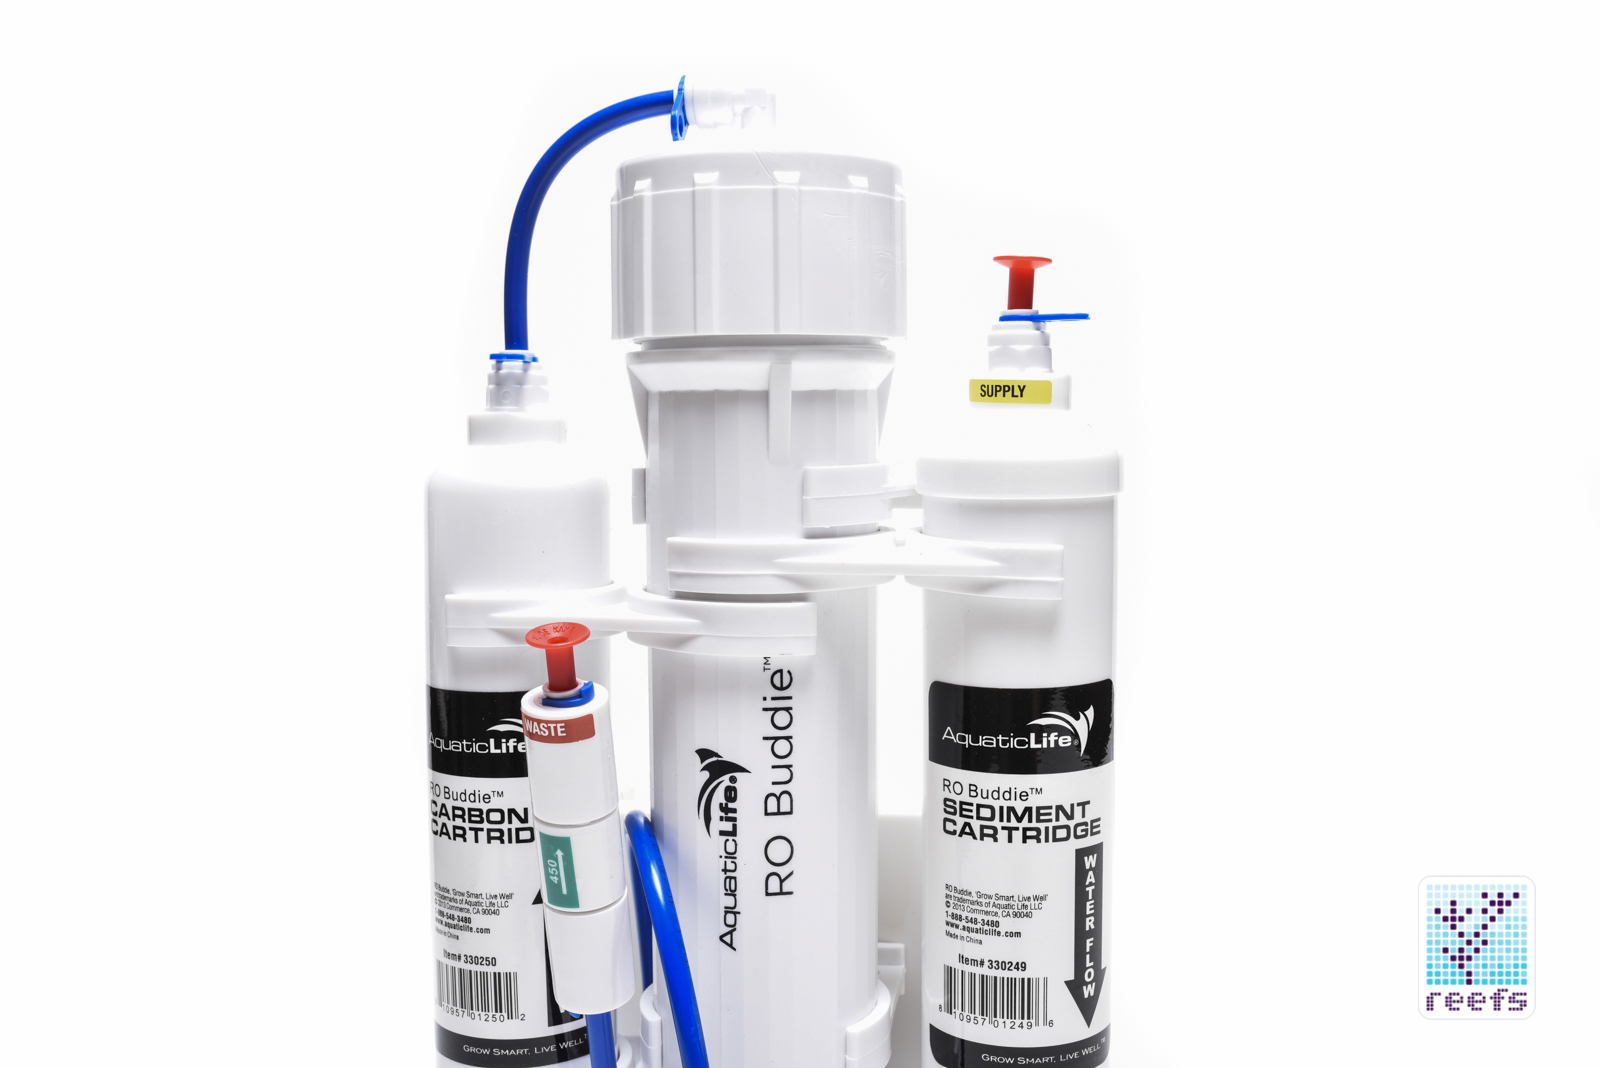
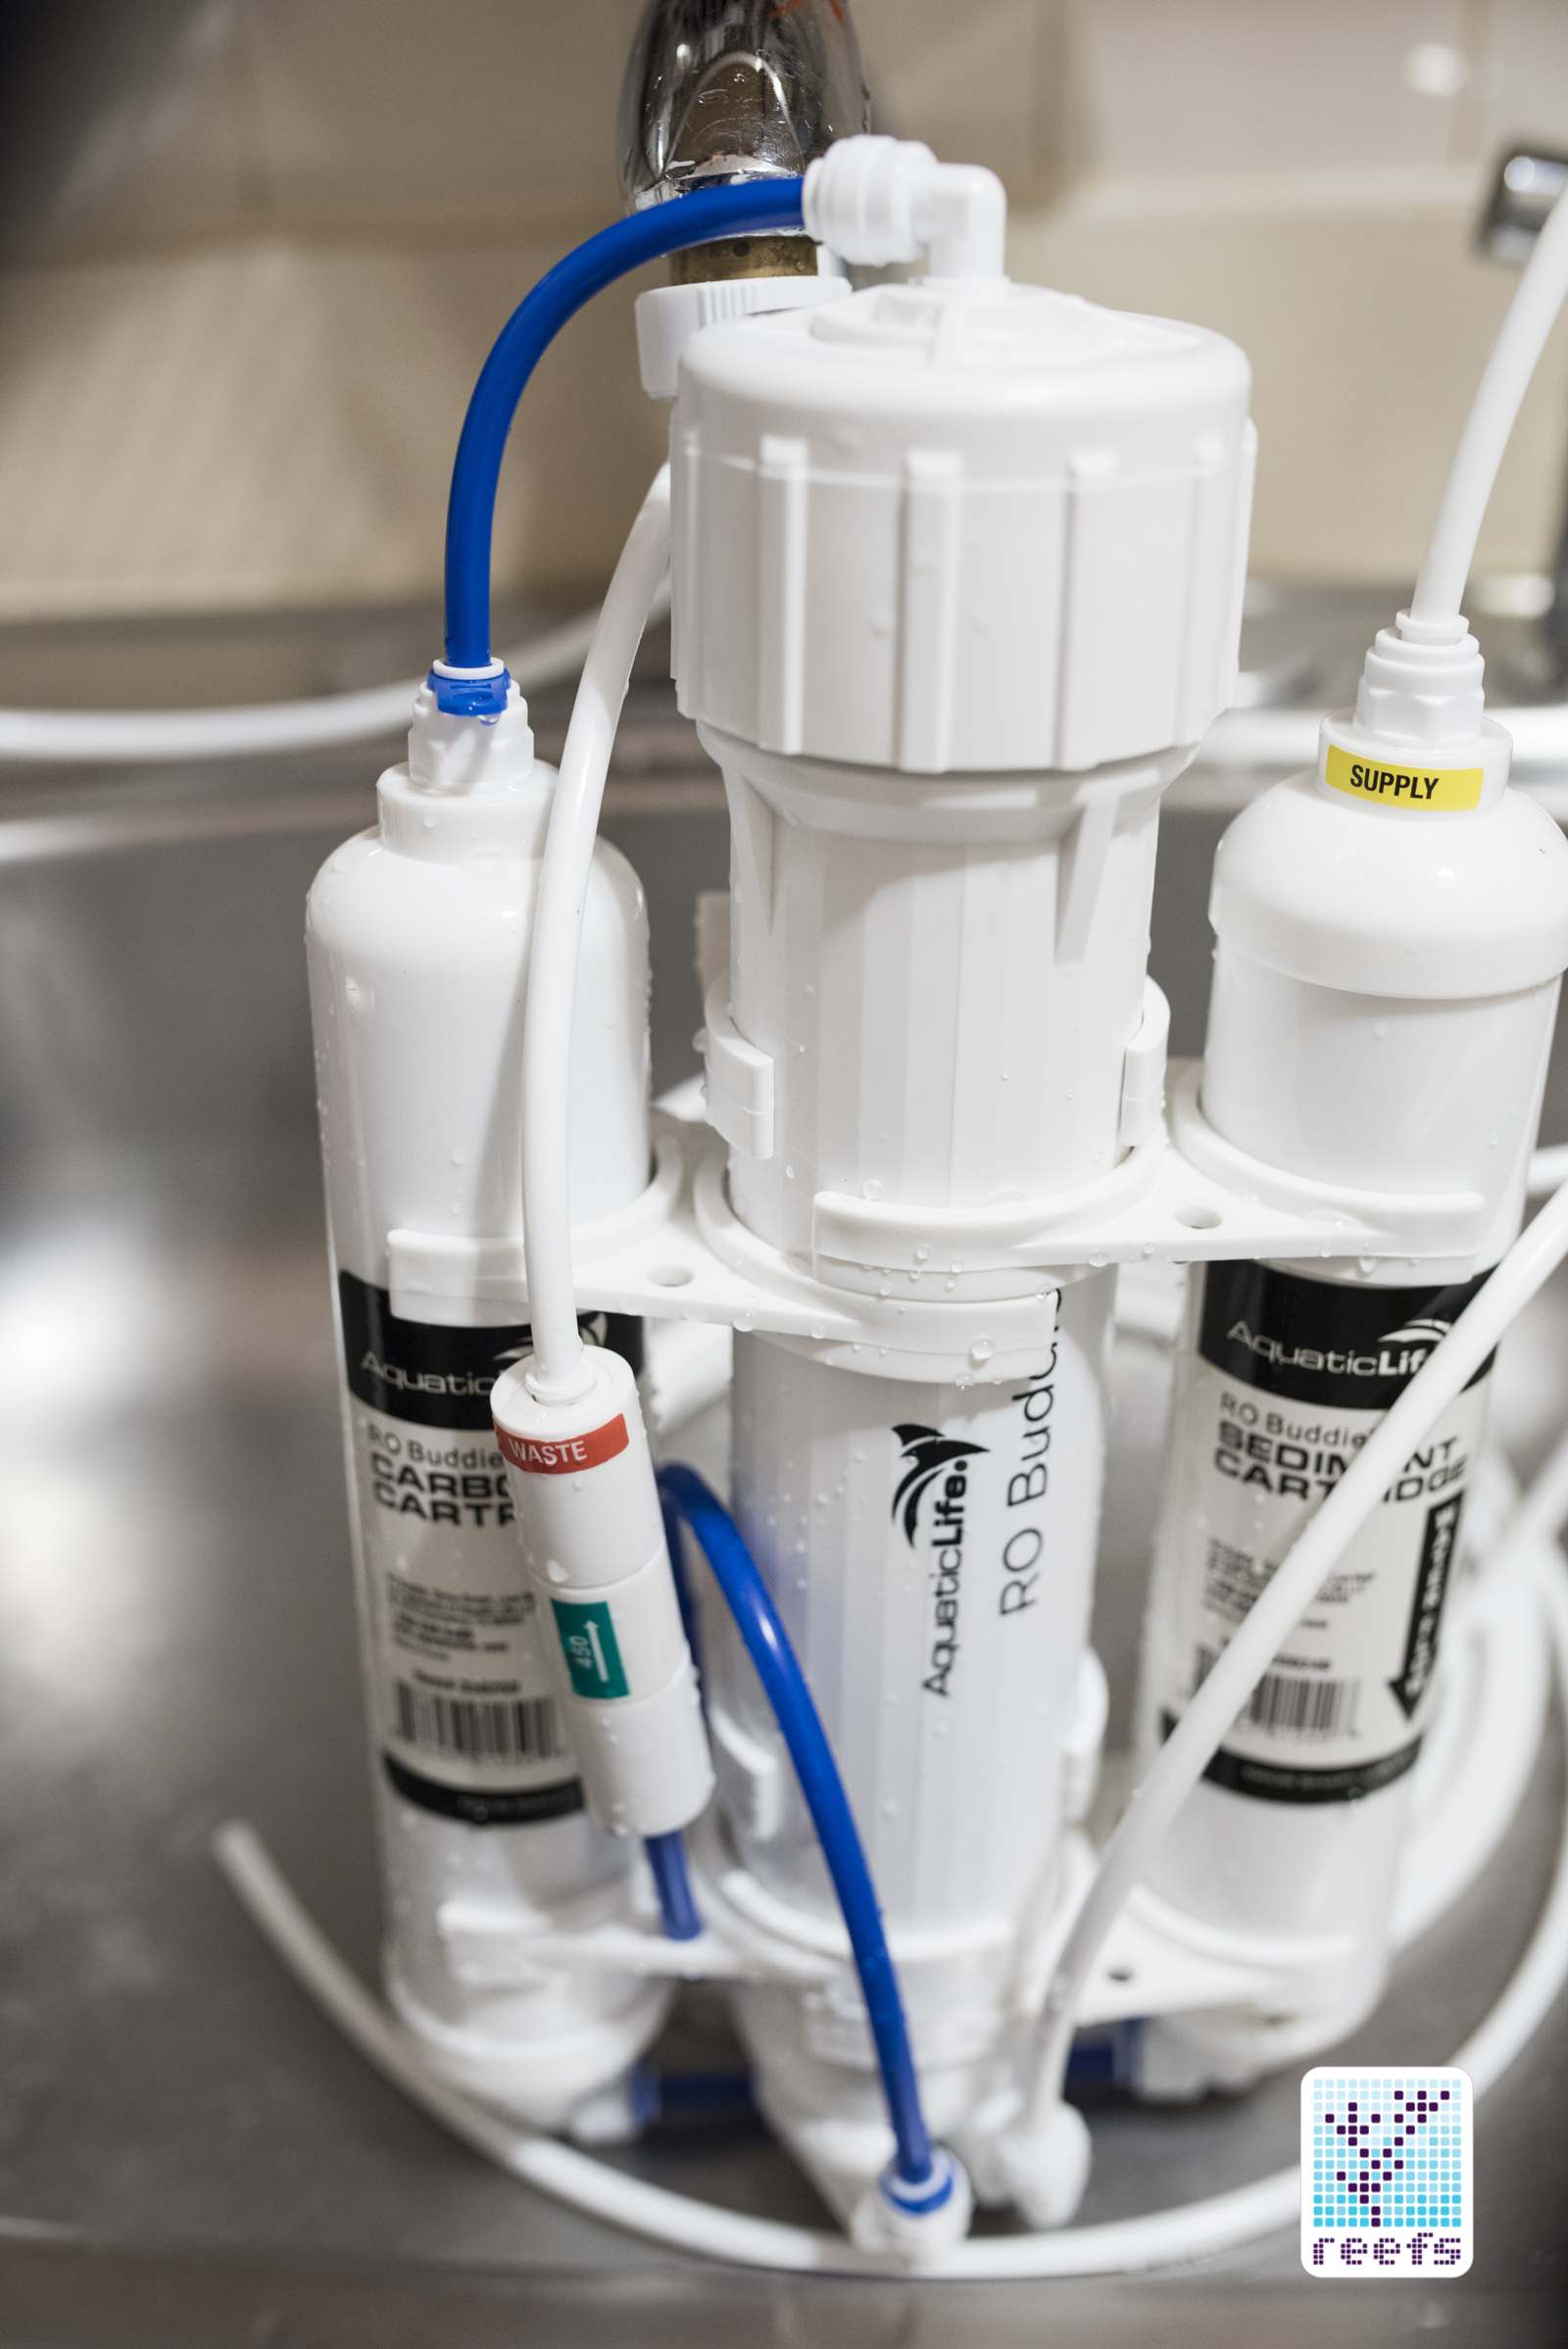
The 3 stage filtration comes pre-assembled and the only plumbing that needs assembly are the waste water outlet, the water supply inlet, and the filtered water outlet. All three are clearly marked on the filter body and the whole process only takes few minutes. AquaticLife offers a great installation video on their Youtube channel should you run into problems assembling the filter.
Putting RO Buddie together is a cakewalk. First, mount the unit using the supplied brackets (it can be hung vertically or horizontally) and “snap” the filter onto them. Next, screw in the faucet adapter onto a garden hose type valve and cut a desired length of tubing, pushing it to the quick connect on the adapter and the other end on the “supply” inlet of the filter. Alternatively, you can use a third party adapter to hook up the filter to kitchen faucet, like I did (I used a brass fitting that comes with Python type water change hose). Next step is to attach tubing to the “Waste” outlet located at the flow restrictor towards the bottom of membrane and run that into a drain pipe of your home plumbing (you can also use the waste water to water your plants). Finally, hook up tubing to the “filtered” outlet and place the other end into a storage container of your choice. At this point, it’s a good idea to turn on the water and flush any residue from RO Buddie filter housings by running it for few minutes.
When that’s done, shut off the water supply, unhook the tubing from the membrane, unscrew the top and place the new membrane, making sure the part with rubber gasket faces the threaded cap. Again, the RO membrane should be flushed for half an hour to get rid of any residue present on its film. One last step is to install the DI stage filter. Housing comes with two clips that attach to the RO stack- use the remaining tubing to connect the outlet of the membrane to the inlet of DI filter (DI stage is bi-directional, it doesn’t matter which side is inlet) and the outlet of DI to the filtered water container. The whole process may sound complicated on [digital] paper, but in practice is very simple, even if you have no previous experience in plumbing. Again, use the installation video provided by AquaticLife as a reference. This concludes the initial setup; RO Buddie is ready to use.
MAKING RO/DI WATER
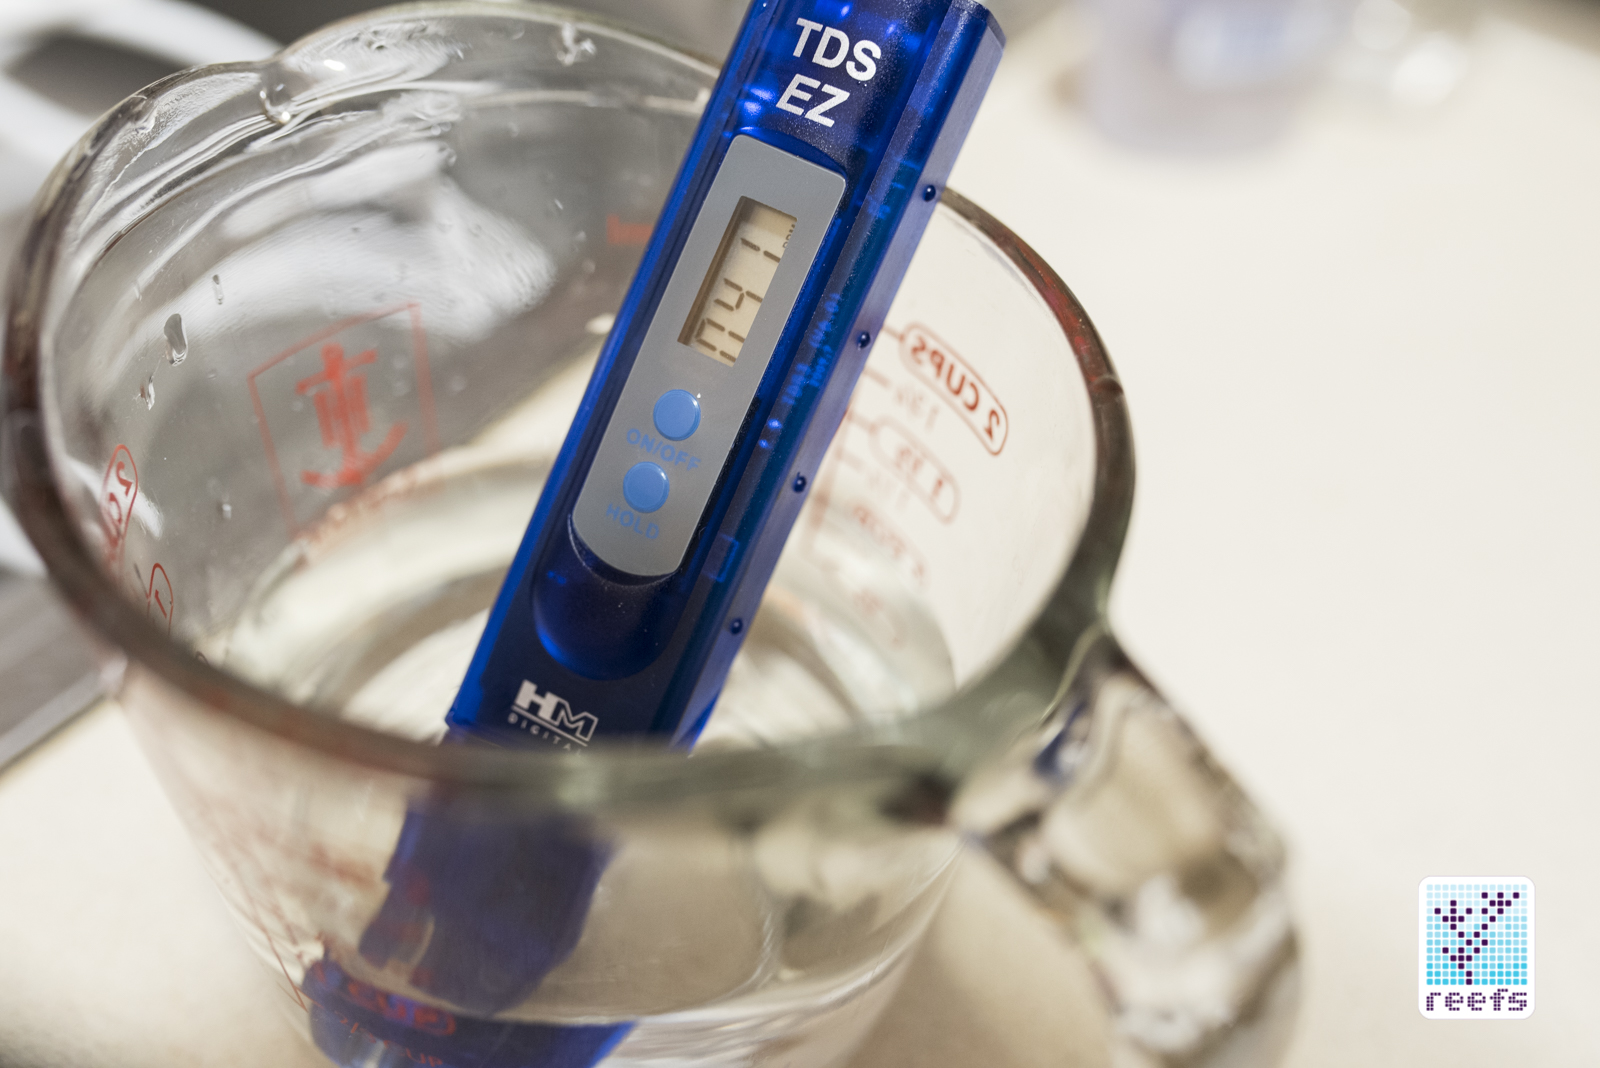
The quality of reverse osmosis/ deionized water and its usability for reef tank use, is determined using a TDS level. TDS is an abbreviation of Total Dissolved Solids and it is a measurement of the content of organic and inorganic substances present in tested water. Every batch of water used for mixing saltwater should be tested for TDS content using a portable TDS meter, available in any place where RO/DI filters are sold. Consumer level TDS meters measure electrical conductivity of tester water (the ability of water sample to conduct an electric current). That value should always be zero- if it’s not, one or more filters in a RO/DI unit need to be replaced.
In my little kitchen laboratory, I tested RO Buddie for the following characteristics:
-TDS after RO stage
-TDS after DI stage
-waste water/filtered water ratio
-time needed to produce 1 gallon of RO/DI water
These are the key values describing the quality of a RO/DI filter, which paired with retail price create a price/value ratio. For the above TDS tests, I used a calibrated HM Digital portable TDS meter. I also ran the filter for 4 hours straight to eliminate residue left in the manufacturing process. My water supply has a pressure of 40 psi and a tap water TDS value of 45. Please note that your results may vary, sometimes significantly. Water pressure plays a big role in the waste to filtered water ratio- the higher it is, the more efficiently RO/DI filter performs (to a certain degree). Same is true for tap water TDS value- low TDS water is easier to filter, which makes the RO stage more capable of producing sediment-free output.
TDS after RO stage
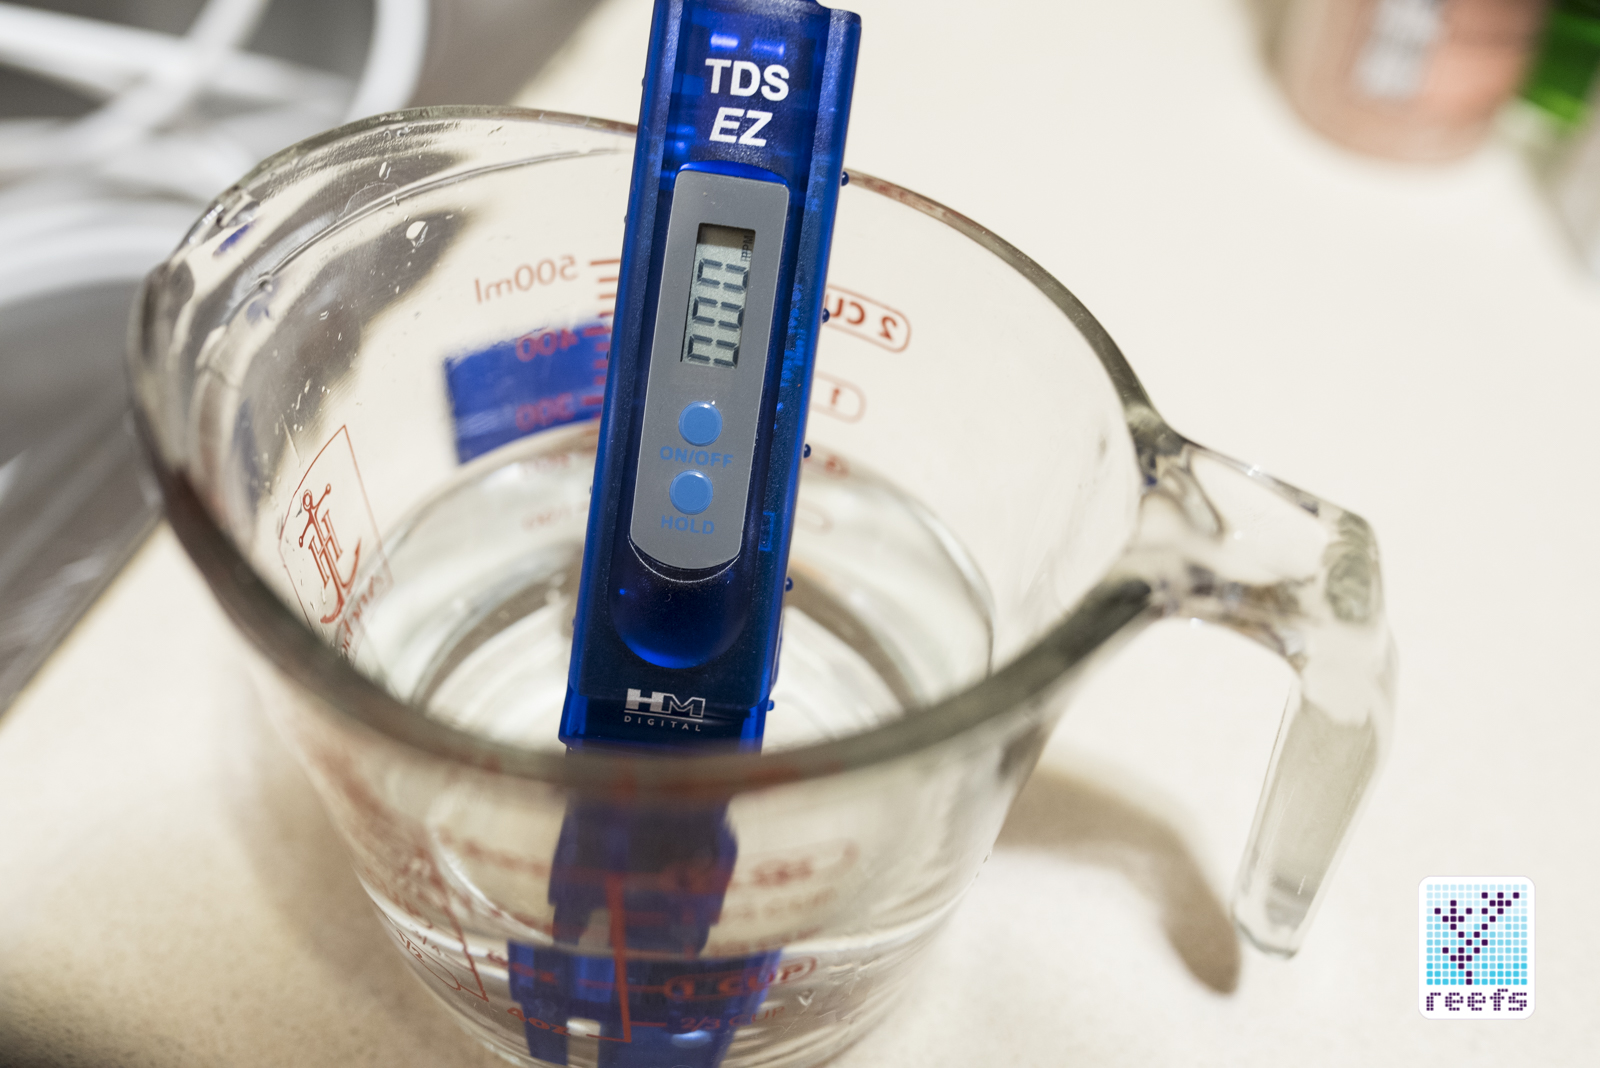
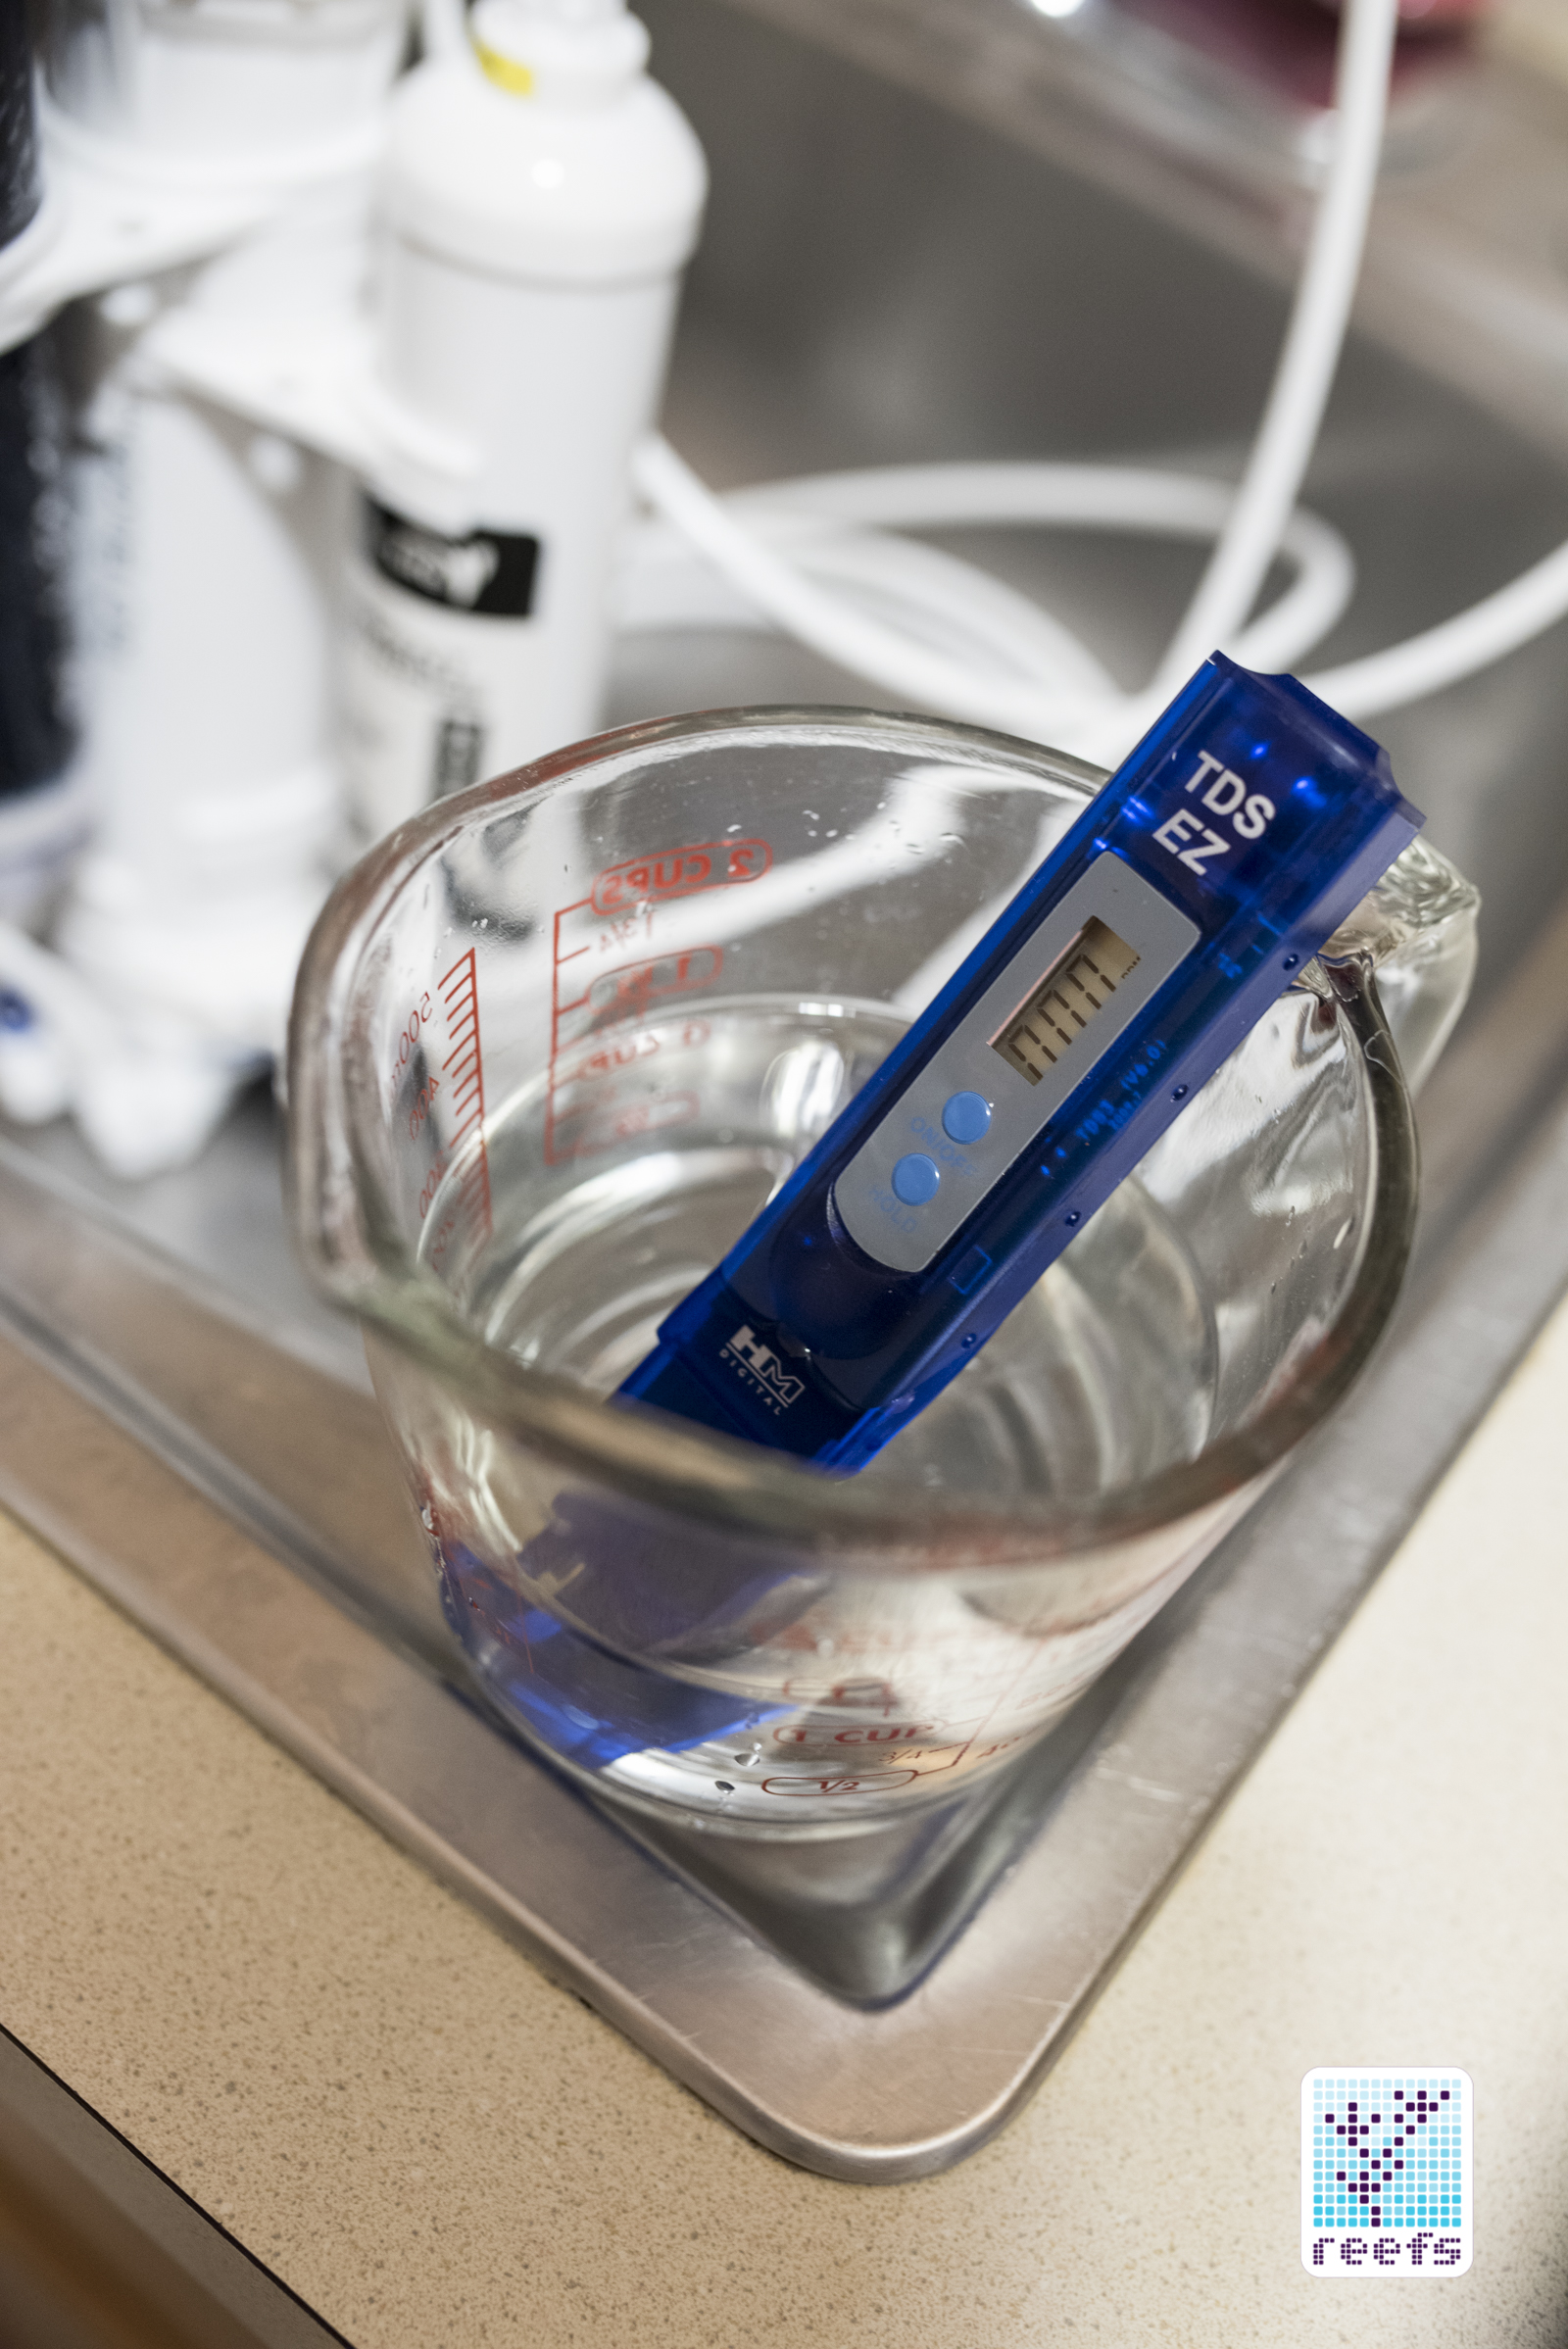
Water filtered using a Reverse Osmosis method is often enough for even the most difficult to keep freshwater fish, such as Discus and Altum Angelfish, but it isn’t suitable for saltwater mixing in reef aquariums hosting live corals. RO Buddie proved to be excellent in filtering out imperfections, producing RO water with a TDS value of 0 (from tap water with TDS value of 45).
TDS after DI stage
RO/DI water coming out of DI stage has to have a TDS value of 0 to be used in a reef tank setup. Since in my previous test, RO Buddie was already producing a 0 TDS water, it’s not a surprise the output after DI stage shown the same value.
Waste water/filtered water ratio
For this test, I set up a 5 gallon jug for wastewater and a 2 gallon bucket with a scale printed on its side for filtered water. The results: it takes 5.25 gallon of waste water to produce 1 gallon of RO/DI water. That is below average for a budget filter, so to remedy this a booster pump would be needed in scenarios like mine, where tap water pressure is low.
Time needed to produce 1 gallon of RO/DI water
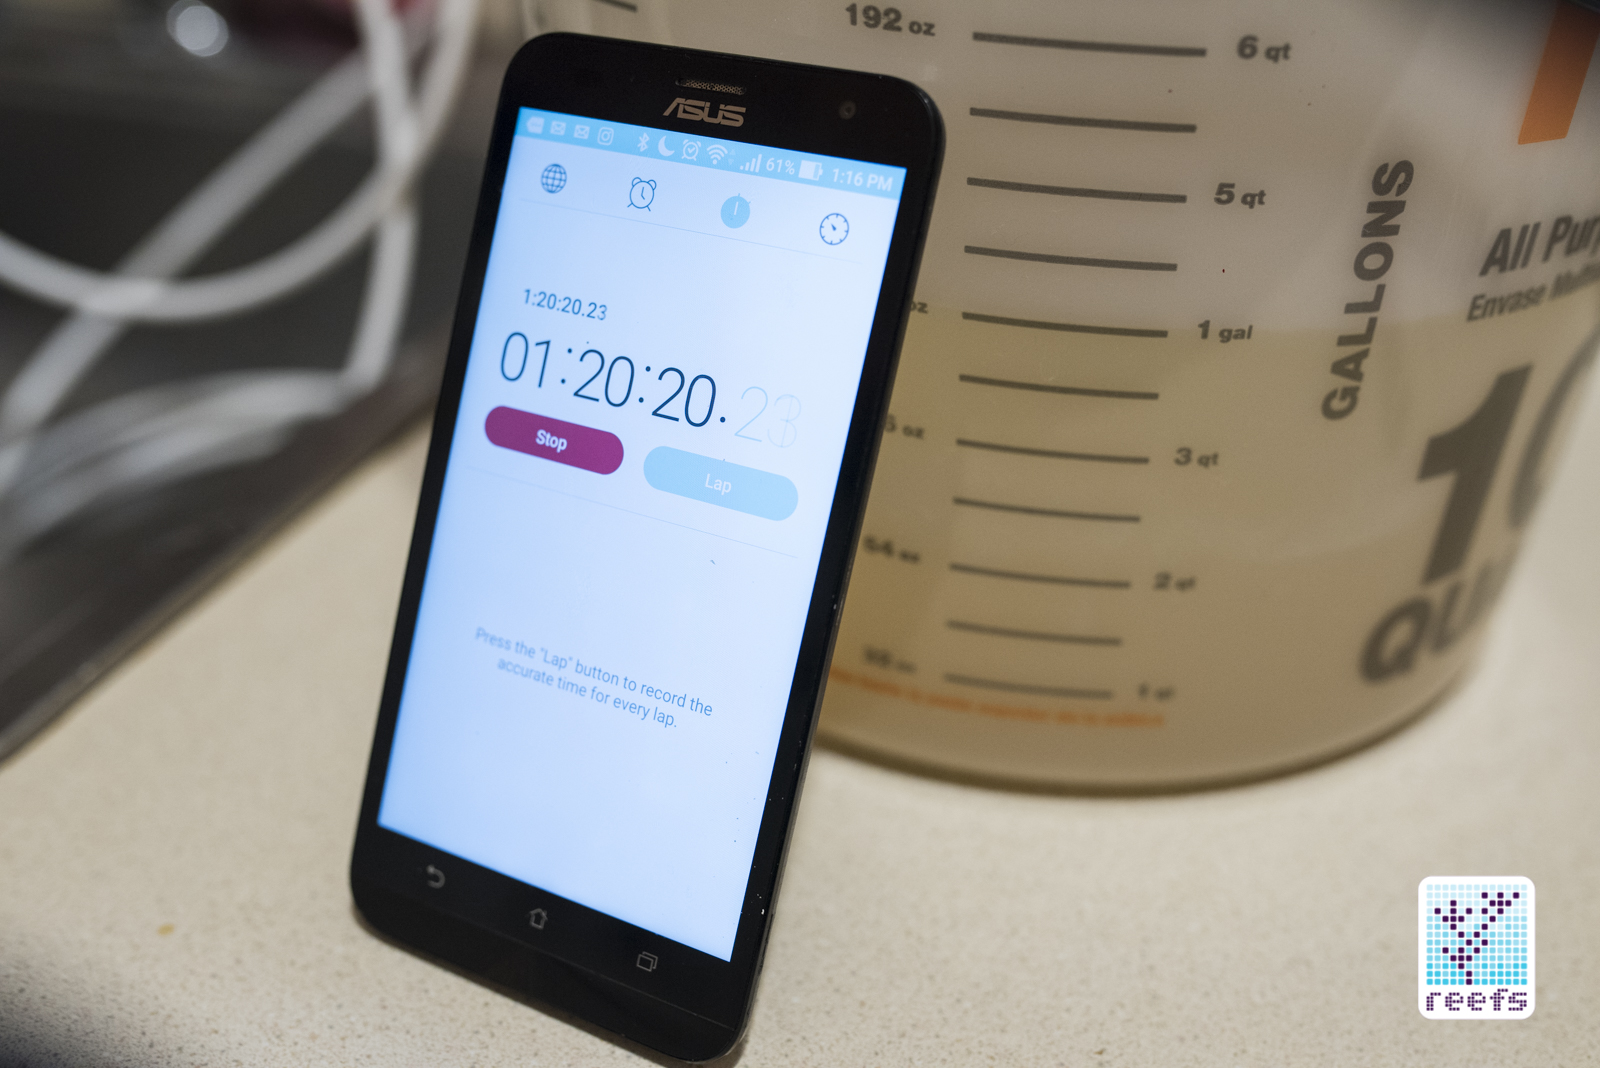
In my test, it took exactly 1 hour 20 minutes to produce 1 gallon of RO/DI water, which translates to 0.83 gph or 20 gpd. Obviously, that is way below the advertised 50 gpd, but in my experience with RO/DI filters, this outcome isn’t shocking – in fact, my top of the line 90 gpd filter with a DC booster pump can make about 45 gallons of filtered water. The advertised GPD value is based on an ideal conditions (which for RO Buddie is 100 psi @ 77 F water temperature). That being said, if you need a larger volumes of water produced in a shorter amount of time, you should probably look into the 100 gpd version of RO Buddie.
EXPANSION
Beside replacement filters and membrane, AquaticLife also offer a pre-filter option in the form of catalytic Granular Activated Carbon (GAC) that helps remove iron and hydrogen sulfide from tap water. In addition, there is a flush valve kit available for purchase at the AquaticLife webstore, which helps keep the RO membrane free of any accumulated debris.
CLOSING WORDS
RO Buddie offers everything an average filtration unit on the market does at a fraction of the cost and in a much smaller package. The 50 gpd RO/DI version of RO Buddie costs on average $87-90, while the 100gpd model sells for $95 as a three stage, plus $25 for the DI filter. Sediment and carbon replacements are equally affordable at around $10 each, while a new membrane costs $20. While the sediment and carbon stages are exclusive to AquaticLife, the membrane, as well as DI stage are industry standard and can be replaced with another manufacturer’s offerings.
In summary, RO Buddie represents a good value for people entering the hobby with a limited budget and for all those who prefer an easy to install and service RO/DI unit sufficient for small to medium aquariums. Please give your thoughts on the topic by commenting below and go make your own RO/DI water! Thanks for reading.
USEFUL LINKS








“tanks” so much for the info