A long, long time ago, in the era of metal halide bulbs burning the insides of rusty pendants and row after row of buzzing fluorescent tubes, people used to verify the quality of fish tank lights by comparing their lumen values. But lumen, the unit of measurement of luminous flux, was far from an ideal way to determine light sources’ usefulness in an aquarium environment. The lumen value represents the total quantity of light emitted by a source; it’s heavily biased towards the human eye’s perception of light, and therefore only determines the amount of light, or what we call “brightness”, perceived by a human observer. Knowing lumen value is valuable when shopping for household light bulbs or flashlights, but when it comes to a light source marketed for aquarium hobby, this unit of measurement falls short to describe the light fixture’s quality.
Luminous flux doesn’t really tell anything about the distribution of light energy over its spectrum. For example, grow lights used in horticulture, with their characteristic, pinkish glow, would have a rather low lumen rating, but are known to be far superior in growing plants than a standard, daylight-emulating light source (with a Kelvin temperature between 5000-6500). It is well known that plants, be it a tomato in the garden or zooxanthellae in photosynthetic corals, adsorb only certain wavelengths of the entire light spectrum (please read the fantastic article “Light in the Reef Aquaria” by Dmitry Karpenko & Vahe Ganapetyan, link in References). Results of scientific research (see “References”) on zooxanthellae light adsorption have shown that the algae adsorb light mainly from the blue side of the spectrum (wavelengths between 400nm-around 480nm) and the far red part (660nm- 680nm). These two narrow bands represent the extreme ends of what a human eye can see (farther to the left of the spectrum graph is harmful UV light, while to the right is radiation we sense as heat) and therefore comparing aquarium lights’ lumens rating is an inadequate way of choosing between one over another.
The solution to that problem is PAR- Photosynthetically Active Radiation, which defines the spectrum range of light useful for the process of photosynthesis, which falls between 400-700nm wavelengths (although not all wavelengths of this part of light spectrum are adsorbed). PAR is a measurement of the number of photons in this range that fall onto a surface in a given time. The unit of PAR is micro-mols per second (μmol/s) and naturally, the higher the number, the more efficient the light source in providing energy for photosynthesis. Manufacturers of light fixtures and light bulbs specific for aquarium use try to match their product’s spectrum to reflect the one target photosynthetic animals and plants adsorb.
The tool to measure PAR is called a PAR Meter. It has a sophisticated light sensor that contains, among other parts, a series of lenses, a collimator (device that “aligns” light beams in a specific direction) and colored filters that block unwanted wavelengths from entering the photocell at the bottom of the sensor. Some sensors are better (and much more expensive) than others in “selecting” target wavelengths and filtering others for accurate PAR measurements, but as research shows (link in “References”), even consumer-level PAR meters give satisfying results in aquarium hobby applications.
But who really needs a PAR meter? The simplest answer is: “Anyone who wants to know his/her light PAR values”. You don’t necessarily need to know that value to have a successful aquarium, but it helps determine the most optimal light requirements for the photosynthetic animals you keep in your reef tank. One group of aquarists who would benefit the most from owning a PAR meter is people who use fluorescent and metal halide bulbs to light up their tanks. These types of light sources lose their light output over time. The change in the visible brightness of a fluorescent tube or a metal halide lamp may be hard to spot, but they can lose up to 40% of their PAR output within 6 to 12 months. Replacing bulbs is a costly endeavor, especially in large aquariums lit by multiple fixtures, and by measuring PAR values under each individual bulb, an aquarist can determine when it’s definitely time to change it.
Those who use LED light panels will have a different use for PAR meters. LED emitters have very long lifespan and do not lose their output over time in any significant manner. However, almost all aquarium LED lights nowadays consist of multiple emitter clusters, where where different groups emit different wavelength light beams. In most cases, each “color groups” of LEDs can be dimmed individually, which effectively lets hobbyists change the light spectrum of their LED lamps. Using a PAR meter when performing spectral changes in the light output informs the user of a corresponding change in PAR value.
A PAR meter’s sensor can be placed at various depths throughout the aquarium, which helps to tell how well a given fixture spreads light over surface and how deep it penetrates saltwater, and can help detect so-called “dead spots” where light photons fall less and where some corals may fare worse than others.
So far so good. We know PAR meters are a very useful tool that help traditional light (fluorescent, HID) users save money, LED users monitor light output when adjusting their lamps’ color spectrum, and all aquarists create a virtual map of their tanks’ brightest and dimmest areas. There are, however, two disadvantages to PAR meters that prevent more people from implementing these fairly-new-to-the-hobby tools. One is cost- PAR meters aren’t cheap, and even inexpensive models leave a big hole in one’s pocket. Second, there’s a misunderstanding around the way PAR values should be measured and analyzed. PAR values read by a meter change slightly after repeated readings and to determine a correct value, an average of several individual measurements should be used. No one really has the time and will to sit in front of her/his tank with a PAR probe and perform a series of readings in several different spots (unless you are a determined scientist type of person, then it’s a different story), so what usually happens is an aquarist take one or two readings in less than a minute and use this somewhat flawed data as a base for further adjustments. Moreover, when LED light users change spectral output or/and dimming schedules of their fixtures, the PAR changes should be analyzed over a longer period of time rather than through a single reading.
neptune Systems engineers have been hard at work overcoming these drawbacks, and the result is the device that is the topic of today’s review. It is called a PMK, or PAR Monitoring Kit and it joins the impressive army of Neptune Systems apex Controller peripherals.
PAR Meter vs PAR Monitor
The PMK kit does not fall into a traditional PAR meter category. The fundamental difference between PMK and other tools used for measuring PAR values is that it offers fully automated, continuous PAR level monitoring, and stores the resulting data for future analysis. You can’t use it on its own – it doesn’t have a dial to change settings or a screen to read the data. Instead, it uses apex Controller capabilities to automate the process of PAR measuring and lets the user implement the results to affect other devices through Apex program language. Before we get into technical stuff, let’s look at what neptune Systems offers with their new device.
PMK KIT: Unboxing
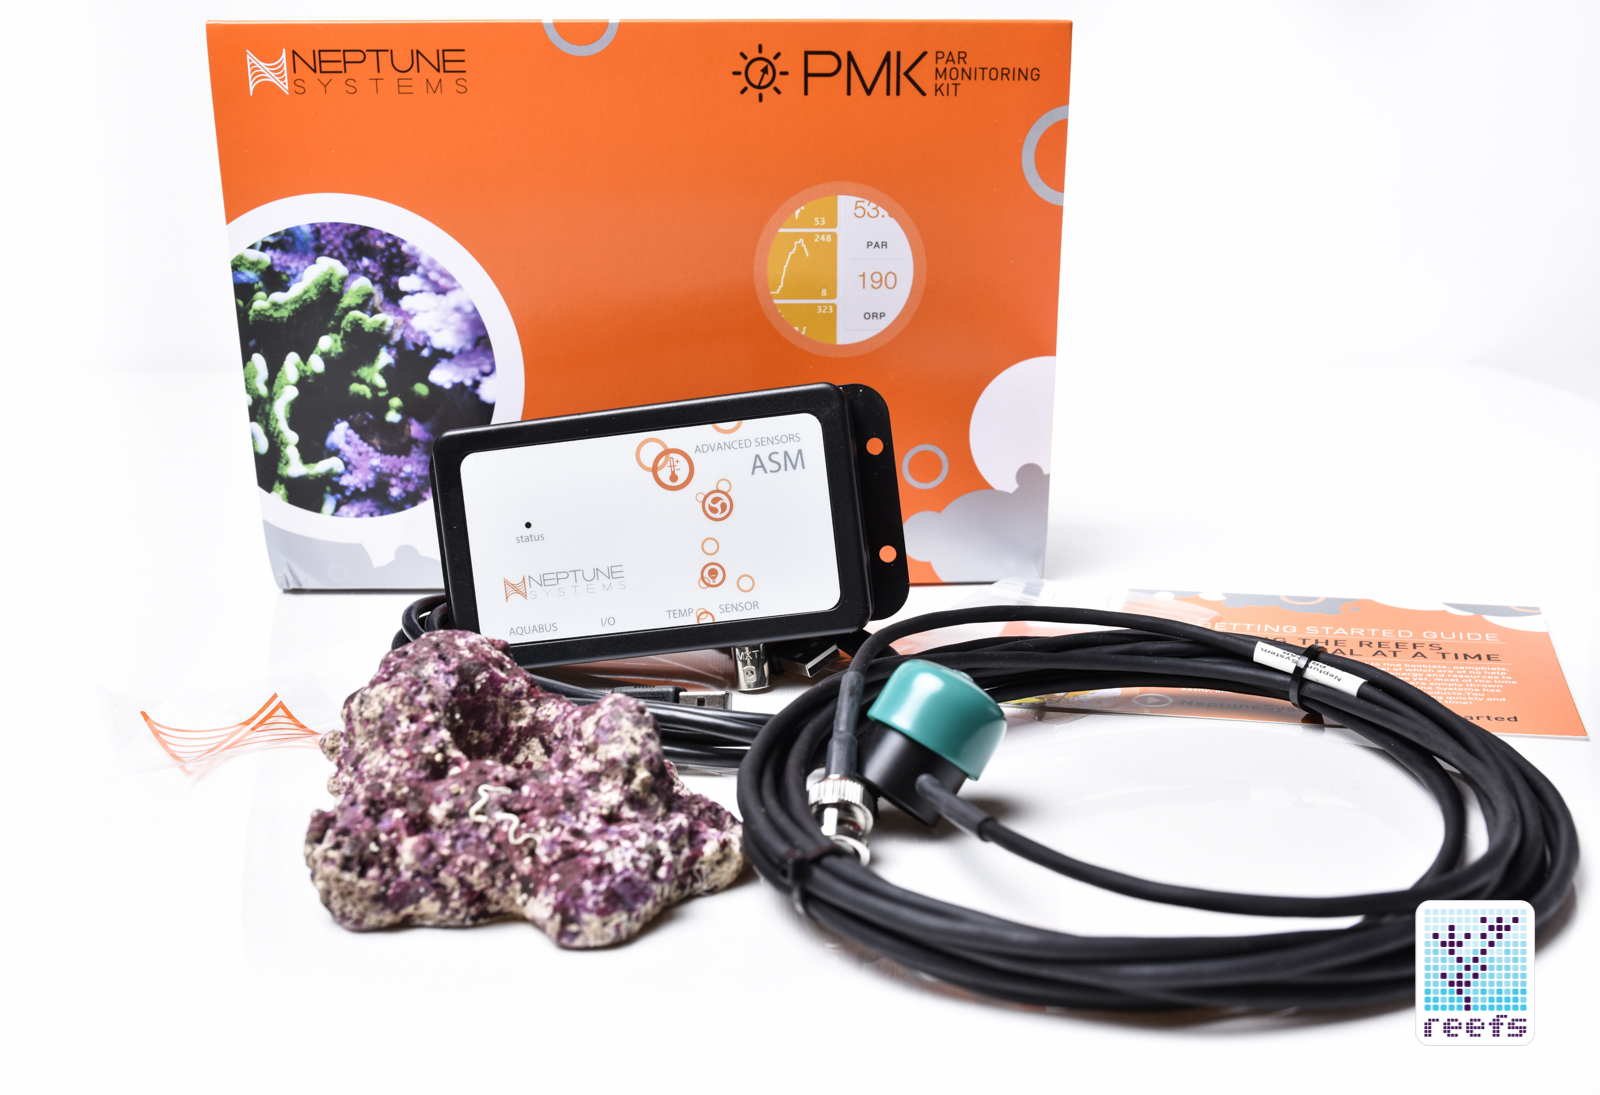
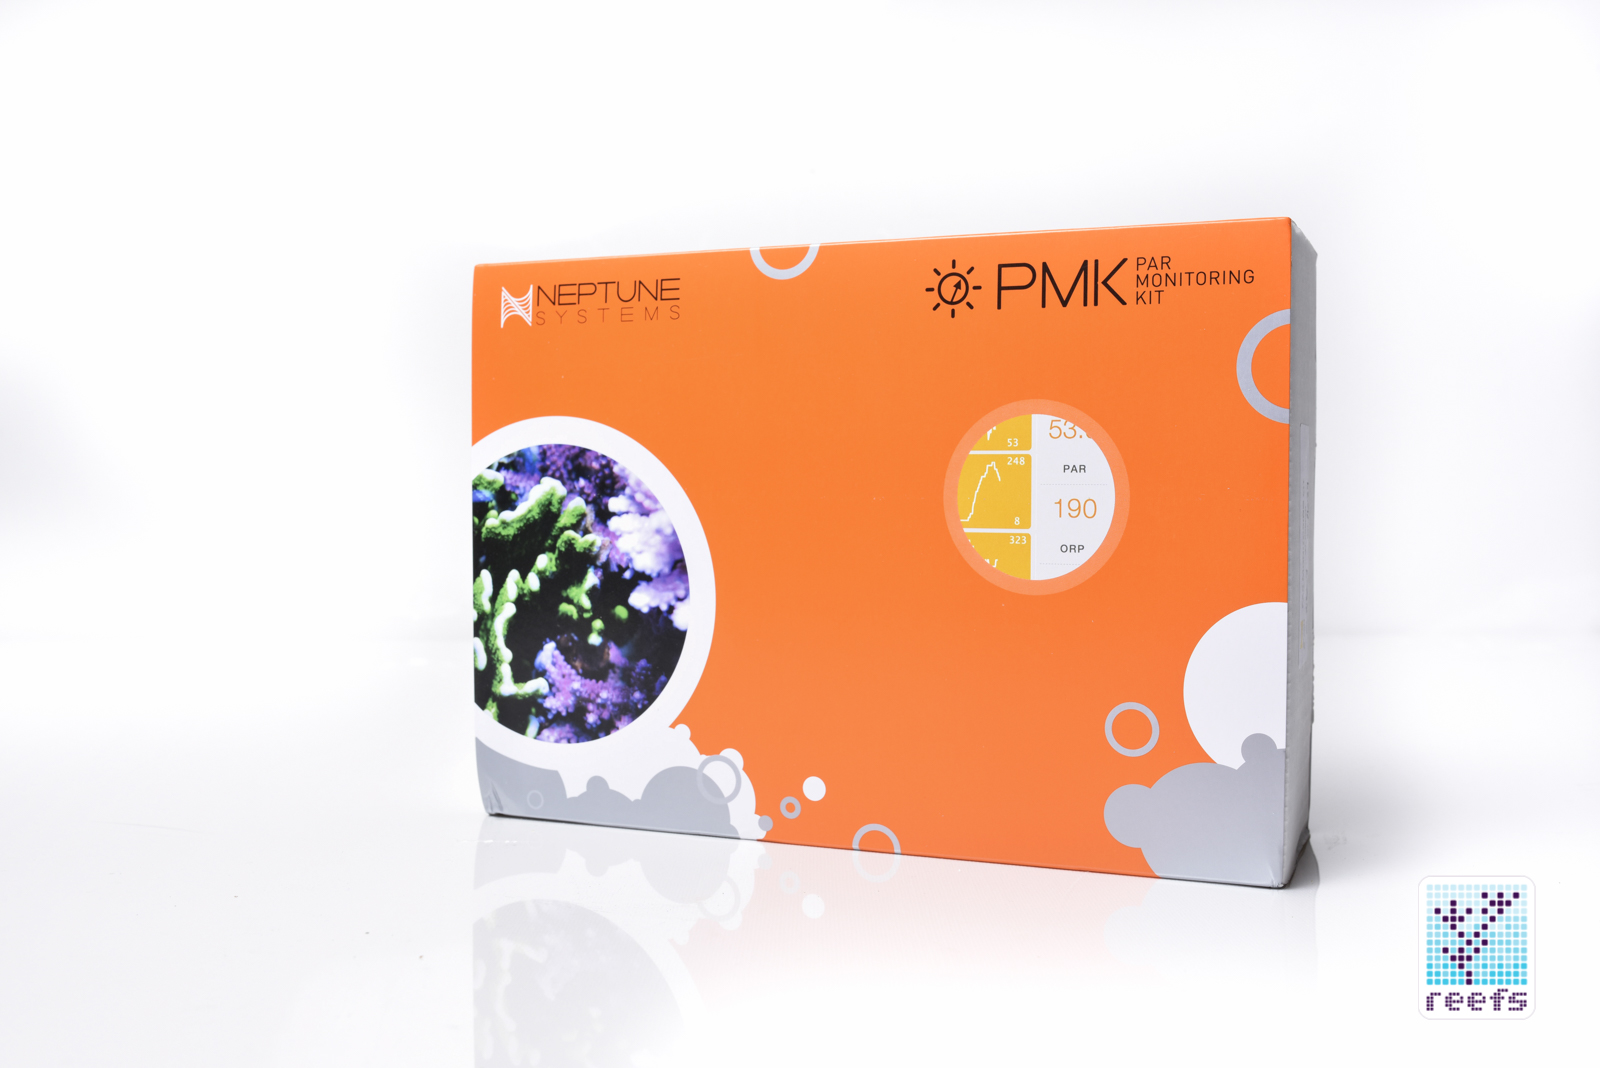
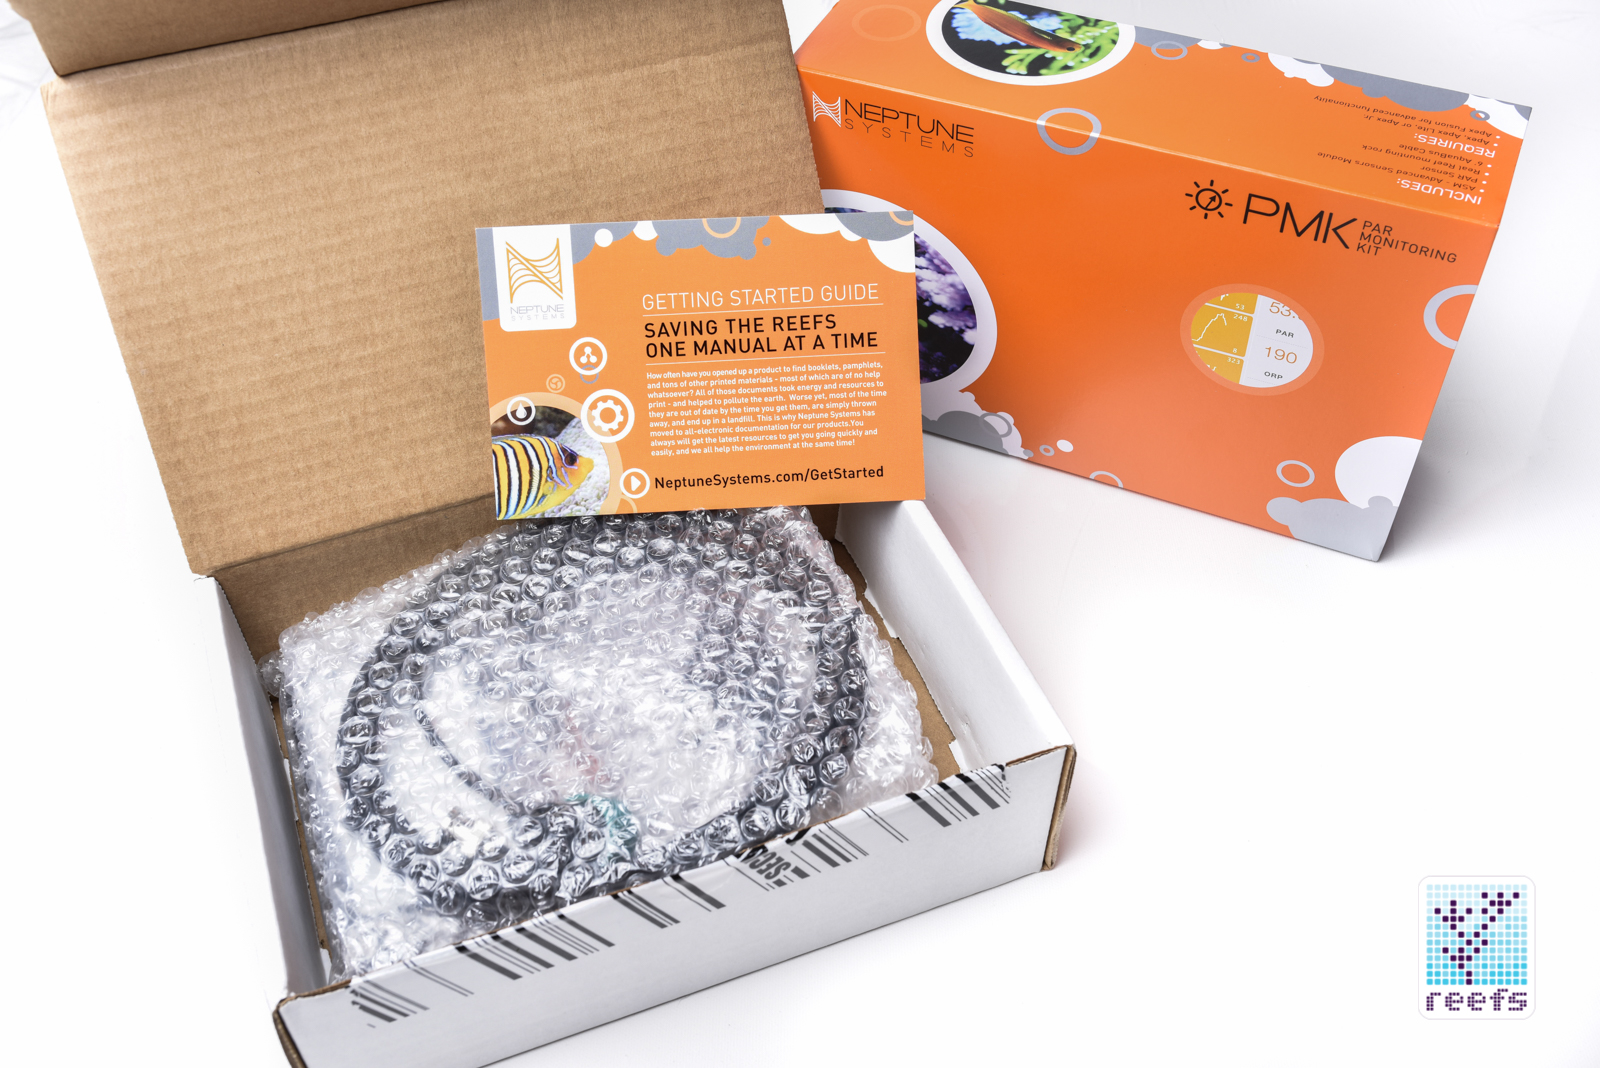
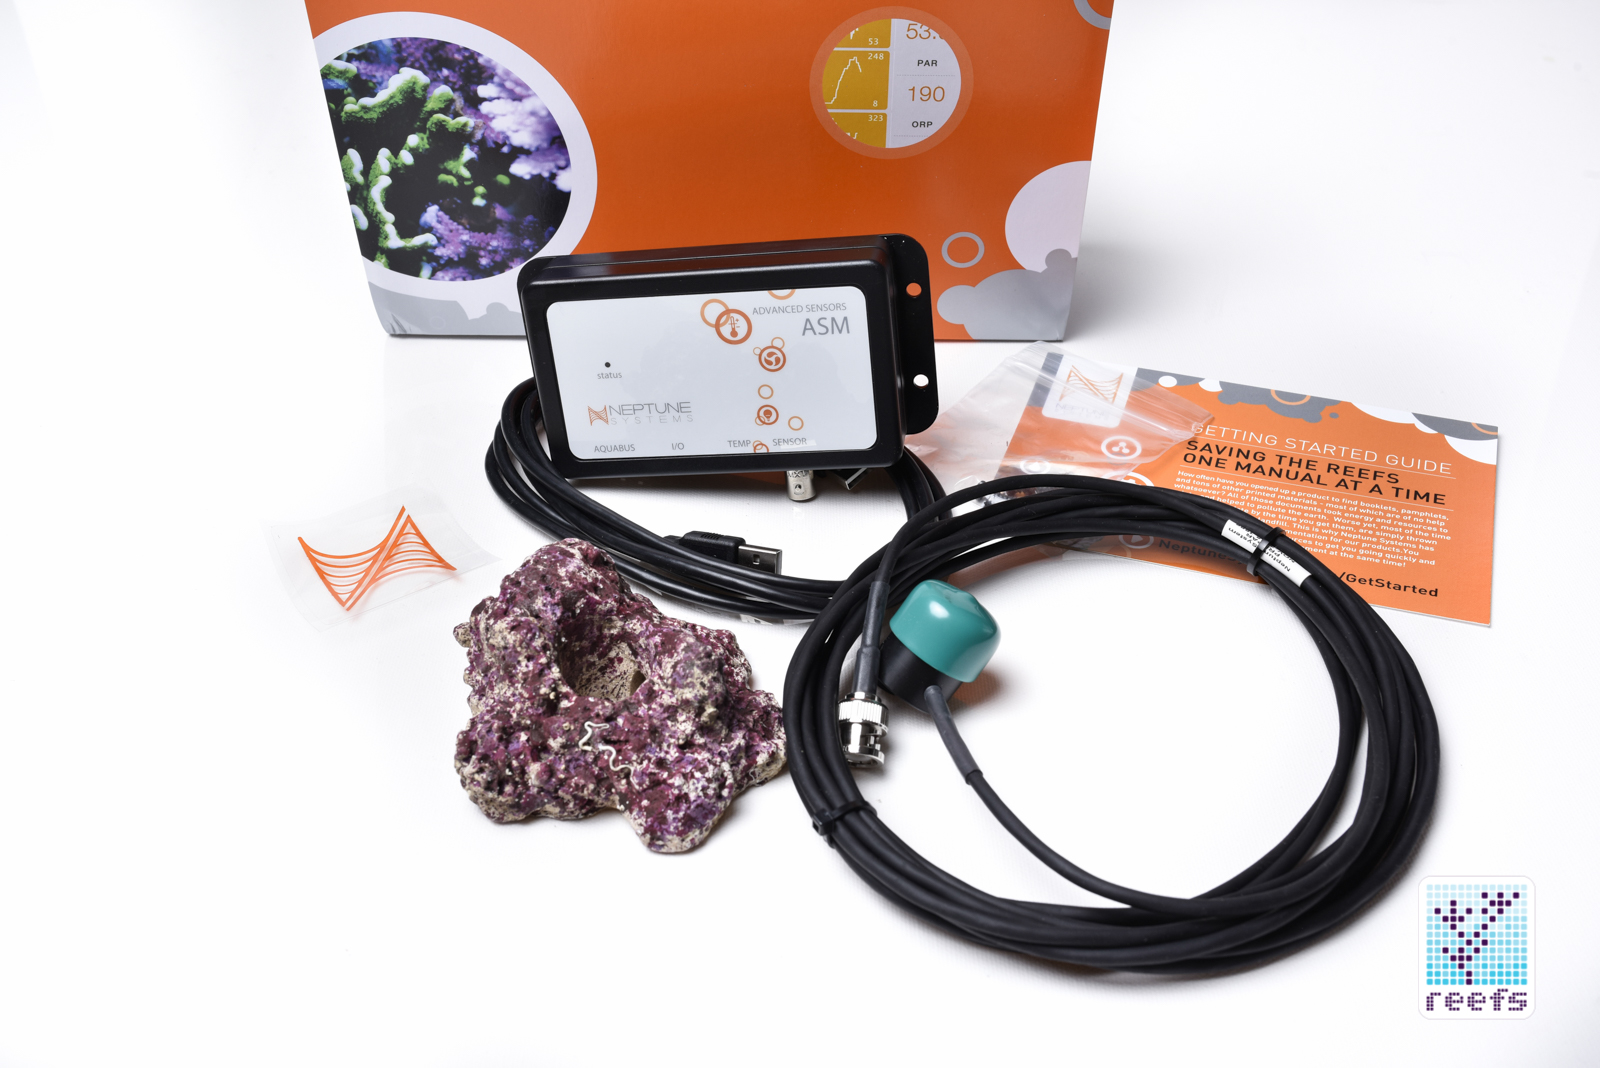
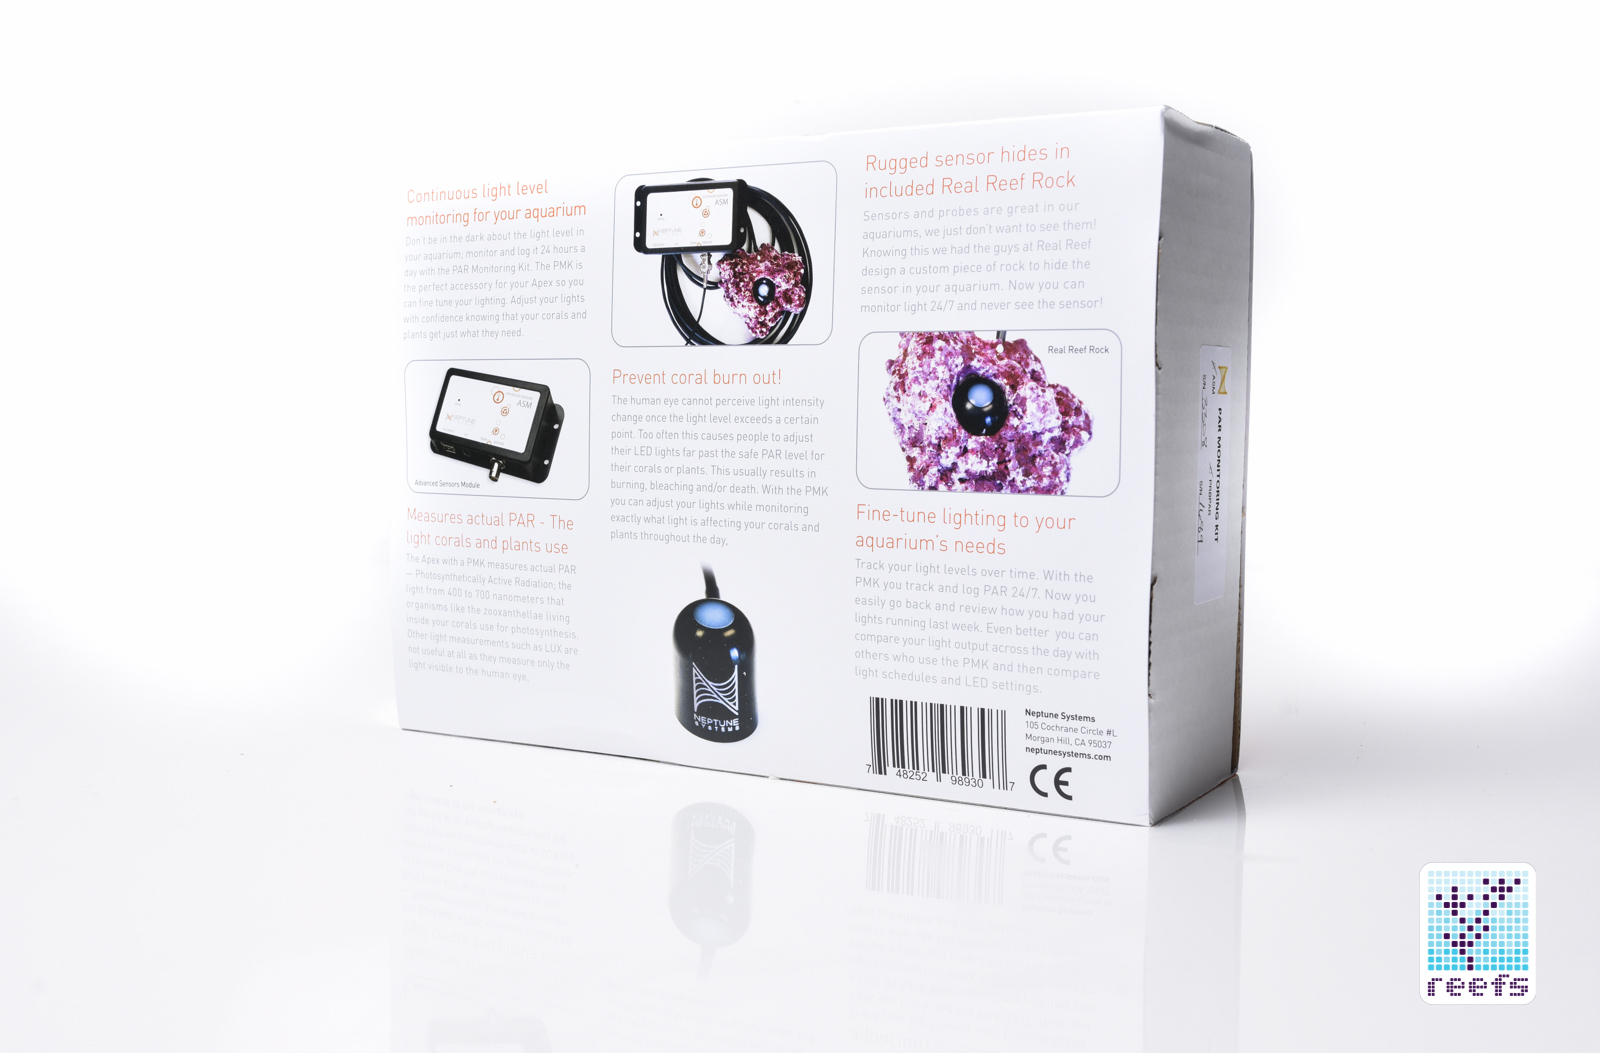
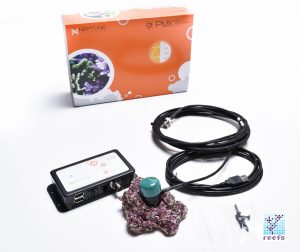
PMK Kit comes in an elegant retail box with a bunch of information printed right on it. The kit includes:
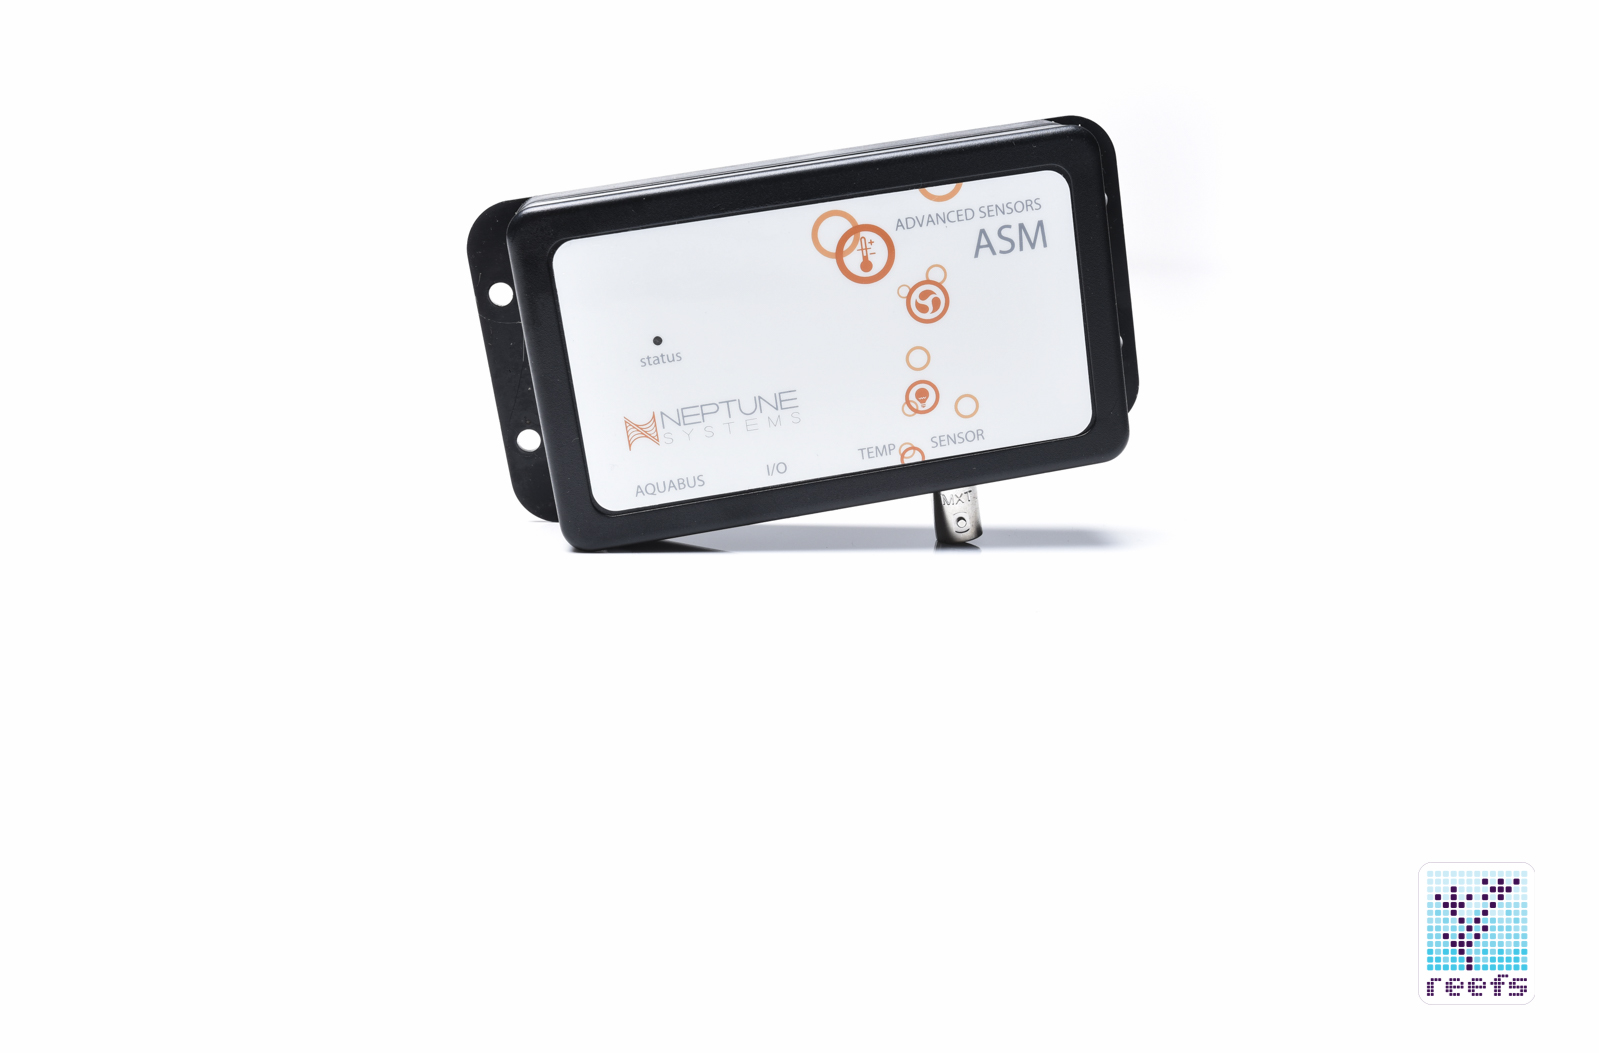
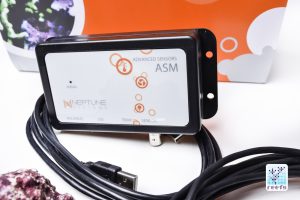
- ASM (Advanced Sensor Module)
- 6’ (2m) of USB Aquabus cable (to connect to apex)
- PAR sensor with a10 ft (3m) long cable
- Real Reef Rock with cutout for PAR sensor
- A card with link to the PMK manual/operational guide
Installation/Initial Setup
As a part of the apex family of products, PMK requires Neptune Systems’ flagship controller to operate. It will work with all models in the line- apex, apex Lite, and apex Jr. In addition, the Apex of choice needs to have firmware 4.40 or greater installed (Neptune Systems explain the process of updating firmware HERE). These are the minimum requirements to start using PMK kit, however, in order to fully explore its potential, I suggest using apex Fusion (Neptune Systems Web based platform) for programming and data log analysis.
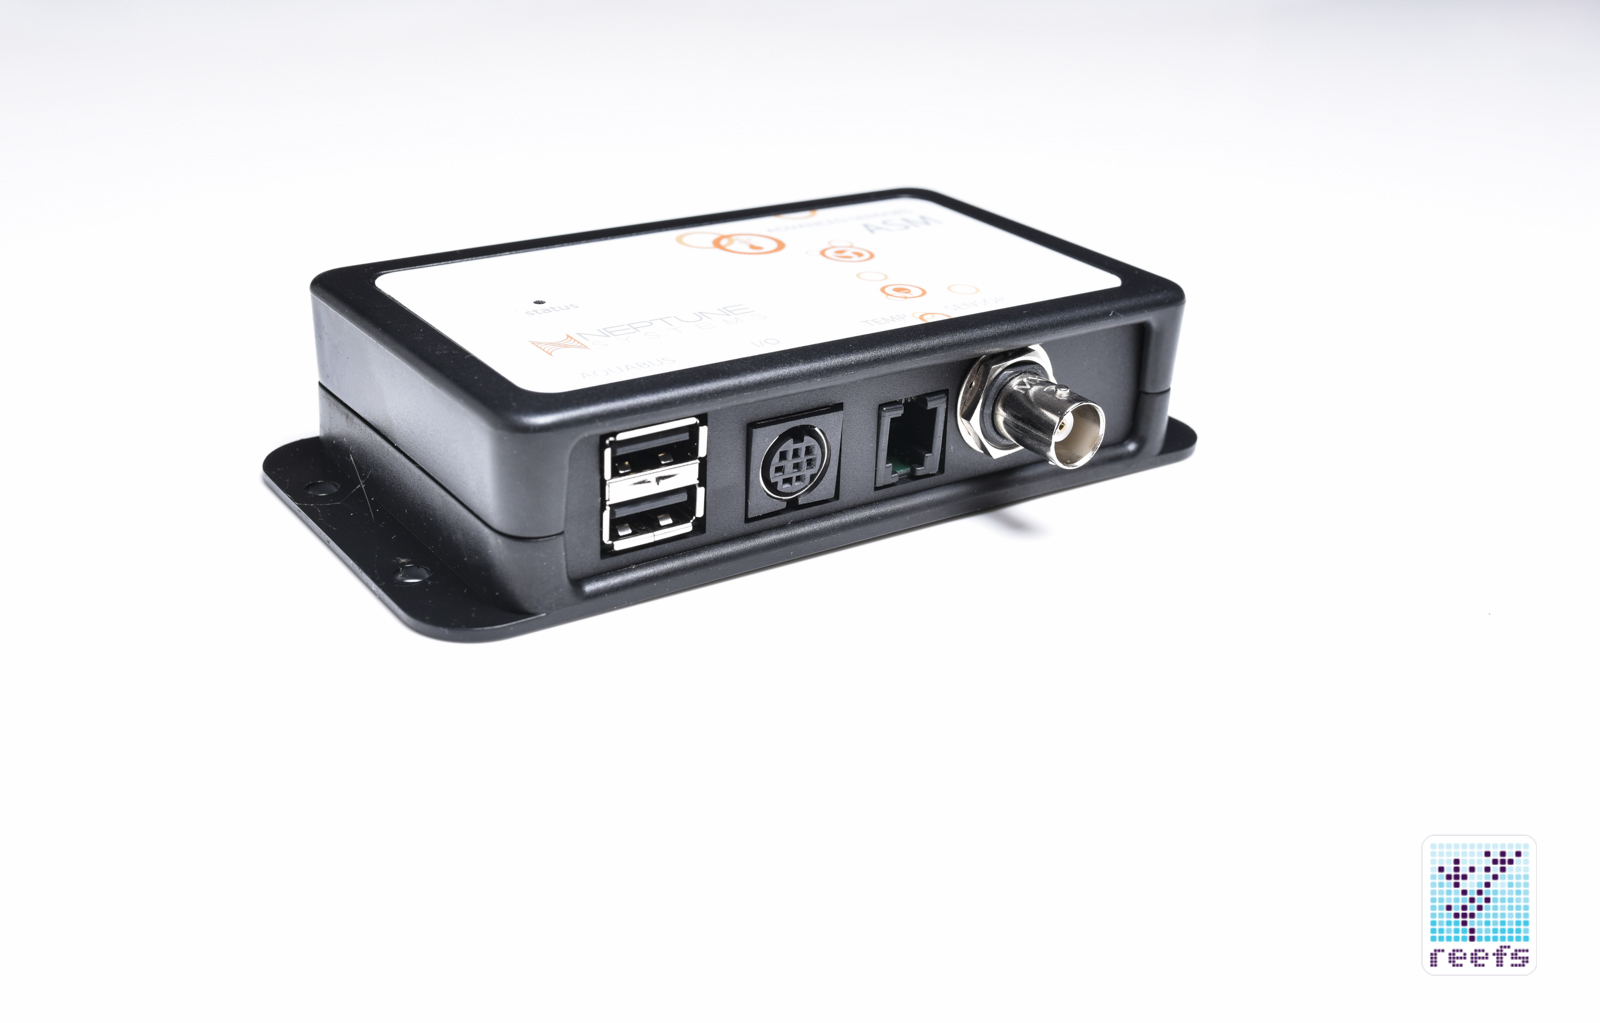
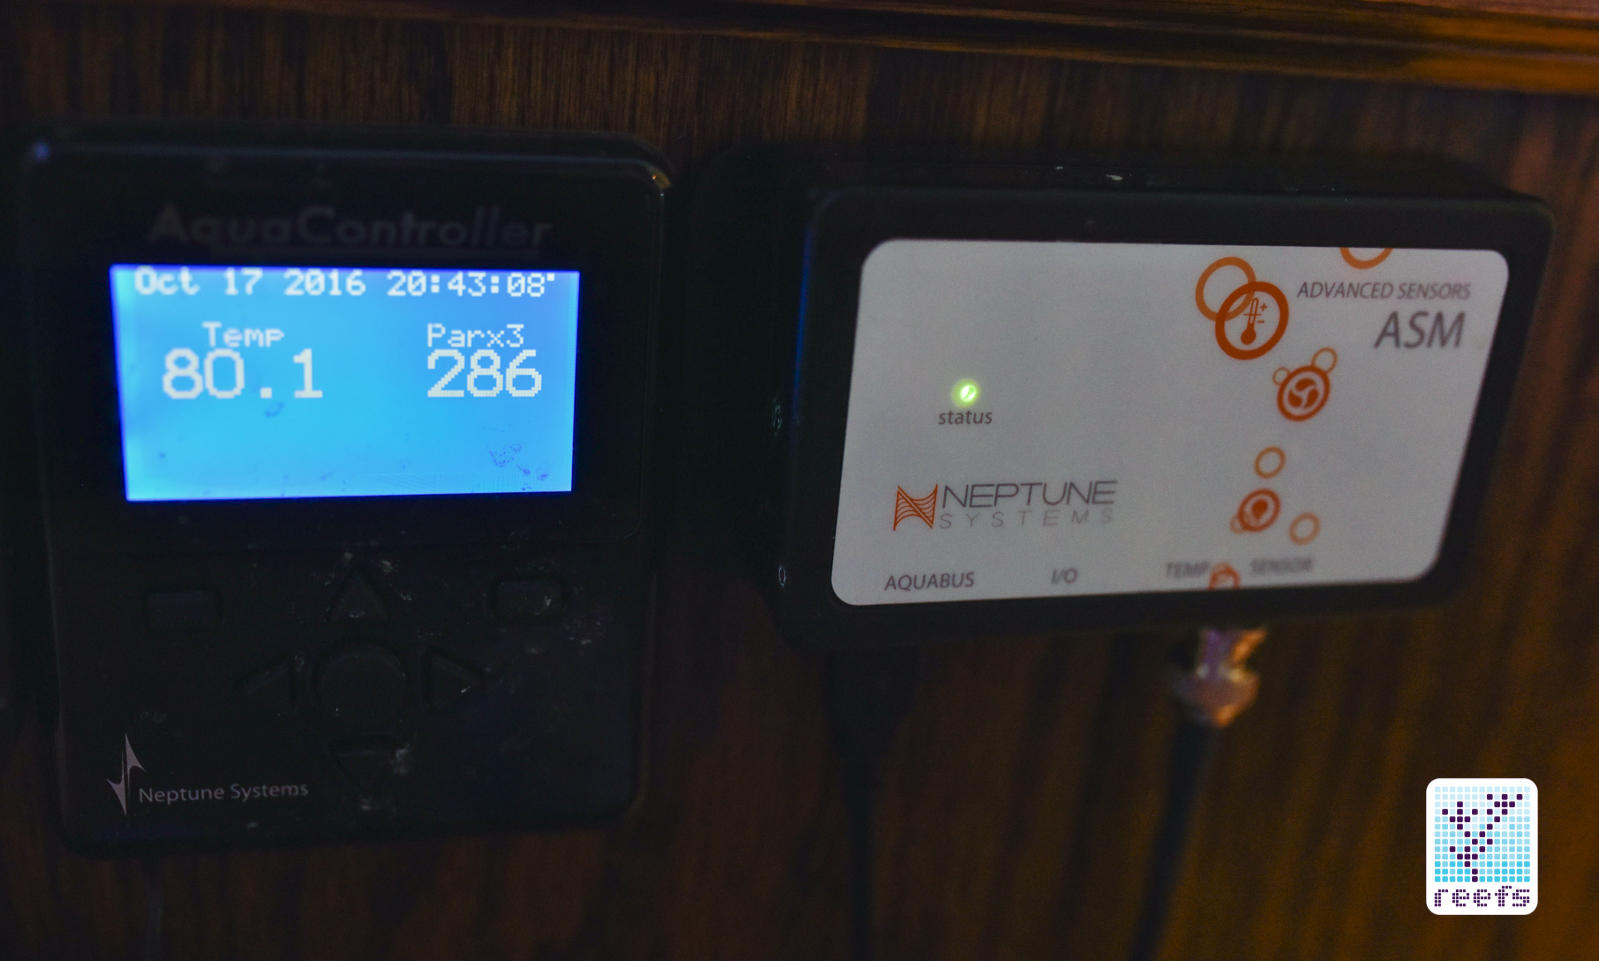
From a hardware standpoint, PMK Kit installation is a cakewalk. First, make sure you have the latest update installed, then hook up the wiring; the ASM needs to be connected to an Aquabus port on your apex via the included USB cable. An indicator light on ASM will glow green when it establishes connection with apex and at this point, you can affix the PAR sensor to the piece of rock supplied with the kit (more on that in next paragraph) and connect the sensor to the corresponding port at ASM.
The PMK Kit manual suggests an additional step before using the PAR sensor, in which you configure the Advanced Sensor Module to set the probe type to PAR, but in my case, apex did it automatically and I was ready to use the device right after plugging the sensor to ASM.
Before I continue with the apex Fusion side of the setup, let me stop and evaluate on the two main components of Par Monitoring Kit
PAR sensor & Real Reef Mounting Rock
The sensor used in PMK kit is custom made to neptune Systems specifications by Apogee. It was designed for long term submersion and calibrated specifically for aquarium use. It is not the same sensor that Apogee uses in their consumer-level PAR meters.
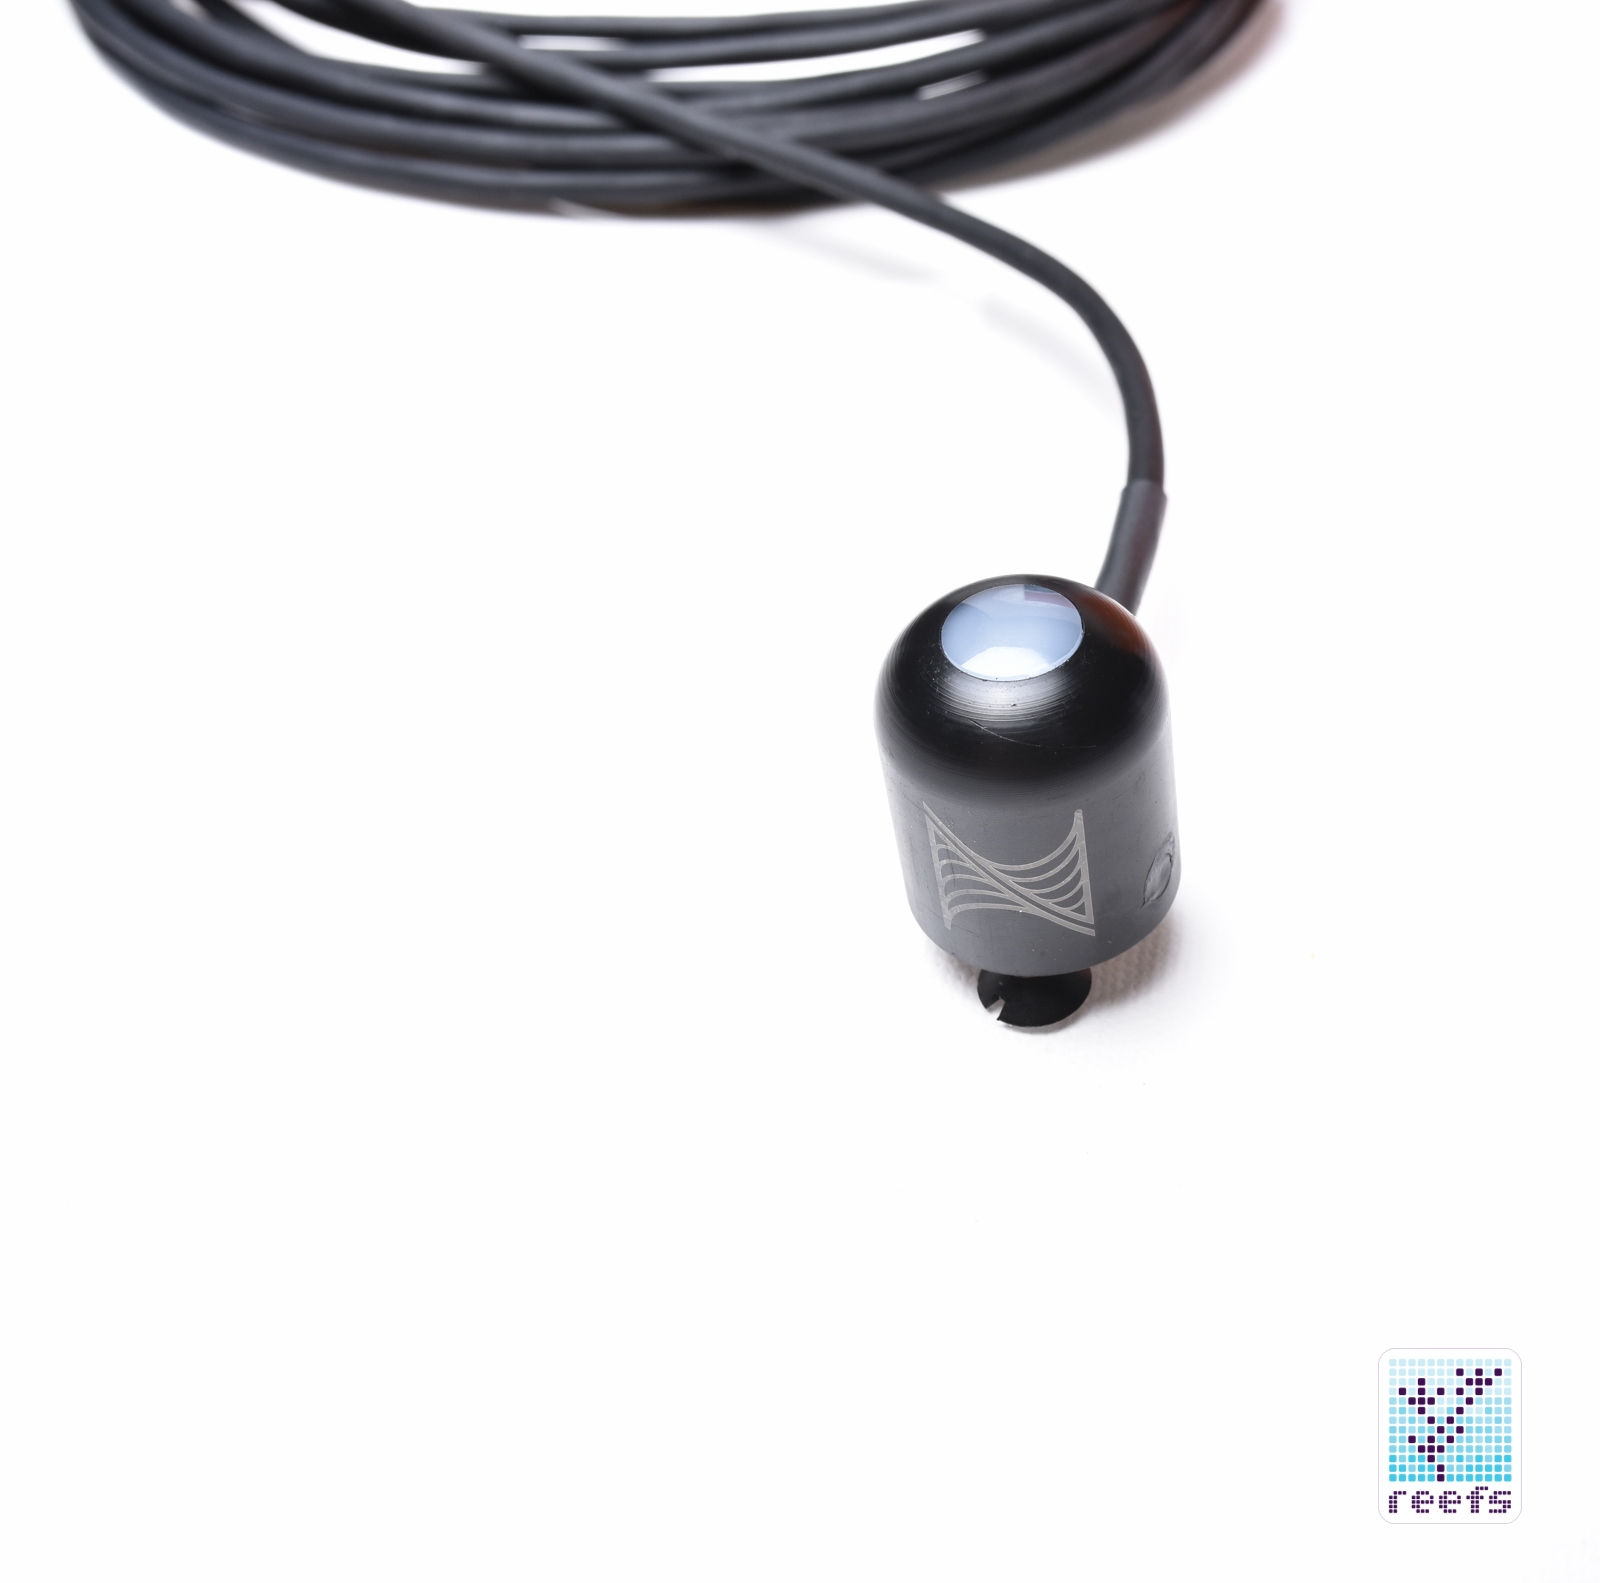
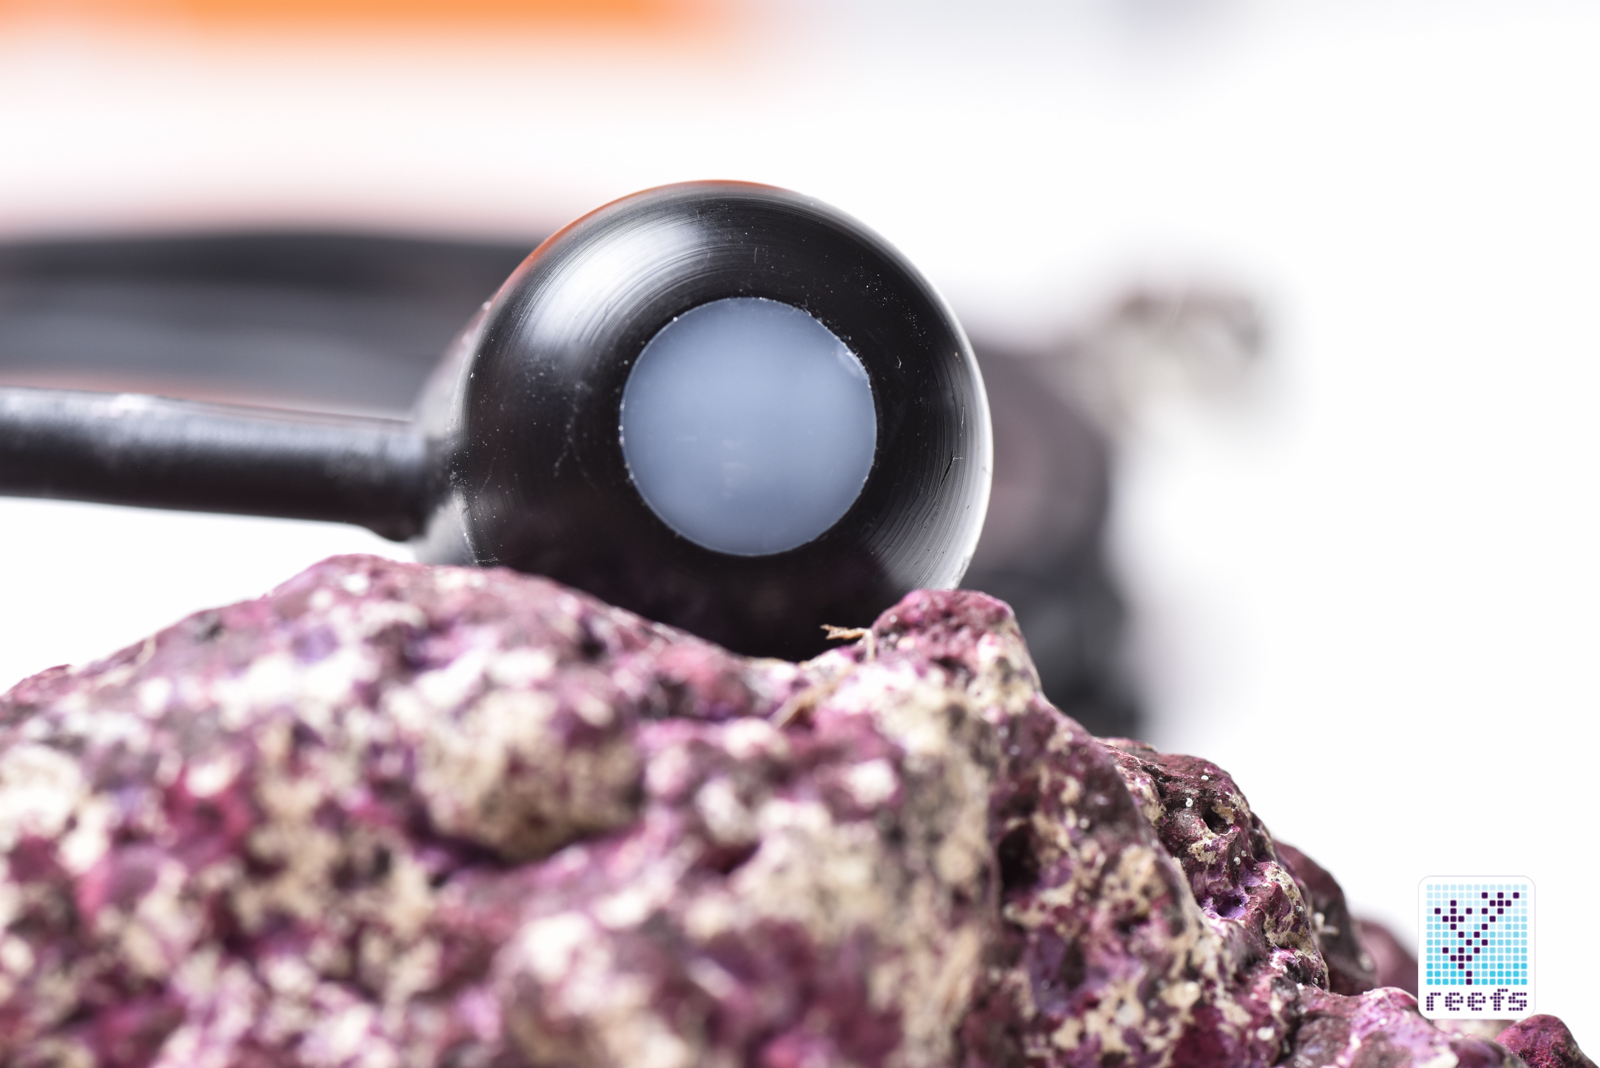
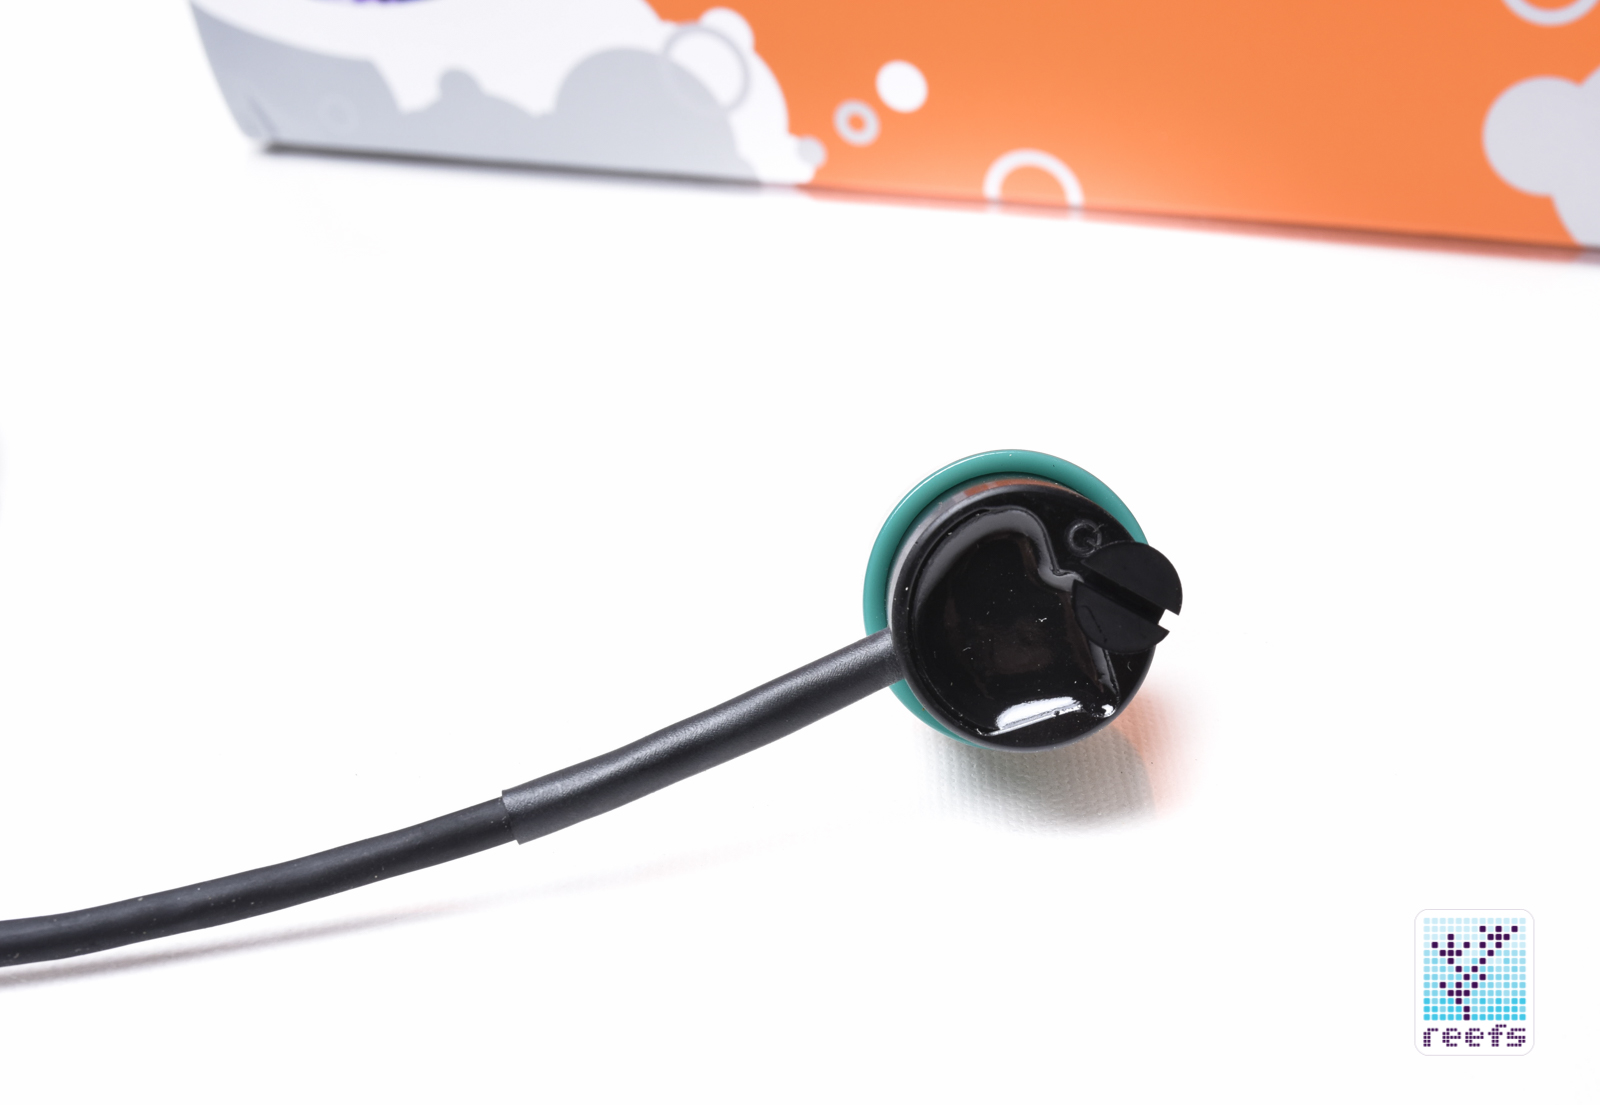
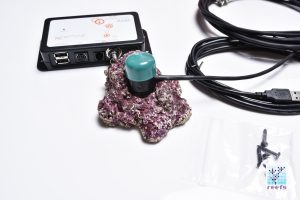
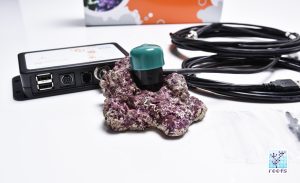
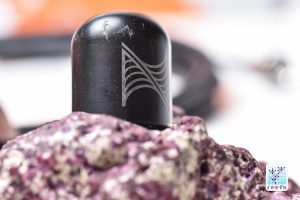
PMK sensor is in size &shape of a standard sewing thimble. The photocell along with other optical elements are encapsulated in a waterproof housing with a circular, translucent viewing window on top. The data cord sticks out on the side near the bottom, making it easier to rest on horizontal surfaces. A small nylon screw on the underside allows for retrofitting the sensor into DIY mounts and wands if you intend to use the sensor as a PAR meter in different parts of the aquarium.
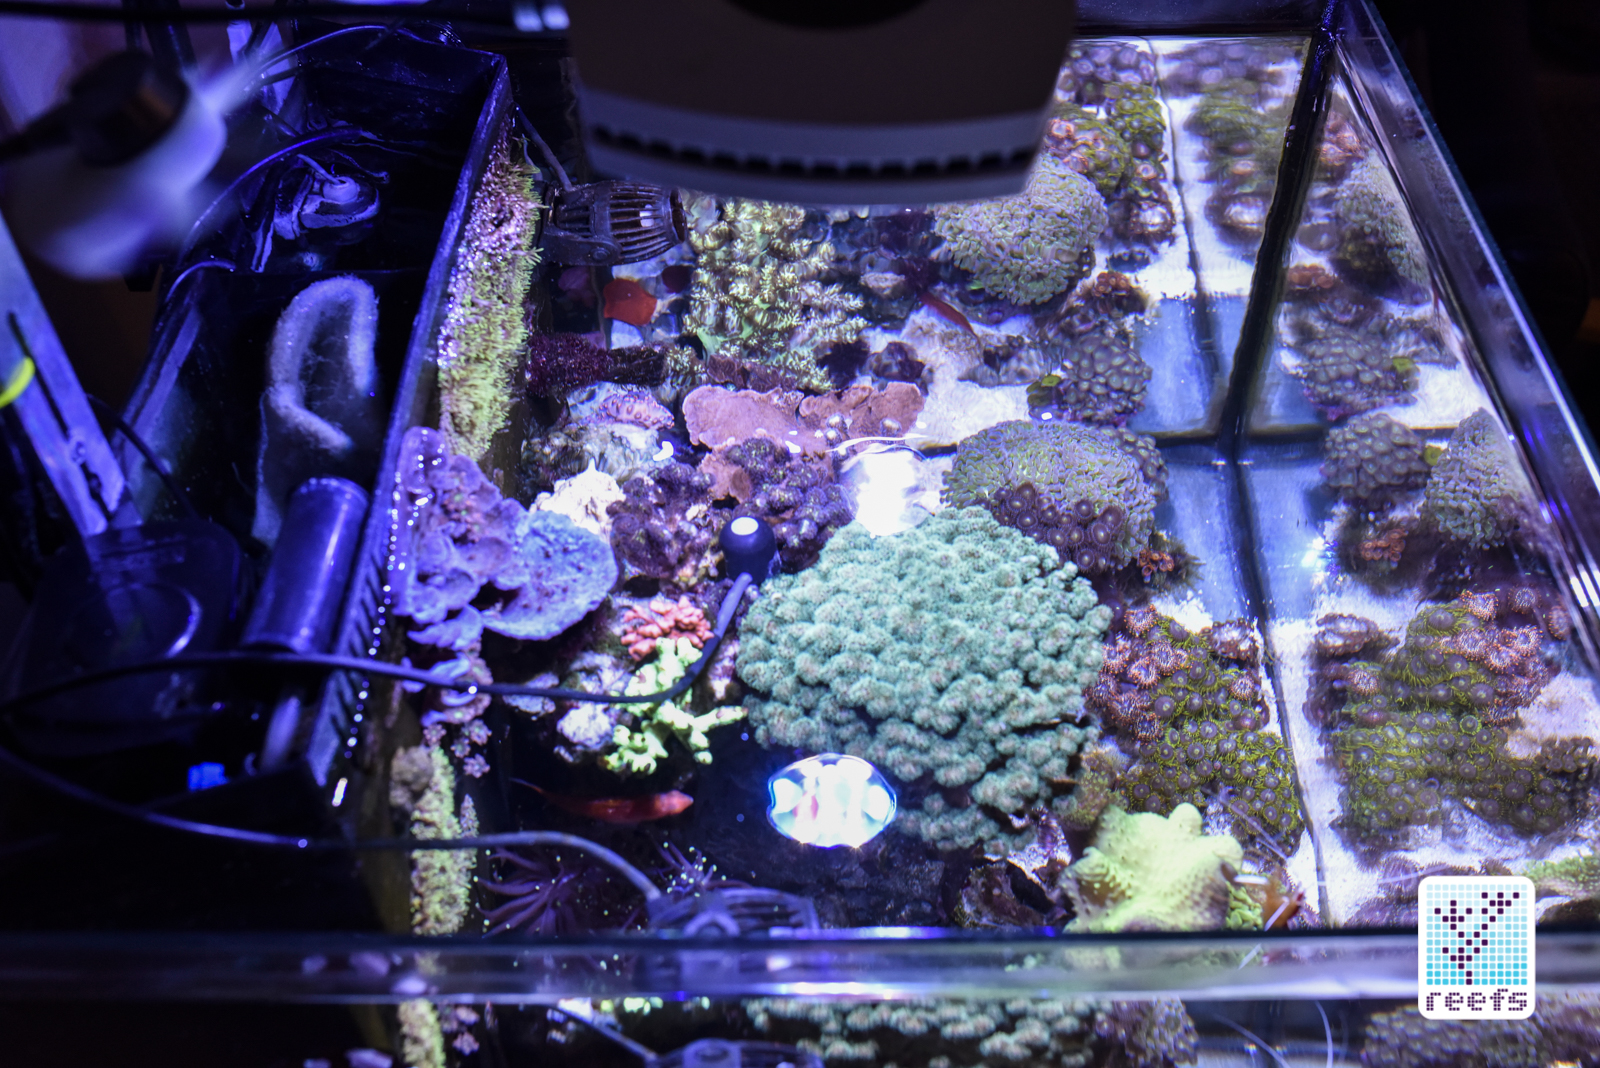
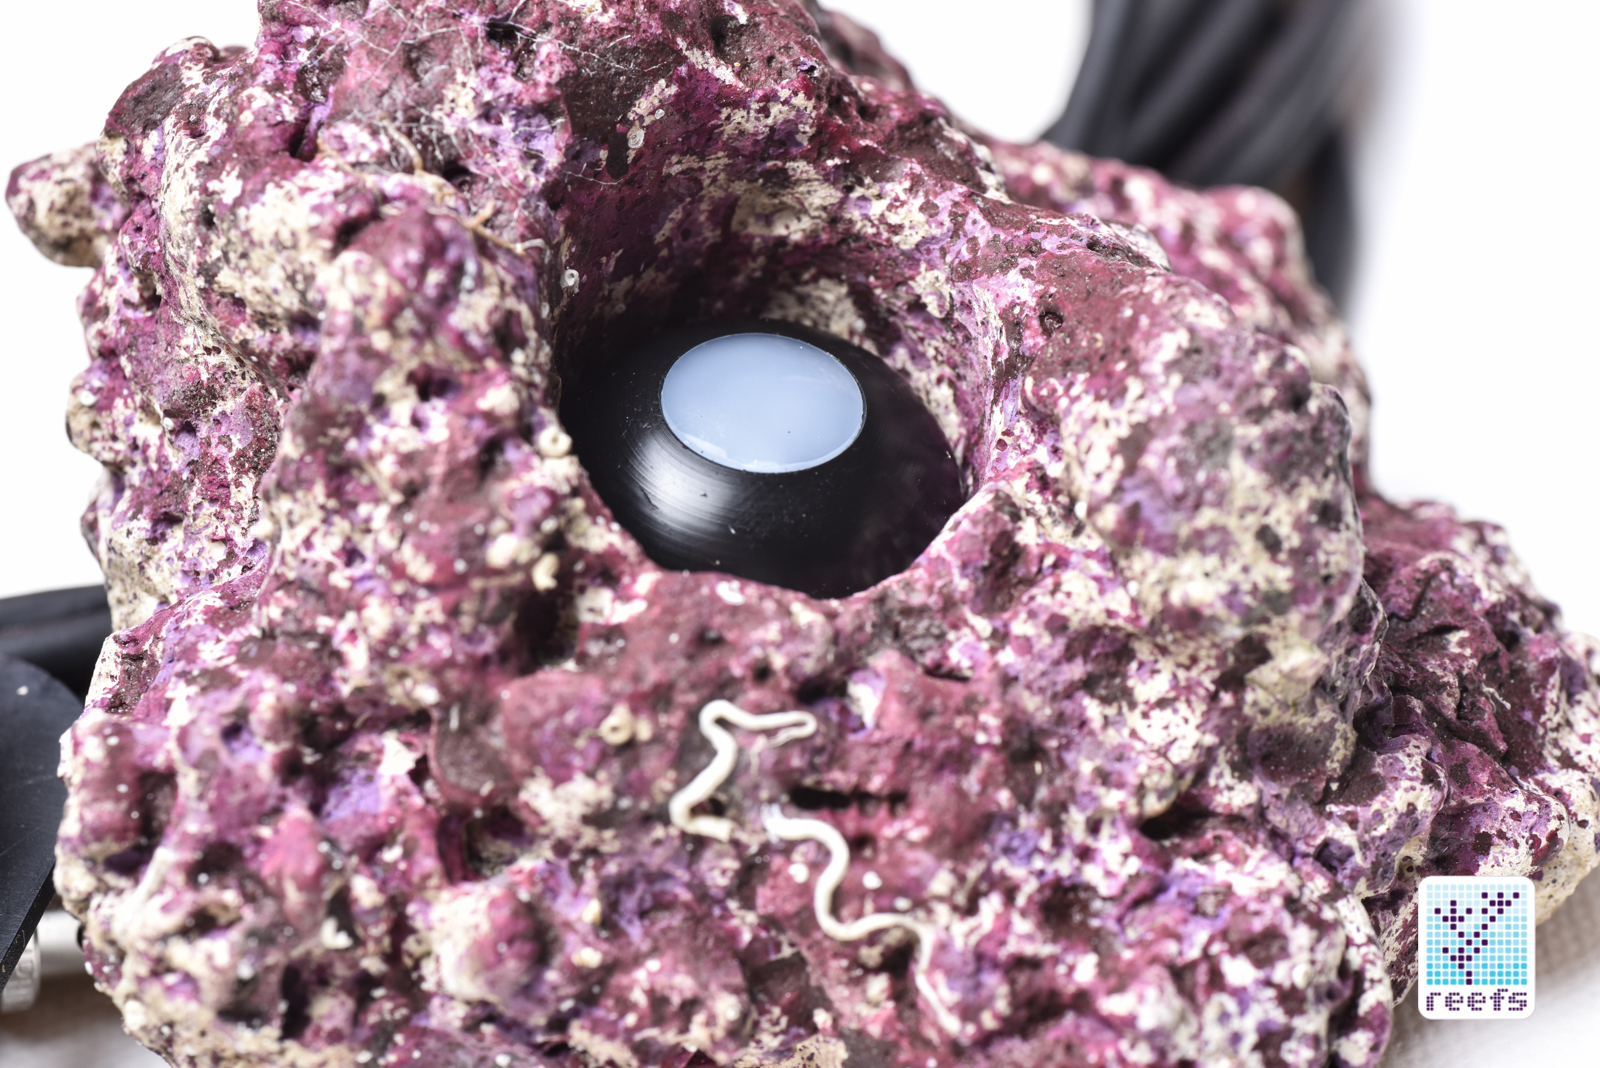
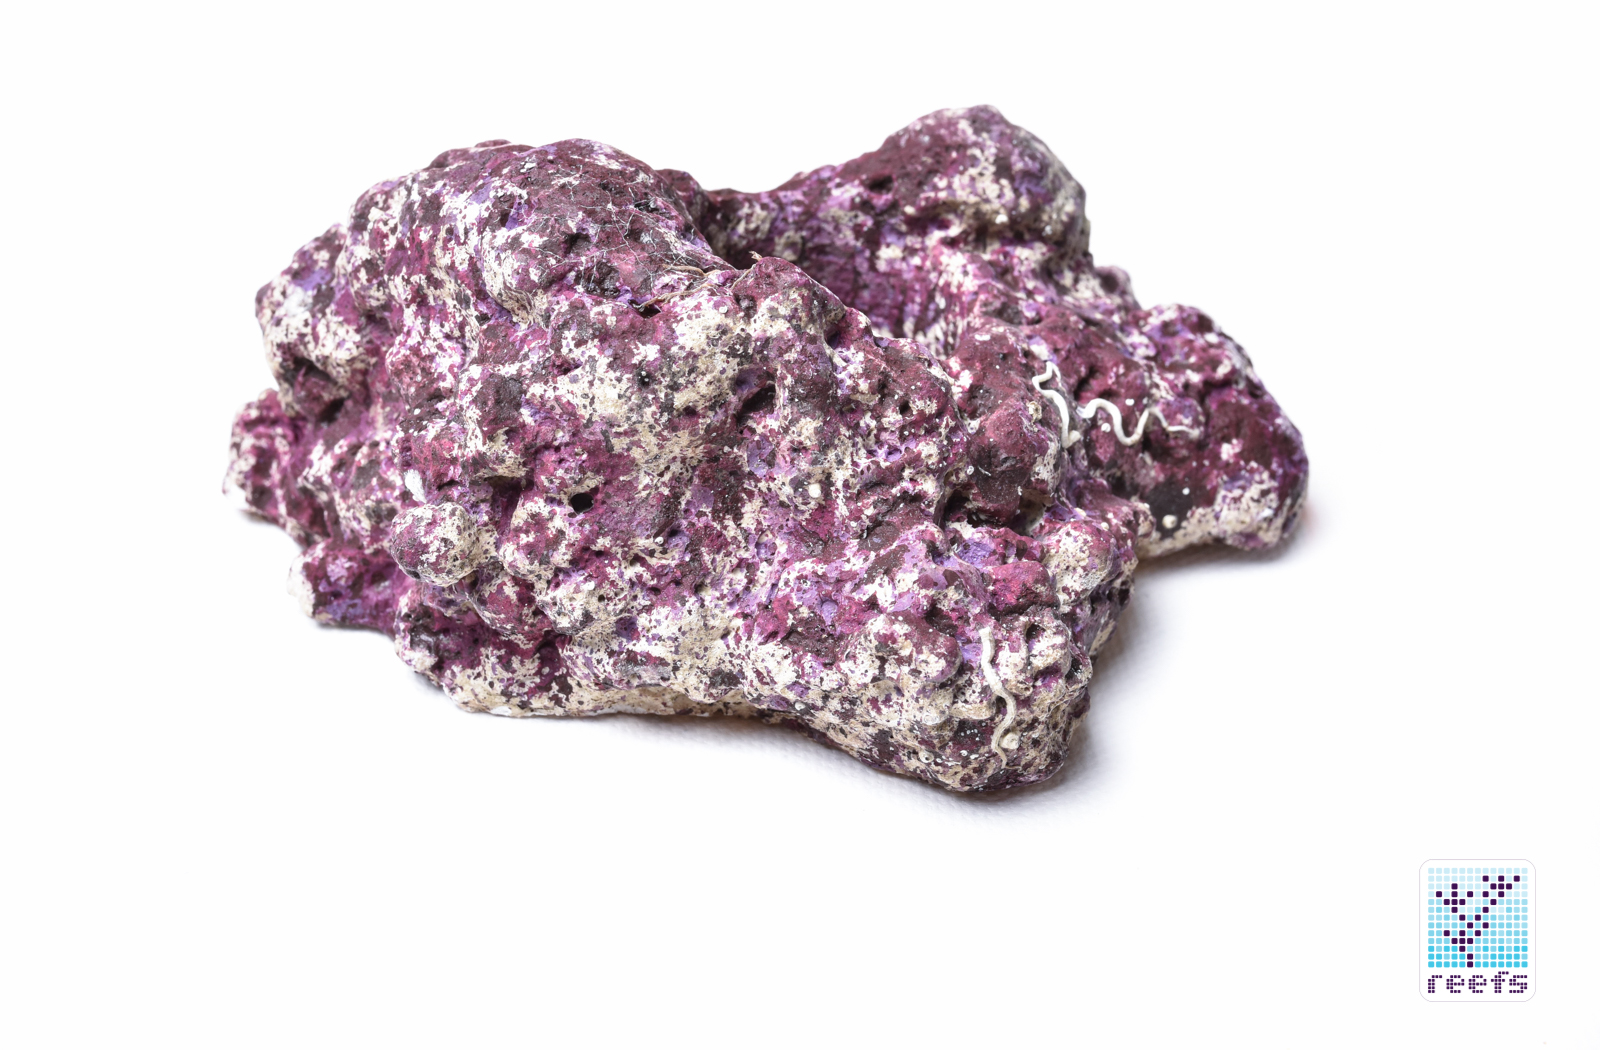
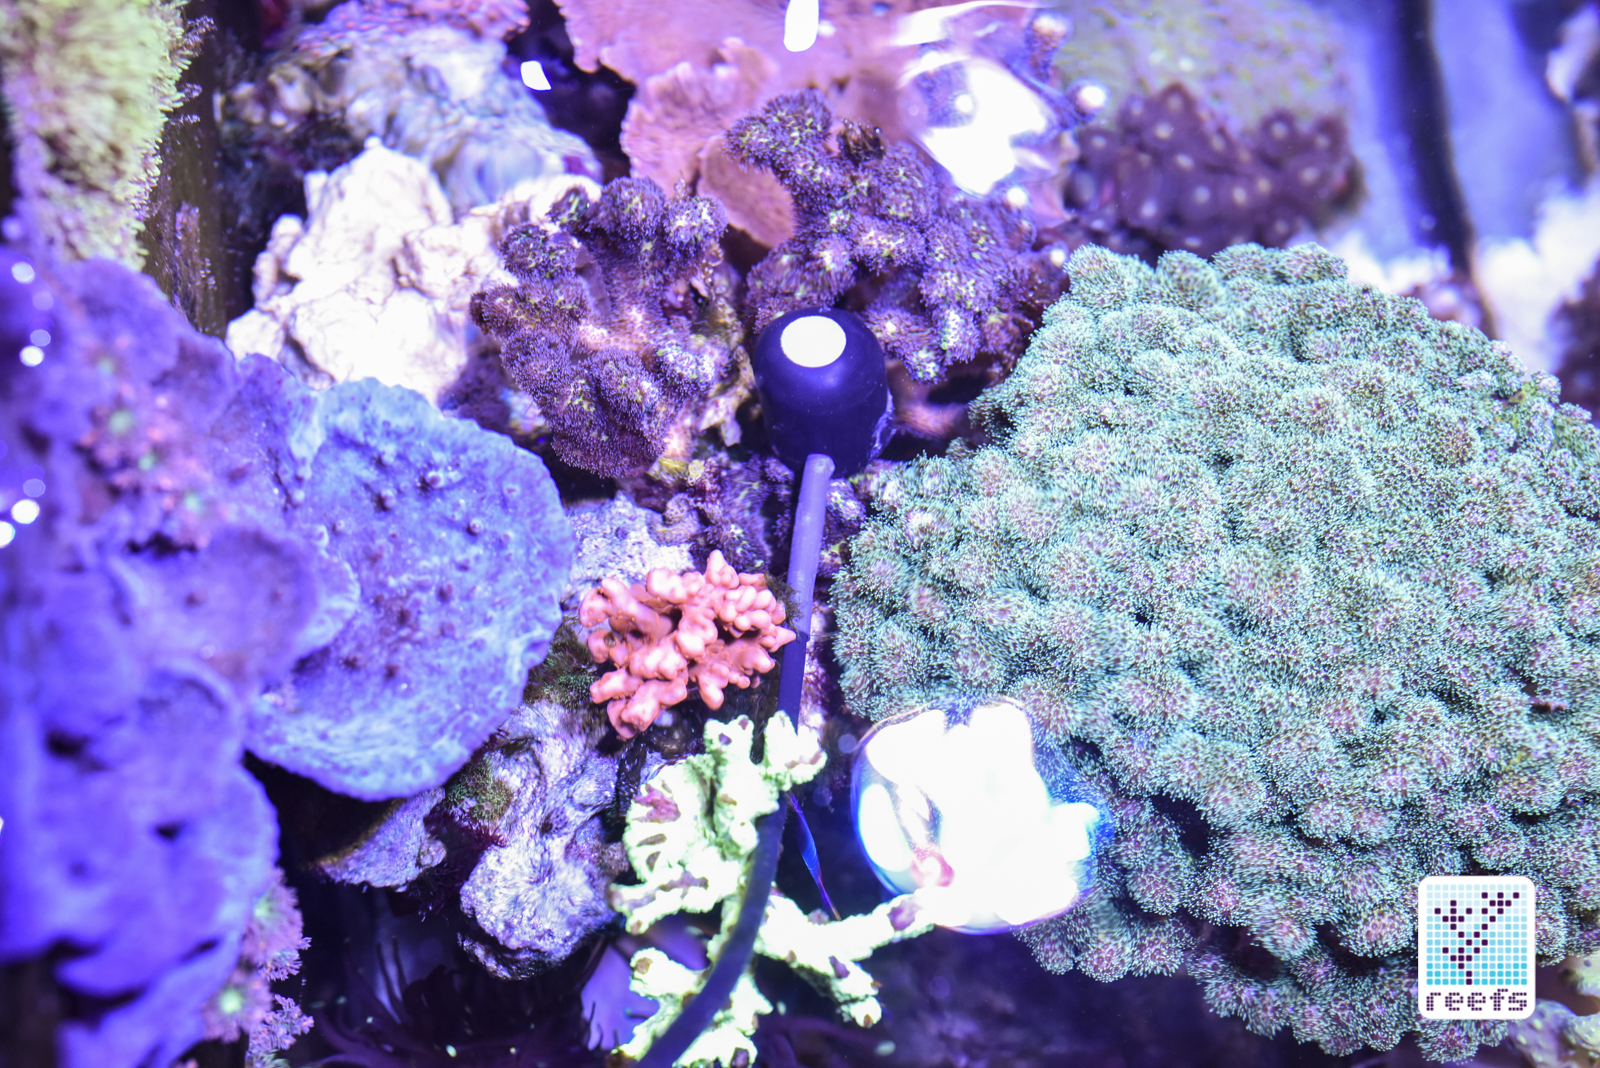
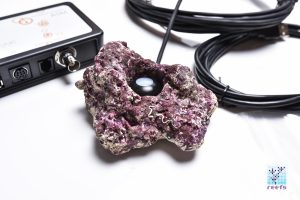
Neptune Systems went the extra mile and had the team from Real Reef Solutions design a custom piece of their artificial rock to fit the PMK sensor inside. It really was a great idea- the sensor fits snugly in the centrally-located hole inside the rock and there’s a channel cut in the bottom to secure the sensor’s wire. The underside of the Real Rock piece is uniformly flat, so when placed at the bottom of the tank, the PAR sensor’s optical elements are positioned parallel to the light source. The texture and coloration of the rock closely resembles that of a cured, coralline-covered live rock; it even has little feather duster tubes embedded on its surface (look at the picture below).
Advanced Sensor Module
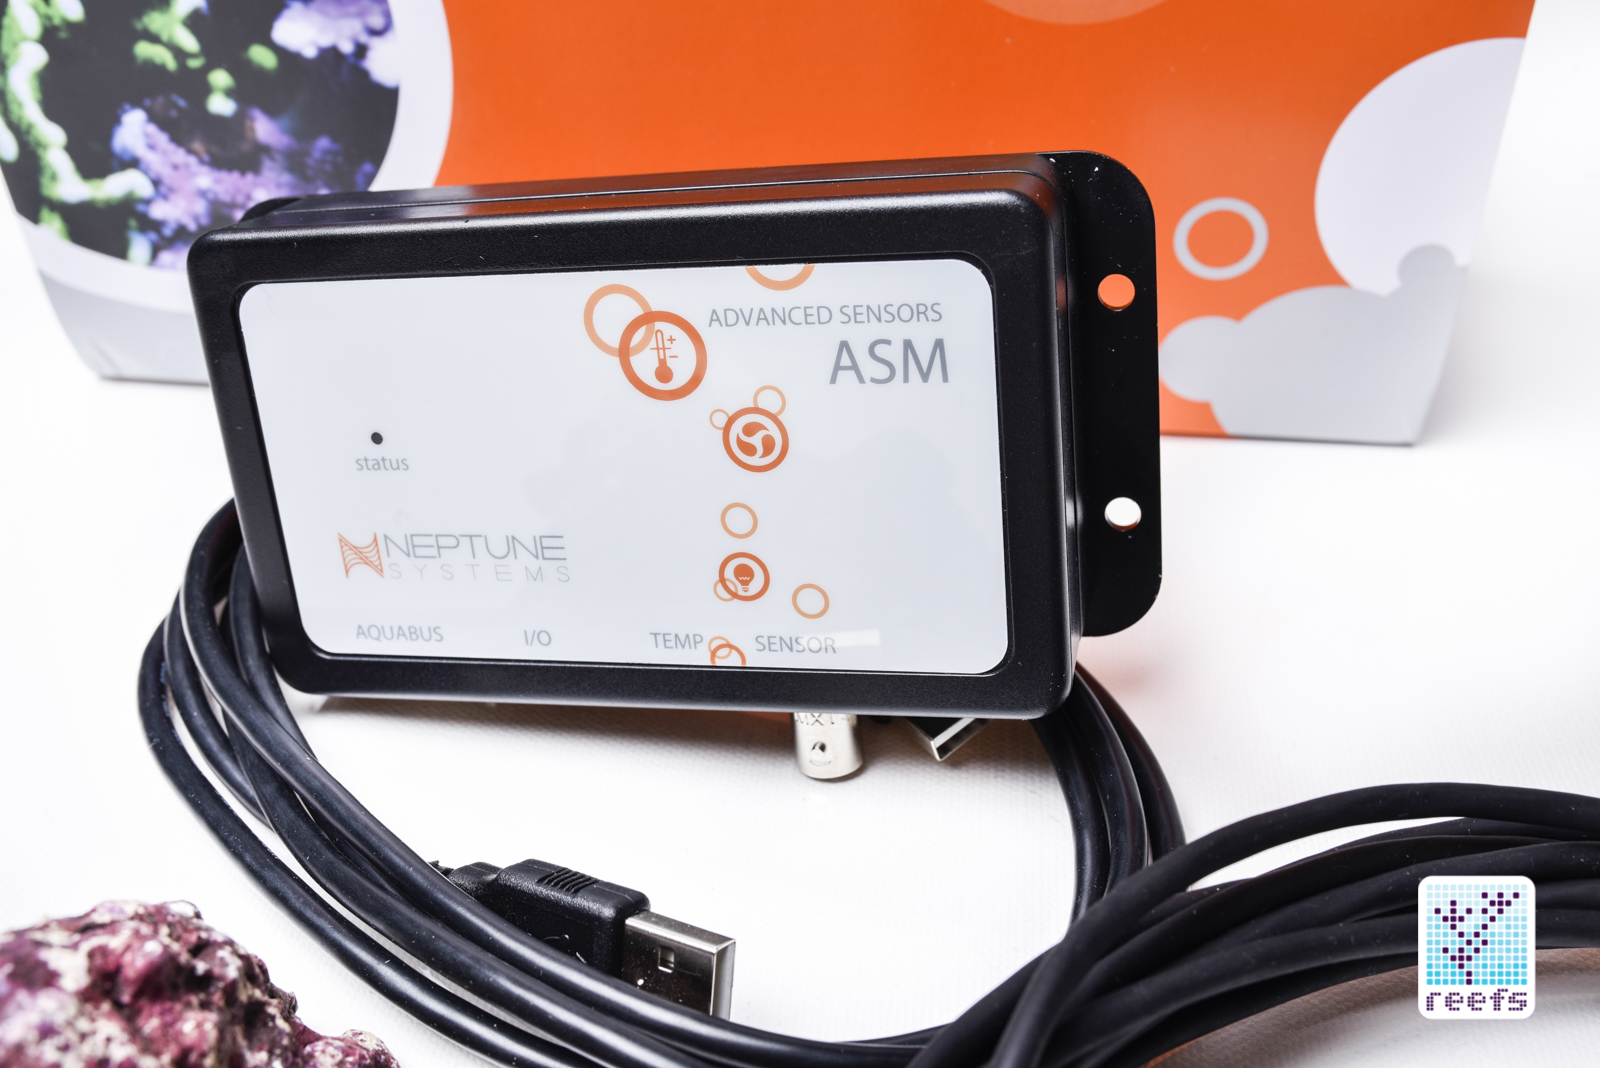
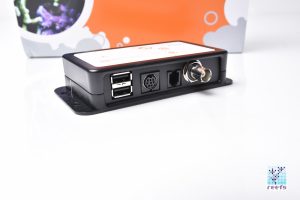
The ASM module, besides being an integral part of the PMK Kit, doubles as an expansion to the apex system. There are two additional outlets on the ASM, one for an auxiliary temperature probe and one labeled I/O that looks exactly like the one on apex Controller. There were rumors ASM module might be sold as a standalone unit for people who want to run multiple probes in their systems, but so far it is only sold in a PMK Kit. Regardless, this module seems future-proof and it might run sensors other than PAR in the future. The temperature probe outlet on the ASM works just fine, I’ve checked it using the temperature probe from my apex.
apex Display Setup
If you’re one of those people that still uses apex display as oppose to a dedicated tablet for displaying your tank’s parameters (don’t worry, I am guilty of it too), then you can set any of the display “Pages” to show PAR readings. The difference between apex display and the tile on Fushion dashboard is that the former shows current status of the probe, effectively acting as a way to take instant readings, and not affecting the long term monitoring.
apex Fusion Integration
apex Fusion, when first released back in 2013, transformed the entire apex ecosystem dramatically and made it much easier to use. apex programming code was largely replaced (although still available as an alternative and an advanced programming tool) by visual interface, complete with customizable sliders, data log graphs, and informative tiles on the Fusion dashboard. Par Monitoring Kit fully integrates into the Fusion platform, offering a clean, visual interpretation of its readings.
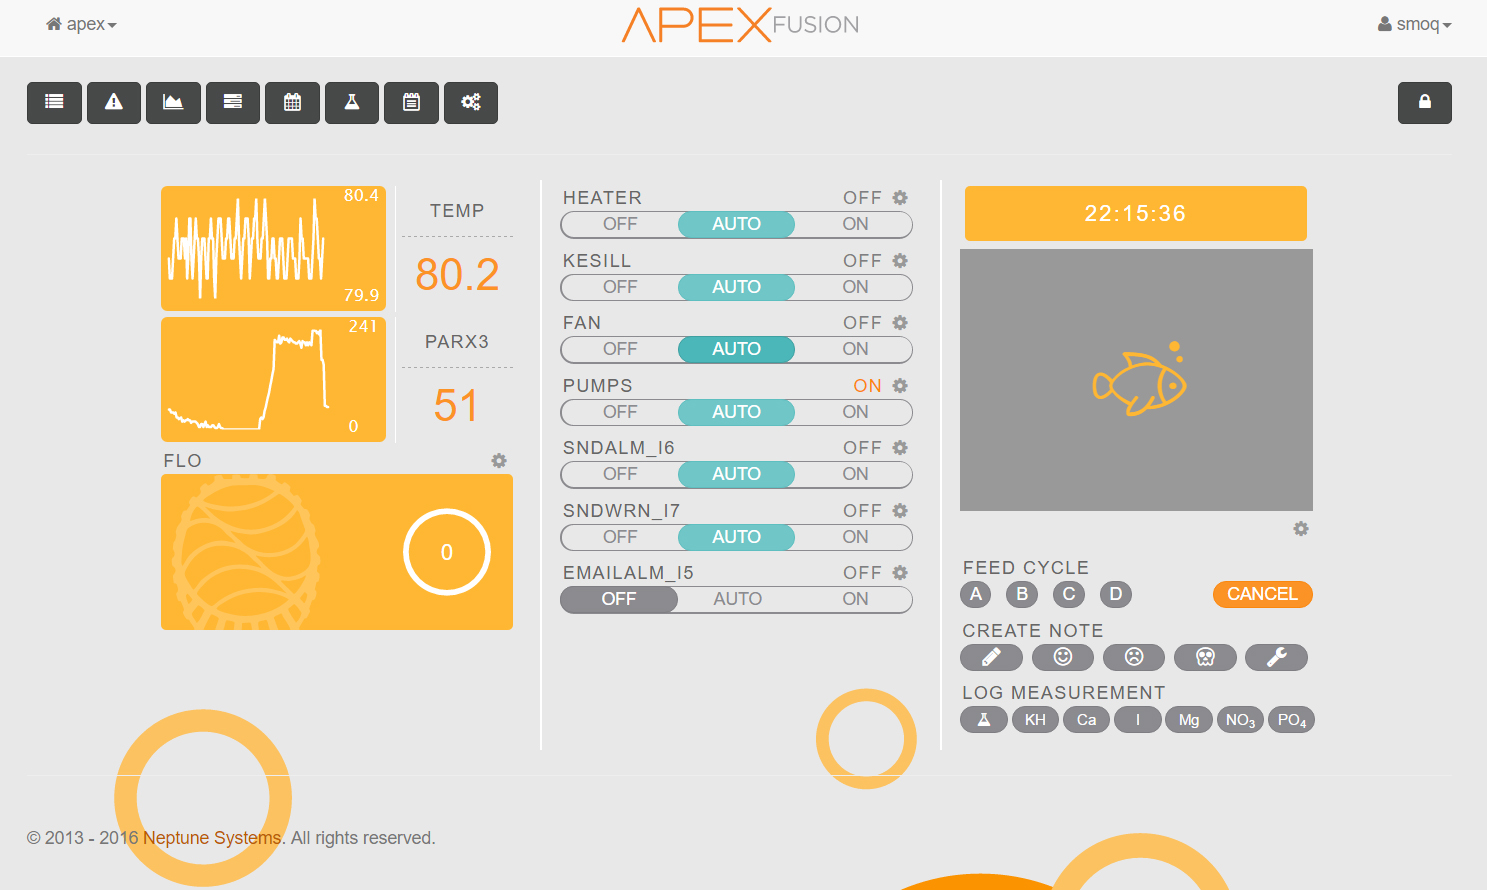
After initial hardware installation, apex detects the new module and two additional tiles shows up on the Fusion dashboard. The first, labeled PARx, represents the PAR sensor readings and the second, Tempx, shows measurements from an ASM auxiliary temperature probe (if used).
The apex Fusion PAR tile looks almost identical to the temperature probe one. The left side has a minimized copy of the PAR readings graph taken in theprevious 24h period, while on the right we have the name of the probe on top and current PAR reading below. Clicking on the PARx takes us to the Input log screen, where a much more detailed version of the PAR graph resides.
Input log screen shows the true magic of PMK Kit that sets it above any standard hobby-level PAR meters. As I mentioned in the introduction to this review, PAR is a characteristic that should be analyzed through multiple readings rather than one, single measurements. PMK “set and forget” approach works amazingly for the purpose of light level monitoring and paired with the Fusion interface, it is a powerful tool, and is brand new to the aquarium hobby. Let me explain using a real life example based on my tank’s PAR readings.
Like other probes, PAR measurements are represented in a form of a line chart, where the vertical axis represents PAR readings and the horizontal axis represents time passed. You can scale this chart to any time frame, analyzing PAR measurements over the last couple of hours, days, weeks, and so on. In addition, you can pick a specific section of the bottom chart using the two blue sliders and it will expand it on the upper one. Each individual reading can be pinpointed on the upper graph by hovering a cursor over it.
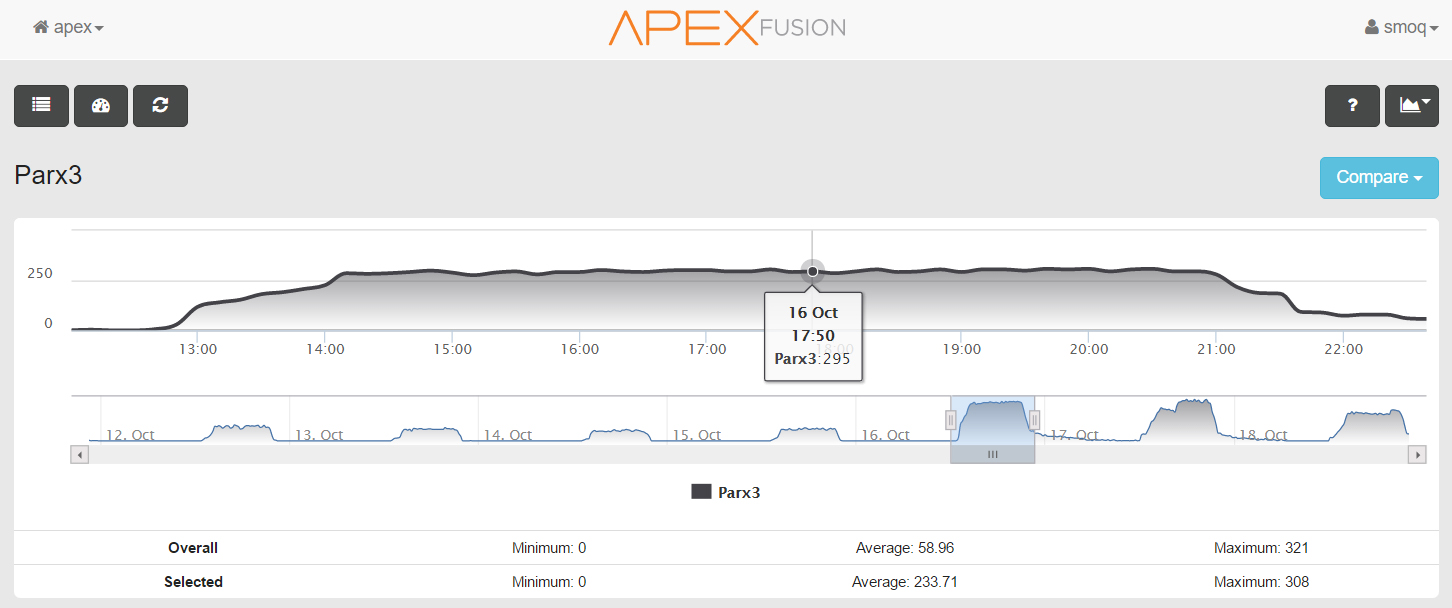
Apex Input Log Screen showing PAR readings chart. The change in PAR intensity on October 17 was due to the relocation of PAR probe throughout the tank
On the bottom of the PAR log, below the two charts, are two rows of numbers that further expand on the PAR level in the target area of the tank. The upper row, labeled “Overall”, shows the maximum, minimum, and average PAR levels from the time PMK was introduced to the apex structure. The bottom one, labeled “Selected” is perhaps the most significant one, because it mirrors the “Overall”, but with a user-selected time period. For example, if you want to know the average PAR levels in a photoperiod, simply select that period using the two sliders and apex Fusion instantly calculates that number, showing results in the “Selected” section.
The PAR Monitoring Kit sensor takes measurements in pre-programmed, 10 minute intervals. You can customize that setting, but frankly, more frequent readings make the data a little overwhelming, therefore I recommend leaving it at its default. The whole process is automatic and does not require any input from the user, which opens a wide window of opportunities for long-time PAR monitoring or creating a reliable virtual map of the light distribution throughout the tank. Some groups of reefers, like serious SPS keepers, could use that kind of data for coral frag placement in their systems. You can, for example, relocate the PAR meter every day to a different spot in your tank and after few days, analyze the data using “Input log” on apex Fusion
It’s important to mention that PMK PAR sensor can be used in outlet programming, just like any other probe. For example, you can set to turn an additional light on when PAR drops below a certain figure, or even set up a text message/email alarm in case PAR drops suddenly within predefined photoperiod times (which can indicate a burned-out bulb or a blown ballast).
PAR Probe reliability/cleaning
As you can see in the below screenshot of the example daily photoperiod sample taken from my tank, individual PAR readings taken at the same location vary on average by 5-10 μmol/s and that is considered normal, because there are several factors that can affect photons reaching the sensor- a fish swimming by it, water turbulence, abnormalities in the light source itself or, as in my case, a blenny that decided to rest on top of the sensor for half a day. I also pointed out the areas on the chart in which times I moved the sensor to a different location in my tank.
When I did my research in preparation for this article, I found that the biggest concern people interested in purchasing PMK Kit raised was the detritus buildup and algae growth on the PAR sensor and how it affects readings. After testing the unit for over a month, I can report that it is not as big of an issue as it seems to be. The kind of plastic used for the sensor case prevents accumulation of large amounts of detritus and a regular weekly maintenance (read: wiping the probe with a damp cloth) is all it takes to keep it clean. If that condition is met, PMK continues to give reliable results over prolonged use and doesn’t need re-calibrating. That being said, if you feel like your probe is taking false measurements, you can calibrate it using apex display (under Setup-> Module Setup-> Config Module-> ASM-> Calibrate ASM Probe). The process of PMK probe calibration is laid out in this Neptune System forum thread
Value/Final Thoughts
Does Neptune Systems Par Monitoring Kit represent a good value for the money? The short answer is, yes it does, provided that you are a current apex Controller user. Nowhere in the promotional material does neptune Systems advertise it as a standalone unit and so it shouldn’t be taken as one. apex Controller is an amazing piece of aquarium hardware and I always recommend it to new hobbyists, although buying it just for a PMK Kit is a pricey enterprise. My personal opinion is this: on one hand, it’s not a “must-have”, and you can have a successful tank without ever knowing your light levels and spectrum. On the other, if you are a serious reefkeeper and/or love having total control of your fish tank, PMK offers great value for what it can do. It is currently priced at $299, $50 dollars less than the entry-level Quantum Meter that uses Apogee probe (albeit, a slightly different one). On top of that, the Apogee unit does not offer long time monitoring or data logging. The only device with similar functions is the $195 BioTek Marine BTM3000 PAR Sensor, which also offers data logging, but it requires a constant wired connection with a working computer to enable this function.
One thing that I would like to see in PMK is a small magnet attached to the probe for use with wands- the screw works OK, but magnet would be more convenient.
neptune Systems PMK Kit is a very useful, professional tool used for monitoring aquarium’s light levels in the optimal spectrum required to grow corals and/or plants. It’s not a device that is needed in every home aquarium, but serious hobbyists will find its addition to their tank beneficial. neptune Systems once again proves they are serious about expanding their line of products intended to use with Apex Aquacontroller and PMK Kit is a great addition, filling a market niche largely unoccupied with similar devices. If you’re shopping for a new PAR measuring unit, give PMK a try, you certainly won’t be disappointed.
References
1. “Light in the reef aquarium” by Dmitry Karpenko, Vahe Ganapetyan Advanced Aquarist http://www.advancedaquarist.com/2012/10/aafeature
2. “Aquarium Equipment: PAR Meters and LEDs – How Accurate are the Measurements? A Comparison of Three Meters and Lux to PAR Conversion Factors for LEDs” by Dana Riddle, Advanced Aquarist http://www.advancedaquarist.com/2013/2/equipment
Useful links
Neptune Systems PMK Product Page
Neptune Systems PMK Installation
Gallery










0 Comments