
Recently there have been quite a few led lighting options coming on the market emphasizing a slimline form factor. Seems the goal has been to simplify the designs to have less moving parts and more passive cooling while ensuring the proper spectrum and uniform area coverage. Thanks to our friends at GHL, I have been provided with three of their latest Mitras Lightbar 3s to try out on one of my systems.
The Shipment
The system I am planning to install is the GHL Mitras Lightbar3 on my 40 Breeder under my 80 Rimless Frag tank. The challenge with that system is the lack of overhead space available. Having a slimline form factor was a huge benefit in this application compared to the system I had originally which required me to rig a custom mounting solution with some PVC piping. That was not ideal since the OEM mounts didn’t fit in the 6-8″ space above the tank and made them highly susceptible to salt spray and corroded the paint right off the aluminum body.
GHL provided the following package:
- 36″ Ocean Blue 12,000K
- 36″ Deep Ocean 17,300K
- 36″ Coral Pop 27,000K
- Profilux Light WiFi controller
- Mitras-LB-PSU300
- Mitras-LB-Splitter
- Mitras-LB-Cable-RJ45
- 3x Mitras-SLB-Holder
- Sample Flat holding brackets
- Sample Hanging kit
-
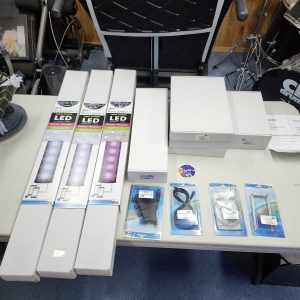
- Mitras Lightbar3 Package
-
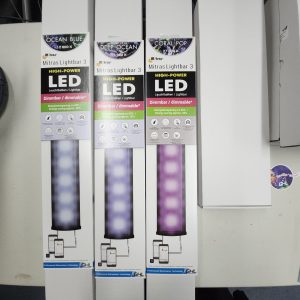
- Lightbar3 Color Bars
-
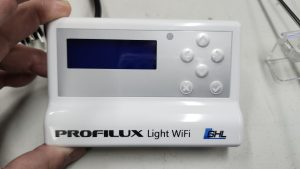
- Profilux Light WiFi
-

- Profiluz Light WiFi Connectors
-
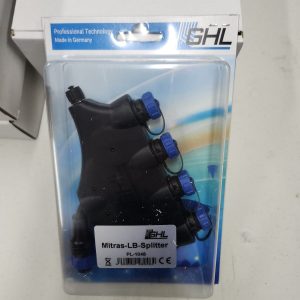
- Mitras-LB-Splitter
-
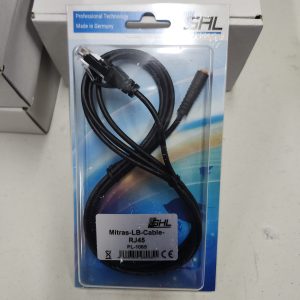
- Mitras-LB-Cable-RJ45
-

- Flat Holding Bracket
-
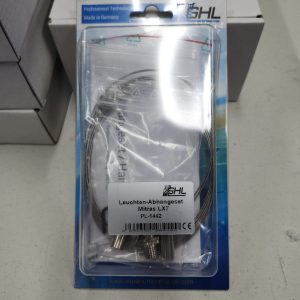
- Hanging Kit
Lighting Selection
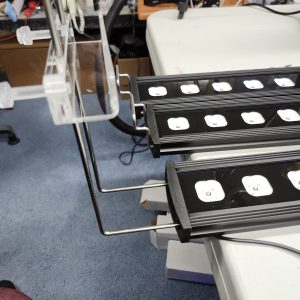
Though GHL normally recommends 2 lamps for my 40 Breeder, I chose the 3 most Reef related combinations to see what is possible. The 3 lamps had a full range from 12,000 Kelvin to 27,000 Kelvin CCT. I liked that GHL provided the color temperature range since I am an old schooler who was used to using metal halides which the bulbs were sold based on the color temperatures. The classic ones I have had great success with were the 14,000 kelvin and 20,000 kelvin color temperature bulbs on my old mixed reefs. The existing livestock in my 40 Breeder mostly consist of corallimorpharia, bubble tip anemones and chalice corals. I arranged the light bars in the following position from Rear to Front so that the whitest color temperature is in the center.
- 36″ Deep Ocean 17,300K
- 36″ Ocean Blue 12,000K
- 36″ Coral Pop 27,000K
Mounts
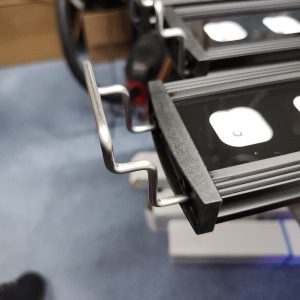
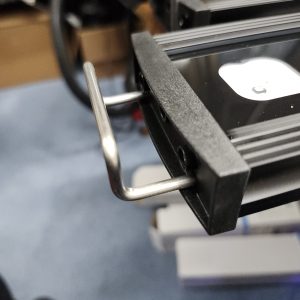
The GHL team provided me with 3 types of lamp mounts, Default angle brackets that come with the lamps, the Flat Holding Bracket for flush mount, a cable Hanging Kit for ceilings and the Mitras-SLB-Holder. From the package I chose the Mitras-SLB-Holder which allows me to mount the lamps on the rim of the tank and raise it to the maximum height in the stand. This configuration provided the best clearance above the waterline reducing salt spray contamination and improved accessibility.
-
- Included Mount
-
- Optional Flush Mount
-
- Optional Adjustable Height Mount
-

- Optional Cable hanging System
-
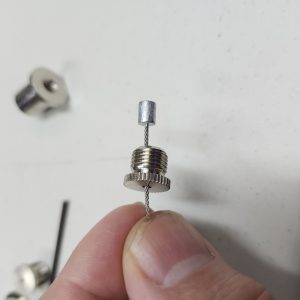
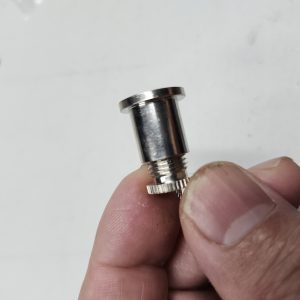
- Insert cable into nut
-
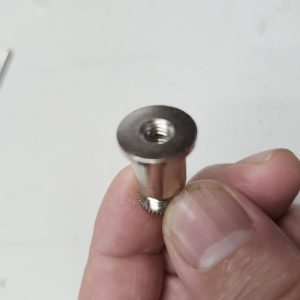
- Ceiling ferrule
-
- Screw nut with cable into ferrule
-
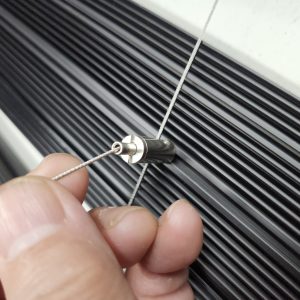
- Grub screw threads into profile slot
Setting Up
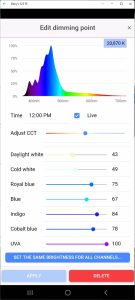
If you want to run the lights at 100% at all times then no controller is necessary. It will just be ON/OFF at full spectrum at 100% intensity. But for dimming some sort of controller is needed. What I was provided was the Profilux Light WiFI controller though the light bars can be also be integrated into the full Profilux 4 controller ecosystem. The instructions provided point to resources on the GHL website. Though there are 2 possible ways to setup the Mitras Light Bar 3, I focused on the GHL Connect phone app so make sure to select the information tab for that on the page. The directions were pretty straight forward but my personal preference of setting the spectrum is by using the Color temperature slider the following Process after you configure the lighting system to Lightbars 3 via the wizard.
-
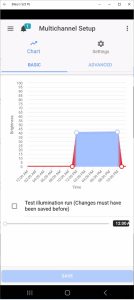
- 1. MultiChannel Setup
-
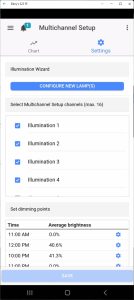
- 2. Select Settings
-

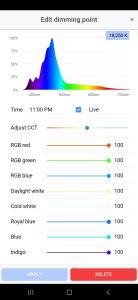
- 3. Select Dimming point
-
- 4. Set all channel brightness
-
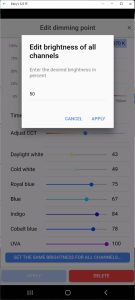
- 5. Set all to 50%
-
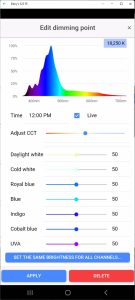
- 6. Select Live to view color
-
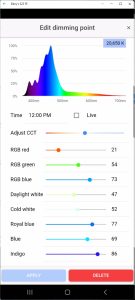
- 7. Adjust CCT
-
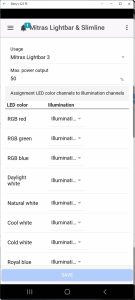
- 8. Set Max output Power
Initial Observations
- Operability:
- The hardware install was fairly easy and straight forward to understand. The connections were color coded or plug specific.
- The slim aluminum profile did not need t-nuts to attach the cable mounting kit. That was a nice design touch eliminating extra hardware.
- Keeping with the trend for less moving parts and passive cooling reduces energy waste and eliminating parts that can fail or need to keep clean.
- The GHL Connect App could be a little overwhelming at first since is not dedicated to just the lighting but the instructions will help you get around that. The one feedback I provided to the GHL team was that for beginners figuring out the light spectrum can be confusing. I asked if there can be some starter recommendations in the future. For me, I recommend using the CCT Adjustment method I discussed above since it automatically adjusts the color mix of each channel installed.
- Smooth WiFi connection between GHL Connect App and Profilux Light WiFi controller but keep in mind compatible for only 802.11 b/g/n or WiFi 4 only.
- A single properly sized power supply for the lighting configuration you choose saves on space and outlet usage. System requires 2 outlets total (Profilux Light Wifi Controller & light bar power supply).
- Coverage over the tank is much more uniform simulating the performance of T5s resulting is less shaded corners or hotspots.
- Variety of mounting options to meet most needs though I only experienced what was provided with such a slim formfactor.
- Finish – The aluminum heatsink bodies appear to have a black anodized finish which is far superior than any paint. I have experienced paint coatings to flake off over time with my prior setup from the salt spray.
- Easy to Clean – Any salt spray on the lens or body have been easy to wipe off with just a damp sponge.
-
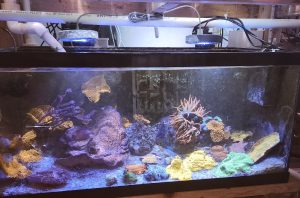
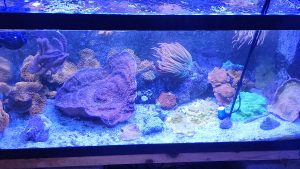
- Before w/ 2 Kessil A80 set to 100% Blue and 35% White (~60 umol/M^2s at the bottom)
-
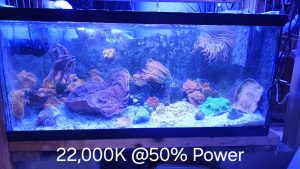
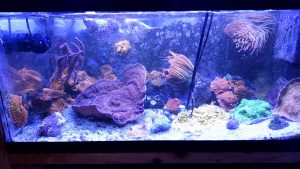
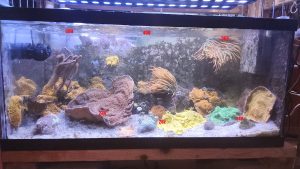
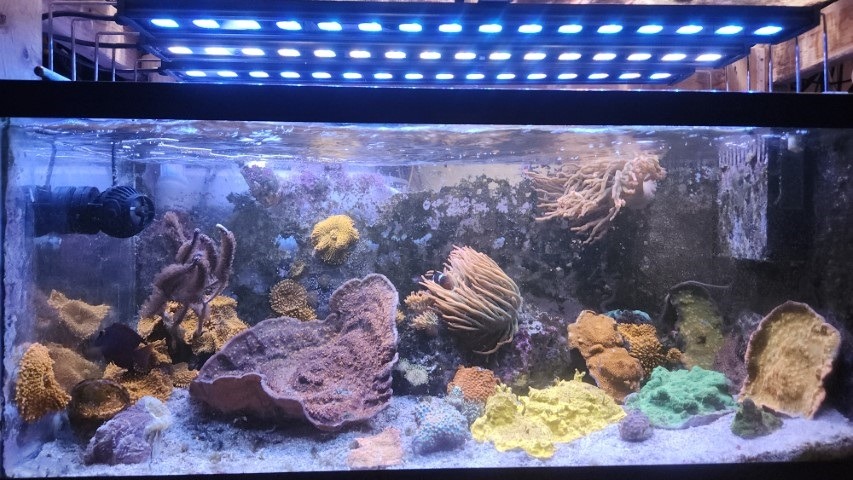
- What I ended up settling with.
-

- Same 22,000K @ 50% w/ Blue light lens filter
-
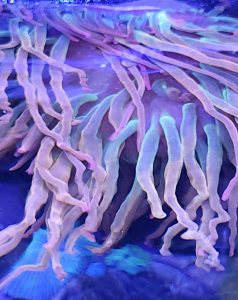
- Rainbow BTA Colors just under the water’s surface.
- Quick Measurements – Kill-a-Watt Power meter and PAR w/ Apogee uCache Full Spectrum Quantum Meter
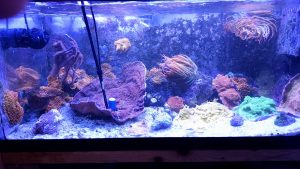
- Lights set to 100% on all channels the Color Temperature = 18,250K the PAR at the bottom ~200 umol/m^2s, Top ~ 400 umol/m^2s with Power draw of 145 Watts
- Final setting 50% Power @ Color temperature = 22,810K the PAR at the bottom ~130 umol/m^2s, Top ~ 200 umol/m^2s with Power draw of 78 Watts
-
- Apogee micro Cache used for PAR measurements
-
- Apogee Full Spectrum Quantum Sensor
-
- Left Bottom PAR position
-
- Center Bottom PAR position
-
- Right Bottom PAR position
-
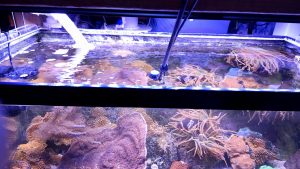
- General Height just under water surface ~ 8″ below Light Bar 3
-
- 100% Power on all Channels
-
- Par Readings at 100% on all channels
-
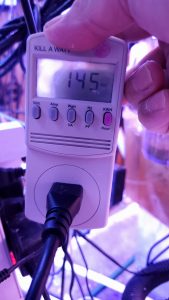
- Power usage at 100% Power on all channels
-

- 22,000K @ 50% Power
-

- PAR @ Final Setting
-
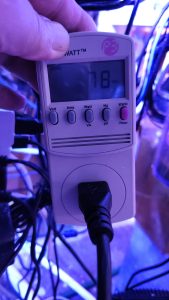
- Power Usage 22,000K @ 50% power
Summary
This next generation of reef led lighting has shifted back to a bar formfactor since they do provide better coverage on most common reef tanks. The minimized light spill due to improved lenses and the dimmable function allows various control to your hearts desire. But having tons of control has a slight down side if you don’t know what color spectrum is desirable to grow corals. The key is that the system maintains a full spectrum if you adjust via the color temperature. Historically all LEDs I’ve used have grown coral but color and growth rate will be impacted by the spectrum and intensity chosen. Keep in mind there is a fine balance between biological necessities versus aesthetic desires but health of the livestock should always be the priority.
I have been pretty impressed with my the first GHL products I have ever used. I have already noticed some differences in the colors of my corals in just 2-3 weeks running it on my system without any changes to anything else. As with all my reviews, I will revisit them after 6 months for longer term experiences. If you have this system comment below on your experiences thus far.


0 Comments