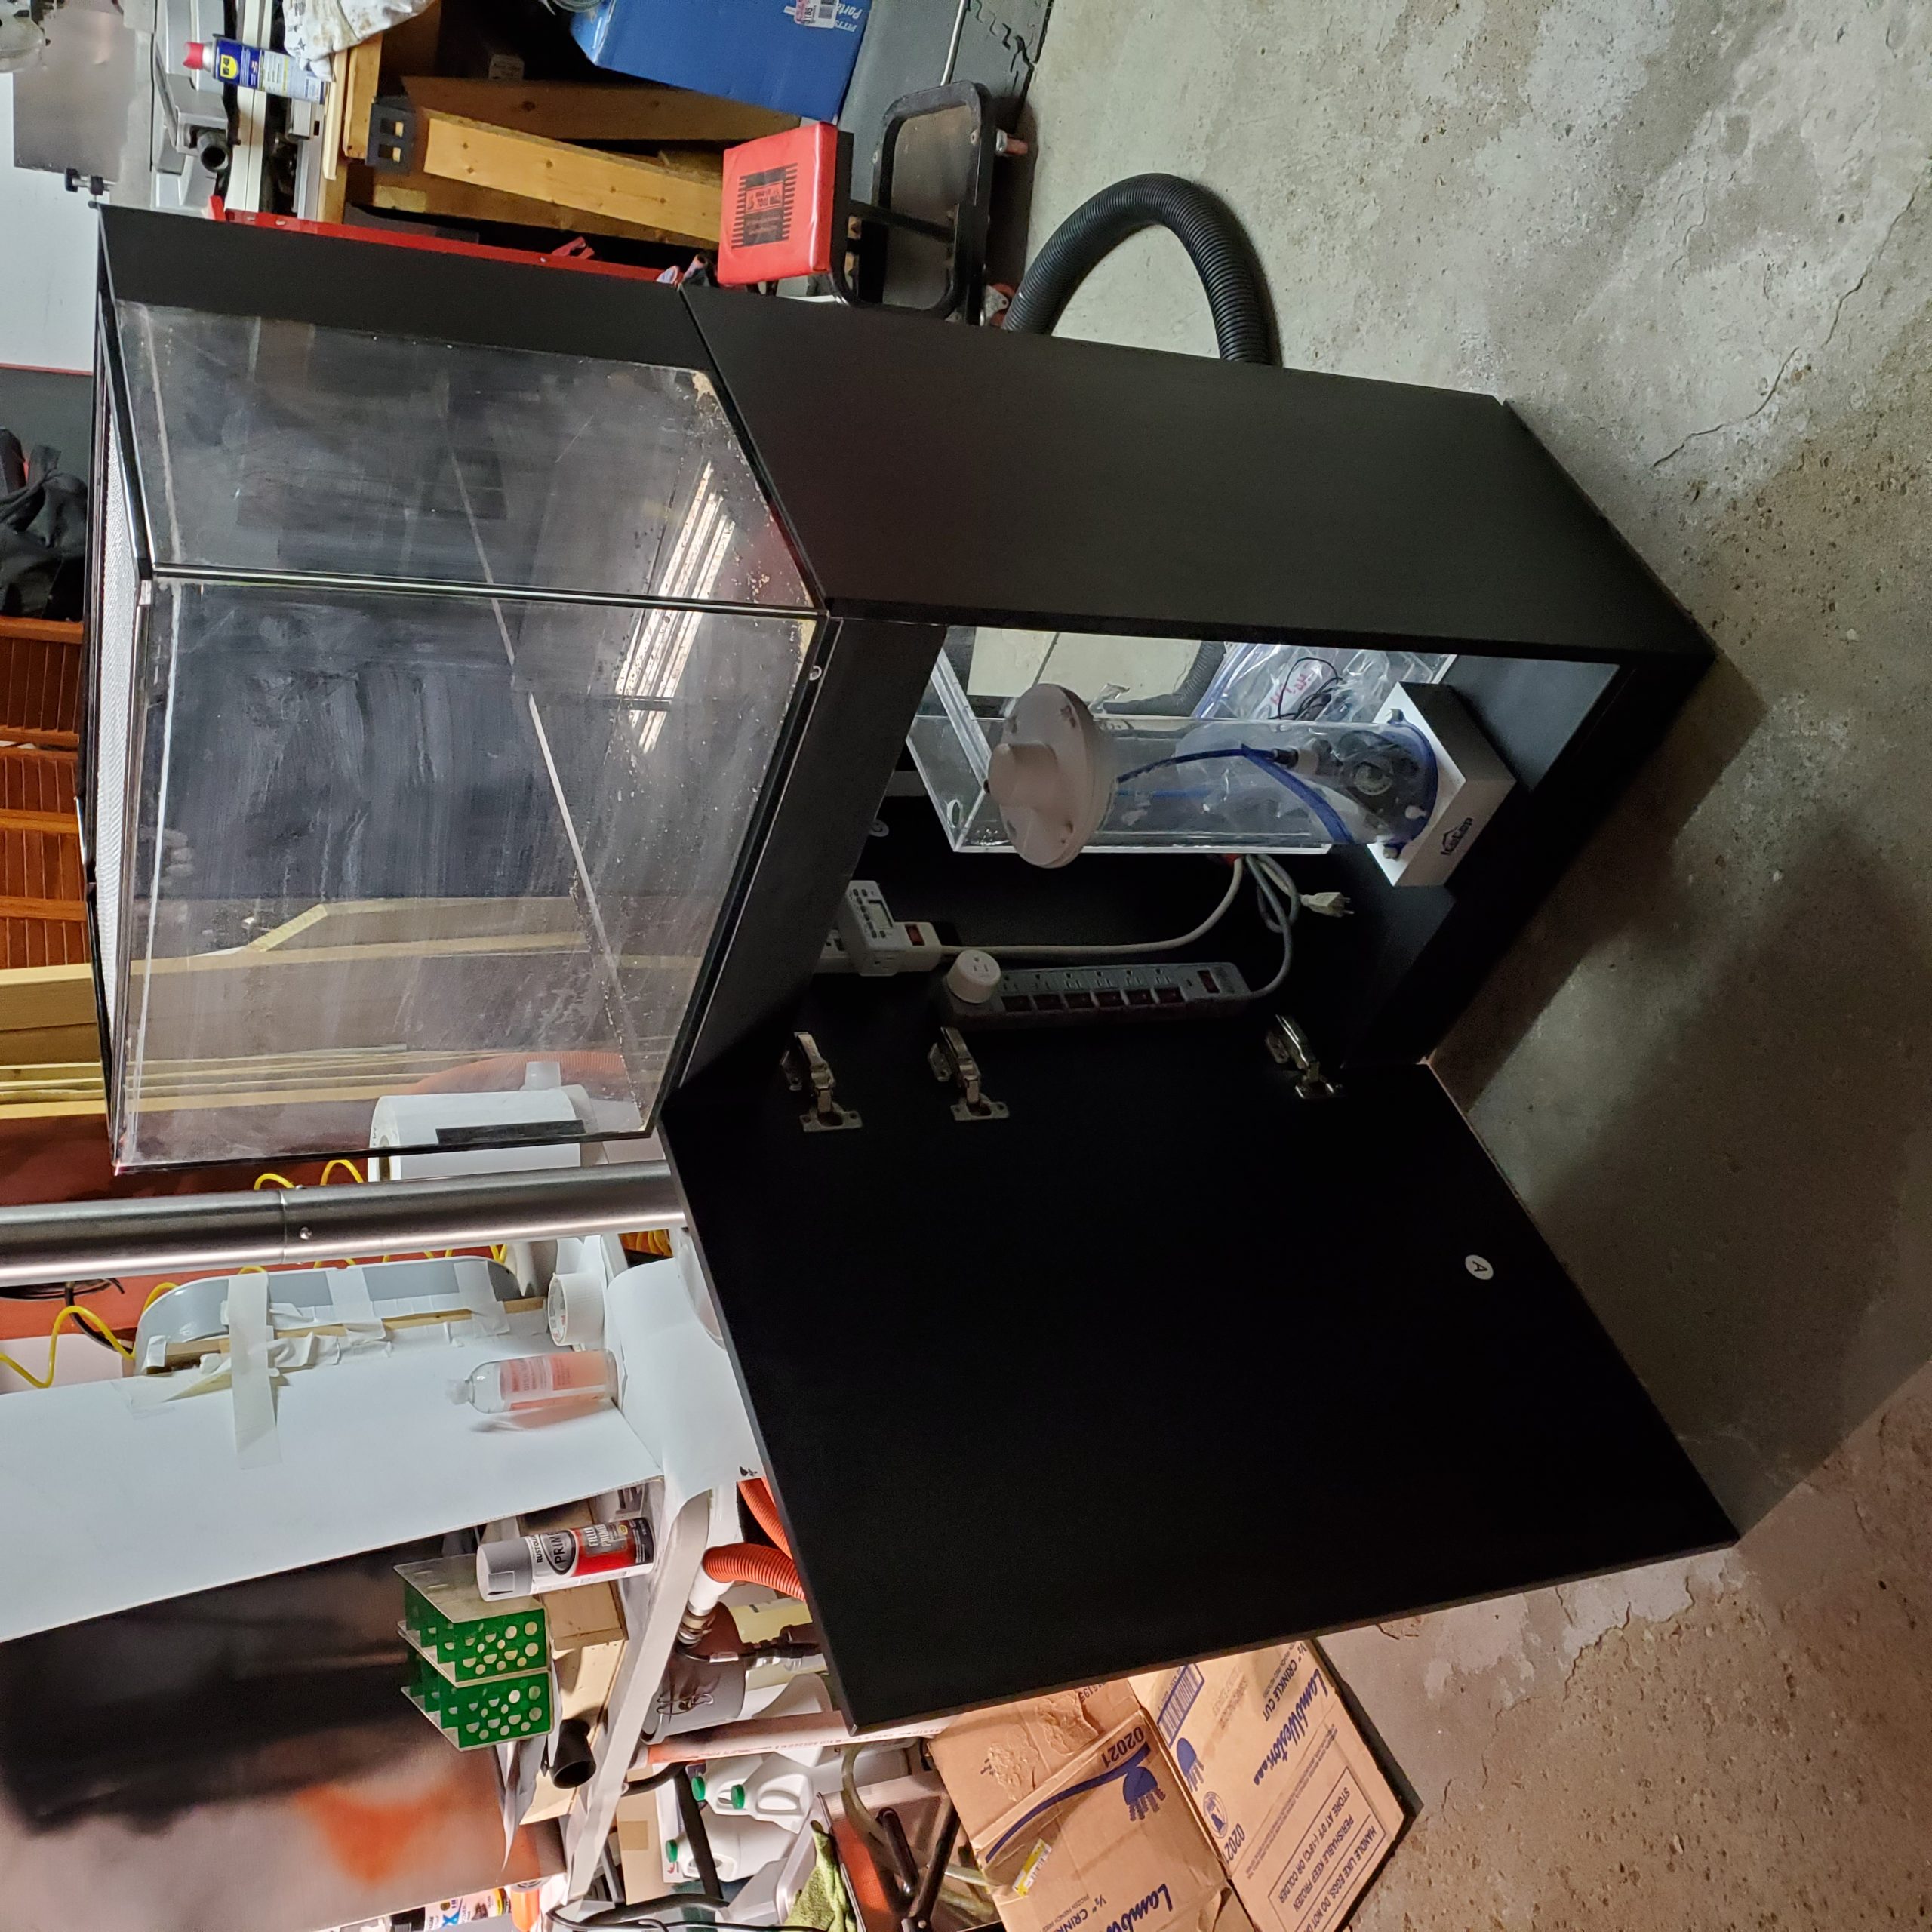
A new hobbyist had been struggling to stabilize his Waterbox 30.2 reef for over 9 months. Due to a sudden personal event he had to remove the system just as it was becoming stable and he asked me if I could store the whole system for him. I placed all his livestock in one of my sumps and the tank/stand in my garage. One of the constant asks from this hobbyist since I met him was, “If this was your tank how would you set it up?” This sounded like an interesting project so I accepted his challenge. So based on a mutual agreement to enable this activity, I would personally mentor him through my thought process and have him help me re-setup his system in my house until he can re-locate it in 1 year.
The challenge would be to document from beginning to end the progression of this system and the goal is to minimize the ugly phase and all the challenges he initially encountered. This may sound repetitive to many of the other tank build threads or even some of the very popular Bulk Reef Supply’s 52 weeks of Reefing Series. There is no exact solution to prescribe in every scenario so I might as well create something that my mentee can refer back to for his setup. Maybe it can even help some other new hobbyists with a similar system!
The success of new hobbyists depends on their understanding of all the key elements and details prior to investing their hard earned money. As I tell customers at my day job, “It’s much cheaper on paper” and you want to do this correctly once. This is more important today when materials, livestock, and labor are in short supply or more difficult to access. So if you can partner with an experienced entity (LFS, hobbyist) you trust after seeing their systems it will improve your rate of success. More successful and responsible hobbyists will result in a more sustainable and thriving hobby for everyone to enjoy.
Step By Step Installation Planning Guide Categories
Planning:
- Define the hobbyist’s goals and constraints (time, budget, etc.) for the system. What do they want to emulate?
- System location and resource accessibility (Power, Water, Drainage, Storage)
- Gather all the equipment needed to meet the system design goals.
- Prepare the hardscape and substrate.
- Clean up “pre-enjoyed” sand and rocks of organics (if applicable)
- Plan and build desired aquascape to follow a chosen theme (Rule of 3rds, Golden Rule, HNSA, etc.)
System Setup:
- Set up the system equipment and check for leaks with freshwater and check for equipment functionality
- Add new aquascape, sand and fill with saltwater.
- Add bacterial additive or pre-seeded live rock rubble/media to begin cycling with no lights.
- Simple Automation during the cycling period
- Program light schedules for the desired spectrum and intensity. Map out the PAR in the tank but keep off till needed.
- Set up the auto top off system. Hard plumbing the RO system will help reduce labor but precautions in the design need to be included.
- Set up feeding schedules and other simple WiFi outlet timers as necessary.
- Clean up the harnessing and label everything for ease of service.
- Once the nitrogen cycle is complete, test for ammonia, nitrite, and nitrate to be sure the environment is acceptable.
- Add initial corals and start turning on the lights for 6 hours of peak lighting and no longer than 12 hour photo periods.
- Add initial cleanup crew based on what needs to be addressed (algae on glass, hair algae, diatoms, cyanobacteria, or dinoflagellates)
- Slowly add fish over time with the least aggressive first on the stocking list.
Scheduled Maintenance:
Once the system is physically set up and running, a proper maintenance schedule needs to be established based on how the tank is performing. Proper feedback from water parameter testing and how your livestock is reacting are the primary indicators. Do not just chase parameter numbers since various livestock prefer specific conditions and hence a true “Mixed Reef” requires more planning and attention to detail. For basics, get into a routine of proper documentation practices so that you have a reference for yourself or for when you are asking for help from the community. Proper data will aid in quicker diagnosis of any issues.
- Test water parameters to understand trends over time (daily, weekly, monthly)
- Understand swings in salinity, temperature, pH, oxidation redox potential (if available) within a 24hr period in order to be sure a stabilizing solution is enabled. (Adding a controller will simplify this task but is not necessary.)
- Understand nutrient import and export based on feeding regiment, bioload changes, and your maintenance practices.
- Supplement Basic Alkalinity / Calcium / Magnesium based on the weekly test data
- Supplement Trace Elements based on Monthly/ Quarterly ICP tests (Best initial subjective test is “How does your livestock look? What does healthy livestock look like?”)
- Establish a normal maintenance schedule:
- Daily Activities: livestock inventory during feeding, glass cleaning, monitoring basic water parameters, manual dosing as required
- Weekly Activities: Water Changes (if warranted), consumable replenishment
- Monthly Activities: Full water parameter testing or ICP testing (pending how livestock looks), equipment maintenance
Cost Reduction and Improved Efficiency:
Now that you have a grasp of your system and its behaviors and your practices work on improving it even further, reducing cost and complexity for greater levels of enjoyment.
- Are there opportunities to reduce monthly costs and improve on practices?
- Adding automation can help improve enjoyment and reduce repetitive tasks at a cost.
Next Steps
Much of this is not “rocket science.” We learn through the experiences of others, both good and bad, to establish what is factual and true. While in business school, case studies of past events are how we progress further and prevent repeating past errors. This is no different in life and this hobby.
Now that the general steps are identified, I will work through each them with my mentee and present them to all of you in detail in upcoming articles.
So let the fun begin!








Excellent, eloquently wrote and extremely helpful to hobbiest with a similar nano. But applicable procedure to any size reef tank. Straight to the facts; and an easy read and reference. Excited to see more.