The majority of us dip our corals (if you don’t, please do so); the reason why is to avoid introducing potential parasites to our closed systems, which could cause catastrophic damage to our corals. What you should take account is that this doesn’t get rid of the eggs. There is no dip in the world that gets rid of them, and they are extremely hard to detect and often missed. This is my personal procedure when I acquire anything new: I dip heavily and brush the bottom parts of the coral very gently with soft toothbrush to remove any potential eggs, and then look over the coral carefully with a magnifying glass. Why? We will get to that. Keep reading.
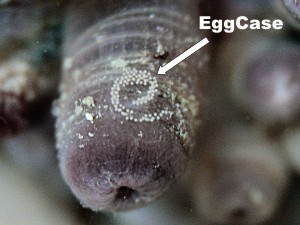
While I was sitting down with Mike Palatta and Sanjay Joshi earlier this year, I tried to absorb everything that they were willing to share with me; the years of experiences and knowledge that these gurus have is invaluable! Of course, I couldn’t remember every last thing, but one of the most interesting and important topics we discussed (and which I hope to persuade you to make a regular habit of) was this:
Switch out the frag plugs and discs that your corals arrive on.
Sometimes the bugs will survive the dip, often hiding inside the crevice of the coral or rock work, or on the bottom of the frag disc or frag plug. Other times, they are just super resilient and can withstand the dip. Some of the pests that can come in with corals are nudibranchs, zoa eating spiders, and flatworms; if they start an infestation and if you catch it too late, it can mean bye bye for that specific coral. Personally, I lost a battle to montipora eating nudibranchs and it’s not something that I want to go through again, so I am extremely cautious of them. Also, as anyone that has had experience with these parasites will tell you, they camouflage extremely well and they usually hide and lay eggs underneath the coral or underneath the rock/coral disk or plugs.

Montipora eating nudibranch damage.
Also with some of the rumors that are going around about mariculture discs having a high iron content, it definitely is a good practice to keep them out of your tank.
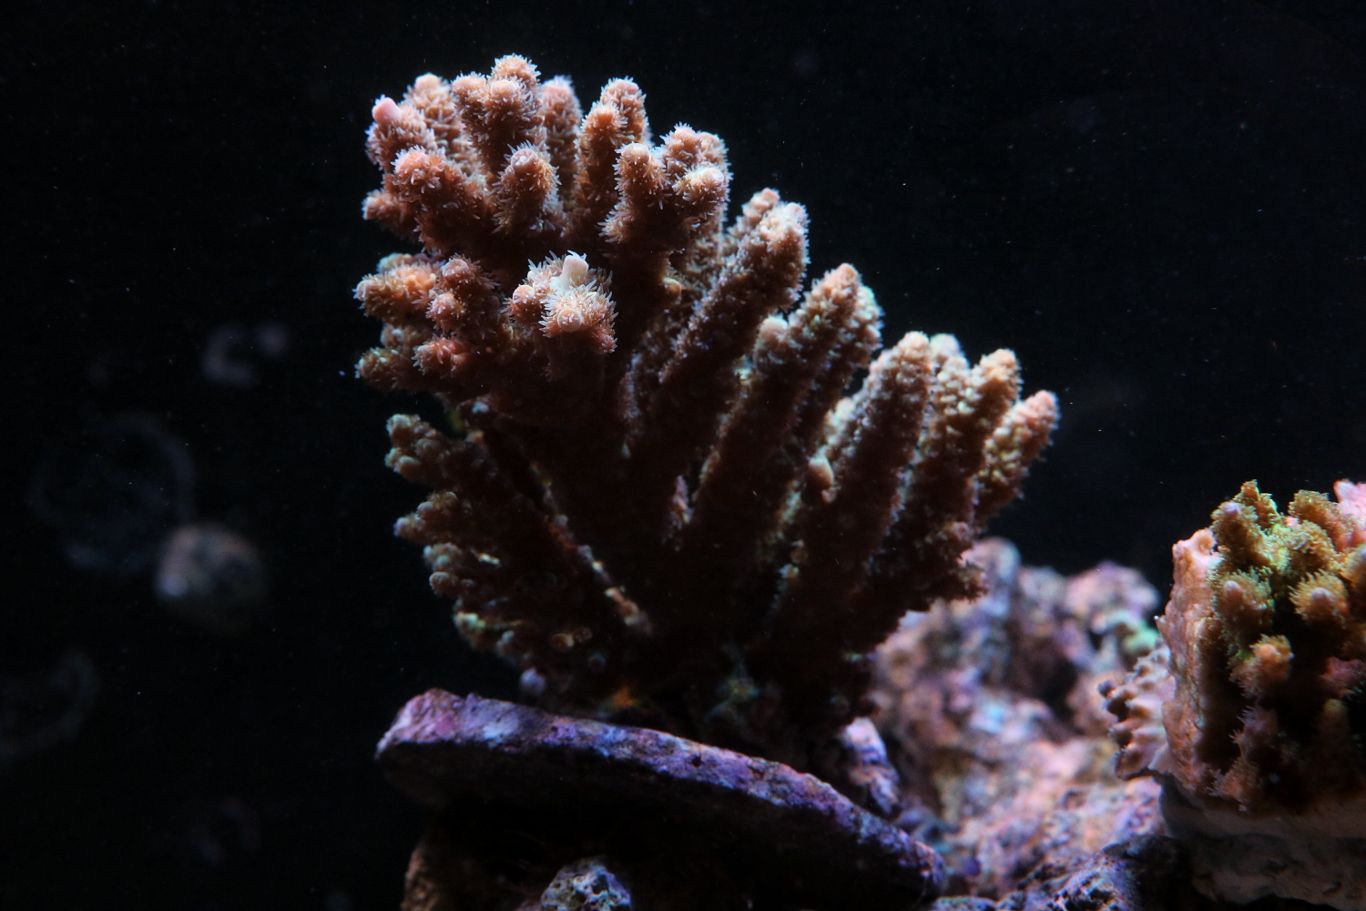
Also, those perfectly round discs will mess with the feng shui of your beautiful aquarium. They don’t look natural, and really look unattractive in otherwise attractive tank. The same thing can be said of frag plugs but sometimes, due to the growth and the encrustation of the coral, it can’t be helped but to use the plugs.
There are multiple tools that you can use to remove the corals from their man-made bases do this, including a bandsaw, a dremel, or bonecutters.
I used Boston Aqua Farms’ black anodized bone cutter for this purpose.
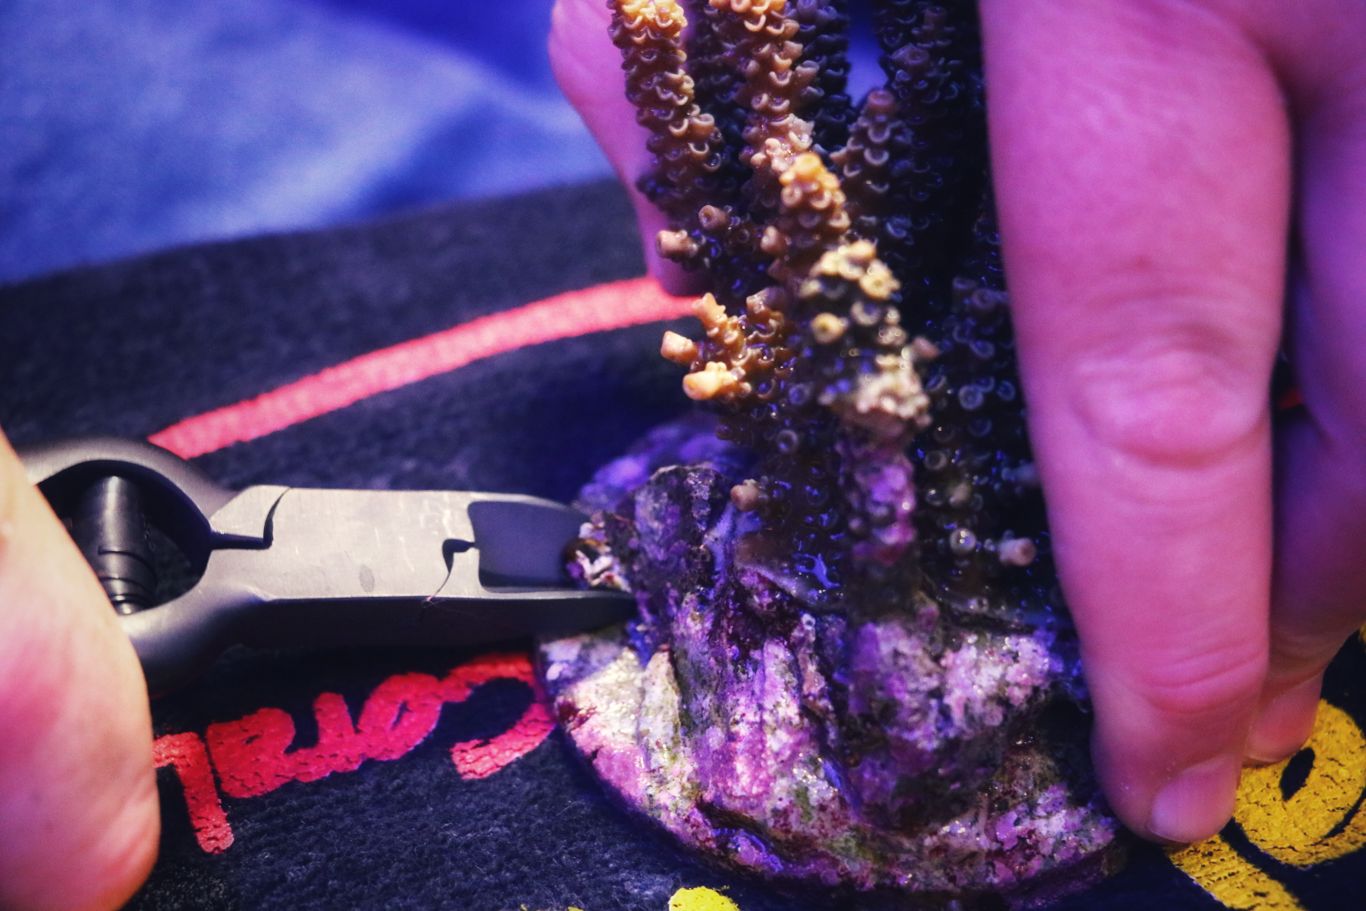
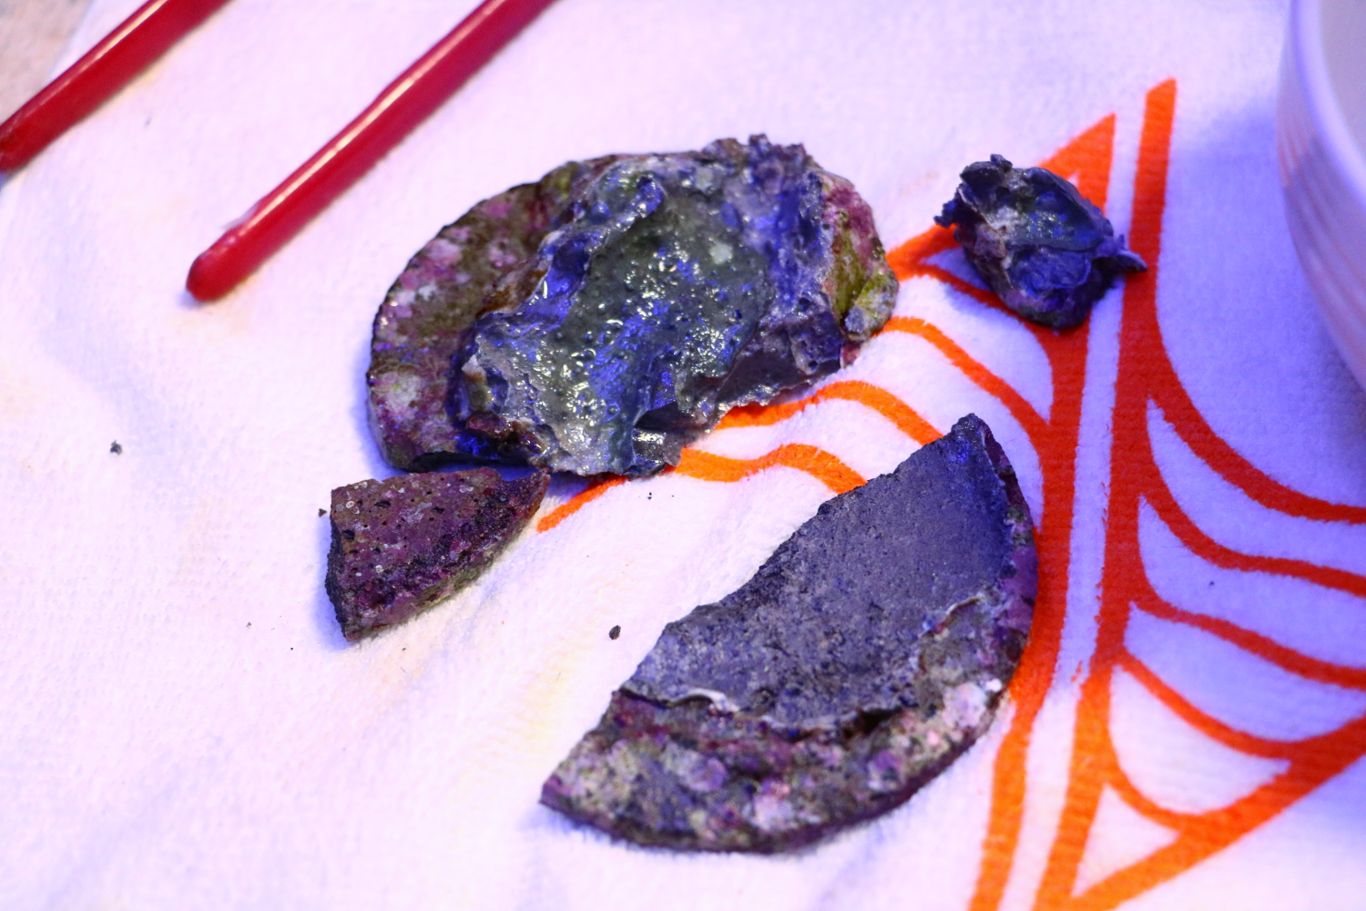
Usually, mariculture discs are made out of hydraulic cement and can be taken apart little by little. (or by big chunks)
Now, putting it back in the tank is in order. How to glue and what to use? With so many products out there, my go to is Julian Sprung’s Two Little Fishies’ Aquastik red to match the colors of my existing live rock and Two Little Fishies CorAffix Pro Cyanoacrylate Adhesive Coral Glue, and sometimes a combination of both to get that perfect mix of stickiness and surface area for the coral or plug to hold on to. Here is a video from when Julian came over to my place and demonstrated how to use this properly. See how the master does it:
I was recently introduced to something else entirely and wanted to give it a go. This is AquaMaxx Reef Welder Epoxy Glue in purple color , it is advertised to blend in seamlessly with your live rock and provide sticky yet quick setting. Here is my experience with it:
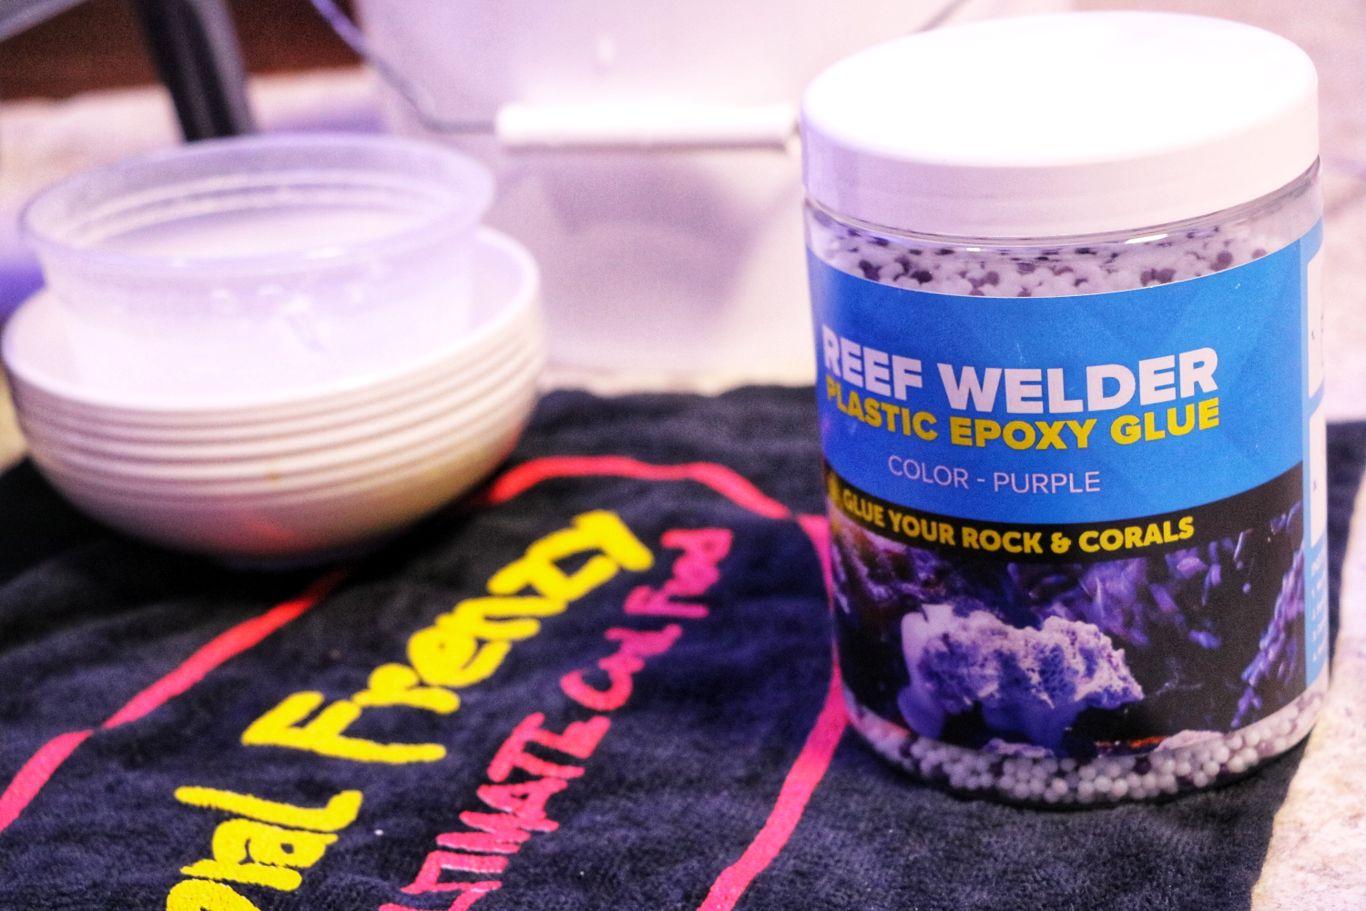 It comes in white and purple balls and you have to put them in high temperature water to activate them.
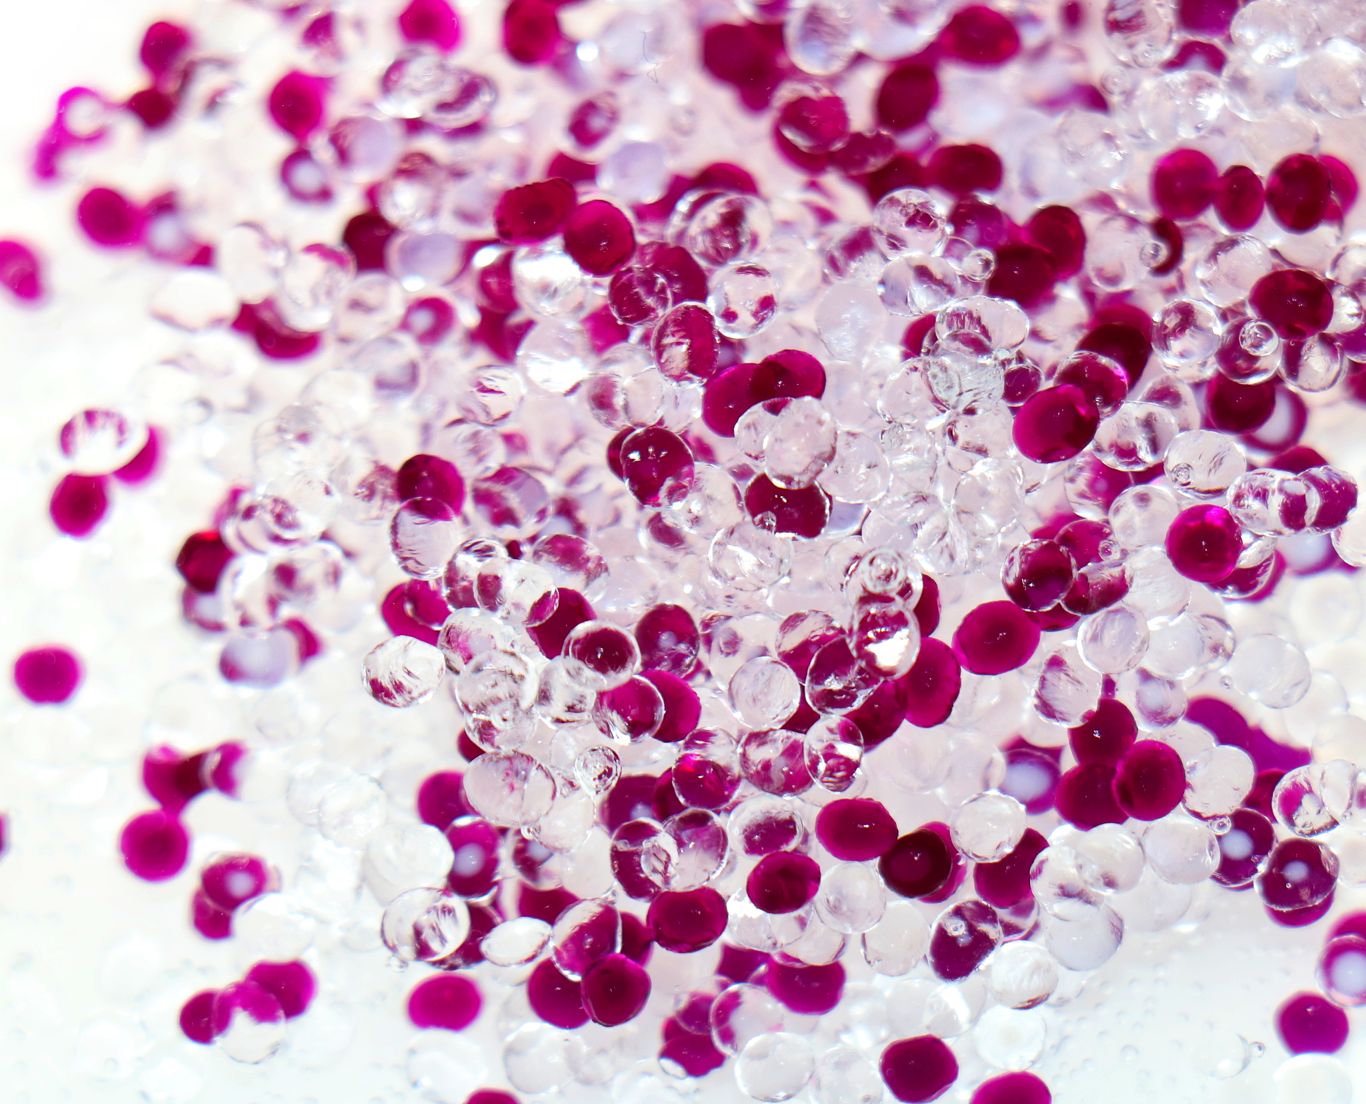
They melt within minutes so be sure not to go anywhere.
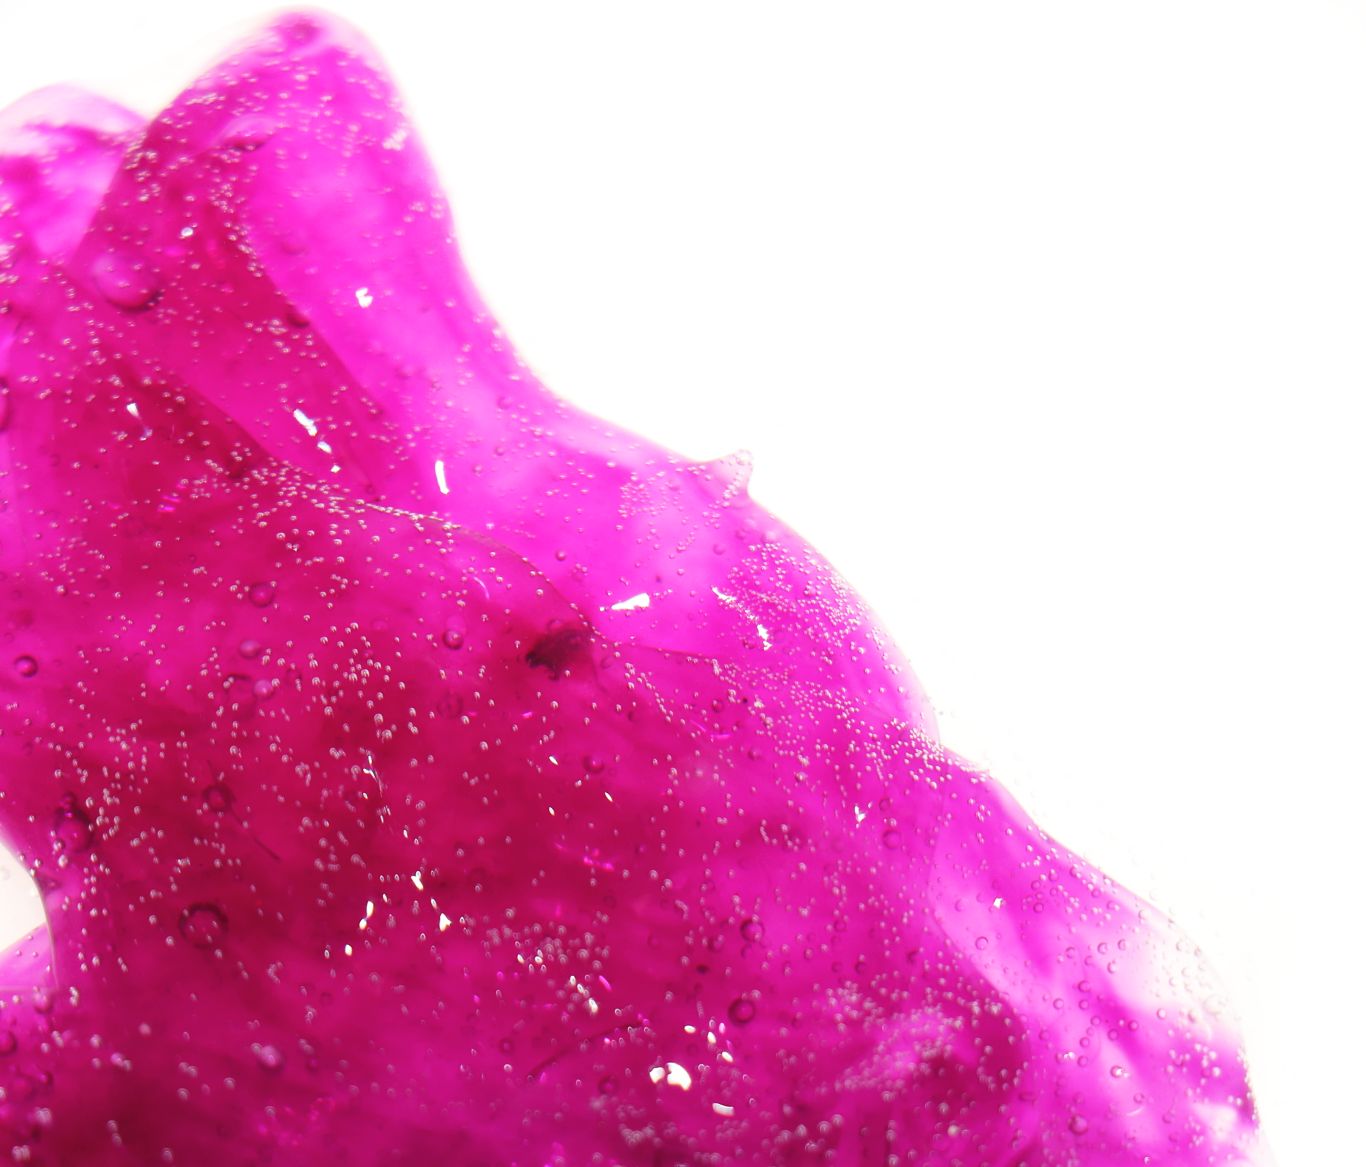 After melting them, squish them together in order to achieve this color.
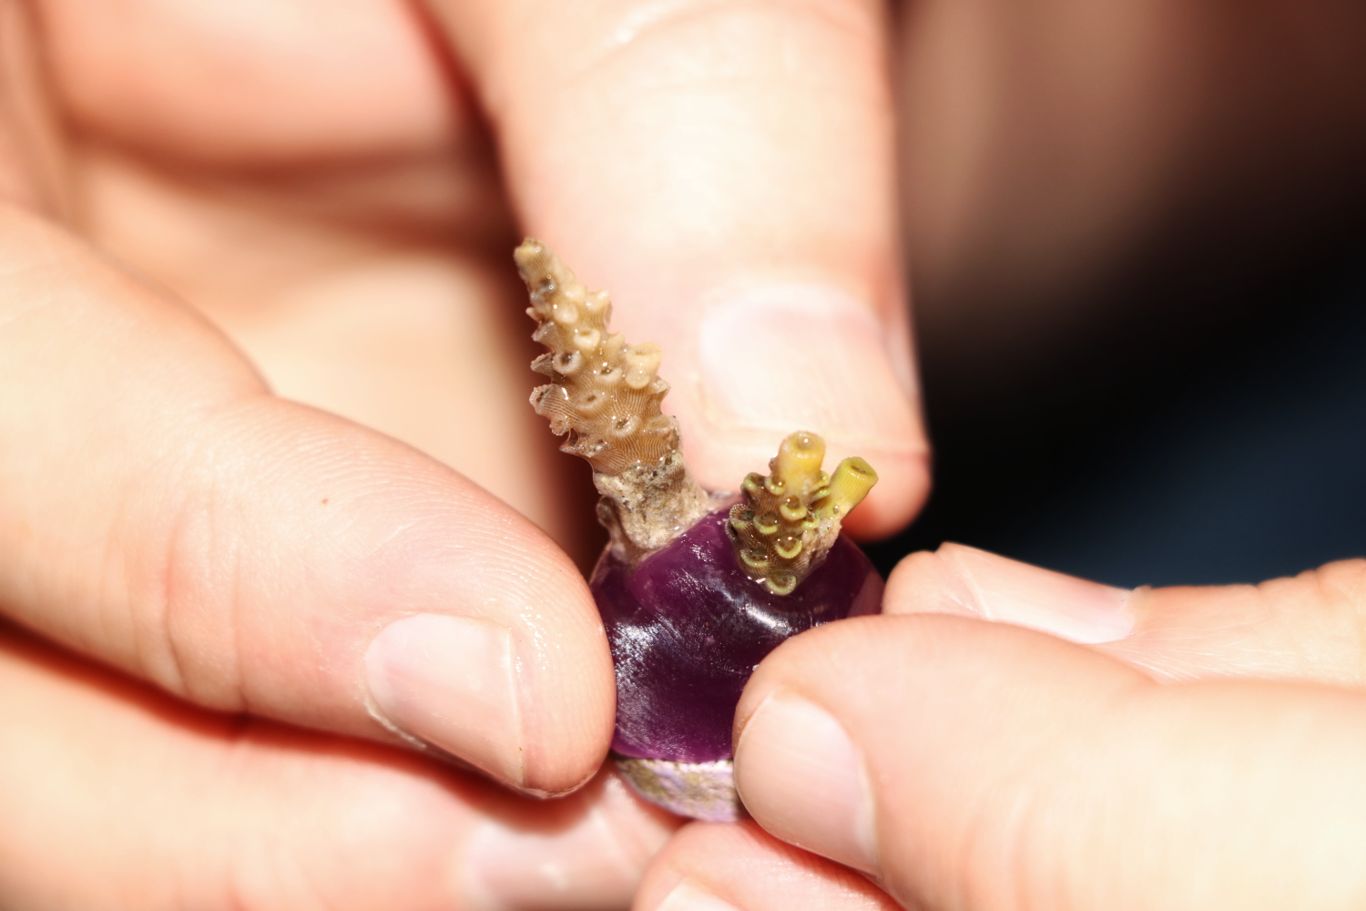
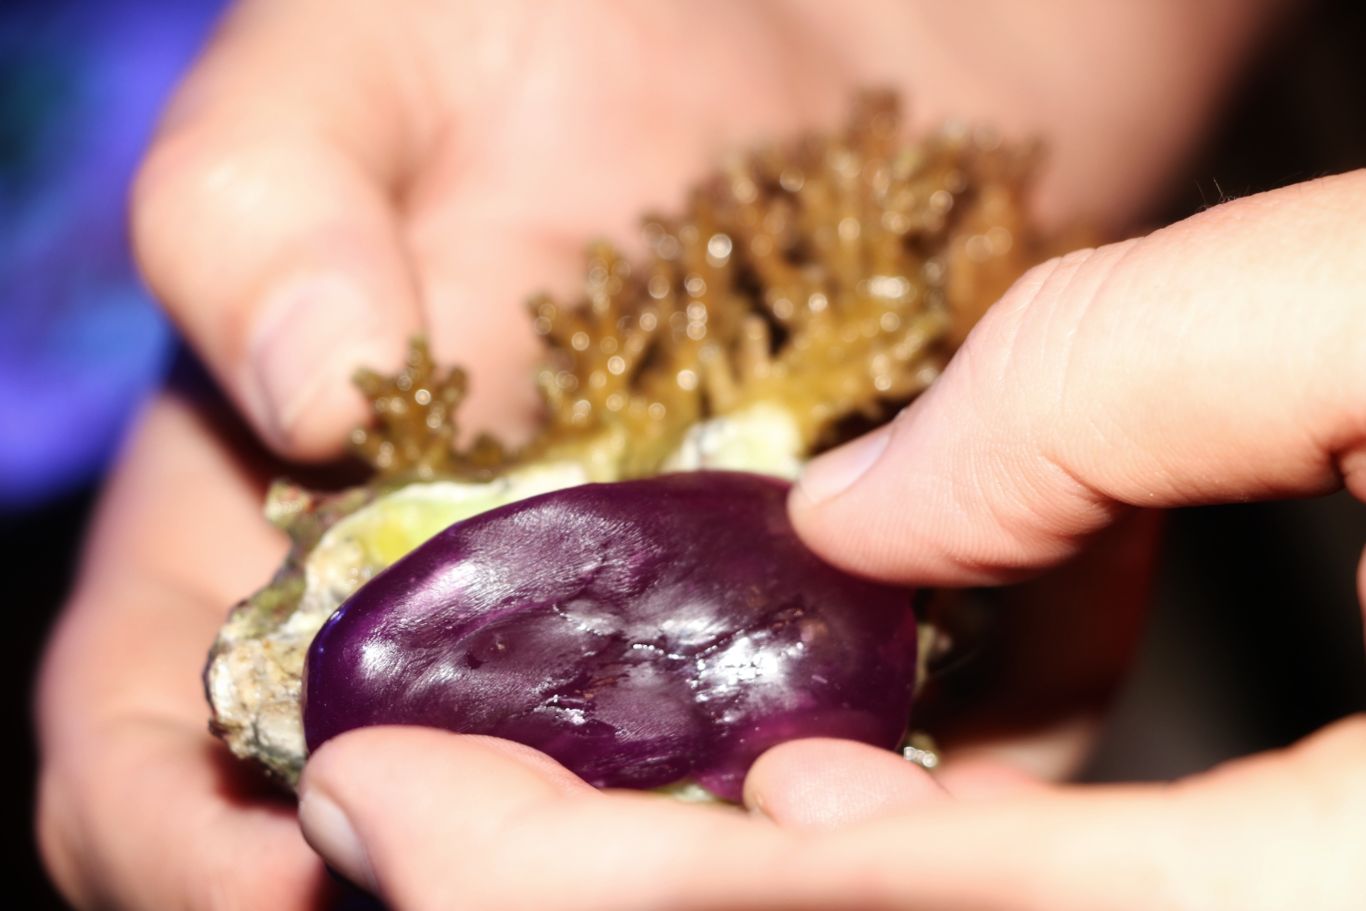
It worked and set VERY quickly. I would say within a minute after reaching the aquarium water. Be sure to know where and how you are going to place it beforehand!
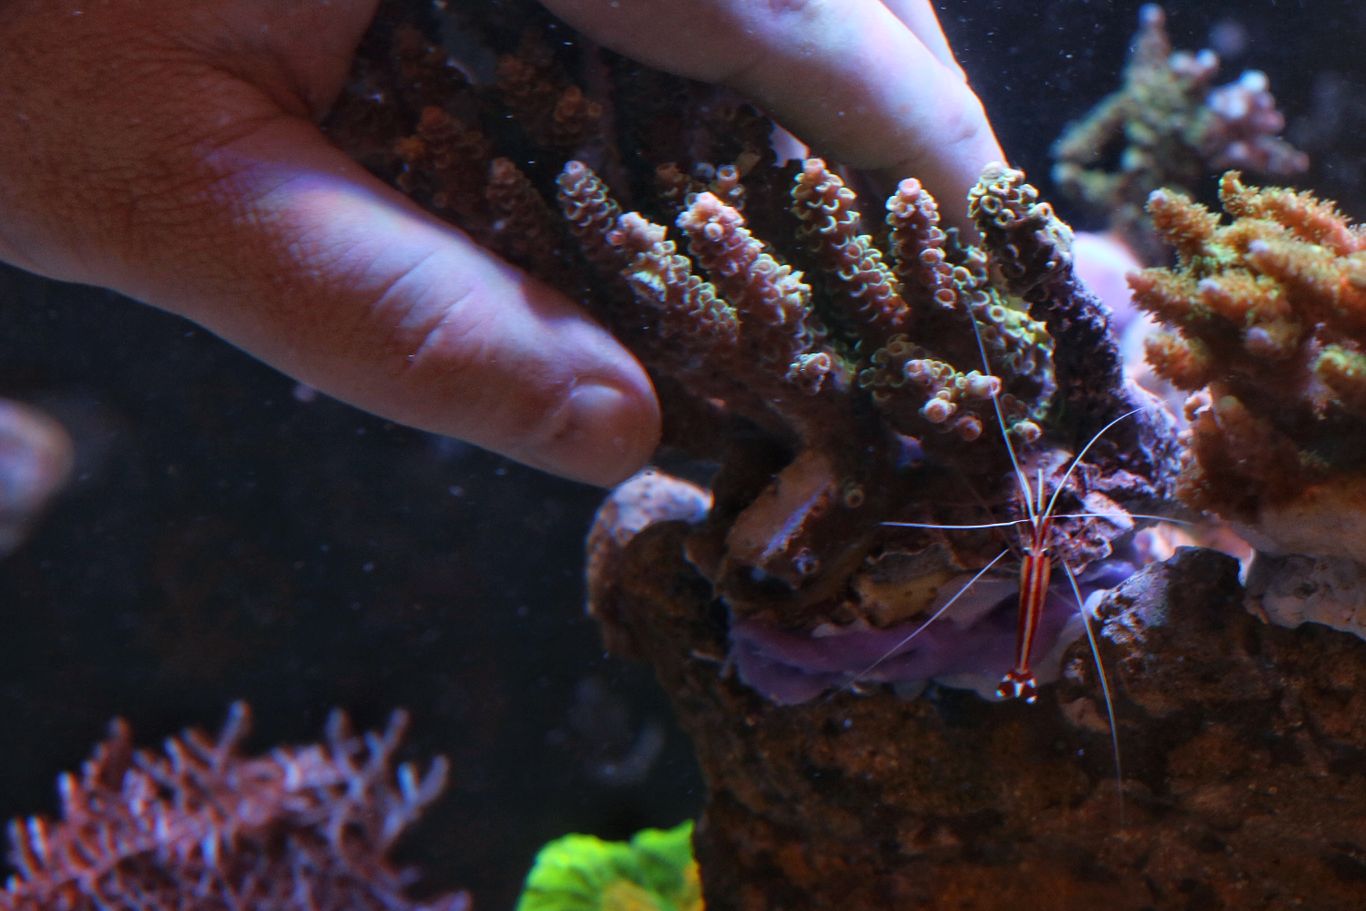
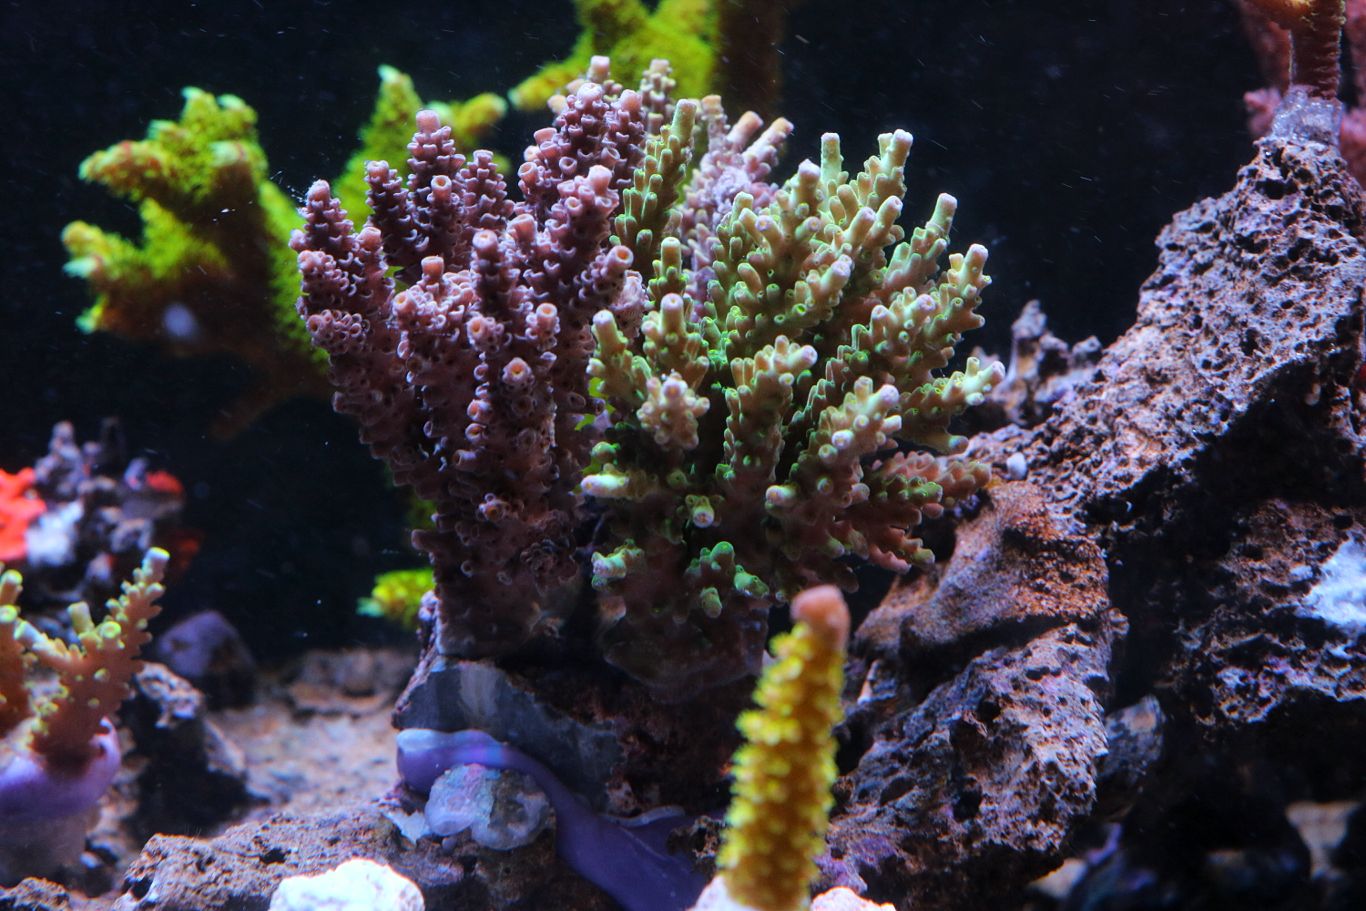
Looks so much better. As my acro colonies continue to encrust over the epoxy and the rocks, it will look more and more natural.
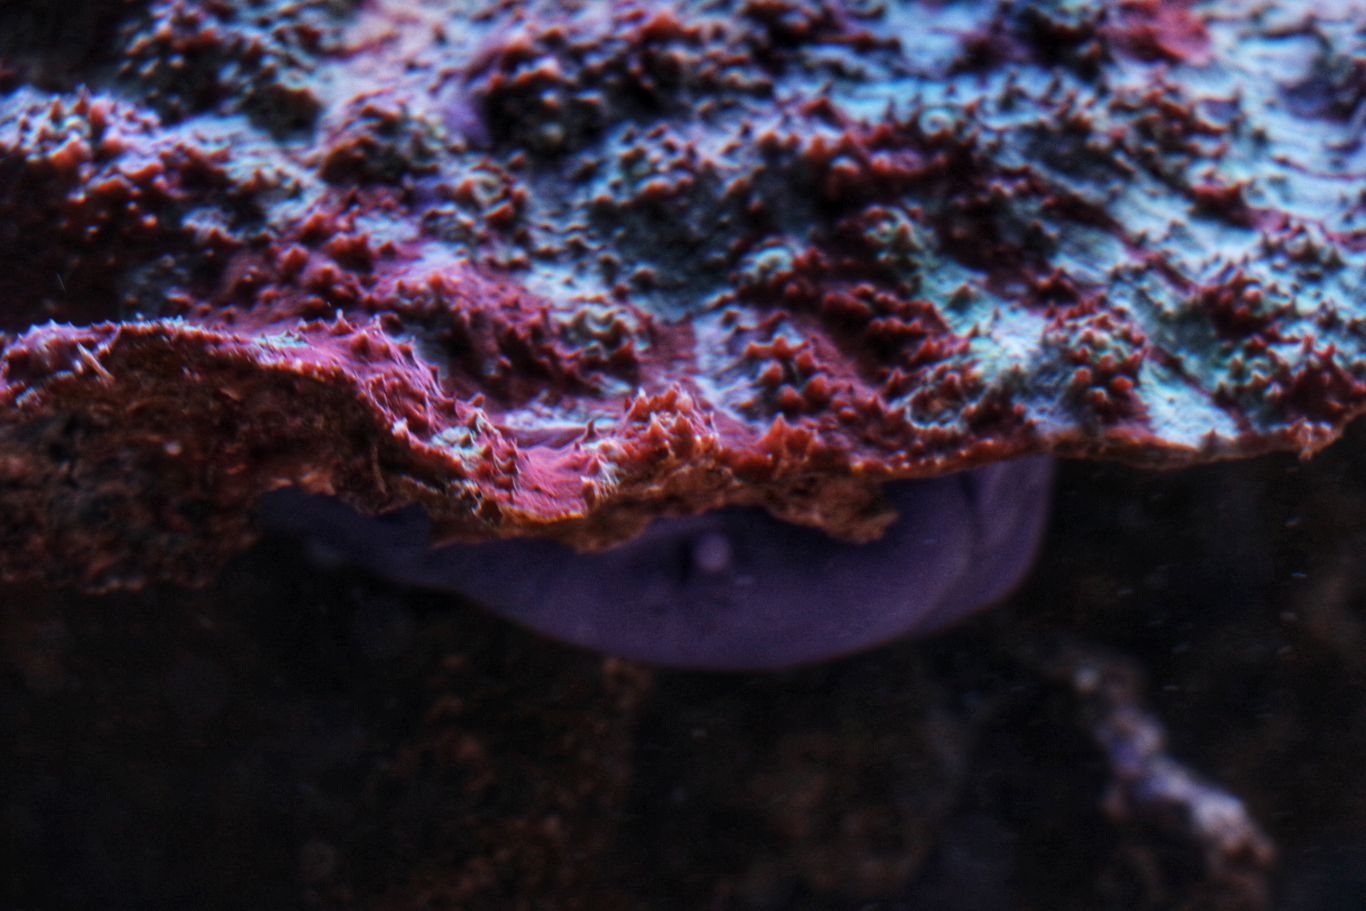
Not visible unless looking at it at an upward angle from the bottom; you can see how this small amount of reef welder is holding the big colony of chalice coral in place.
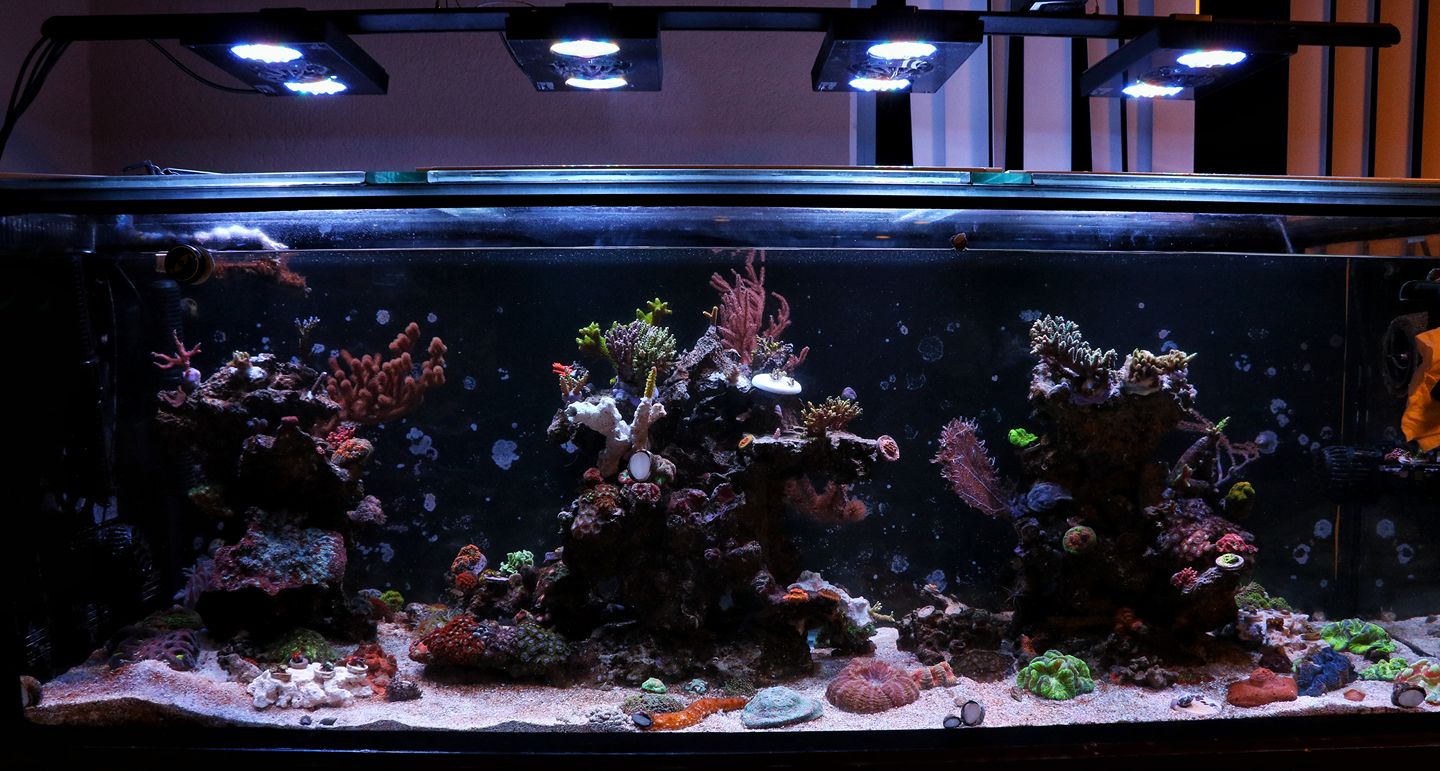
After the removal of the disks and some plugs, I think the aquarium looks much better and natural. (Don’t mind the painfully obvious disc in the center. It was made to donate to my friends and it was moved after the shoot) The reef welder product worked beautifully. Setting extremely fast is both a pro and a con but planning ahead and executing it in a timely manner will make this a valuable tool to have in your sticky coral mounting arsenal. Protect your corals and save yourself a headache by incorporating this simple yet effective method of giving your new coral a new base.
Happy Reefing!






Always a pleasure to listen in on Mr. Julian Sprung!