
Last night, or really early this morning, I heard a noise and discovered that my 400g reef had literally sprung a leak.
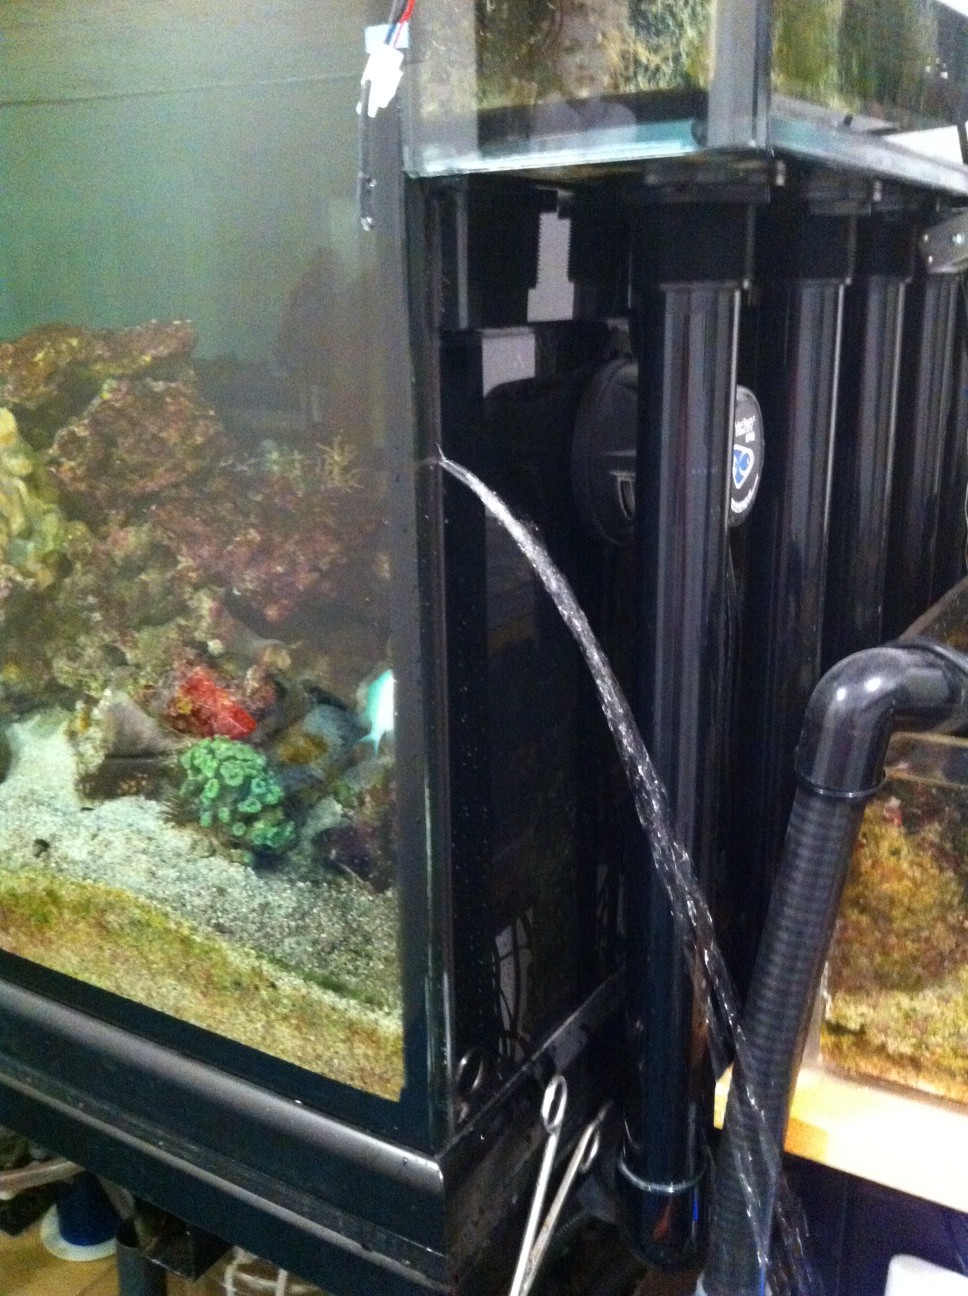
I’m gonna need a really big bucket
It’s 1 a.m. and I know that the tank has a lot of water left to drain out. I stood there with my finger on the spot holding back the stream of water, wondering how to proceed for about sixty seconds. I let go and dashed to get my iPhone, naturally. After taking that picture, I grabbed a Rubbermaid 100g container and started siphoning water out as quickly as I could. Once the container filled up, I then drained more water into the sump’s extra capacity, and then more in an empty 55g barrel. The stream (pictured above) of water was caught in a handy 5g bucket, with a chunk of pink foam as an impromptu splash guard to keep the electrical components dry.
With the surface water level just beneath the hole in the silicone, I still had to wait for the water to slow down to a mere trickle. I watched the overflow drain, which was the obvious source of the leak. I saw water and air traveling south down the silicone seam to weep out of the hole.
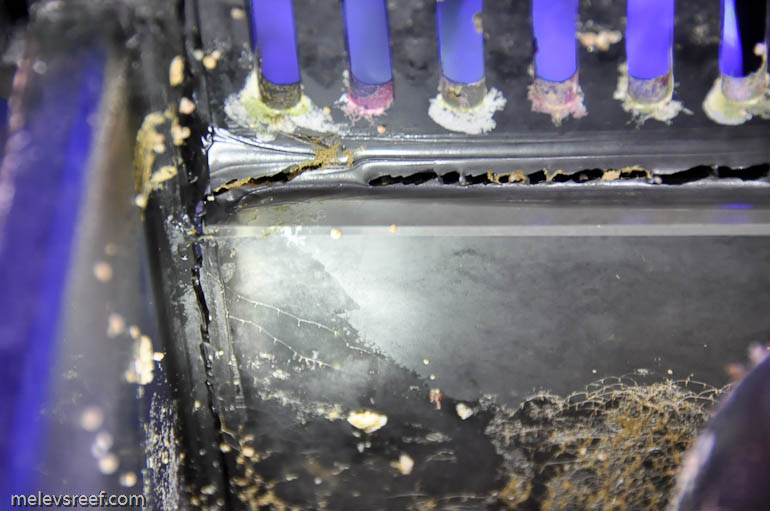
The vertical separation is the problem, not the top horizontal issue (although it doesn’t help either).
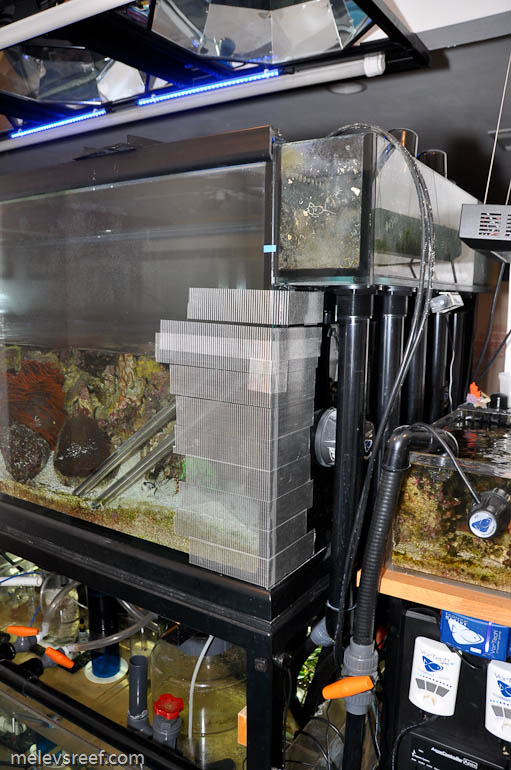
To avoid stagnation issues, the vortech pumps were lowered in the reef to circulate the water since the return pump was no longer an option. Pumps and powerheads were put in the holding vats, and flow was also established in the sump & refugium zones. All the apex probes were moved into the tank to measure the standard three parameters, and two 300w heaters were placed in the aquarium, leaving one in the sump. With all that done, my hope was for these to maintain temperature and circulation for the night.
600w of heater, controlled by the Apex
pH, ORP and Temperature probes were put in the tank
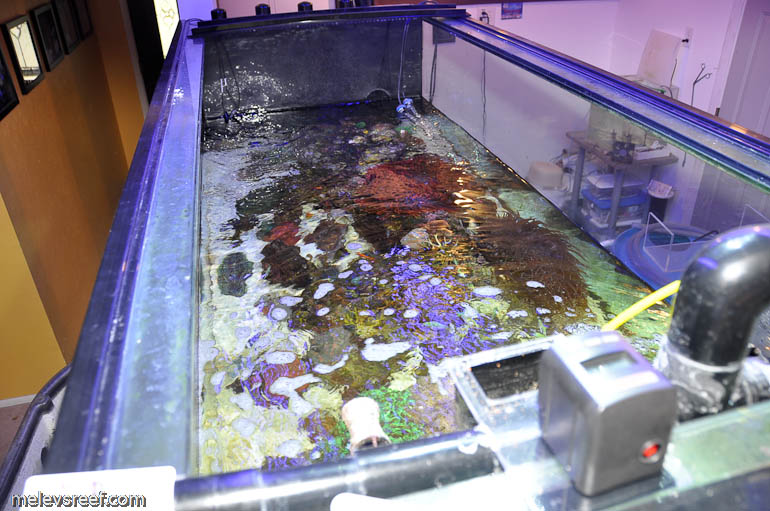
Tank drained to the livestock, just beneath the leaking spot.
With all that completed, I decided to get some rest. I posted the news on Reef Addicts, DFWMAS and facebook, and woke up to messages, voicemails and texts.
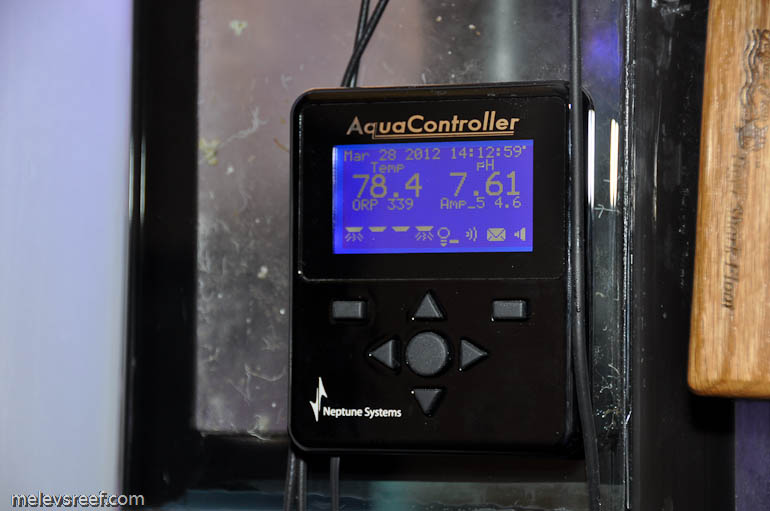
Lowered pH warning
9:30 a.m. — Everything was alive and the floor was still dry. However, the apex alarm reported that the pH was too low. pH is one measurement I never think about, because I maintain Alk, Ca, Mg and salinity at the proper levels, so pH takes care of itself. The reason for the drop in pH was due to far less flow (to avoid blasting the sand bed), no sump & skimmer, less total water volume for all my breathing fish. The apex reported it at 7.5, so I raised up one Vortech pump to chop up the surface of the water and dialed up the other two MP60s for increased flow. Within an hour, it measured 7.6.
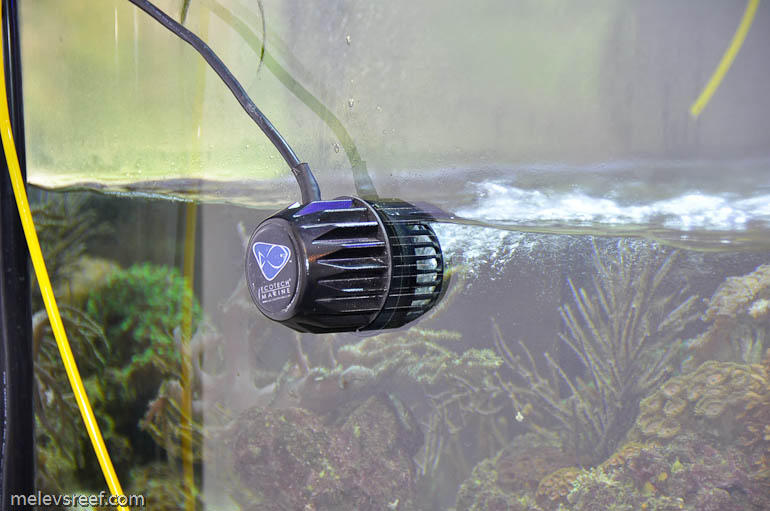
Adding oxygen with cavitation and surface agitation
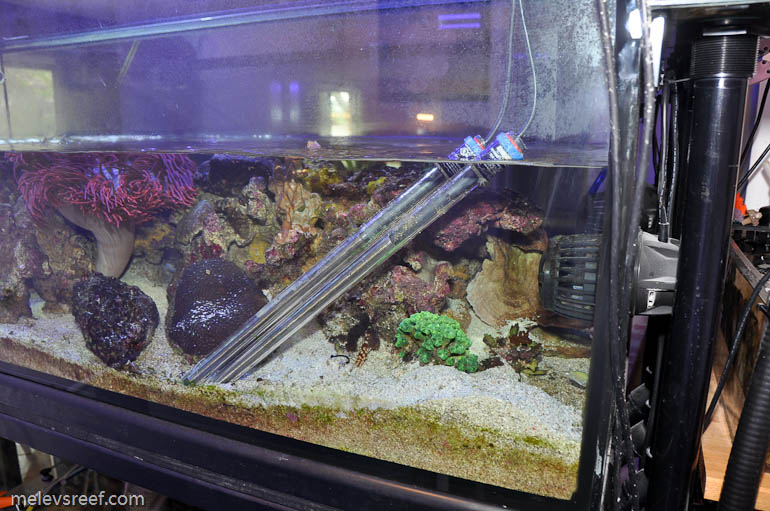
I’m about to fly out to Southern California for the MAX conference, and without a sump there would be no way to add alkalinity and calcium during that trip. I decided to run water up by extending some tubing from the Calcium reactor to drip into the reef zone. The drawback is that water will continually be taken from the sump and added to the reef, so my tank sitter will have to drain some back down after a couple of days to keep things evened out.
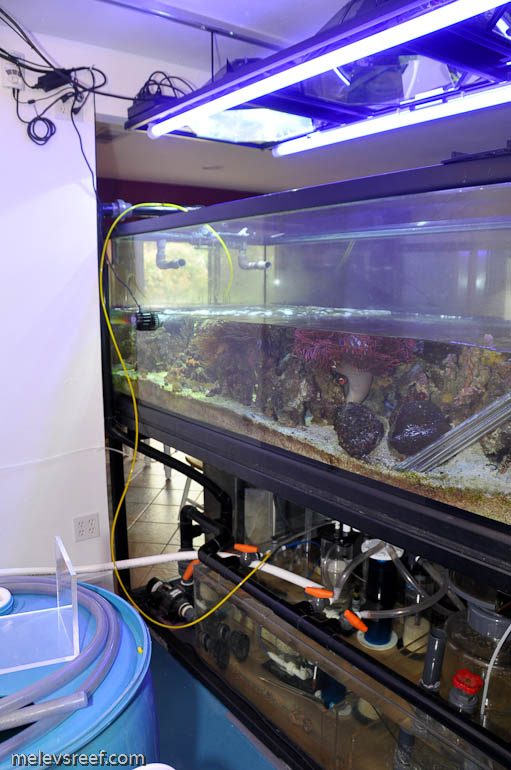
Yellow 1/4″ tubing is affixed with a ziptie to the return assembly
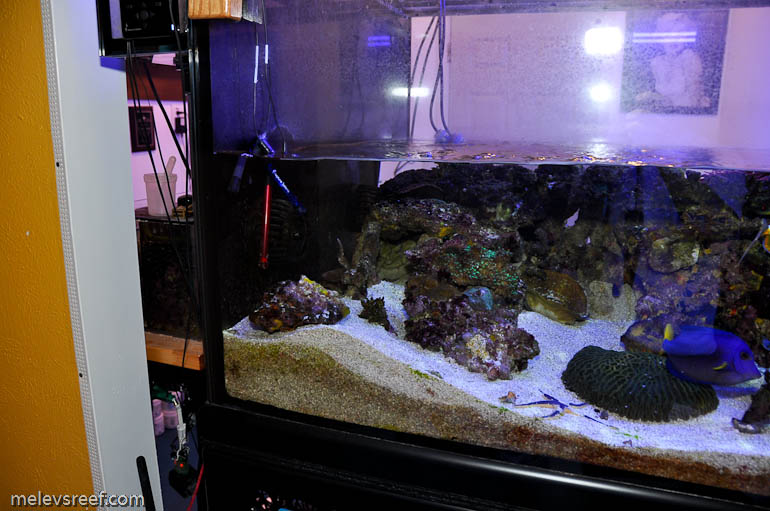
With 200g removed from the tank, the metal halides could potentially cook the livestock since 12″ of water penetration has been eliminated. I changed the programming to two hours per pendant instead of their normal six hours.
Any livestock that was too tall and exposed to air was leaned over to keep it submerged, and was I ever glad that I ran a low profile aquascape in this system. Any fish thinking about jumping will have their work cut out for them.
 At the suggestion of a friend, I picked up “strapping” tape, the kind that looks like packaging tape with threaded fibers. I applied strips of this tape to the corner of the tank to reinforce it. After cleaning the two panels with rubbing alcohol, tape was cut in 16″ lengths to apply 8″ to each side.
The biggest recommendation I can offer is to avoid losing your head. Take your time, and think it through. Try to anticipate what is essential and make adjustments as necessary. Keep an eye on how things run, and correct any deficiencies quickly. My tank sitter is fully apprised of the situation and will deal with what develops. A call to a local fish store turned up a used 215g that I can borrow to hold my animals for the immediate future, which will allow for the working space necessary to pull out the 400g and get it restored hopefully. I’m still a little in shock since this happened 15 hours ago, but it’s not my first time.


Do you think the leak could of been caused by your pumping on the same side where the leak was?
The cause of the leak must be that ghost of Audrey Hepburn on the overflow in the top photo.
I think you mean Marilyn Monroe.
Marc, on the bright side this is an ideal type of rupture. A catastrophic blowout would have left you with just a huge cleanup and 400g worth of damage. I had to cleanup a 500gal blowout once, not on my list of thing I want to do again. Good luck with the repairs!
Wow…sorry but thanks for sharing.