- Location
- Ossining, NY
For a few years now I have been considering how to lower my electric bill with LED?s and was never sold that it would ever be better than metal halides. To say I was reluctant for many years to get LED lighting is an understatement. About 6 months ago, I converted 3 250w double ended metal halide fixtures over my frag tank to 2 AI SOL Blue?s and 1 ACAN 12? pendant ? all seems to be going fine.
After one of my tangs splashed water on one of the tempered lenses of my metal halides and shattered the lens into a million pieces in my display reef (all of which I needed to remove by hand), I decided it was time to bite the bulled and get LED?s for my display.
I picked up my EcoTech Radion Pro?s up from Affordable Aquatic in Stamford and the following pictures are how I installed them in my existing canopy. I used stainless and T-Slot to create the hanger kits (total cost for the hardware, less the lights, was about $50)
Pic1) My Display with halide pendants (3) and Current Powerbrite modules (4)
Pic2) 3 EcoTech Radion Pro?s
Pic3) .5mm stainless machine screw to slide in an out of T-Slot extruded aluminum
Pic4) Same stainless machine screws (just longer) to fasten the T-Slot to the top of my canopy
Pic5) 2 pieces of T-Slot affixed to the center of my canopy
Pic6) One of the Radion Pro?s slid into place and being propped up by the drill (canopy was on its side)
Pic7) Front view of Radion Pro?s in moonlight mode (same picture views as pic 1)
Pic8) Angled interior view of the canopy to show much more room and also how the lights are affixed
Pic9) Location of ballasts (3 MH ballasts used to take up this entire shelf)
Pic10) Canopy closed, moonlights on
Pic11) Full tank shot with Radion Pro?s in 12k mode at 40% intensity
I hope this chronicles enough to get someone excited about choosing LED?s for their display. All pictures were taken with an iPhone5.
If anyone as any questions about how I did this, please feel free to PM me.
House
Attachments
-
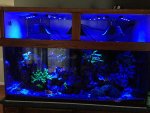 photo1a.jpg215.4 KB · Views: 392
 -
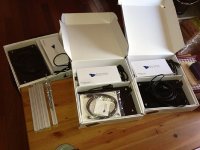 photo2.jpg149.3 KB · Views: 375
 -
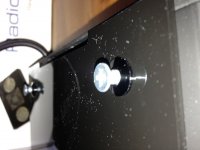 photo3.jpg94.8 KB · Views: 364
 -
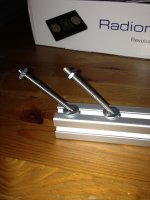 photo4.jpg133.5 KB · Views: 370
 -
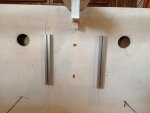 photo5.jpg122.6 KB · Views: 344
 -
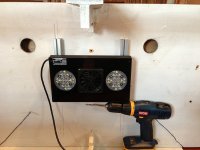 photo5a.jpg138 KB · Views: 357
 -
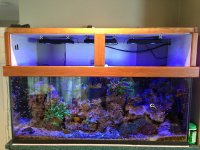 photo5d.jpg216.3 KB · Views: 353
 -
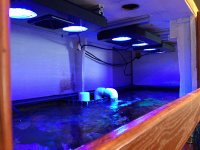 photo6a.jpg201.6 KB · Views: 355
 -
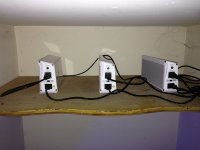 photo6x.jpg122.2 KB · Views: 348
 -
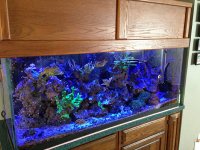 photo7.jpg261.5 KB · Views: 341
 -
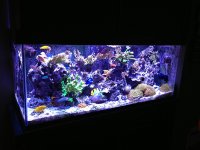 photo11.jpg177.5 KB · Views: 422


