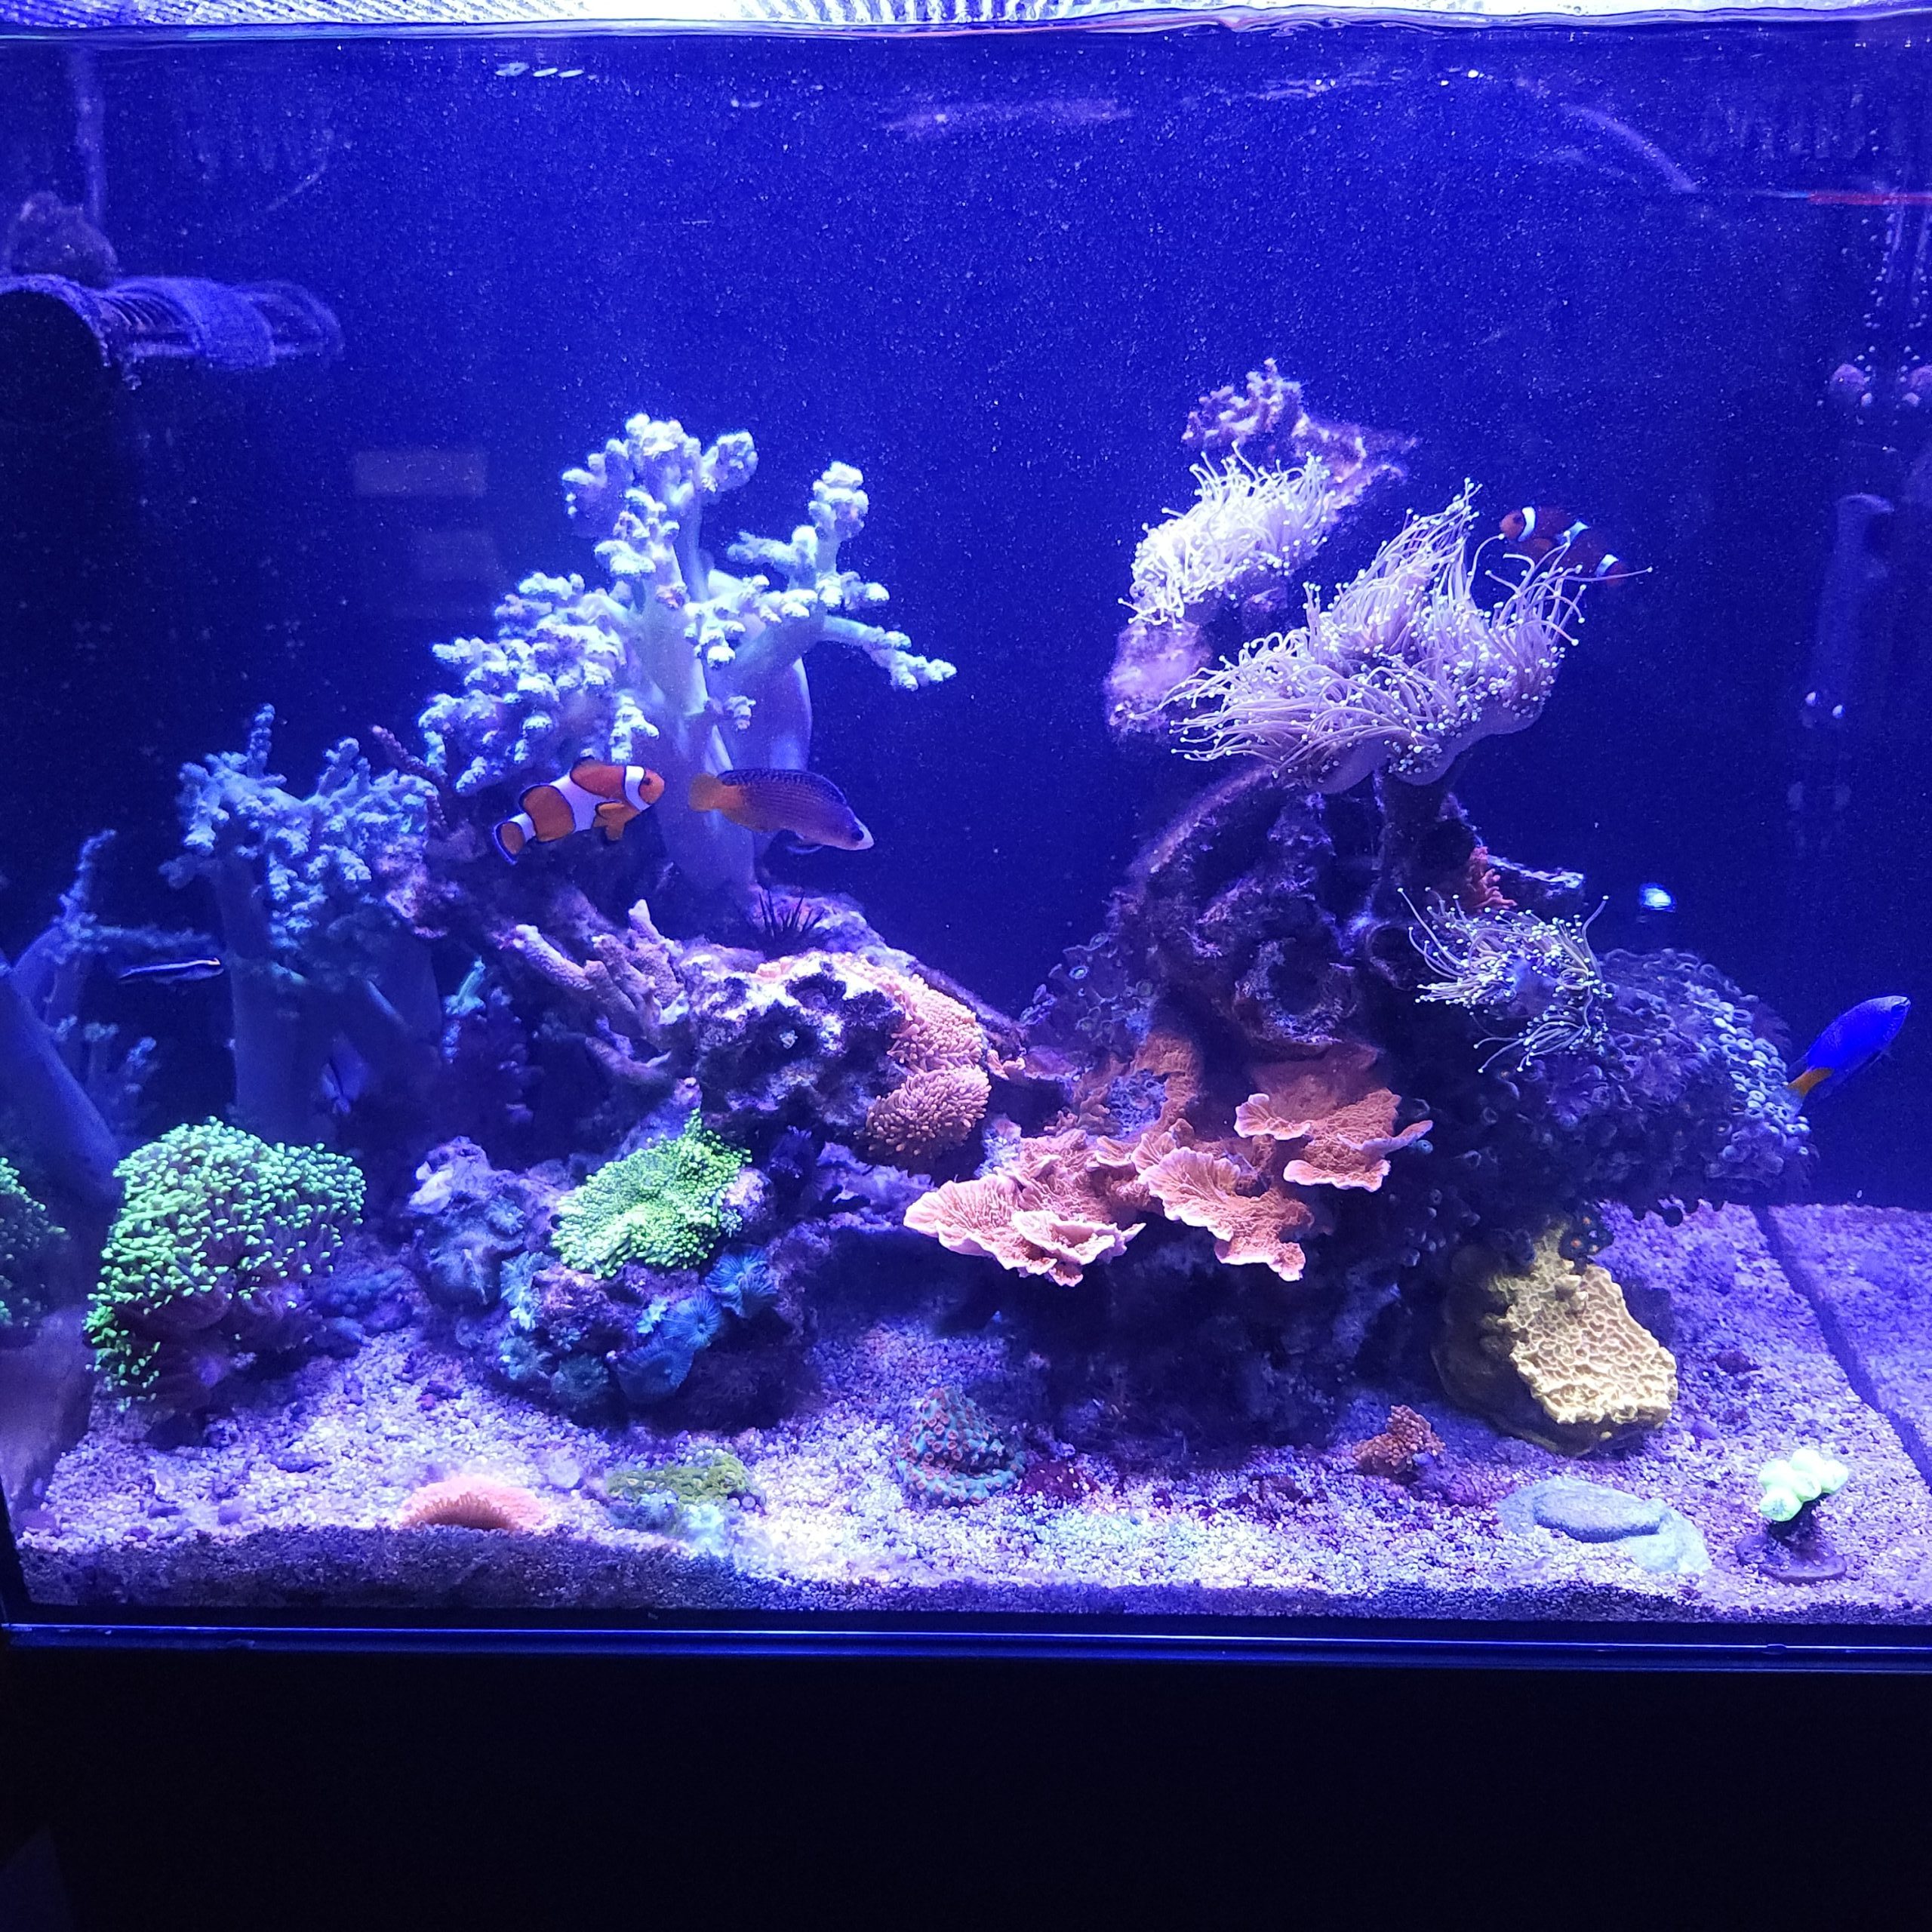
Preface: This Reef Mentoring article series is to document my recommendations to a hobbyist I have been mentoring. I am basically building a reef tank with his setup in my house and maintaining it for over a year with weekly hands-on sessions.
After 20 months, the Reef Mentoring project is nearing its final days. My mentee has finally found a house to move into during this hellish real-estate market for first time home buyers. This activity showed him all the typical ups and downs hobbyists would experience no matter how many years of experience you may have. I demonstrated to him that anyone can be successful with the correct learning mindset, knowledge sources, and patience.
Preparations for the Move
The next phase is to prepare for the move. This can be the most unnerving thing to do for a hobbyist who has not been actively maintaining the system on a daily basis. There is still a learning curve to get back into the proper routines. But the first thing is to get the system moved and settled into its new home.
What are the critical things that need to be planned to minimize any losses?
- Travel Distance, Time and Weather – Luckily it will only be ~5 miles so that lowers the risk of environmental exposure and simplifies the packing method.
- Site selection
- Exposure – Will it be high traffic and exposed to excessive sunlight?
- Space – Ensure to allocate around the tank for serviceability
- Power – Does it have enough nearby outlets? In this case a single power strip is the master distributer that needs to be connected.
- Network – Is the network set up for controllers?
- Have SSID and Login Info ready for 2.4 GHz WIFI
- Have a hardwired switch and cable available.
- Have a list of all the Devices, their logins / passwords, and Static IP Addresses / MAC addresses (to help identify each device and their function)
- Tip – I find it best to leave the device running in DHCP for IP addresses and manage them on the Router if you want to allocate static IP addresses.
- Accessibility to a working sink – How far do you have to go for maintenance?
- Do you need something to protect the floor from leaks? (It’s not if, but when, saltwater can get onto the floor.)
- Visualize where everything will be placed
- Moving Equipment
- Containers
- Properly-sized sealable & insulated totes for livestock and water that can be moved easily by a single person for the transport.
- A single larger container that can fit everything maybe needed as a temporary holding tank to allow more time to set everything up.
- Vehicle cargo space for the move to estimate how many trips will be needed
- Mobility tools & protection material – Are moving dollies, hand trucks, and cover blankets needed?
- Containers
Sequence of Events
Plan your steps to get things on site and set up as quickly as possible. A pre-made check list is best when time is of the essence to minimize loss of life.
Days before:
- Prepare fresh saltwater at new site to match the temperature and salinity of existing tank water
- Pack all loose dry goods and move to new location first, especially if multiple trips are required.
- Networking connections are ready
Moving Day:
Break Down:
- Baseline
- Take a picture of the Aquascape and wire routing
- Re- Label harnesses if needed.
- Remove, Clean and Pack Loose Peripherals (Skimmer, lights, heaters, ATO, etc.)
- Probes- Store probes properly in required solutions for transport, i.e. do not allow pH probes to dry out.
- Bio-Media – keep wet in livestock moving container
- Live Stock removal
- Drain existing tank water through a filter sock into containers
- Add aquascape and loose corals into containers and top off water to cover
- Remove fish & invertebrates last, into containers or bag them individually.
- Remove substrate and rinse with some existing tank water before or after arriving at new location. Keep wet in bucket.
- Clean Tank – Once the tank is completely empty it is the perfect time to clean the tank inside and out as best you can
- Pack the vehicle so that the 1st item removed is the last item stored.
- Baseline
Upon Arrival
- Unload in following order
- Livestock
- Install heaters and water circulation in largest container and consolidate livestock into it.
- If everything does not fit, a larger container may be needed.
- Stand
- Level and position
- Tank
- Place on stand and set up all peripherals
- Livestock
- Setting Back Up
- Add substrate back into the tank
- Fill halfway with existing water
- Add Aquascape
- Top off with fresh saltwater
- Turn on all equipment
- Slowly add remaining livestock back into the system. Make sure to re-acclimate to any temp or salinity differences.
- Verify all controllers are set up to the new network and functioning properly
- Unload in following order
Monitor
- Monitor the health of the Livestock over the next few days
- Create a check list to get back into a routine maintenance schedule.
- Document initial water test parameters once everything is settled.
Summary
As with everything, it goes back to the 6P’s (Prior Proper Planning Prevents Poor Performance). The above are my high-level suggestion to my mentee. I will be helping somewhat but to ease his nerves it is best to have steps written down prior to the move. It is best to settle in from his initial move and then worry about the tank afterwards. This is the least intrusive scenario I can offer in retrospect from a worst case scenario which can be many.
The final update will be after the move and I hand the keys to the kingdom back to him. I will suggest he wait until the livestock and his maintenance routines settle in for a few weeks before he makes any changes.
Remember this hobby is a journey and should not be rushed. At least he had witnessed what can be achieved in 20 months starting from scratch with what he gave me.








Beautifully done helps relieve a lot of stress. I love it. Thank you for all your hard work and wisdom. With this information it should be somewhat of a seamless transition. 🪸🐟😅 Then it’s just a matter of getting back into the day to day routine!