- Location
- Jersey City, NJ
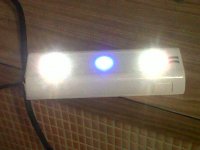
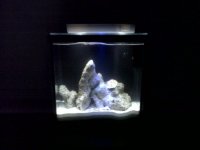
Had to put this up for people with pico tanks...No need to spend more than $20 bucks on a decent led set up to see your fish. So here we go!
Tools
Soldering iron
Lead
a wet sponge(to wipe the tip of the iron clean)
wire cutters or nail clipper
scissors
electrical tape
Materials
Led lamp 6v(from Staples, walmart or where ever you can find one)
Lighter with blue LED lamp(dollar store or gas station ect)
Cell phone charger with no more than the operating units Volts(mine was 5v)
That's it!
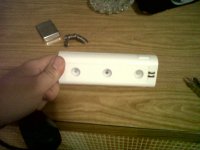
1.Go to walmart or any store with battery operated LED lamps. In my case after searching for 2 hours for one i went into Staples and found one for $5.00.
2.Find or buy a 6v cell phone charger or w.e your LED units voltage is if its battery operated remember each AA battery is 1.5v. Mine was 6v but i used a 5v cell charger cuz i have alot of them.
3.Also if you dont have the tools needed they can be found cheap at a local hardware store or walmart ect.
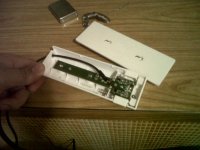
4.Take your led unit apart. Remove the battery tray and locate the positive and negative ports. It will usually say it on the motherboard but if it doesnt the one with the spring is - and the flat one is +.
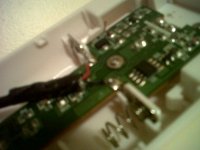
5.Cut your charger cable and expose the positive and negative wires, take your lead and solder the tips. This is called tinting. This is done to make the connections easier to solder onto the motherboards factory lead.
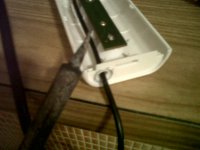
6.Take your soldering iron and push it into the plastic of the housing, this will burn a hole so you can route your cable into it flawlessly and easily. Don't worry about the melting plastic, you can pick it off or use the scissors. DON'T OVER DO IT, once the hole is big enough move onto the next step.
7. Once you locate your + and - terminals on your LEDs motherboard and on your cables go ahead and plug your cord into an outlet and test the connection. If everything is in order solder it all up.
8.Put your led housing back together and Enjoy!
This took me about 15 mins to do. Time will vary with experience but dont be scared its super easy! All you have to do is locate what is positive and what is negative and go at it. As long as those two don't touch your golden.
Its Fun and super easy to make something work for your needs so GOOD LUCK! If you found this useful and take your time!
Mike.
Feel free to comment, ask any questions or PM me if your not comfortable doing this yourself, i would be happy to make one for you for a decent price.
Attachments
Last edited:


