You are using an out of date browser. It may not display this or other websites correctly.
You should upgrade or use an alternative browser.
You should upgrade or use an alternative browser.
canopy
- Thread starter AprilnWill
- Start date
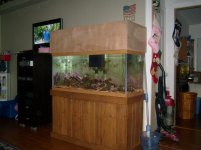
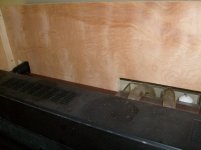
One more shot showing how the canopy fits over the overflow and return lines. If heat becomes an issue I can always cut out a section on the back to allow more airflow as well as add a fan to the sump under the tank, add a couple fans to the back of the canopy or last resort will be to use my router to make vents in the top itself.
Attachments
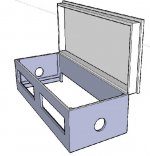
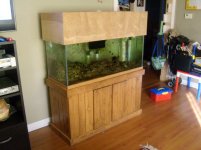
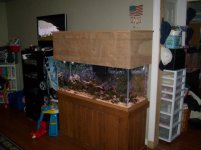
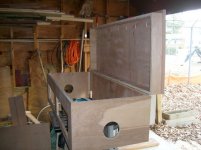
Just had to give it a test fit to see how it would look. This is the top and bottom section of the canopy. Top is complete, bottom still requires cutting for doors and fan holes then glued/screwed and attached to the top via a piano hinge. Okay, back to work!
Attachments
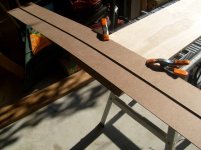
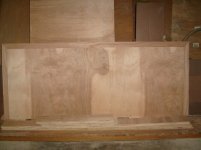
Thanks! Its not as hard as most people think honestly. I used to work in my grandfather's garage a lot when I was growing up, but in reality its not all that complicated to make sure you build something correctly. The hardest part is telling yourself to slow down when you need to. Its when I try to move to fast that I inadvertently measure something wrong or bump something out of alignment as I'm cutting. I've learned through those times to just take a break and slow down. Its not the end of the world if my build takes a little longer than I was hoping for. As a matter of fact, while taking pictures I messed up on this build. The photo showing the jig was meant to show me cutting the back panel of the canopy. Unfortunately I was more concerned about the picture and grabbed the piece I had just finished cutting for the front. Perfect miters were removed in a matter of seconds. I ended up having to make a new front panel that I wasn't as happy with but its still going to get the job done and so far I'm the only one that can see the flaw.
Looks great.
One thing I would have done a little different though, I would have hinged the whole front also. It is a pain to have to work over the top to get into the tank to do work, and the small holes with doors make it hard to get in to mount some corals or move stuff around. What you could have done, is put a 1x2 frame on the front of the canopy with one piece on the top and one on the bottom to set on the tank, then the front could be hinged to that frame so you could open it up when you needed more access, and did not want to get the step stool.
Kim


