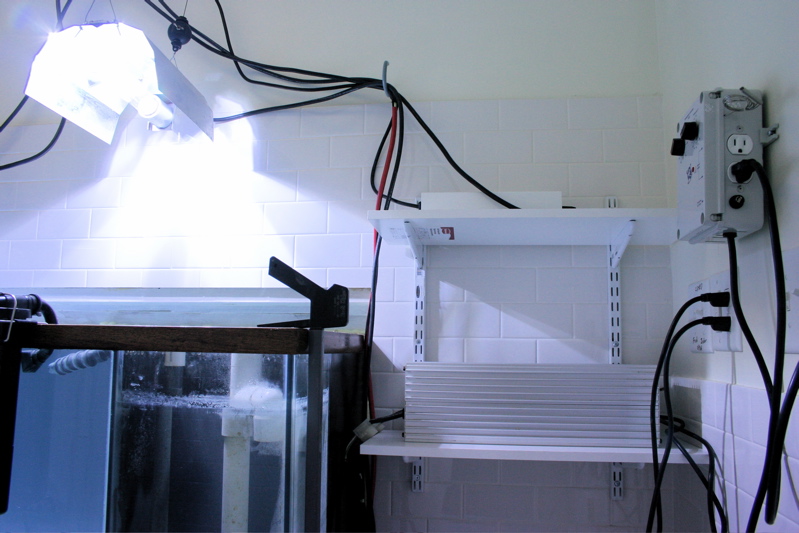
OK, big mistake. And I know better. I am (finally) re-establishing a 200 gallon oceanic reef tank that has been down for almost four years. Right now I'm cycling rock, etc. I got a new 250 watt metal halide HQI fixture, and while testing it out/looking at the color, I *set it on the center glass brace* of the tank, which is about 2 feet wide. Well, about an hour later, wouldn't you know it -- BANG, it blew up.
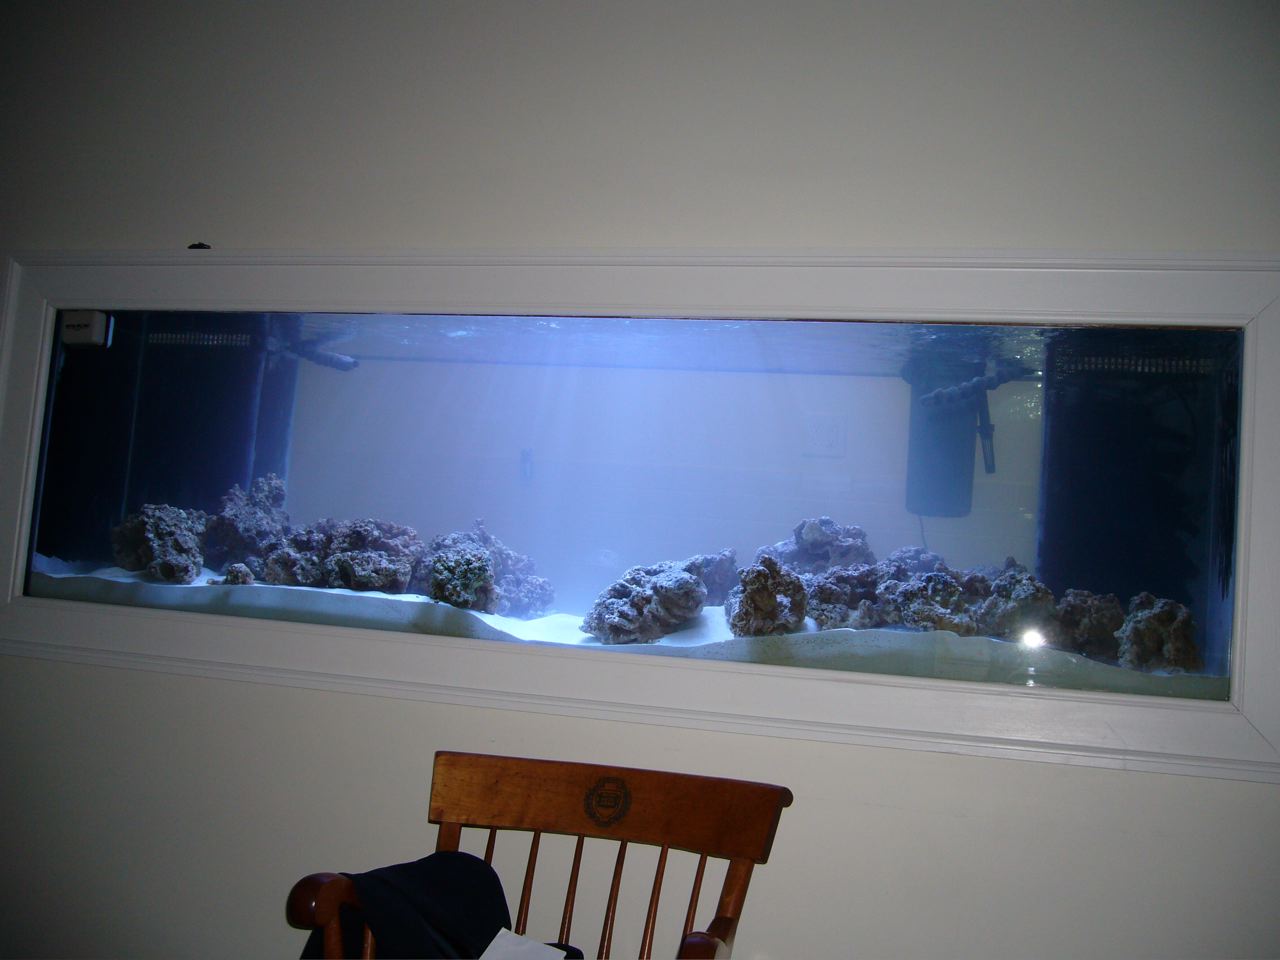
The good: no inhabitants in the tank yet. Front and back glass are fine. Tank doesn't appear to be warping. I was able to get 99.5% of the bits and pieces of glass out of the tank.
The bad: my center brace is cracked, and I need to fix it. I am also unsure of the structural integrity of the tank without the brace.
Questions:
Drain the tank? Probably answer is yes, and I am going to drain it down to almost the gravel, but wanted to know people's experiences with this. Would it blow out w/o the brace?
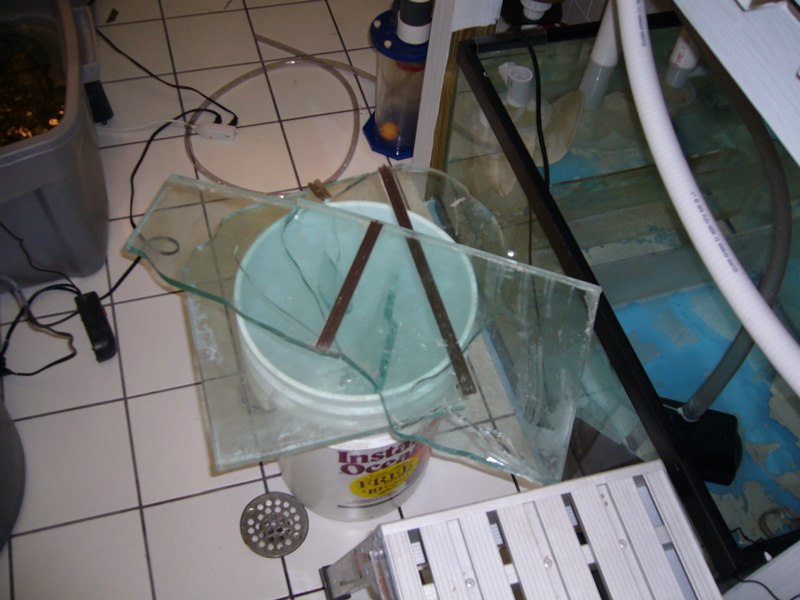
Fixing: Can I just get a piece of glass w/the same dimensions from the local glass store? Maybe I could get starfire glass, that would be better anyway. Should I get the same thickness? I think this is 1/2" thick. Can you just silicone it in w/regular silicone?
Anyone who has been here before and has tips, please chime in. And like I said, I know better. Don't repeat my mistake.
-- Preston
The good: no inhabitants in the tank yet. Front and back glass are fine. Tank doesn't appear to be warping. I was able to get 99.5% of the bits and pieces of glass out of the tank.
The bad: my center brace is cracked, and I need to fix it. I am also unsure of the structural integrity of the tank without the brace.
Questions:
Drain the tank? Probably answer is yes, and I am going to drain it down to almost the gravel, but wanted to know people's experiences with this. Would it blow out w/o the brace?
Fixing: Can I just get a piece of glass w/the same dimensions from the local glass store? Maybe I could get starfire glass, that would be better anyway. Should I get the same thickness? I think this is 1/2" thick. Can you just silicone it in w/regular silicone?
Anyone who has been here before and has tips, please chime in. And like I said, I know better. Don't repeat my mistake.
-- Preston


")