• Why not take a moment to introduce yourself to our members?

Rating - 0%
0   0   0
Hello Reefs.com!

My name is Jason Langer but I'm better known as "That Fish Cookie Guy."
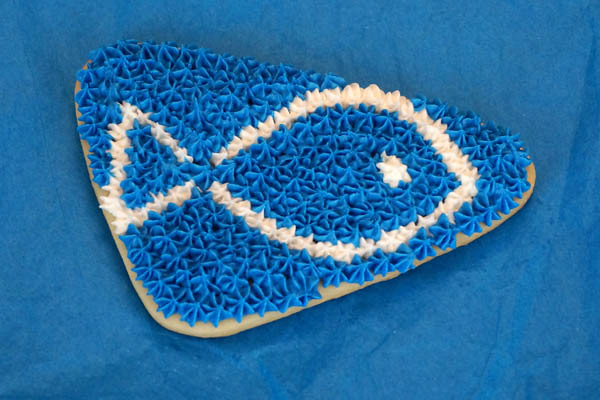
I make custom cut out sugar cookies that I decorate to look like various species of reef fish; or an occasional cephalopod or copepod.
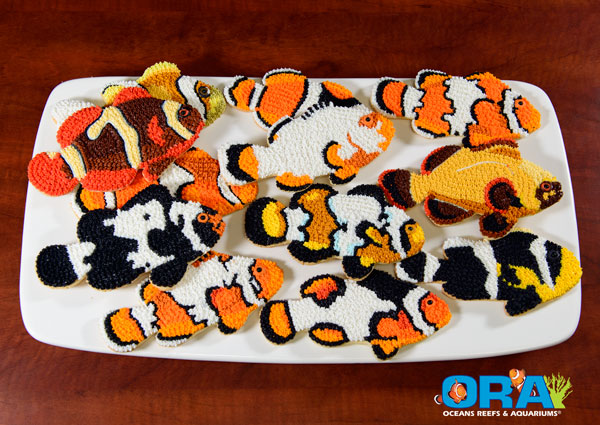
ORA-Clownfish-Cookie.jpg


I started making the reef fish cookies back in February 2013. My family and I were going to attend our second Open House Tour at the LiveAquaria's Coral Farm and Aquatic Life Facility in Rhinelander, Wi. We had enjoyed ourselves so much on the first visit that I wanted to bring a treat as a "Thank you!" to Kevin Kohen and the staff at the facility. Having just made a lot of decorated Christmas cookies for the holidays, I decided to make fish themed cookies.
I created a list of different fish that I wanted to bake and decorate. I made my own custom cookies cutters from strips of copper, baked about eight dozen cookies and decorated a number of different fish species. Before packaging up the cookies, I arranged them out on our table and took a photo that I posted online stating that these 91 fish may not survive.
This is that photo from February 2013.
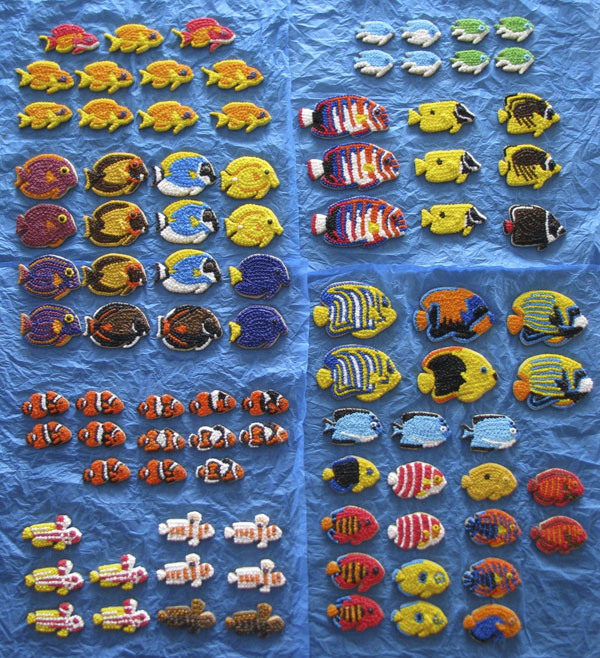
1 - Collection.jpg


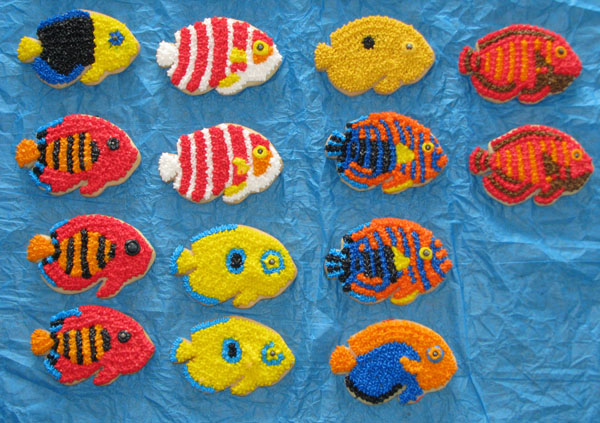
Here's the collections of angelfish cookies.
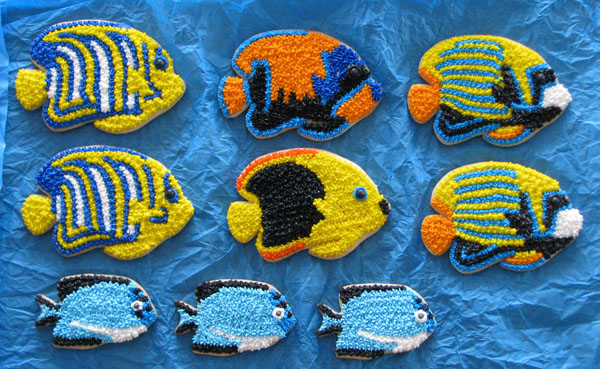
2 - Large Angelfish.jpg


2- Pygmy Angelfish.jpg


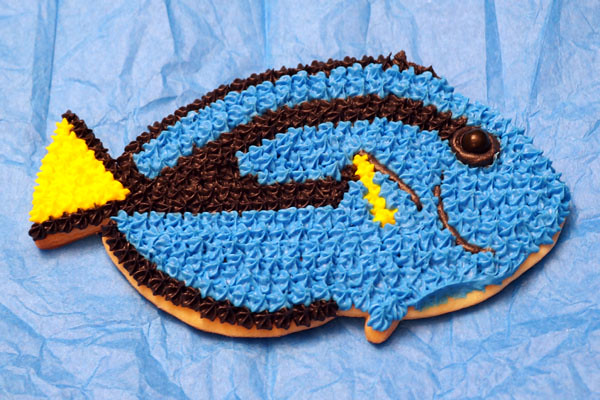
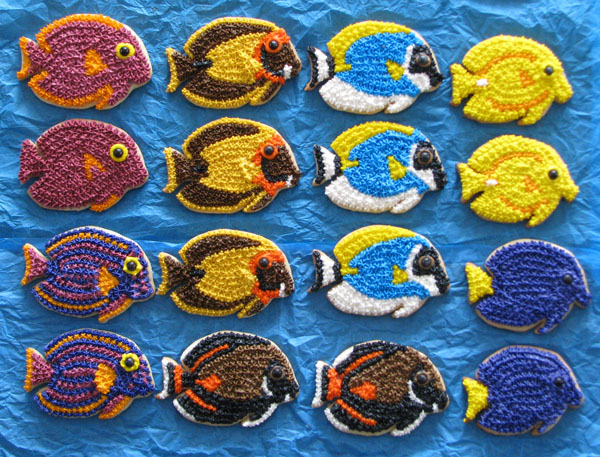
Some various tangs from different genera.
2 - Surgeonfish.jpg


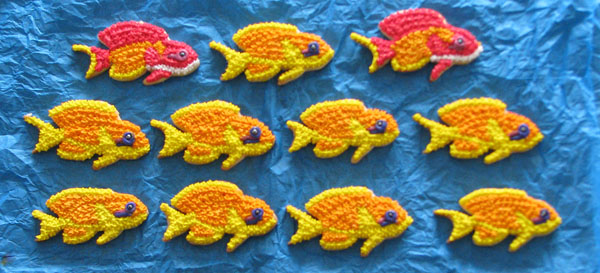
A grouping of Lyretail Anthias.

2 - Anthias.jpg


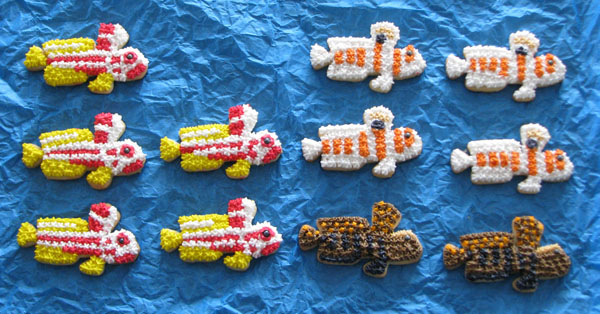
Some of my favorite fish; the gobies.
2 - Gobies.jpg


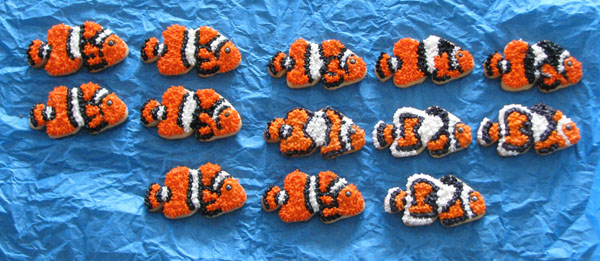
And, of course, some clownfish.

2 - Clownfish.jpg


The reception that I received from this first batch of fish cookies was incredible! The photos of the fish cookies turned up on Facebook and other forums that I wasn't involved with. When I was introduced to new people, I was referred to as "You know, that fish cookie guy." And that's when and where this all started.

I received many requests from many people that were interested in the fish cookies and in how I made the cookies and the cutters. So the next time that I made fish cookies, I planned to document the process to share with everyone.

Coming up next: Making a fish cookie cutter.
 
Rating - 0%
0   0   0
Making a Cookie Cutter

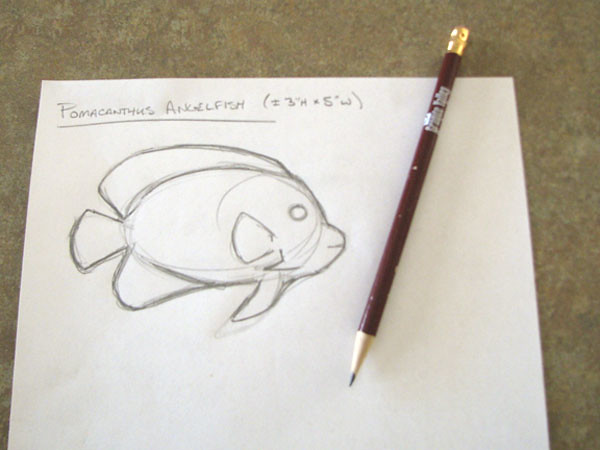
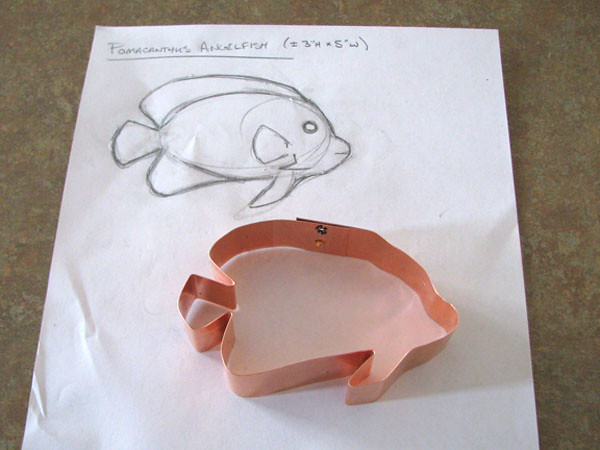
The first step to any cutter is design.
I find a photo of what I want to make a cutter for and I make a freehand drawing to the size I want.
The drawing doesn't have to be perfect.
After doing many cookies, you will learn how the dough will bake and will affect the shape of the final cookie.
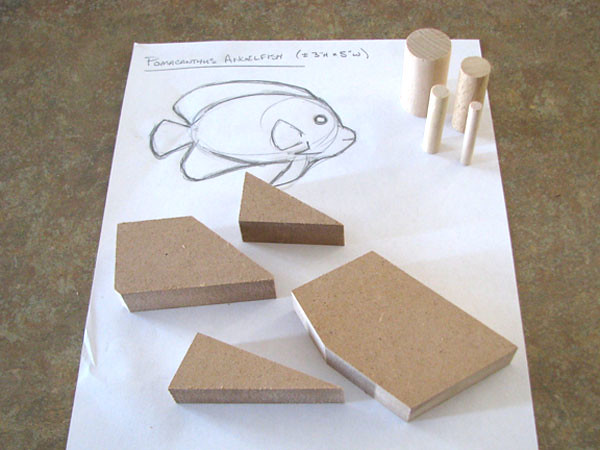
This cutter will be for the Pomacanthus Angelfish species.

35600085113_197c0294f1_b.jpg


To help create the cutter's shape, I have assembled an array of 'tools' to help.
Anything will work. I have access to lots of wood, so I like using dowels and blocks to assist in shaping the cutters.
I also have a few pliers on hand to bend more difficult shapes.

36011429350_c24bc88bfa_b.jpg


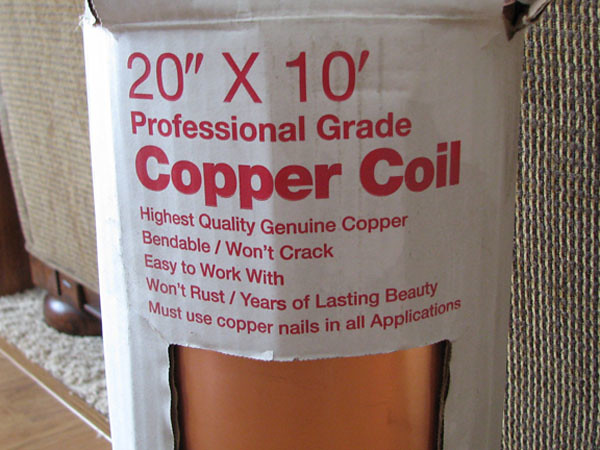
I make my cookie cutters out of copper sheet.
I have used copper in many of my other woodworking projects, so I have a big roll of it. You can get the rolls from a home center; usually in the roofing area as it is used for flashing on your roof.

36407876725_6a121dbf52_b.jpg


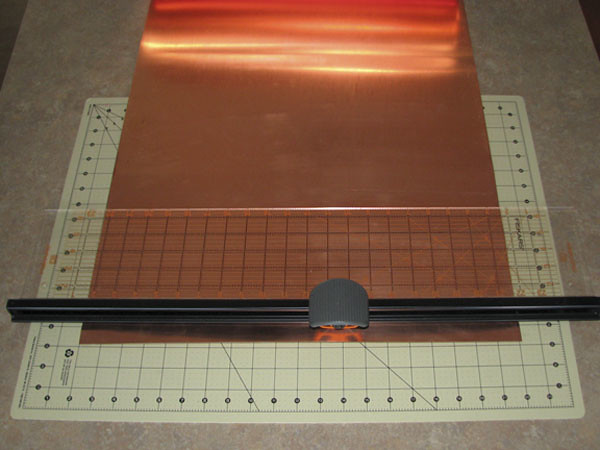
To cut the copper sheeting, I use a cutting mat and a larger paper trimmer.
The circular blade in the trimmer is one that I only use with the copper.
Once you cut the copper, the blade is pretty useless to use on paper.

36239799502_3369974bd9_b.jpg


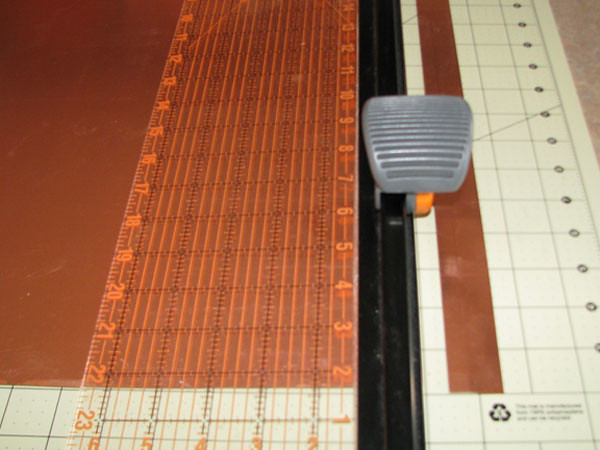
I cut the copper into one inch strips.
Using the grid on the cutting mat, I hold the trimmer down very firmly as I don't want the trimmer to move. I'm going to be cutting multiple passes.
I progressively push down harder on each pass and it usually cuts through after eight to ten passes.
I cut six strips to start.

36363035136_70d7c29172_b.jpg


The copper strips are twenty inches long; if I just cross-cut the copper sheet.
I have found out that most cutters will use about twelve inches (small) to sixteen inches (large) of copper.
For the next batch of strips, I cut the copper sheet at 12" and 16". And then ripped the smaller sheets into one inch strips.

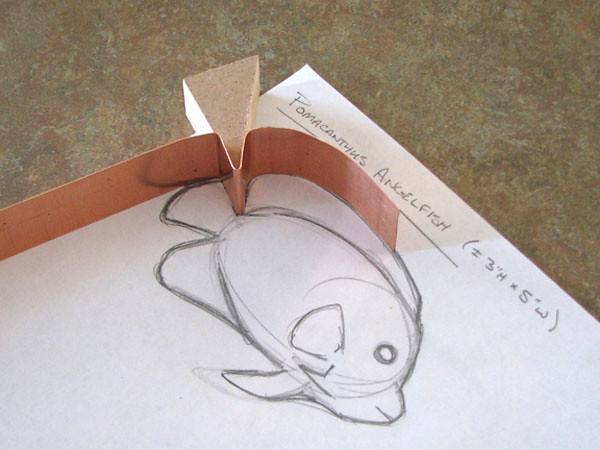
When shaping the cutter, I always start and finish in the flattest section of the cutter's shape.
For most fish, this falls into the area on their dorsal fin.
Using my drawing as the template, I begin shaping the cutter.
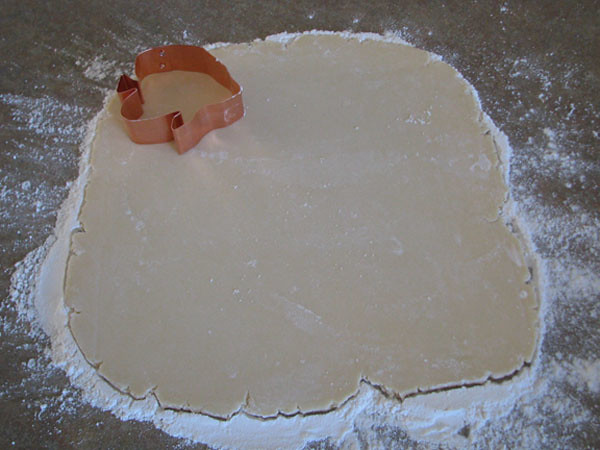
It is very important to keep the copper strip flat on the work surface.
This keeps the cutter flat and it will cut through your dough much easier.

36239799902_49d048f799_b.jpg


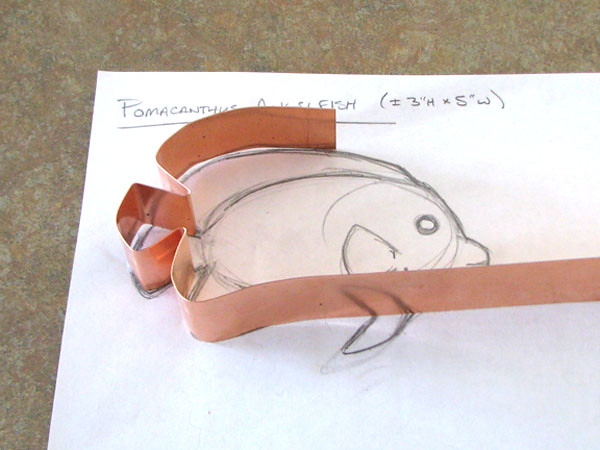
I have found out that the most difficult area to shape on a fish is the tail.
Since the copper strip has to be bent almost back on itself, the extra length usually gets in the way.
Once the tail is formed, it gets easier. Although, the pelvic fins can be tough also.

36011429440_bfb480a5b4_b.jpg


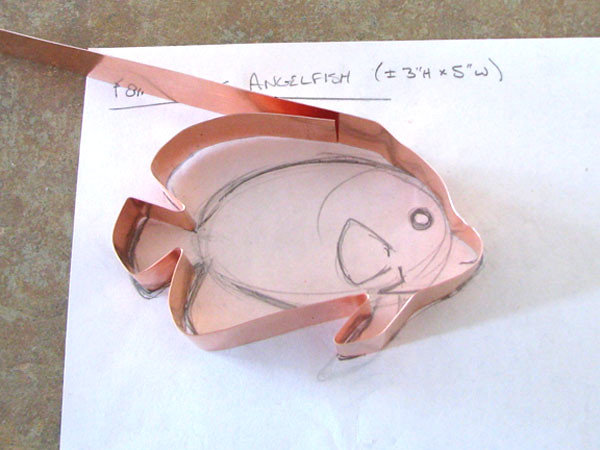
Keep bending the copper until you've reached your starting point.

36363036296_725ca81391_b.jpg


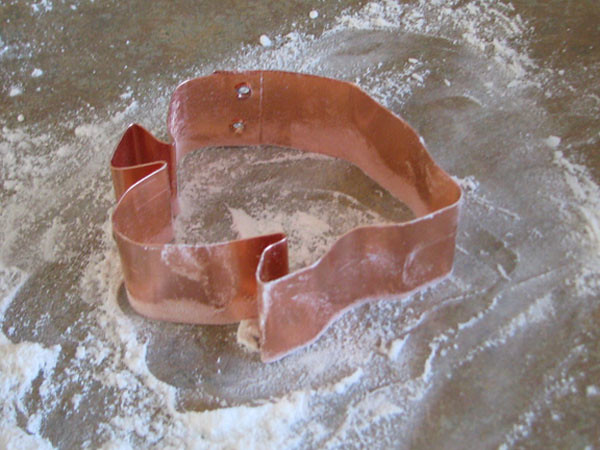
To finish the cutter's shape, trim off the extra copper with a metal snip.
Make sure you leave an overlap for the eyelets to join the ends together.
I usually leave about 3/4" for an overlap.

36239800532_69046fac53_b.jpg


One thing to remember...
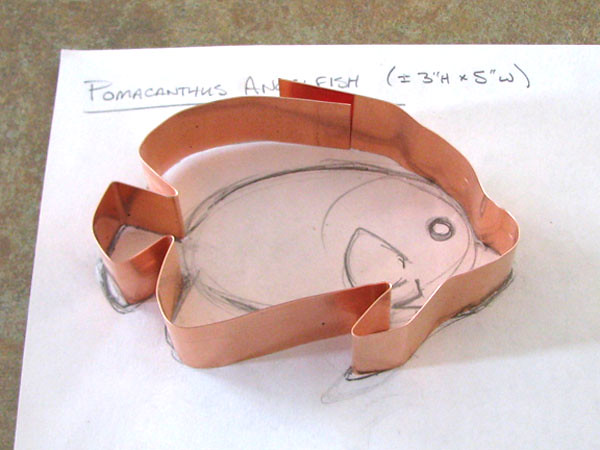
The top shape and the bottom shape of your cutter may differ slightly based on how well you do the bending process.
Take a look at both sides of the cutter, any fine adjustments can be made to either side.

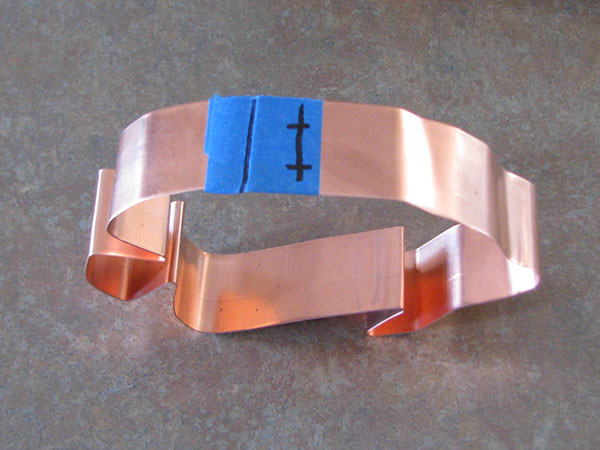
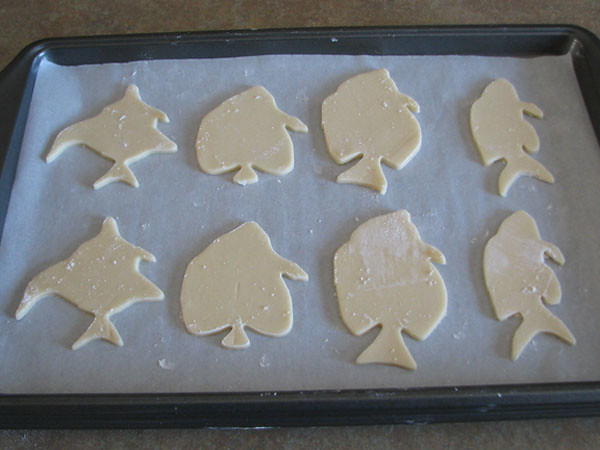
Making sure that the cutter lays flat, I tape the ends together.
I make marks for the locations of the eyelets.
I like to use two eyelets per cutter. This keeps the ends from twisting if only one eyelet is used.
36011429780_74f5f48fdd_b.jpg


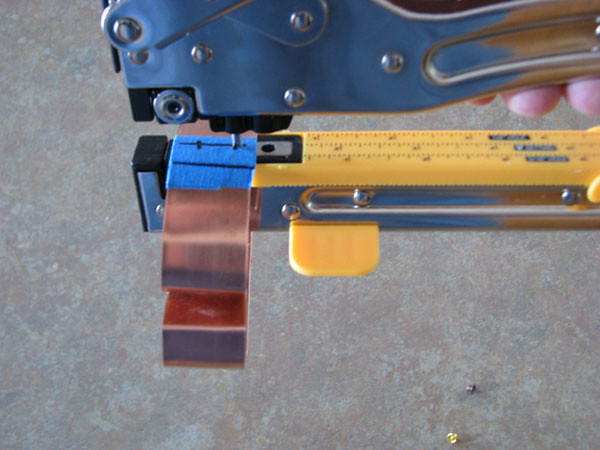
The tool that I use for punching the holes and pressing the eyelets is called a Crop-A-Dile II by We R Memory Keepers.
It's sold in craft stores and it's used for paper and other crafty materials.
This tool makes joining the the ends together very easy.
It is somewhat large to handle, but they do make a smaller hand held model that I may purchase to use on smaller cutters.
The eyelets that I use are the 1/8" metallic ones; just because.

I set the tool to punch the 1/8" diameter holes and squeeze.

35600085833_61582dae0f_b.jpg


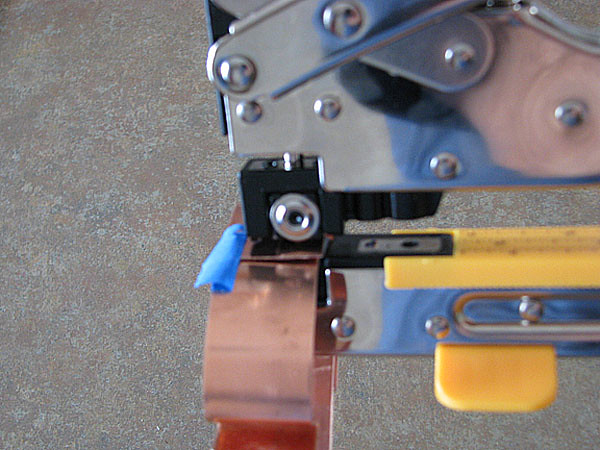
Then I place an eyelet into each hole and set the tool to press the 1/8" eyelet.
This takes a little practice to perfect.

36011430040_a30e74e709_b.jpg


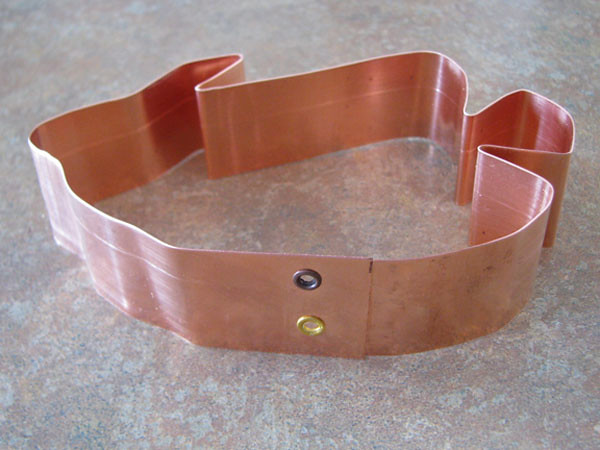
And the cutter is now complete.

36363036896_f1672a7ae8_b.jpg


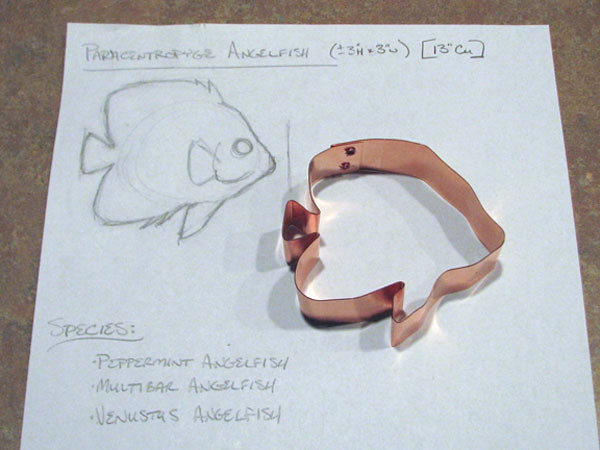
Now that the custom cookie cutter is complete, I compare it to my drawing and make any changes I see fit.
I now have a custom cutter for making large angelfish cookies.

36239801132_cd93a59ddc_b.jpg


I've changed the cutter for the thread at this point, but everyone I make goes through the same steps.

I've made a note about how much copper was used to create the cutter.
And I've made a list of the different species I can make with this one cutter.
36271095621_3702b51c4a_b.jpg


Before I use any of the cutters, I thoroughly wash and dry the copper and make sure they're clean for making cookies.

As I was preparing to make this build thread, I made a list of all the shapes of cutters I wanted to make.
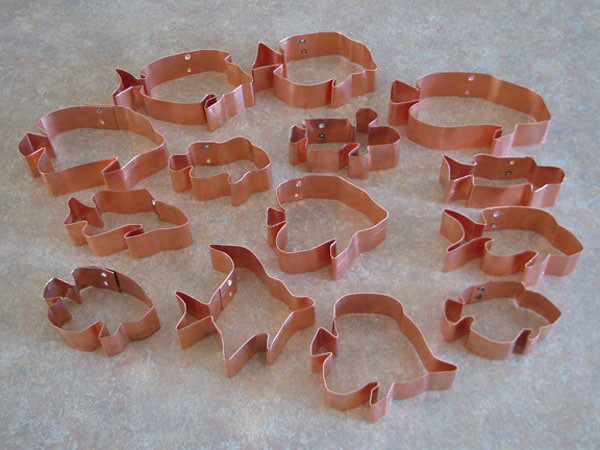
As of now, I am sitting at 38 different cookie cutter shapes.
To this point I have built sixteen of them. Most are pictured below.

36239801872_4a4ae34f71_b.jpg


Can you name them all?

Coming up next: Making Cookie Dough
 
Rating - 0%
0   0   0
Making Cookie Dough

Here comes the fun part. Cookies.
Not sure if I have to go step-by-step, but why stop here. It is a build thread.

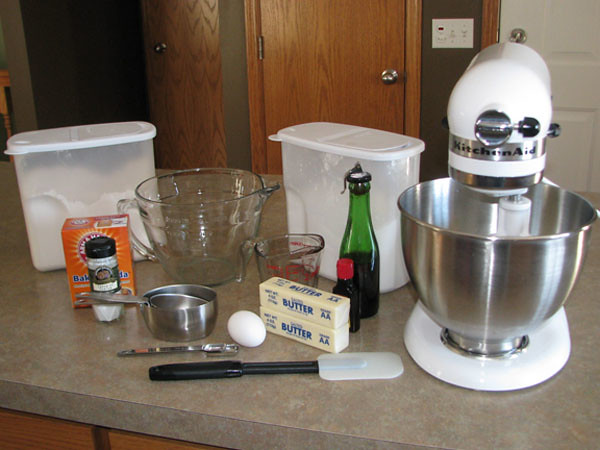
I use a basic cut-out cookie recipe.
Butter (1 c.)
Powdered Sugar (1-1/2 c.)
Egg (1)
Vanilla (1 tsp.) [I use my mom's homemade vanilla.]
Almond Flavoring (1/2 tsp.)

Flour (2-1/2 c.)
Baking Soda (1 tsp.)
Cream of Tartar (1 tsp.)

36363037516_da0f02ff84_b.jpg


First step... wash your hands!
"We live in a society. We're not animals." - Jim Jefferies

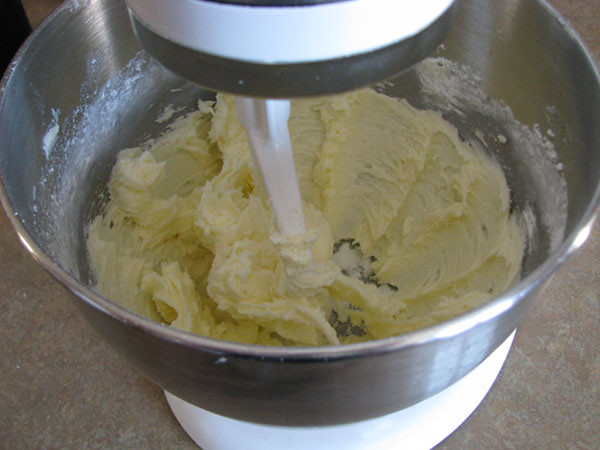
Make sure the butter is softened to room temperature.
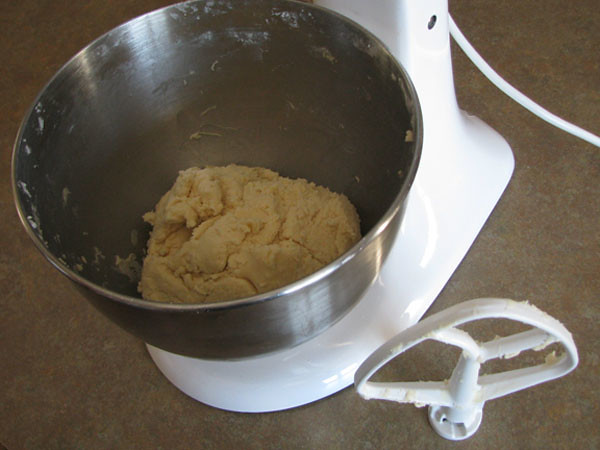
Cream the butter and powdered sugar.

36239801832_1b0430767b_b.jpg


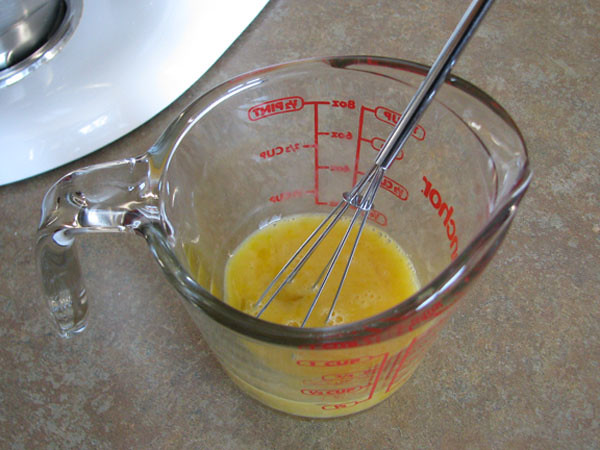
I mix the egg and wet ingredients in a cup before I add them.

36271096681_5730a233d7_b.jpg


Scrape down the sides of the mixing bowl and add the wet ingredients.
Mix well.
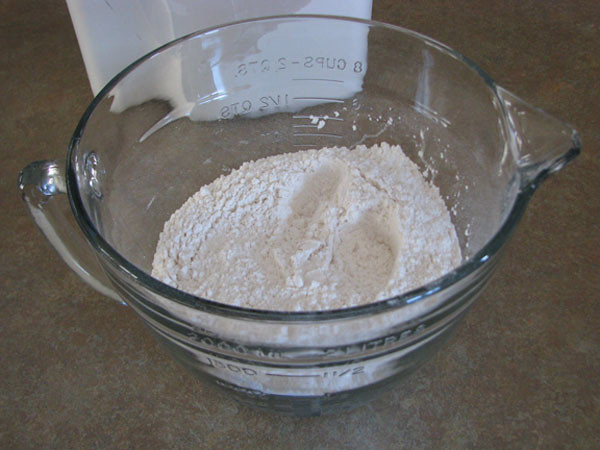
As this is mixing, I measure out and mix the dry ingredients in a large cup.
After doing enough cookies, I found that having all the ingredients pre-measured and mixed makes this go much quicker and smoother.

36363037986_3a71f582d7_b.jpg


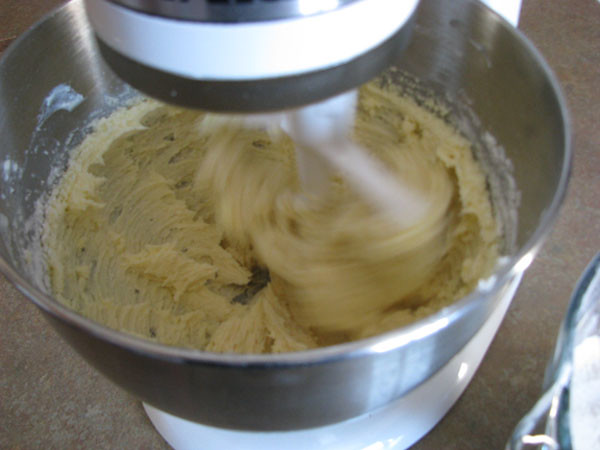
Scrape down the sides of the bowl again and slowly add the dry ingredients a little at a time.
I add about 1/4 to 1/3 of the dry ingredients at a time and let them mix well.
Action shot!

36239802432_04cf81de76_b.jpg


Mix until all ingredients are mixed well.

36239802642_76d7052174_b.jpg


Now comes the hardest part. (At least in my house.)
The dough needs to be chilled for at least an hour.
My family thinks it's time to eat cookie dough.
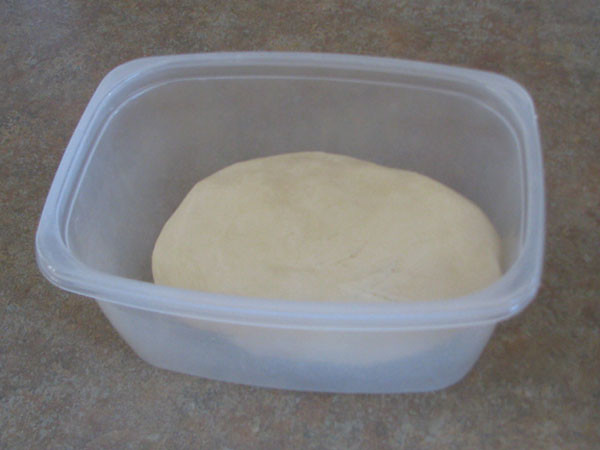
Place the dough into any container, cover and chill.

36271097781_40270e8477_b.jpg


I mold the dough into a ball shape so I can tell if anyone sneaks a pinch of dough from the fridge.
I will admit that I sneak my share of cookie dough, but I don't tell them that.
So now we wait...

Coming up next: Making Cookies!
 
Rating - 0%
0   0   0
Making Cookies!

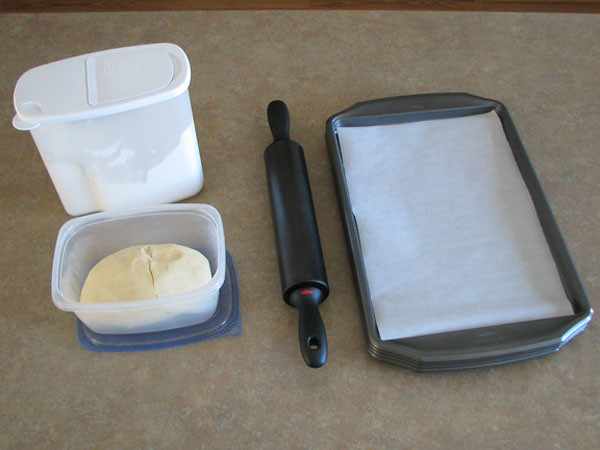
Once the dough has chilled, I prepare for rolling out and cutting the dough.
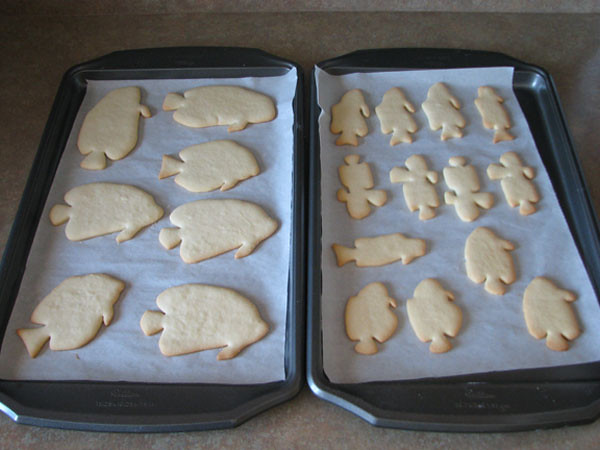
I line each cookie sheet with parchment paper.
This makes it very easy to transfer the cookies from the pan and it makes the clean-up at the end VERY EASY!

36271098951_e2baf16c9b_b.jpg


I again remind you to wash your hands.
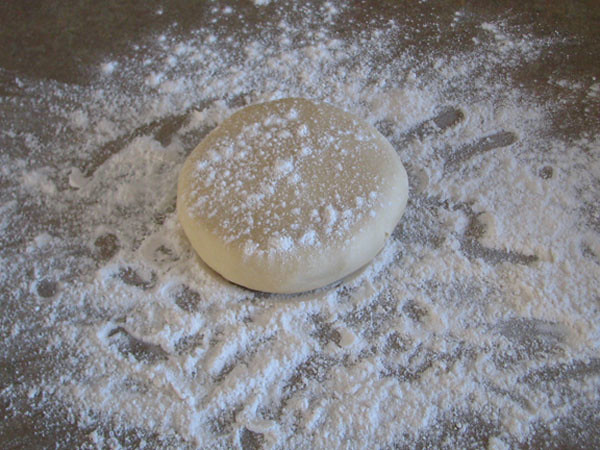
I dust the (cleaned) countertop with flour.
I break off a piece of dough about the size of a large orange.
I will knead the dough into a smooth ball and flatten it just a bit and dust it with flour.

36363039186_6d5698df30_b.jpg


I roll out the dough to a thickness of about 1/8". A little thicker is okay, but try not getting any thinner.
If the dough begins to stick to the rolling pin, just dust with some more flour.
I also prep the cutters with a bit of flour.
This helps the cutter release from the dough.

36407817085_eb34cf6654_b.jpg


Begin cutting cookies.
As I pull the cutter out of the dough, I am aware of any places where the dough is sticking to the cutter.
Normally shapes that are smaller tend to stick. Tails and fins are the most common.
If the dough will not release, just use any utensil to push it out of the cutter.
36271100091_abb8a7cf76_b.jpg


Once I've cut as many cookies as I could fit, I use a small spatula and move them to the cookie sheets.
I try to keep similar sized cookies on the same sheet.
This is to ensure each cookie gets baked evenly without smaller ones getting burned.

36271100351_9c06405c8d_b.jpg


I have preheated the oven to 375 degrees.
I will put in two pans at the same time and bake for 7 to 10 minutes; until the edges begin to brown.
I keep a watchful eye on the cookies, since smaller areas bake quicker. The tails are the quickest to burn.
36363039916_dff4380a39_b.jpg


I have four cookie sheet pans that I use, so as one pair are in the oven, I'm filling the other.
Once the cookies come out of the oven, I remove them from the pan by sliding the sheet off of it.
Allow the cookies to cool before moving them to a storage container.

36407818085_93efc6b2ea_b.jpg


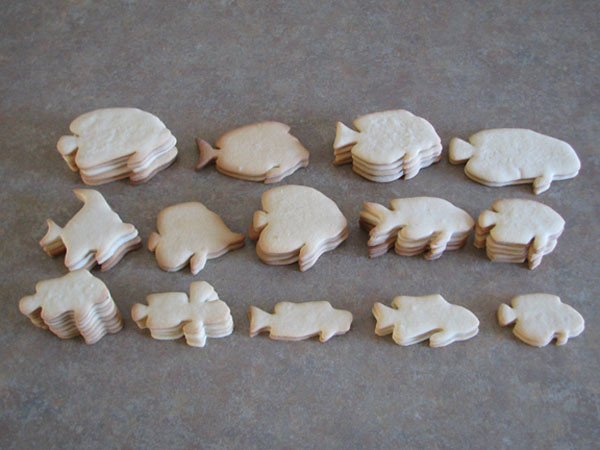
With this single batch of dough, I was able to make 52 cookies of various sizes.
All that's left is the decorating.

Have you figured out each fish shape yet?

Coming up next: Making the Icing!
 
Rating - 0%
0   0   0
Making the Icing!

I used to make a buttercream icing for the cut-out cookies.
As I made more and more cookies, I found that the buttercream recipe wasn't great for the cookies.
It tasted great, but it doesn't set up as well. The butter warms very quickly causing the icing to become too soft.
By removing the butter and using all shortening has helped.
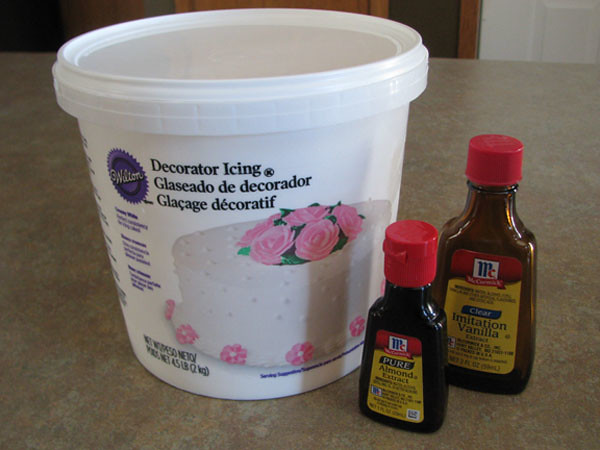
I also found out that Wilton (a cake company) makes this all shortening icing in a large tub. Decorator Icing. Woo-Hoo!
So now I just use this icing for the convenience.

The flavor of the pre-made decorator icing was missing the flavor of my homemade icing.
So I add in Clear Vanilla Extract and Pure Almond Flavoring.
I have not yet tried to add the Butter Flavoring.
I'm from Wisconsin and imitation butter just doesn't sound right.

36363038486_a16ef46b1a_b.jpg


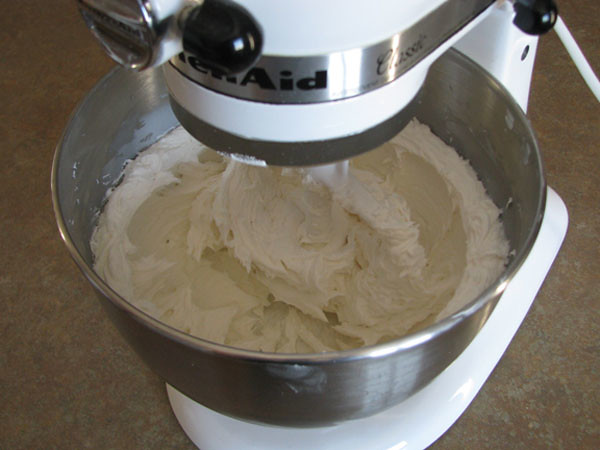
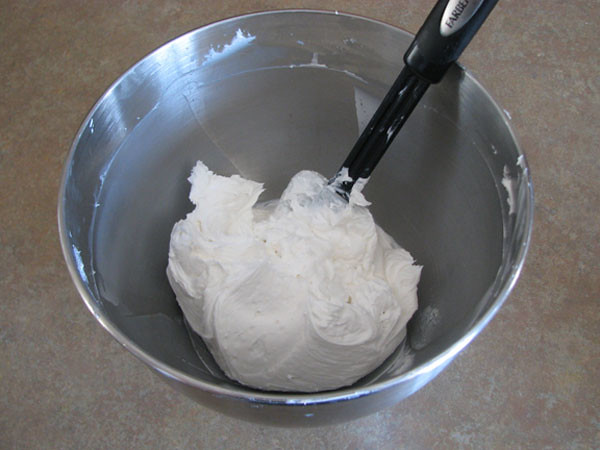
I scoop out as much icing as i think I will use into the mixing bowl.
As the icing mixes, I add the vanilla and almond to flavor.

36239803202_9c4be322bb_b.jpg


Once the icing is mixed, it's another family invasion to taste.
The vanilla and almond aromas seem to attract everyone to the kitchen.

36239803362_fc03591639_b.jpg


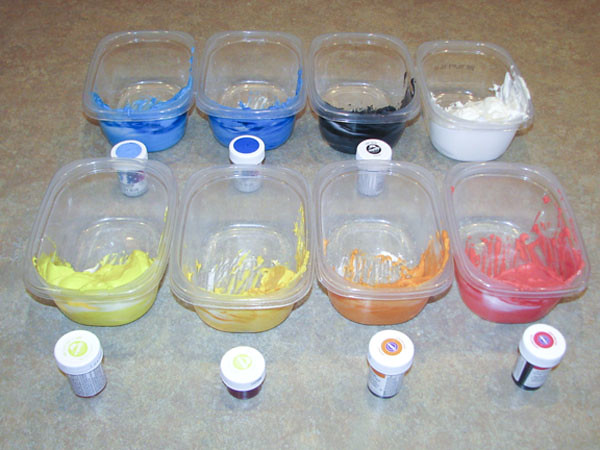
It's time to figure out which colors I want to make the icing.
I use Wilton's Icing Color. They have about 25 different colors to choose from; and I have just about everyone.
I created a spreadsheet that lists all the colors of icing colors and the fish species I want to decorate.
I separate the icing into small food containers for the different colors.
I add the icing color and mix thoroughly until I achieve the color I am looking for.

36271101381_f108c3505d_b.jpg


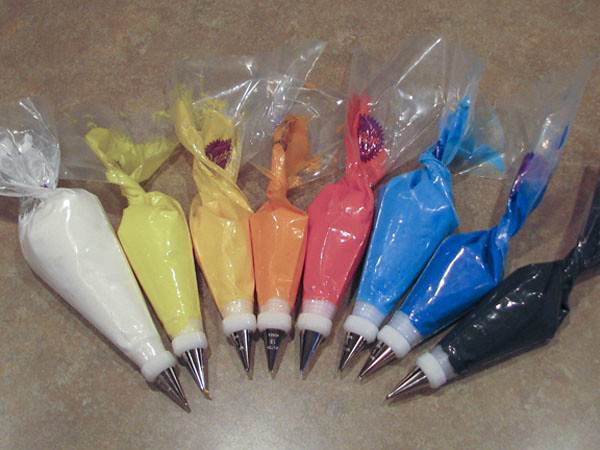
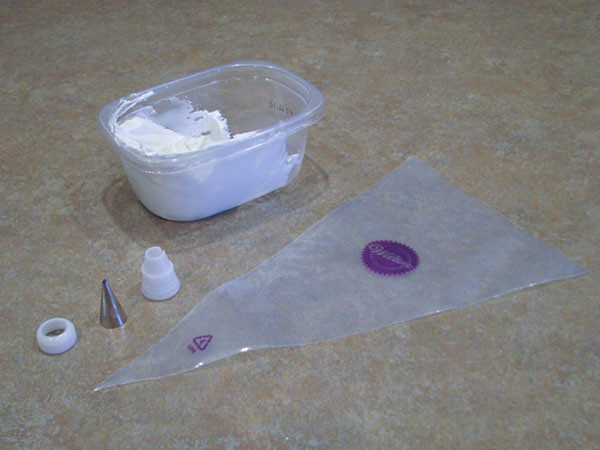
To decorate the cookies with the icing I use plastic bags and decorator tips; also from Wilton.
Cut off the tip of the bag and place the male coupler into the bag.
Place the metal tip (Star #13) on the outside of the bag and coupler.
Use the female coupler to attach the tip to the bag.
I have acquired quite a few couplers and tips over the years. A lot of couplers and tips.

36363040776_4f1a1d2285_b.jpg


Fill each bag with the colored icing.
Twist the open end to keep icing from squeezing out.

36407819165_d7297cf79f_b.jpg


Now it's time to decorate some cookies.

Coming up next: Decorating Cookies!
 
Rating - 0%
0   0   0
Decorating Cookies!

With the cookies and icing all ready to go, it's time to decorate.

This is the most intensive portion of the cookie making process.
I'm a perfectionist.
I need to have my cookie look just like the fish I am decorating.
So this process takes time.

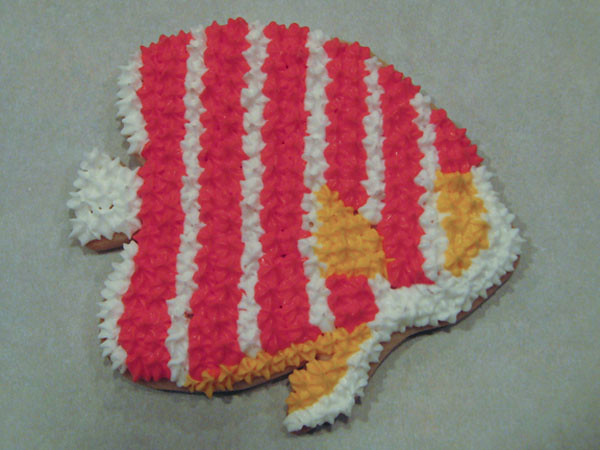
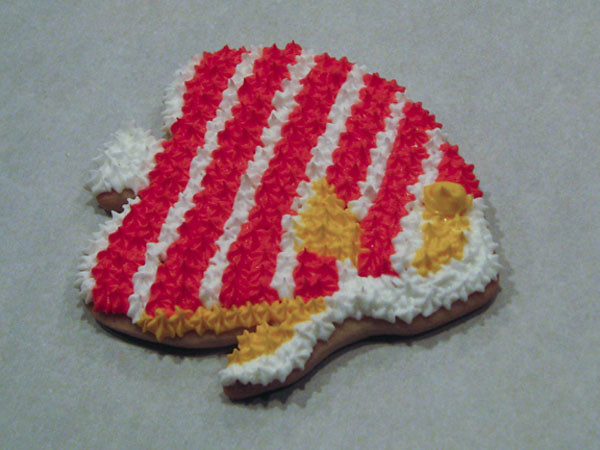
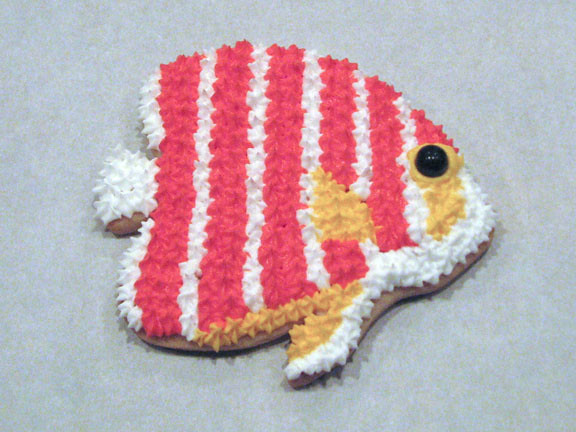
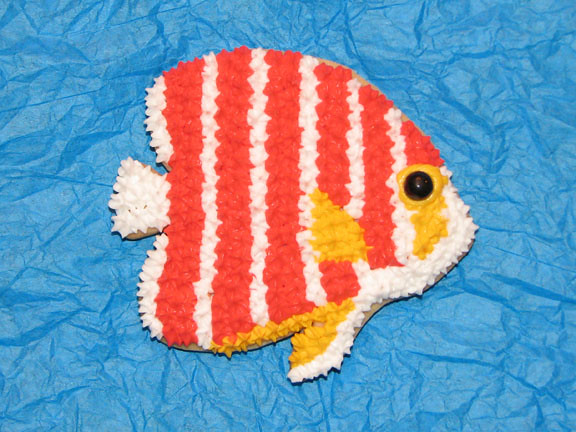
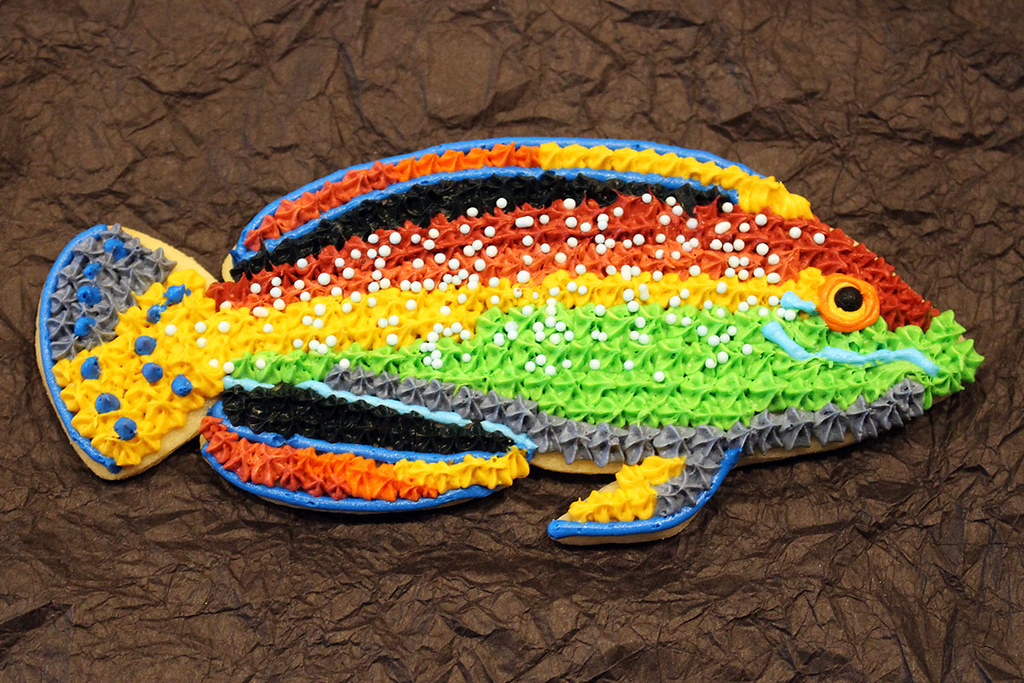
This build will show how I decorated the Peppermint Angelfish cookie.

To begin... I wash my hands.

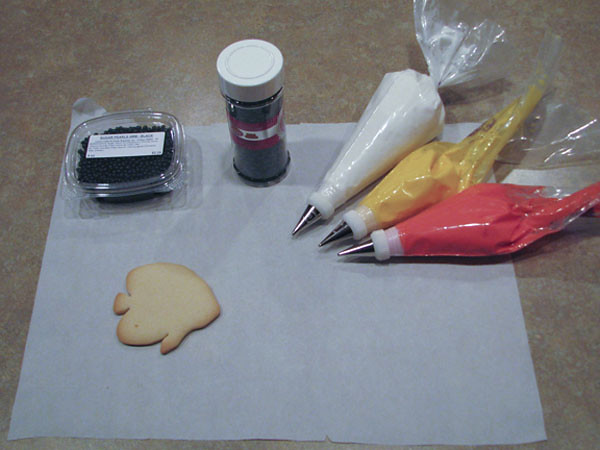
I lay out a piece of parchment paper to work on.
I gather the icing colors I am going to need for this cookie.
And I use two sizes of black sugar pearls for the eyeballs, so they are also ready.
And I pull up the photo of the fish to use as a guide for the colors and patterns.

36239805322_de17c1d282_b.jpg


Making sure the icing tip is clean, place the tip just above the surface of the cookie.
Slowly squeeze out the icing while lifting the tip up and away from the cookie.
(Practice makes perfect. Practice making the stars on parchment paper before you try it on the cookie.)
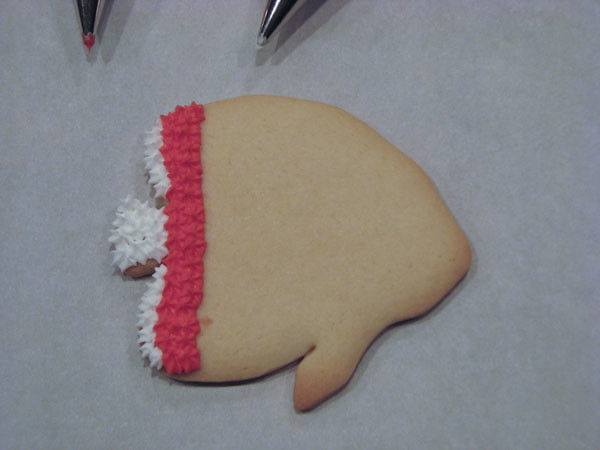
I always begin with the fishes tail.
I work from left to right and top to bottom.

36271102211_7ff9f9b899_b.jpg


I keep squeezing and squeezing the stars across the entire cookie.
If the icing tip becomes messy, clean it off with a paper towel. Don't lick it!
If the icing gets too soft, chill it for awhile.

(This is where my family does about two cookies and then leave. (Eating one of them)
Their hands get sore from squeezing.)
I pay attention to where the pectoral fin is located. As this is the only part of the fish not visible on the naked cookie.

35572791684_33ba80c1b5_b.jpg


Once the cookie is covered, I make a 'dirty' star for the color of the eye.
By dirty I mean that after the star is formed, I use the tip to make it a circle shape.

36407819935_3fe65e9108_b.jpg


I choose which size of black sugar pearl I need for the eye, and I place it on the icing and press it down with a toothpick.

36239805902_472661c140_b.jpg


The final step is to allow the icing to set.
I place the cookies on a cookie sheet and let the cookies sit out for a while.
When the icing has lost it's shine, I place the cookies in the freezer to freeze.
Then I will stack the cookies into a food storage container separated by tissue paper.

All that is left at this point is a photo shoot.

36359124956_a41924106e_b.jpg


Keep the cookies in a food storage container in the fridge or freezer.
I'm not sure how long they stay fresh as many of them don't last very long.

Thanks for following along.

Coming up next: Cookie Requests and Special Orders
 
Rating - 0%
0   0   0
Cookie Requests and Special Orders

After the initial batch of cookies was delivered to Rhinelander, the cookies were posted various social media outlets and it caught the attention of a few people interested in having cookies made and shipped to them. Since I use an icing that doesn't dry into a hard shell, it's difficult to ship them without having some casualties of some sort. But I really wouldn't know to what extent if I didn't ship out a batch.

The first batch that was shipped went to the guys at Ecotech Marine in Pennsylvania.
They were having a work retreat and wanted to know if I could make some cookies for them. This happened just after I had dumped my LED fixture into my tank and I needed to buy new lights. A couple of the guys over there spent extra time and effort in helping me get things set up and figured out, so I thought that the least I I could do was to try and get them some cookies.
The cookies were individually bagged and shipped overnight in a styrofoam cooler with ice packs. Surprisingly, the cookies arrived intact. The cookies were quite the hit; so I was told.

35596108633_bf847570ff_b.jpg


It was at about this time that I started expanding my "collection" of cutters. I began making the cutters more specific to individual species.
I even started experimenting with different decorating techniques. This allowed me more options when it came to making certain fish cookies look more like the real fish.
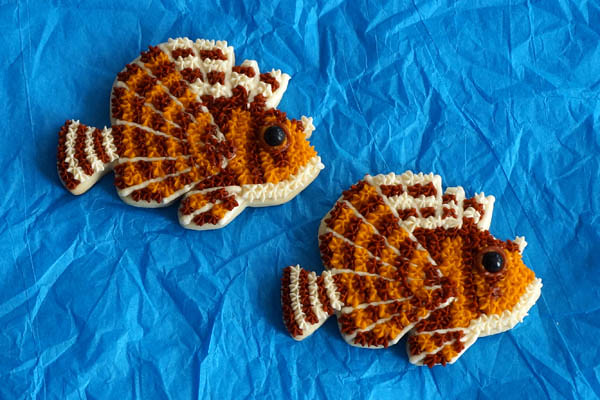
One of the first improvements (besides the Peppermint Angelfish) was the Fuzzy Dwarf Lionfish; still one of my favorites!

36359128836_ca30050b54_b.jpg


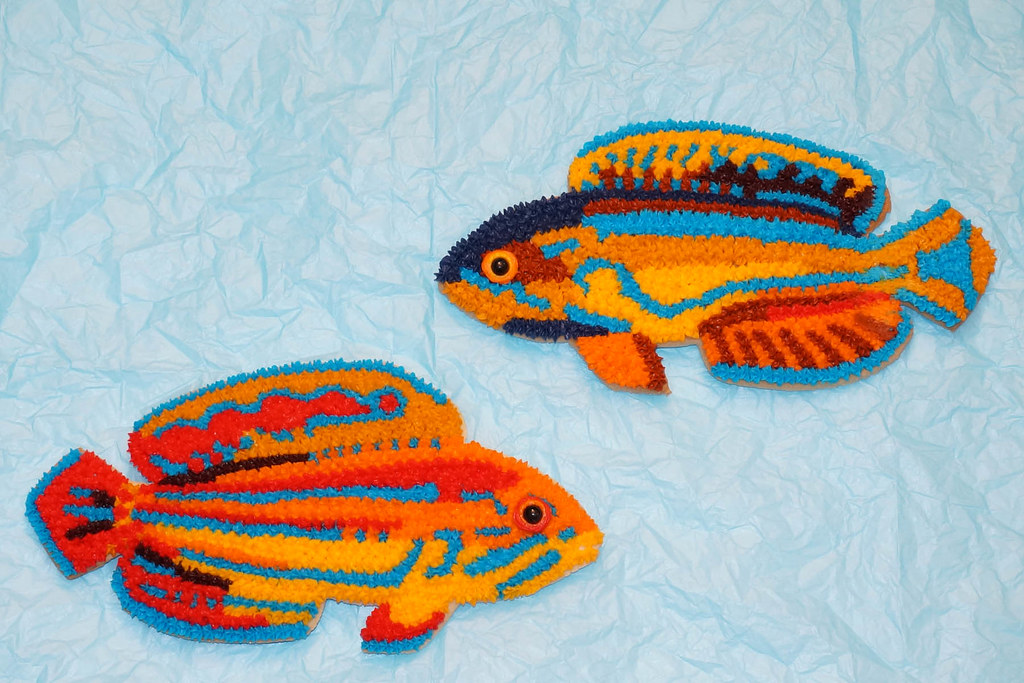
And I also made a couple of special wrasse cookies for someone's birthday; these were about 10-12" big!

36403715535_19e840d6be_b.jpg


Those two cookies really made an impression.
So much so that this was when I received an e-mail from ORA (Oceans, Reefs and Aquariums).
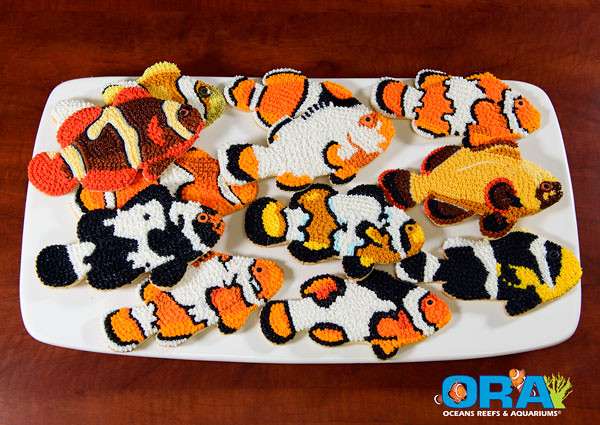
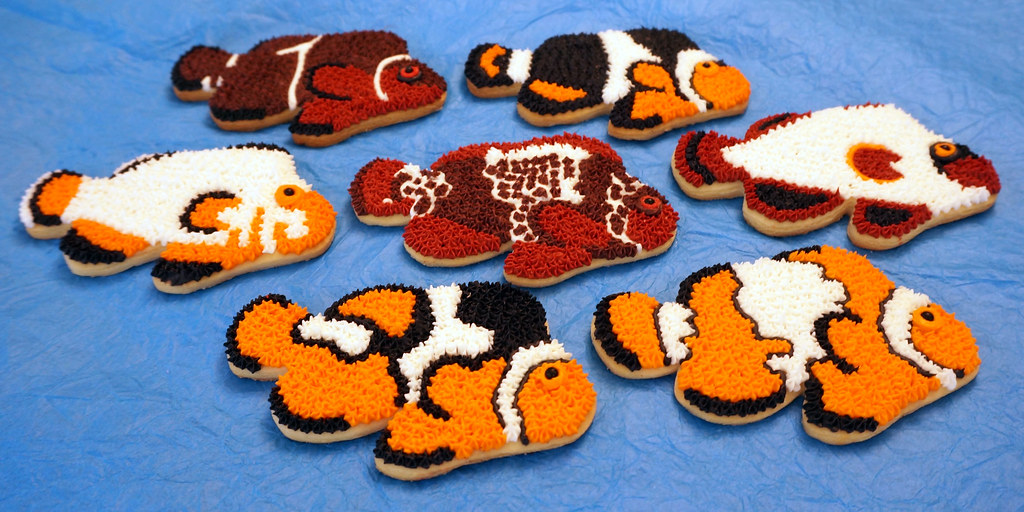
Dustin asked if I could make some cookies for a secret project they had coming up in April. He wanted to replace the fish on one of their pages with cookies for their April Fool's prank on the website. I took a look at it and said that I could replace all of the clownfish; if he wanted to do that many. He was all for it.
To make those cookies, I didn't use any cookie cutters. I used the fish images from the website and made 39 custom cookies for their 39 different clownfish that they offer. When it came time to decorate the cookies, I ended up with over 30 different colors of icing and each cookie took at least 40min to complete.
Before I shipped the cookies, I took plenty of photographs of them just ion case anything happened during shipping. The cookies were shipped just prior to April 1st and they all made it without breaking or receiving any damage.
ORA posted their "new product" on their website and FB page, and it went over very well.

36007237200_3c1dd429eb_b.jpg


And soon after the ORA cookies went online, I got a message from Tal Sweet at MBI. Tal wanted to have some cookies available for the MBI Workshop in July. Since I just spent a lot of time working on clownfish cookies, I decided to make a new cutter that could be used for a variety of clownfish species; but a bit bigger for a nicer cookie. One of the speakers for the workshop was going to be Matt Pederson and he was bringing a pair of his Lightning Maroon Clownfish for the raffle. I decided I needed to make Lightning Maroon Clownfish as part of the collection.

35568584504_4c3630617d_b.jpg


Since these projects, I have made various cookies for a few house meetings and "Thank you!"s; and even a wedding! ;)
The variety of cookies and cutters has really expanded now.

36007233120_94e55b7cf1_b.jpg


36007231400_264f9cc49d_b.jpg


36007235000_69917ea717_b.jpg


35596110633_8816d81d9a_b.jpg


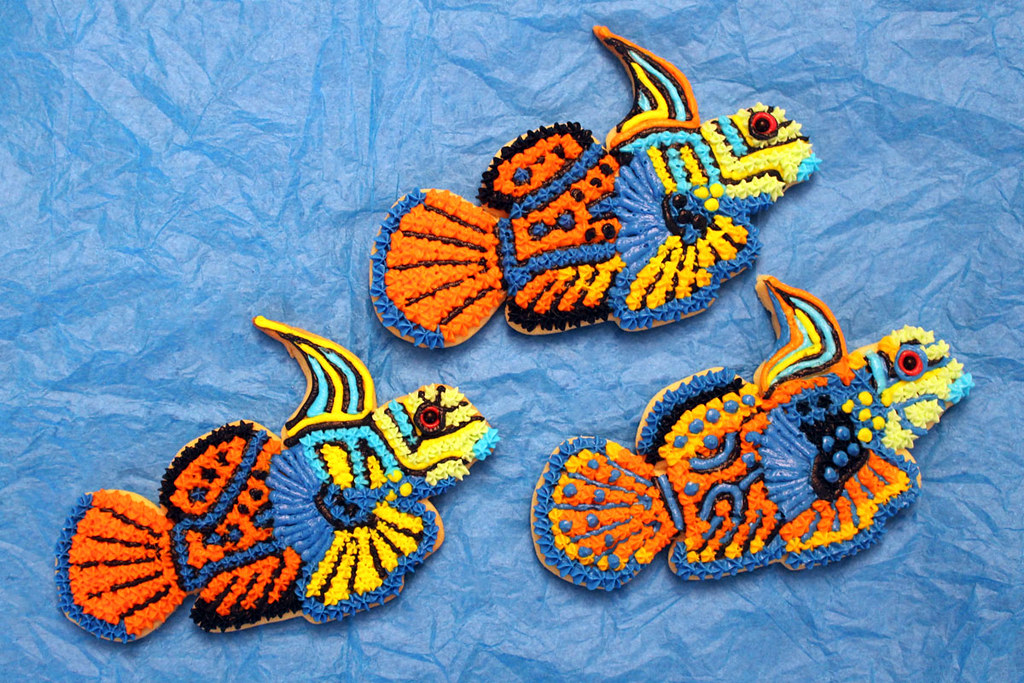
I have even gone so far as to try and do a Mandarin Dragonet cookie; based on the LRS mascot.
 
Rating - 0%
0   0   0
Let's take this up a notch!

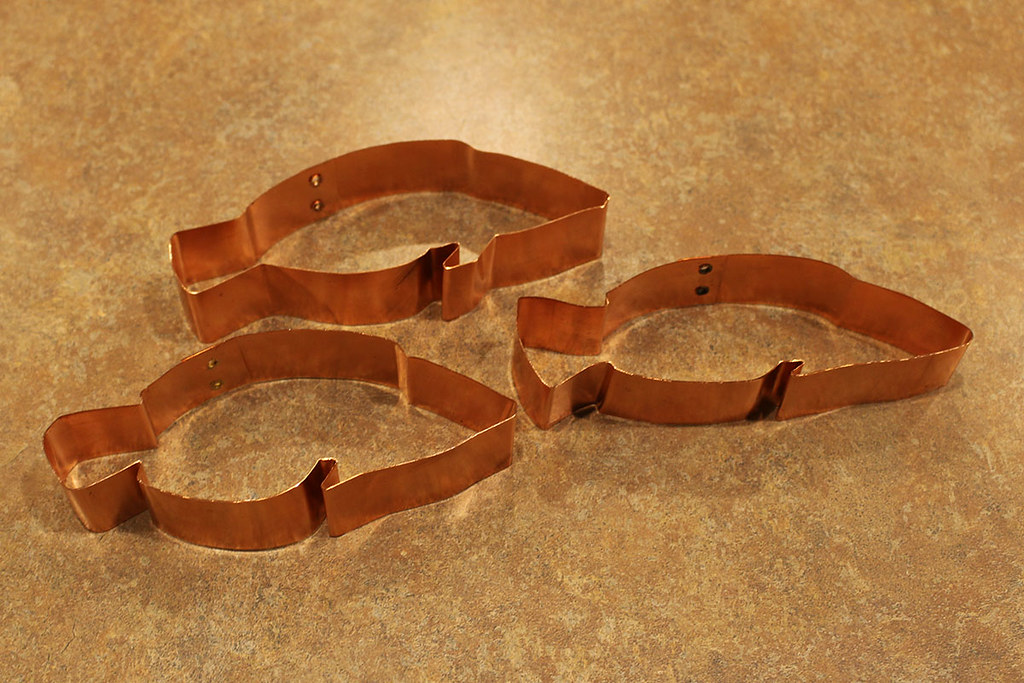
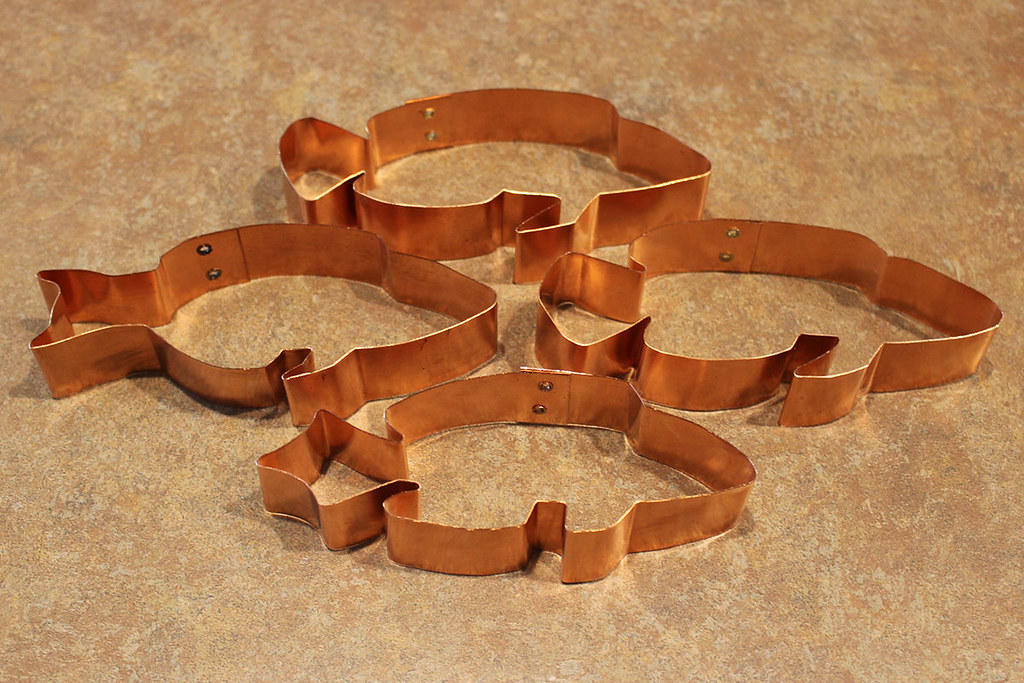
Over the years, I created more and more cookie cutters and decorated numerous fish species. In the summer of 2018, I was asked to make some fish cookies for a special event with specific cookies requested. I could've used some of the cutters that I already have made, but I decided to make these cutters [almost] species specific. I ended up making seven new cutters. That brings my total up to 60 different fish cookie cutters; far above the 38 I originally thought I wanted.

42233417315_21ee8eddb5_b.jpg


29265885548_036da619a9_b.jpg


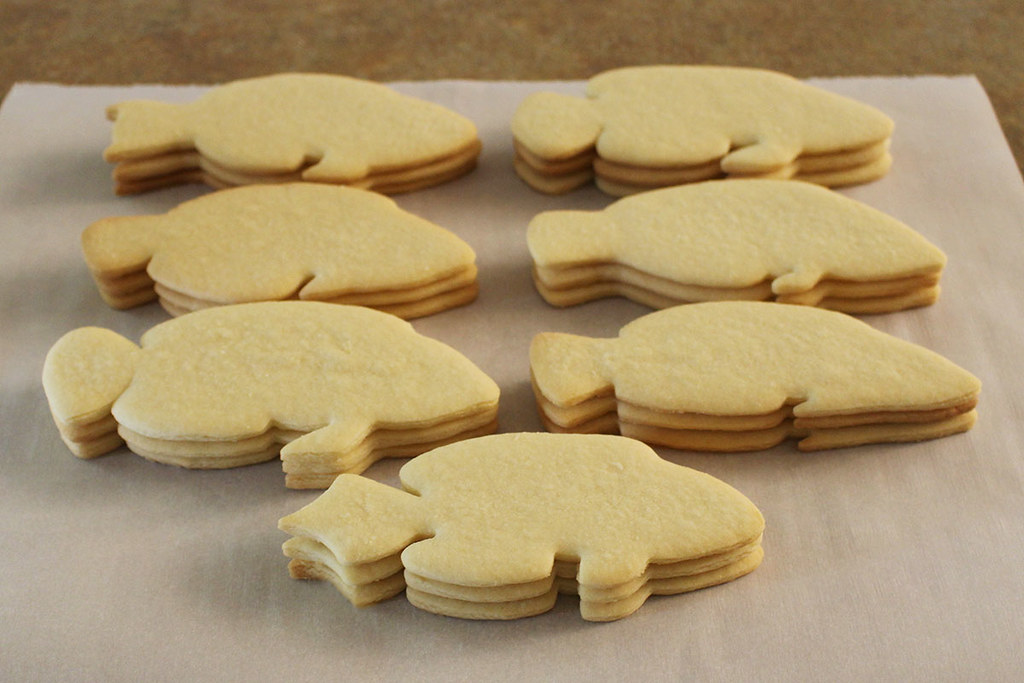
My daughter thought that most of them looked the same, but there's specific differences that'll make the cookies more authentic.
The hardest part will be trying to decorate the cookies to mimic the fishes' coloration and patterns. This will be especially difficult as the client is well educated (and has high standards) for these specific fishes!

29266117738_d2263112ac_b.jpg


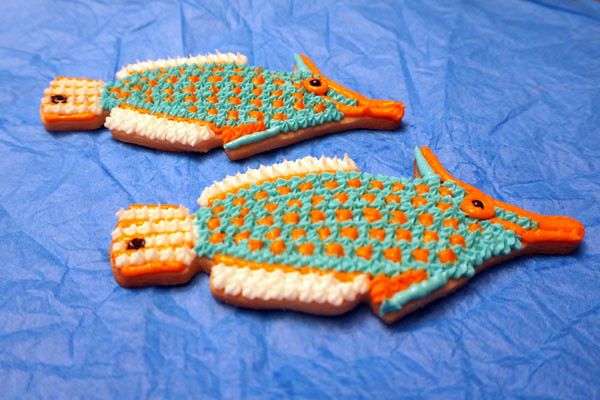
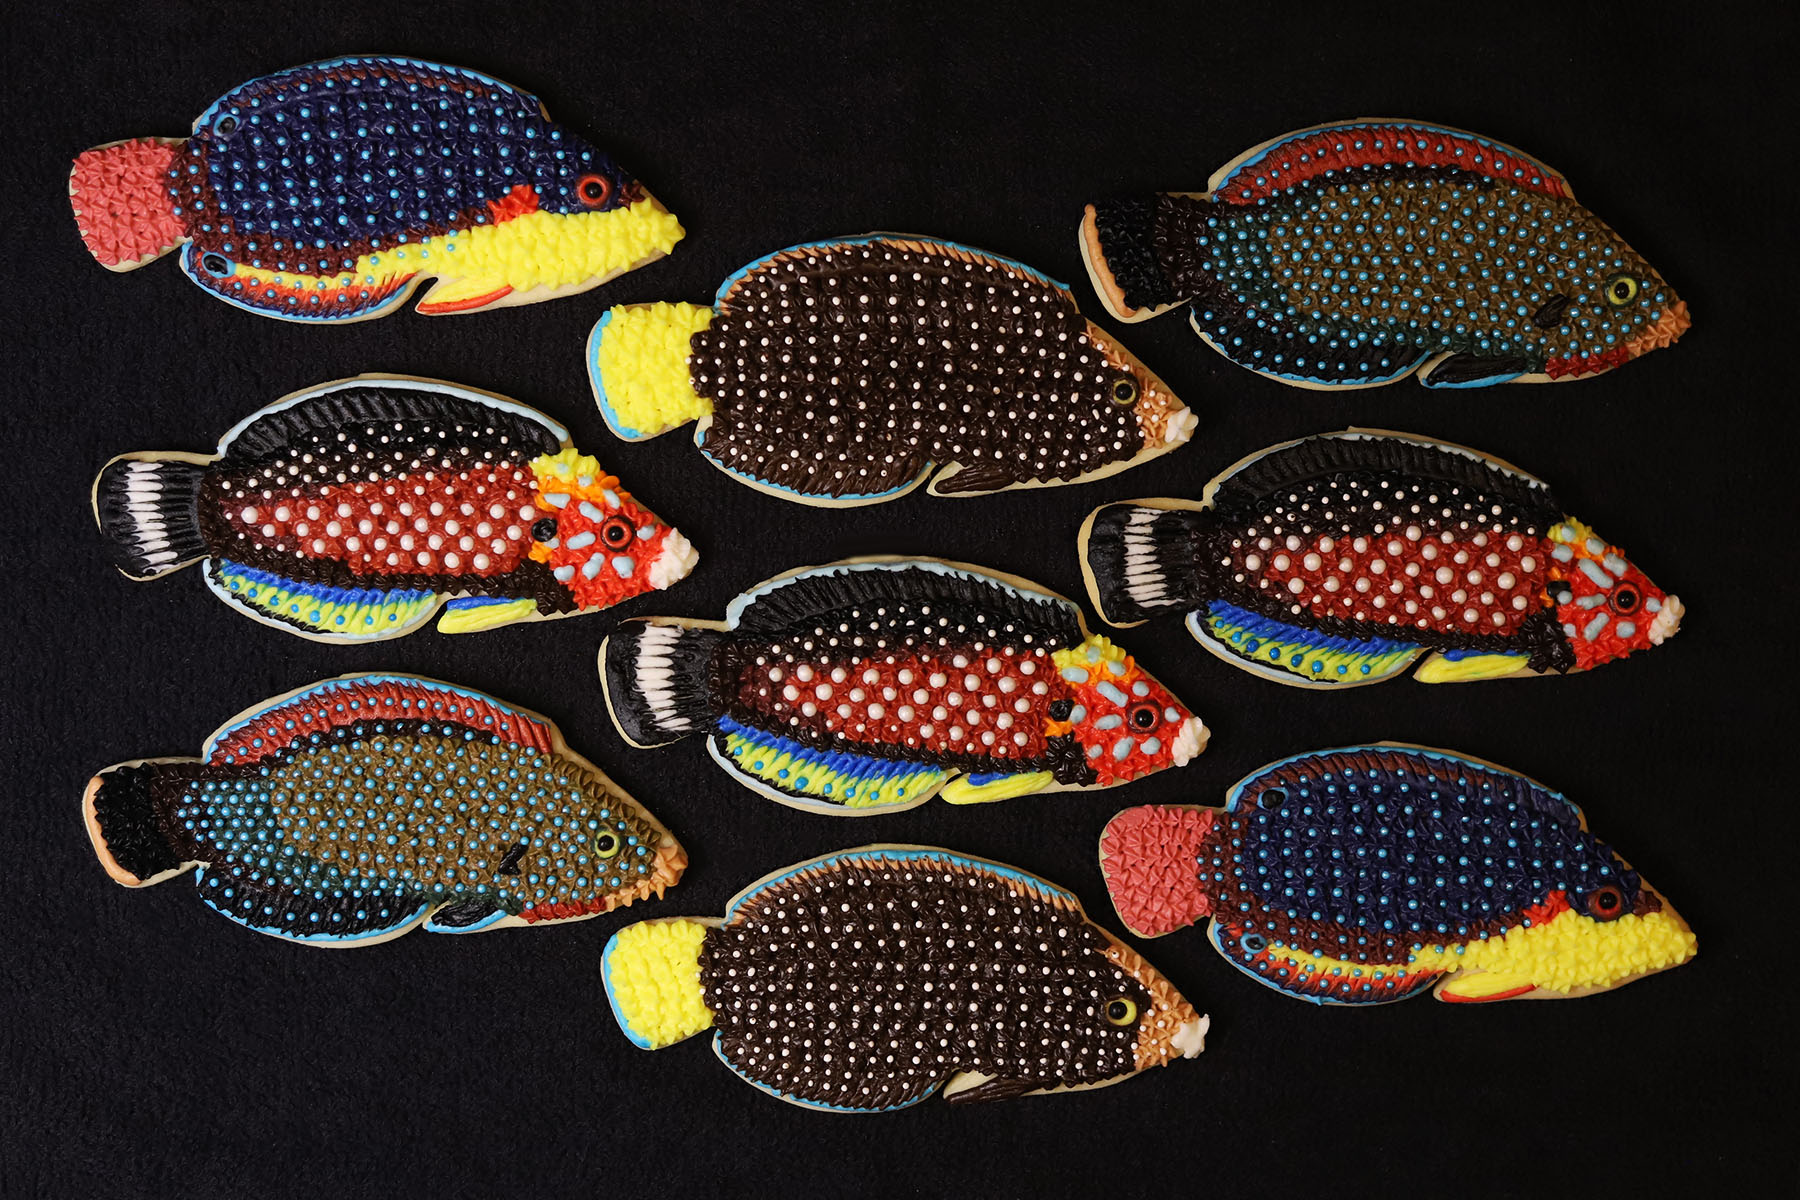
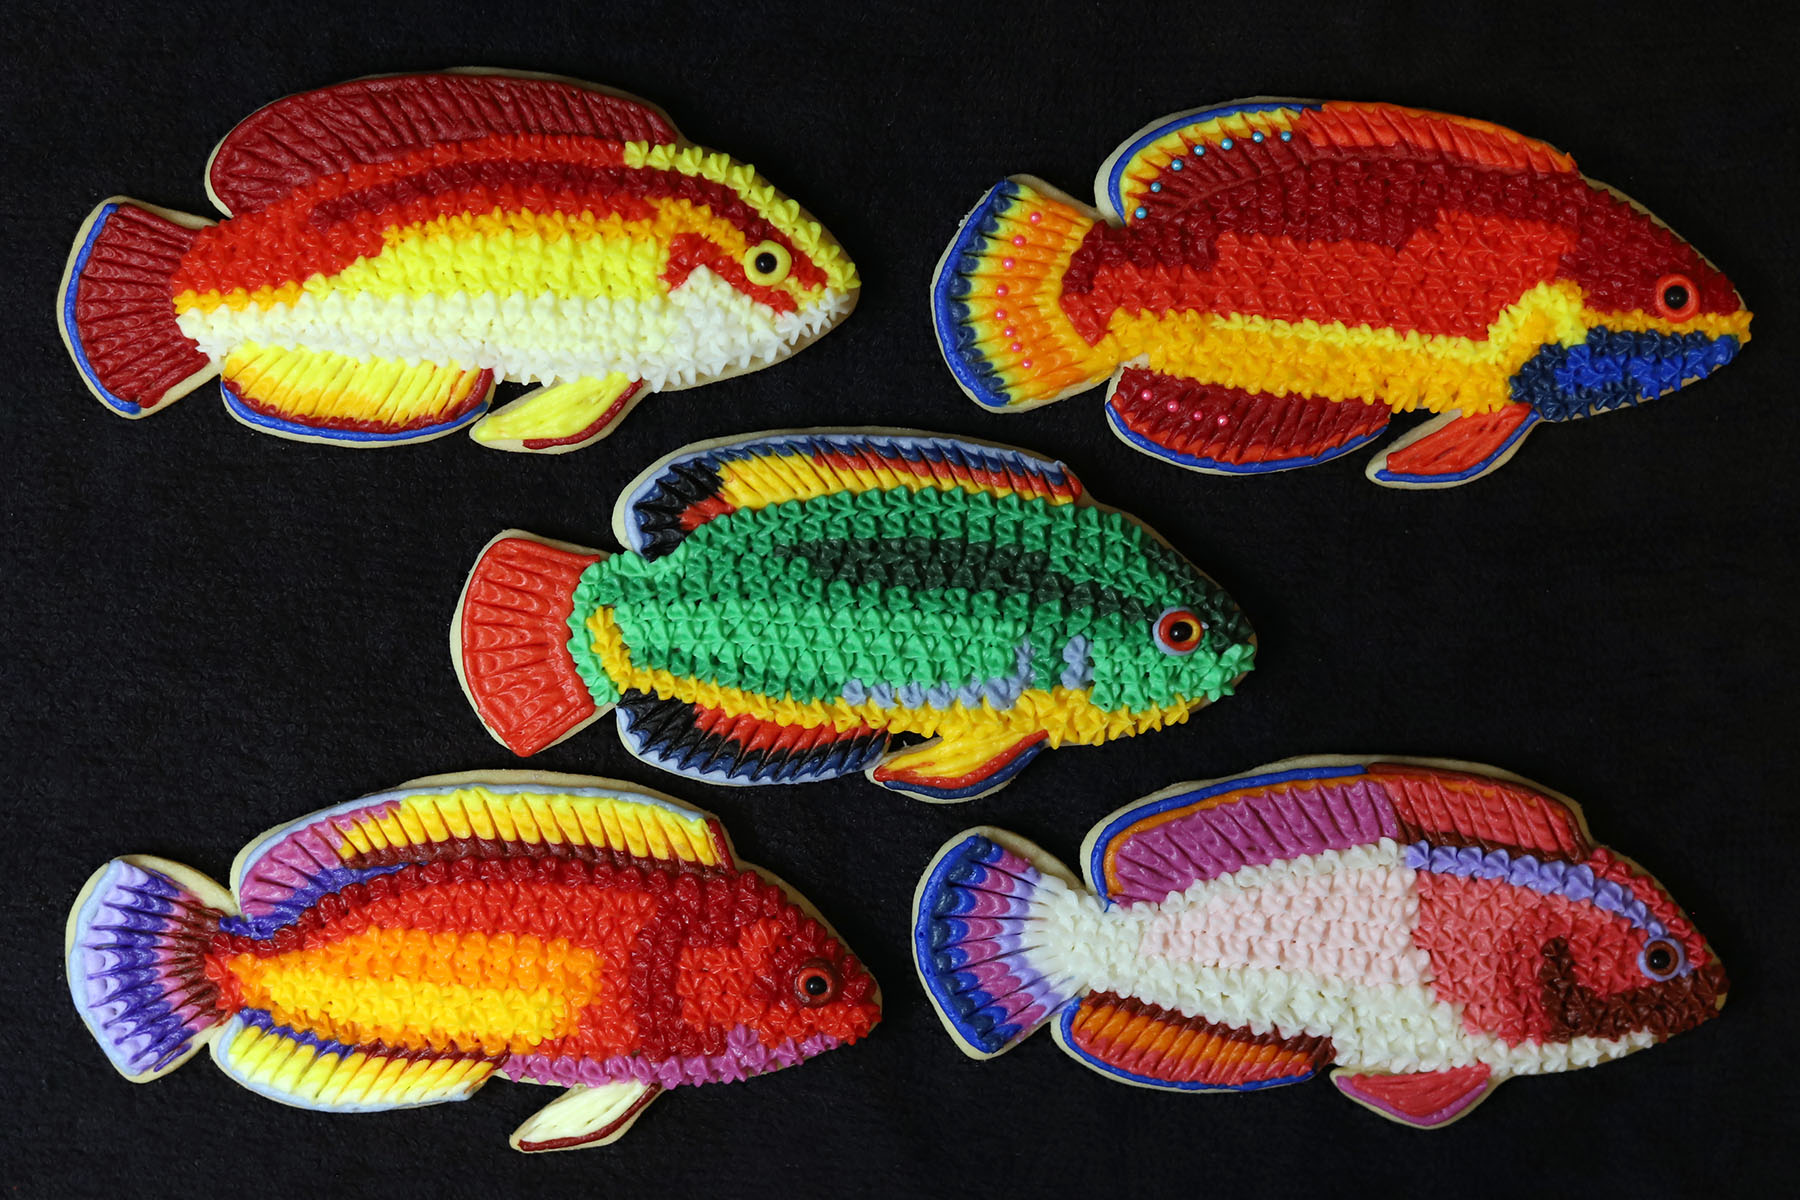
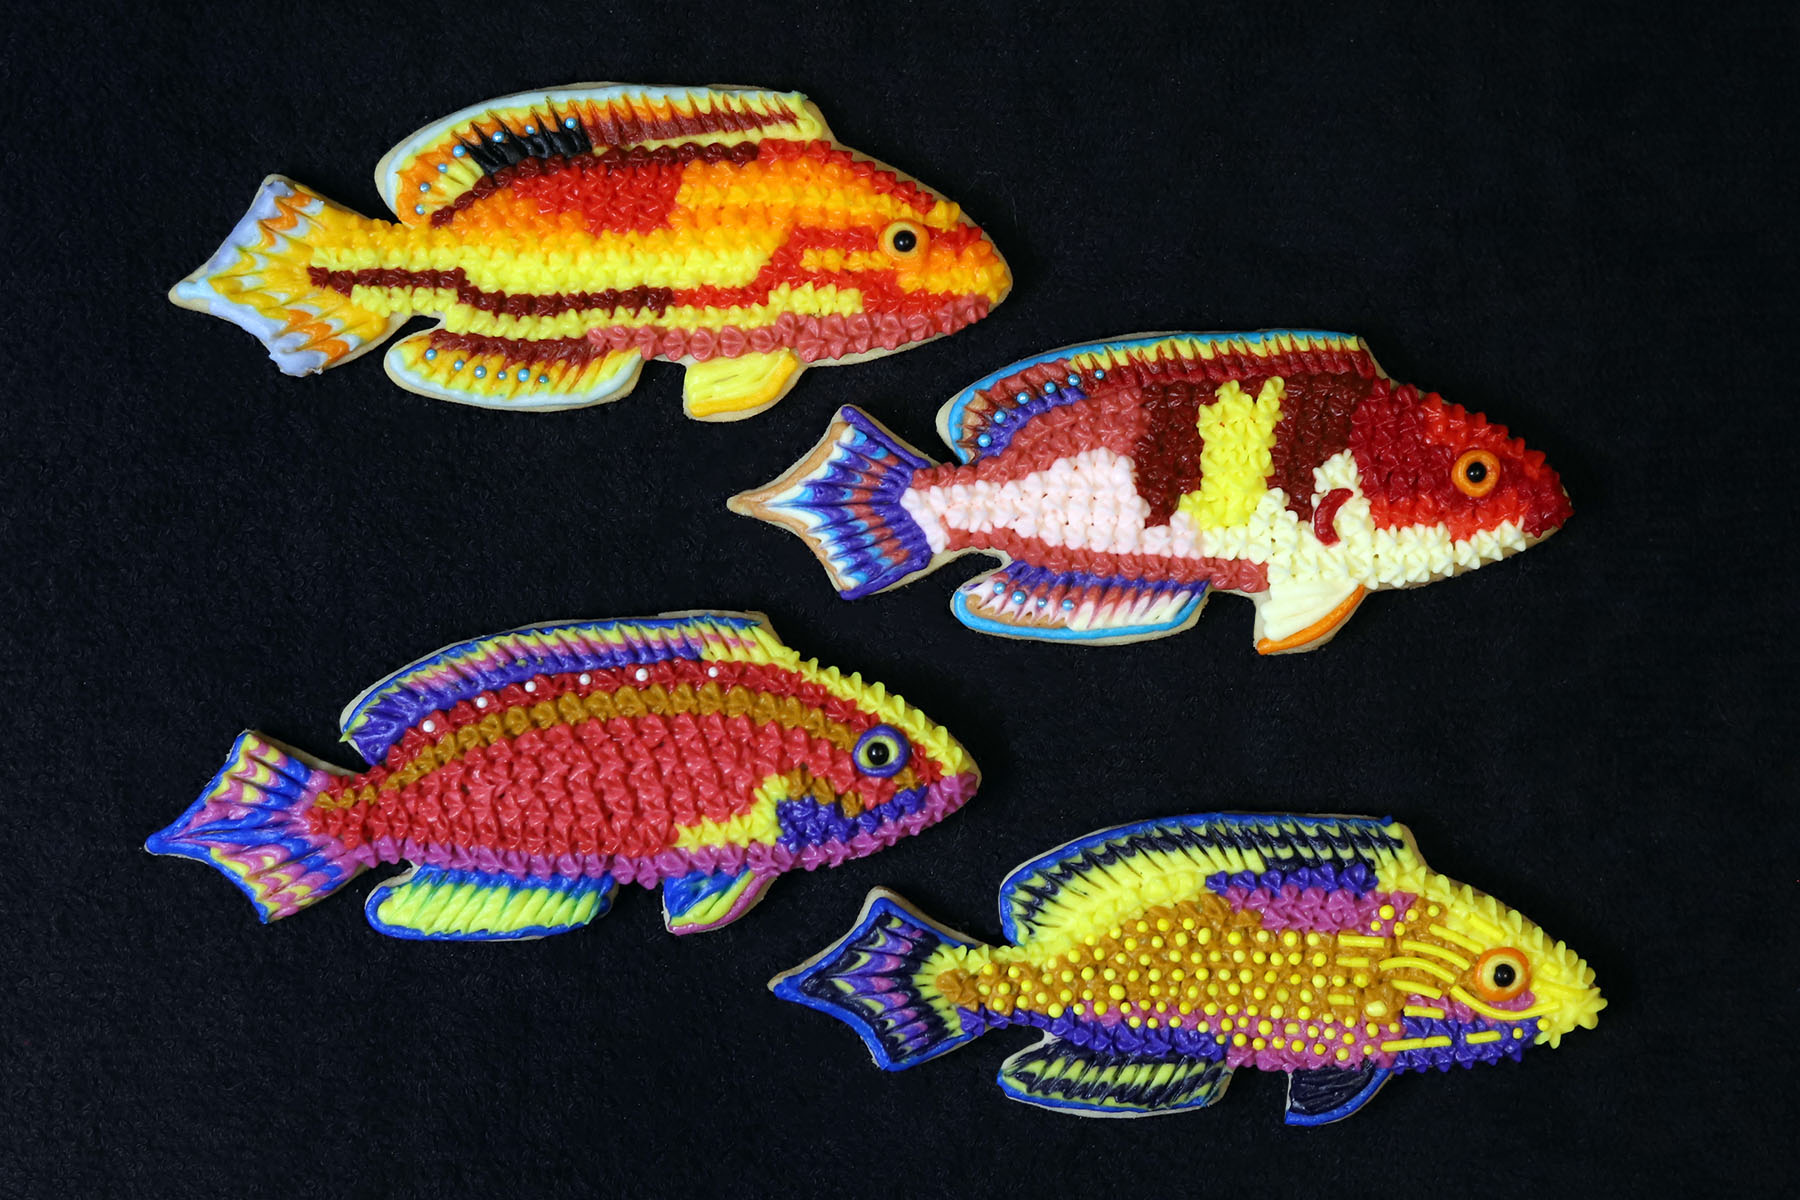
I was asked by Hunter Hammond to make some fish cookies of his favorite wrasses for his wedding. Hunter gave me a list of about nine or ten species and I tried my best to create the fish on cookie form. After much back and forth conversations and some tweaking of the original decoration, they decided on four different cookies; Cirrhilabrus exquisitus (3rd row, right), Cirrhilabrus scottorum (2nd row, left), Anampses femininus (3rd row, left) and Pseudojuloides labyrinthus (Front row, left).

29354725667_e2f76098a6_b.jpg


I decided to attempt one of my favorites; C. isosceles. (3rd row, center)
And during the time I was working on these cookies, there was a troublesome incident involving the C. sanguineus so I decided to attempt one of those also. (Front row, right)

As a joke, Hunter included the C. punctatus on his list; the Fine-Spotted Fairy Wrasse. I told him that I would accept that challenge and this is what I came up with.
*** The coloration of the icing isn't accurate. It was finding a way to represent the fine spots that was the challenge, and I think this worked.

44290824471_c5437b8115_b.jpg
 
Rating - 0%
0   0   0
We're back, baby!!!

When COVID-19 shut down all gatherings and events, there was about two years when I wasn't making any fish cookies to share with my friends. But when those events came back in 2021, I was ramped up to bring more fish cookies and even more excited to step up the decorating game.

The first of these events was Aquashella-Chicago.
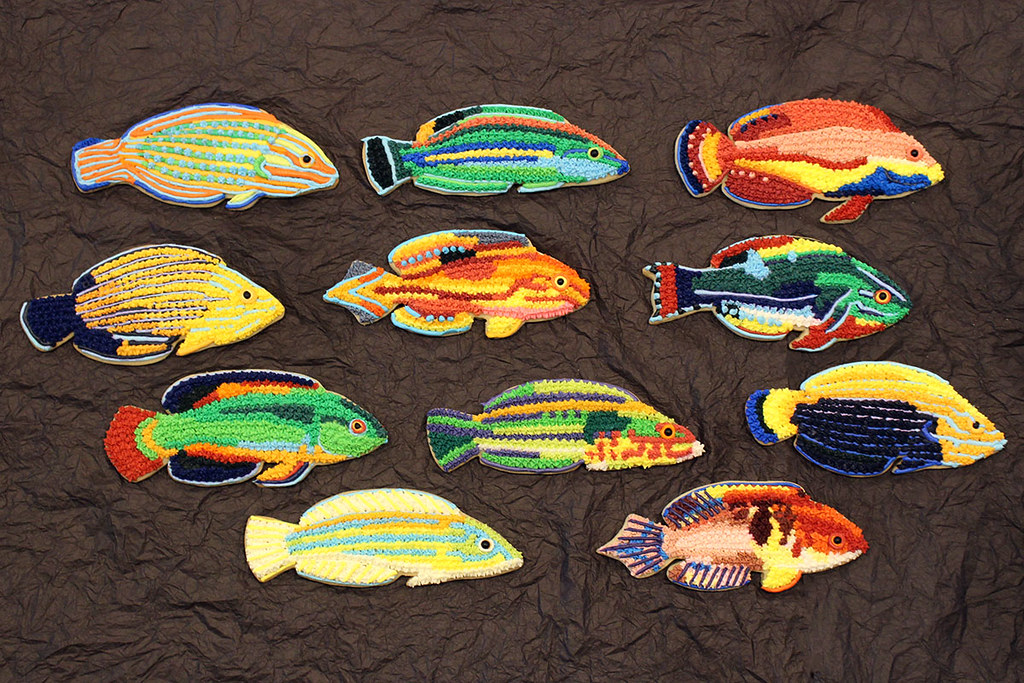
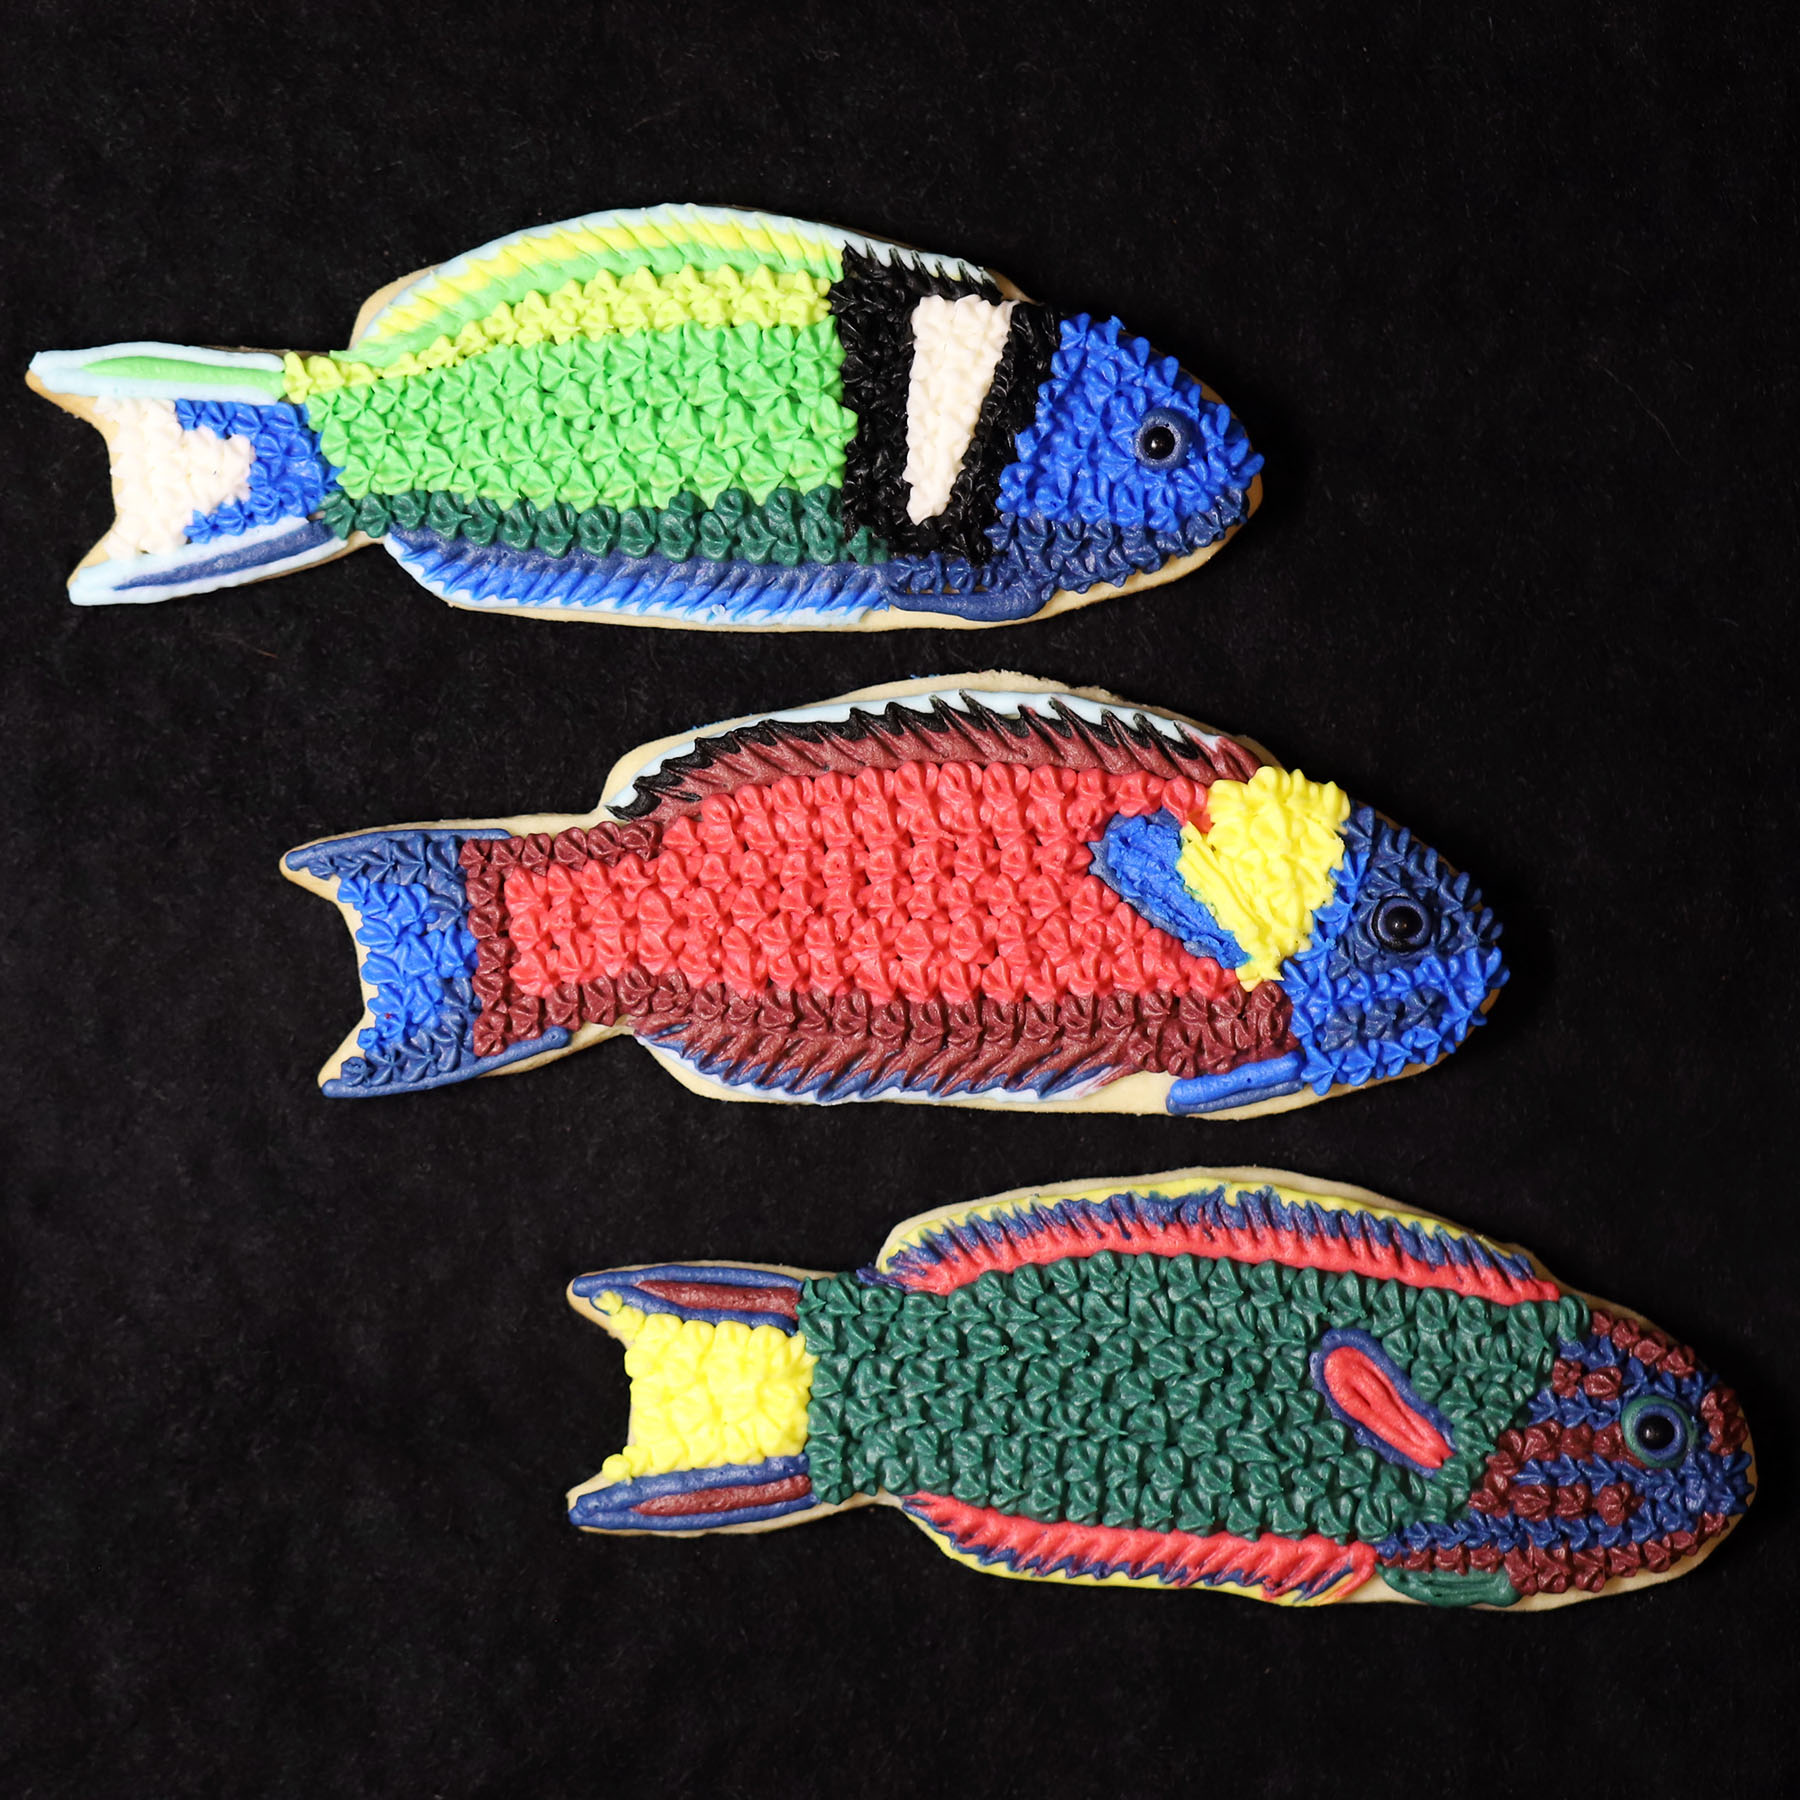
I decided that I wanted to create a theme to the fish cookies that I would bring to the events. After spending the last couple of years working with various art projects centered around the wrasses, this first batch of fish cookies would be all wrasses.
I created a couple more cookie cutters for new wrasse species. And I concentrated on decorating the cookies as close to the real fish as possible; focusing on colors, patterns and icing techniques. I started to decorate the fins with a new technique that not only looked more realistic with the fin rays, but I could play with color schemes. And I employed a few new tricks to add the smaller details like stripes and spots by adding sugar pearls and candies.

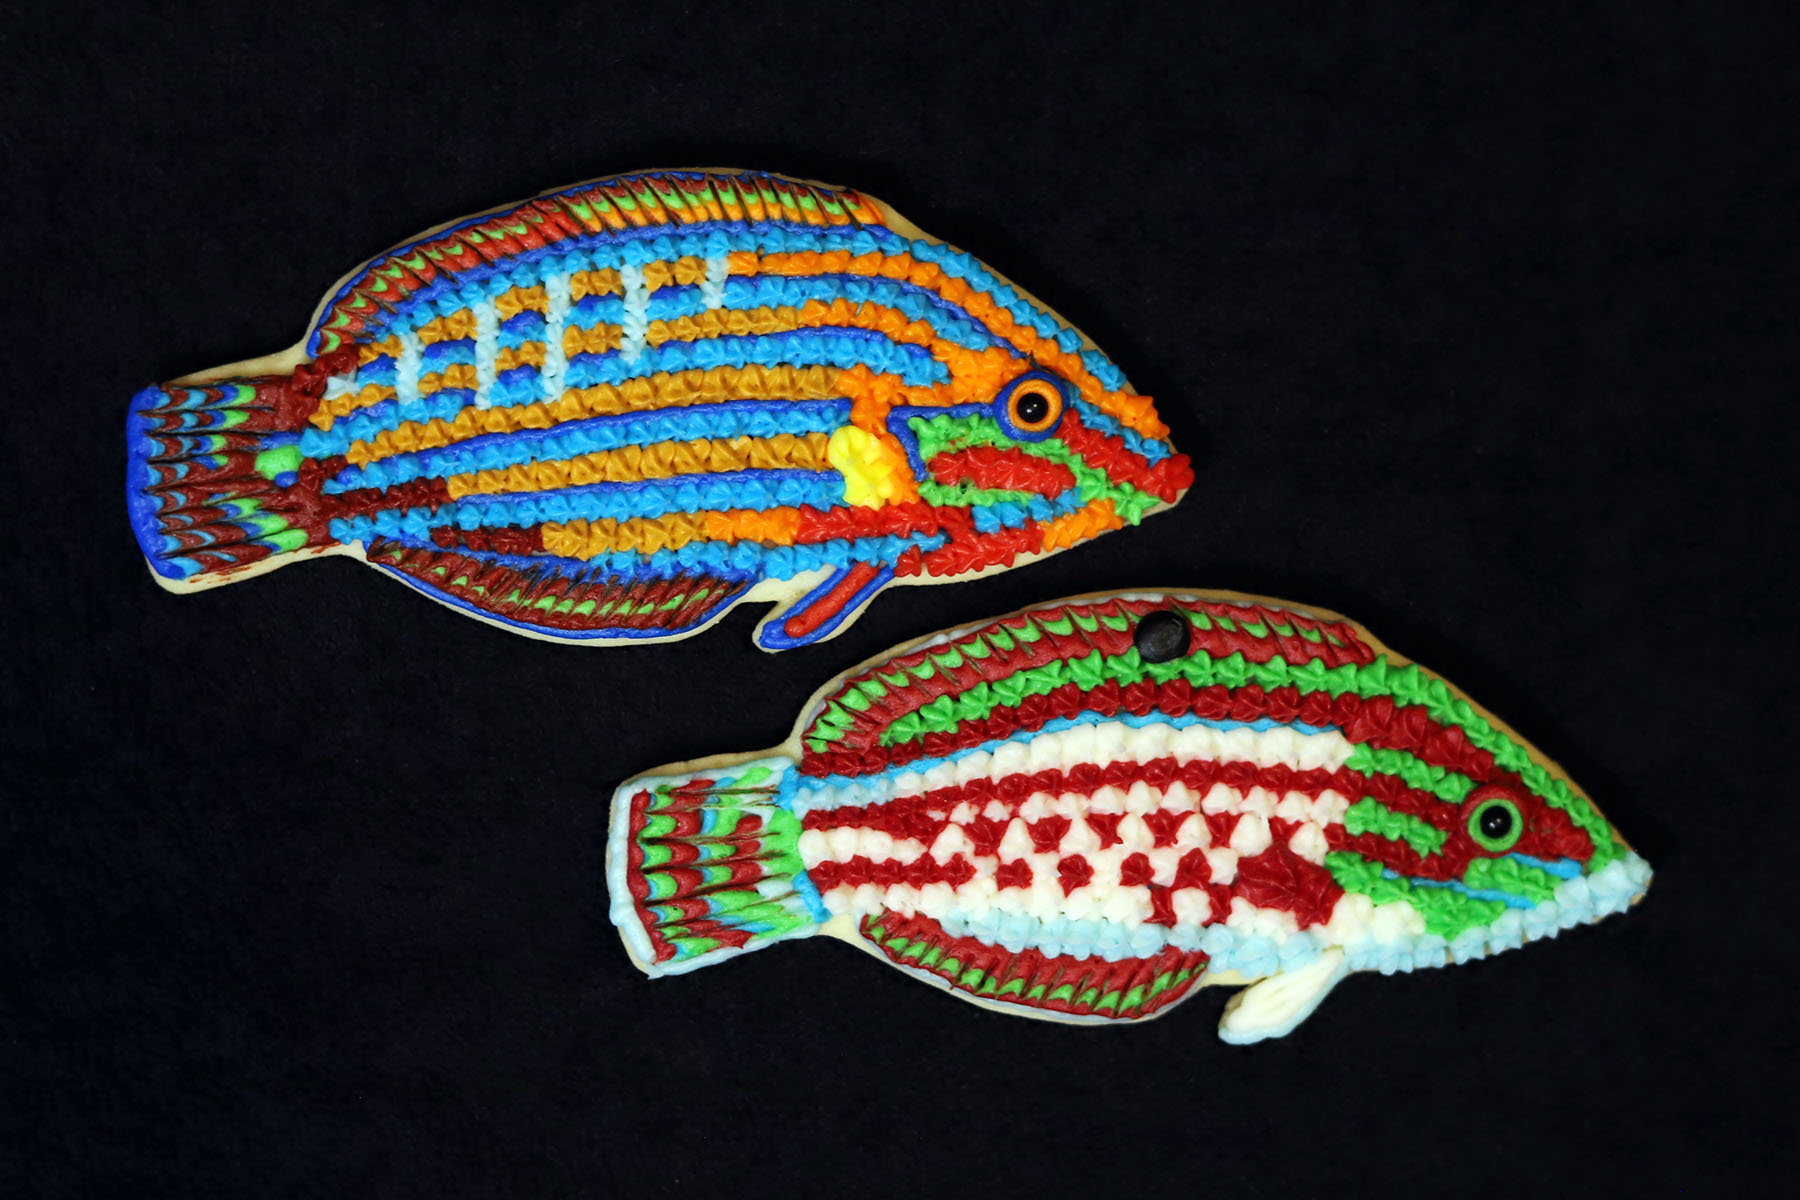
The Anampses group.

210730 - Anampsesgroup.jpg


The Thalassoma group.

210725 - ThalassomaSpecies.jpg


The Halichoeres group.

210801 - HalichoeresSpecies.jpg


The many Cirrhilabrus groups.

210806 - CirrhilabrusSpecies2.jpg


210806 - CirrhilabrusSpecies.jpg


210801 - CirrhilabrusCrescentTailGroup.jpg


Coming up next: Reef-A-Palooza at Chicago
 
Rating - 0%
0   0   0
The next event was Reef-A-Palooza at Chicago.
With these two events being scheduled fairly close together, I didn't have much time in between for much else.
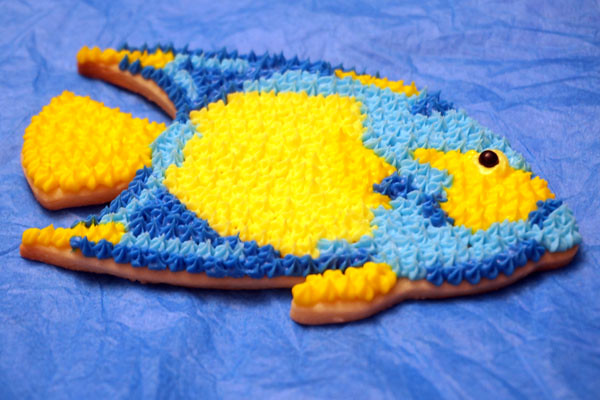
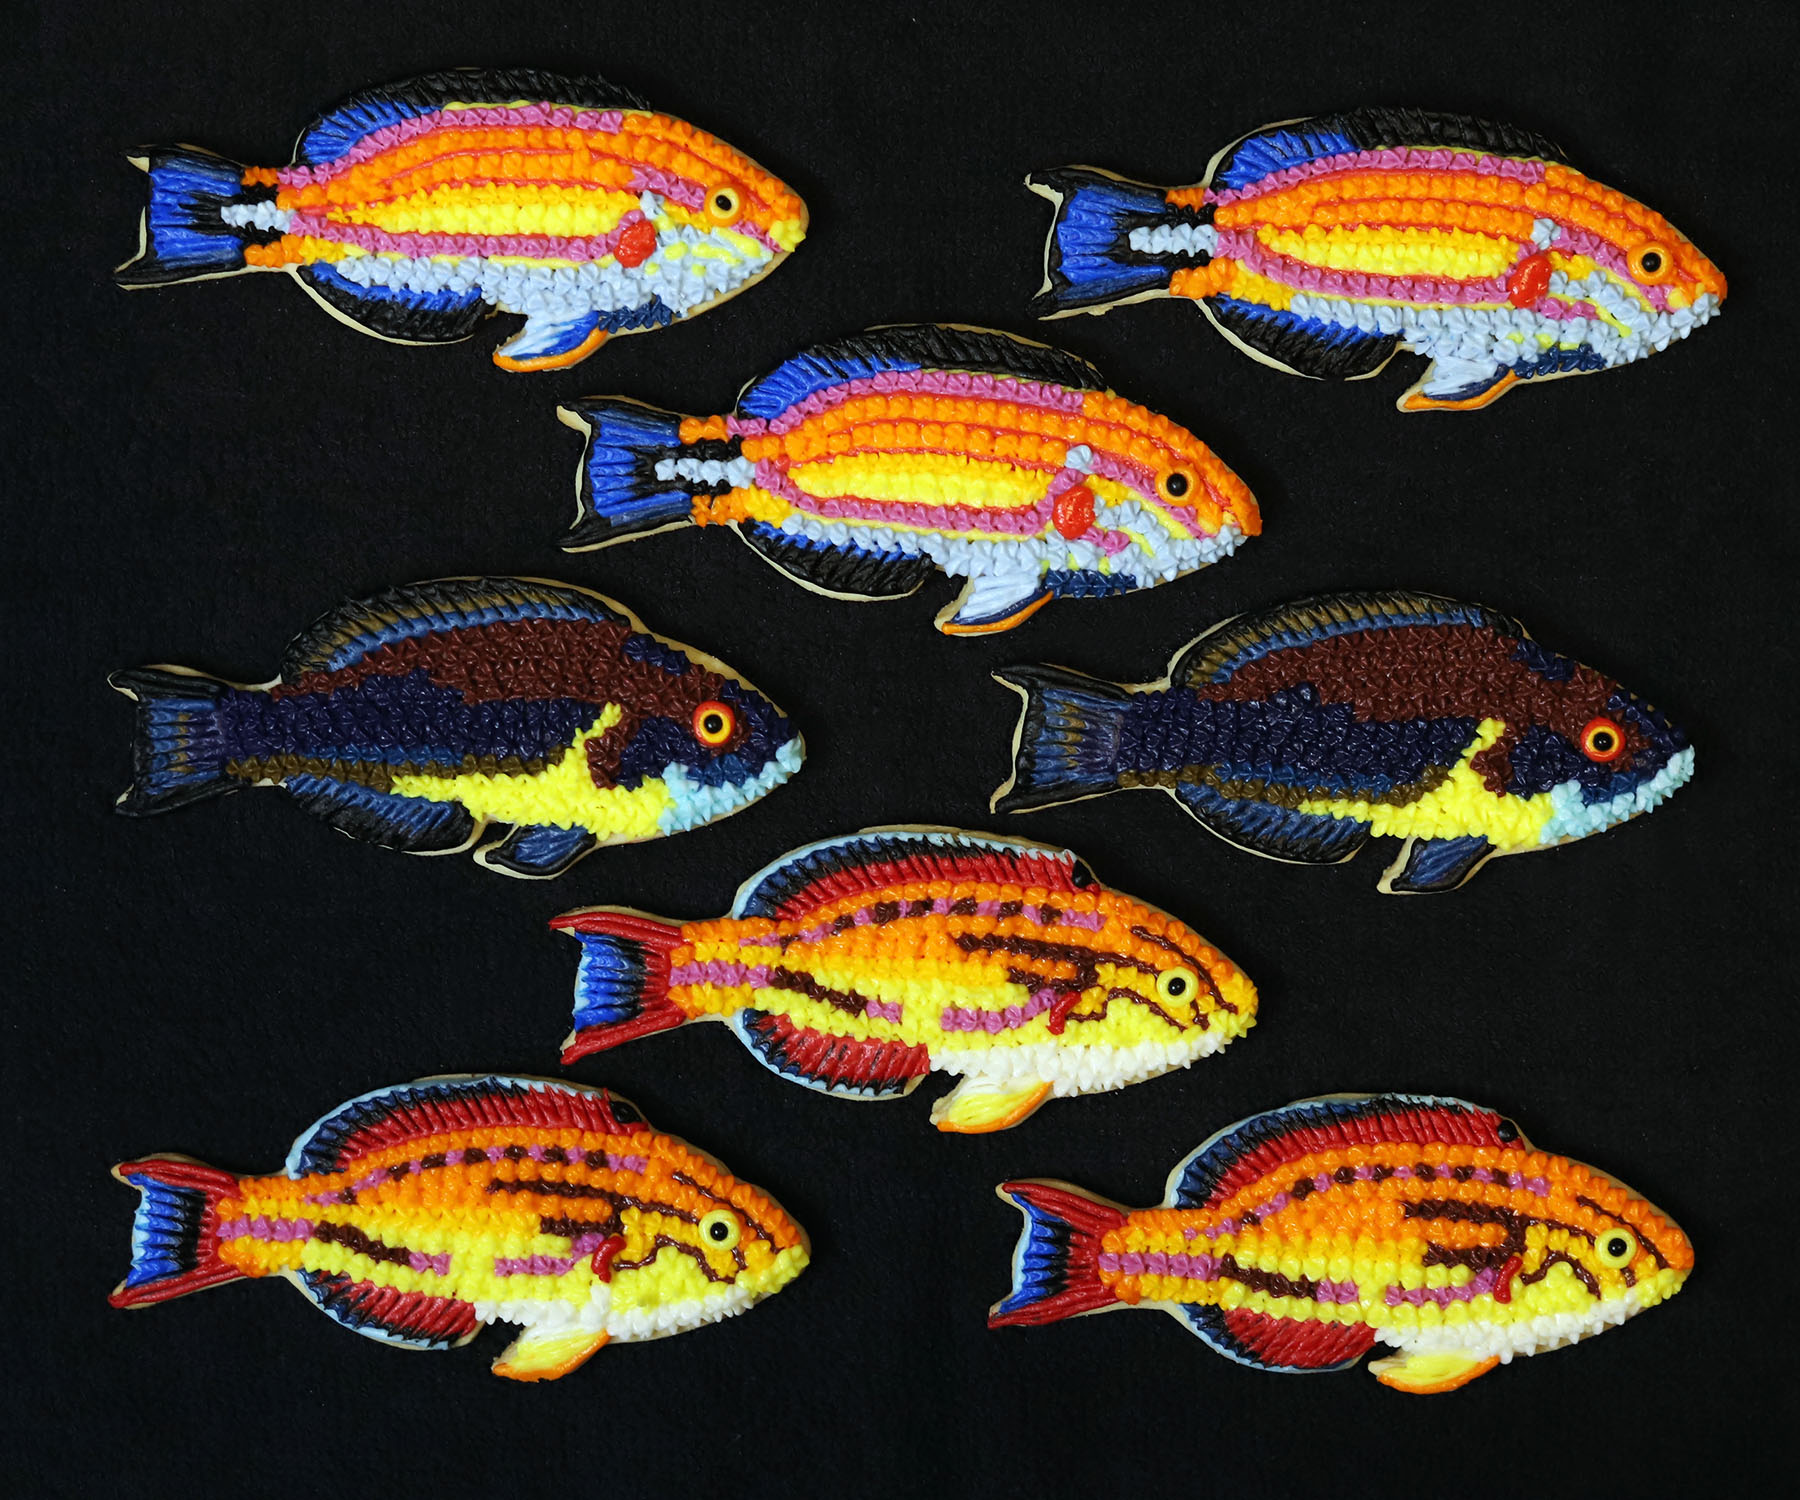
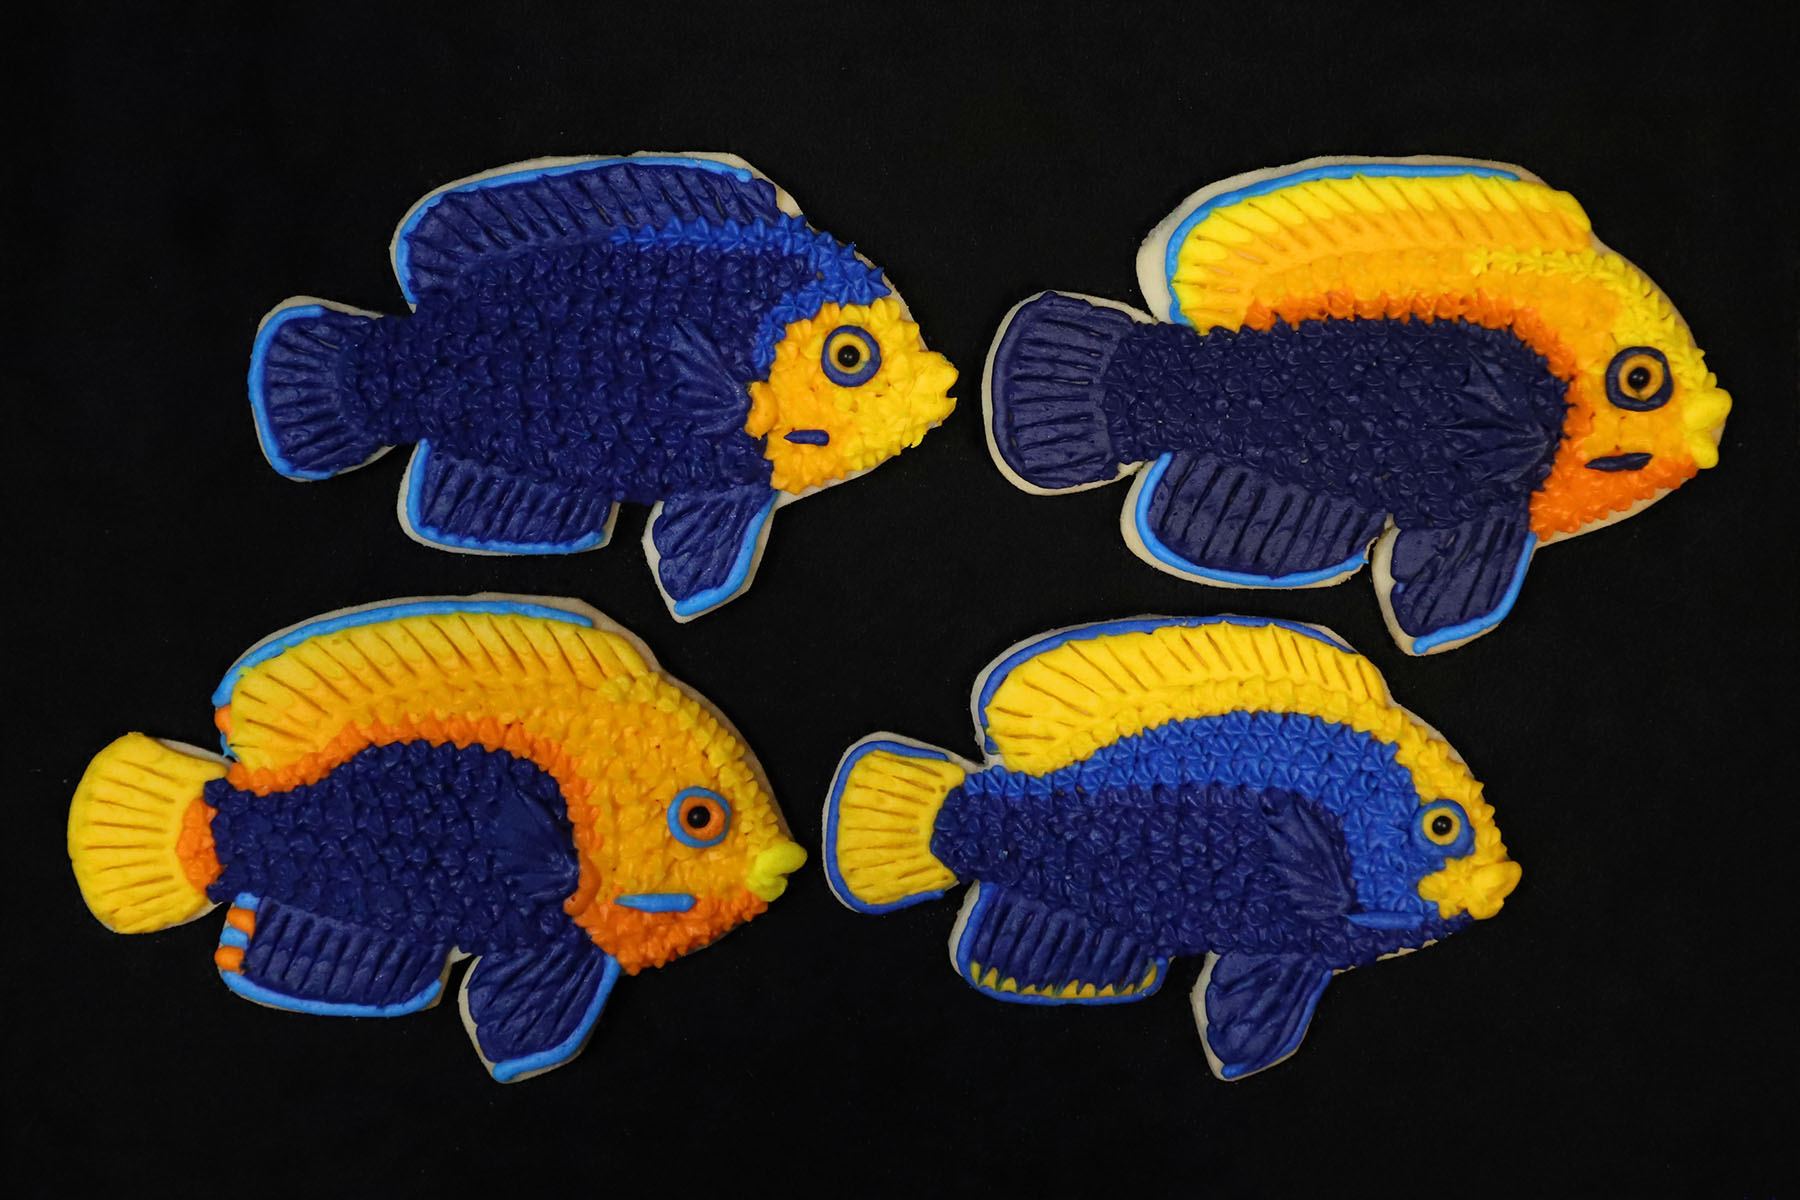
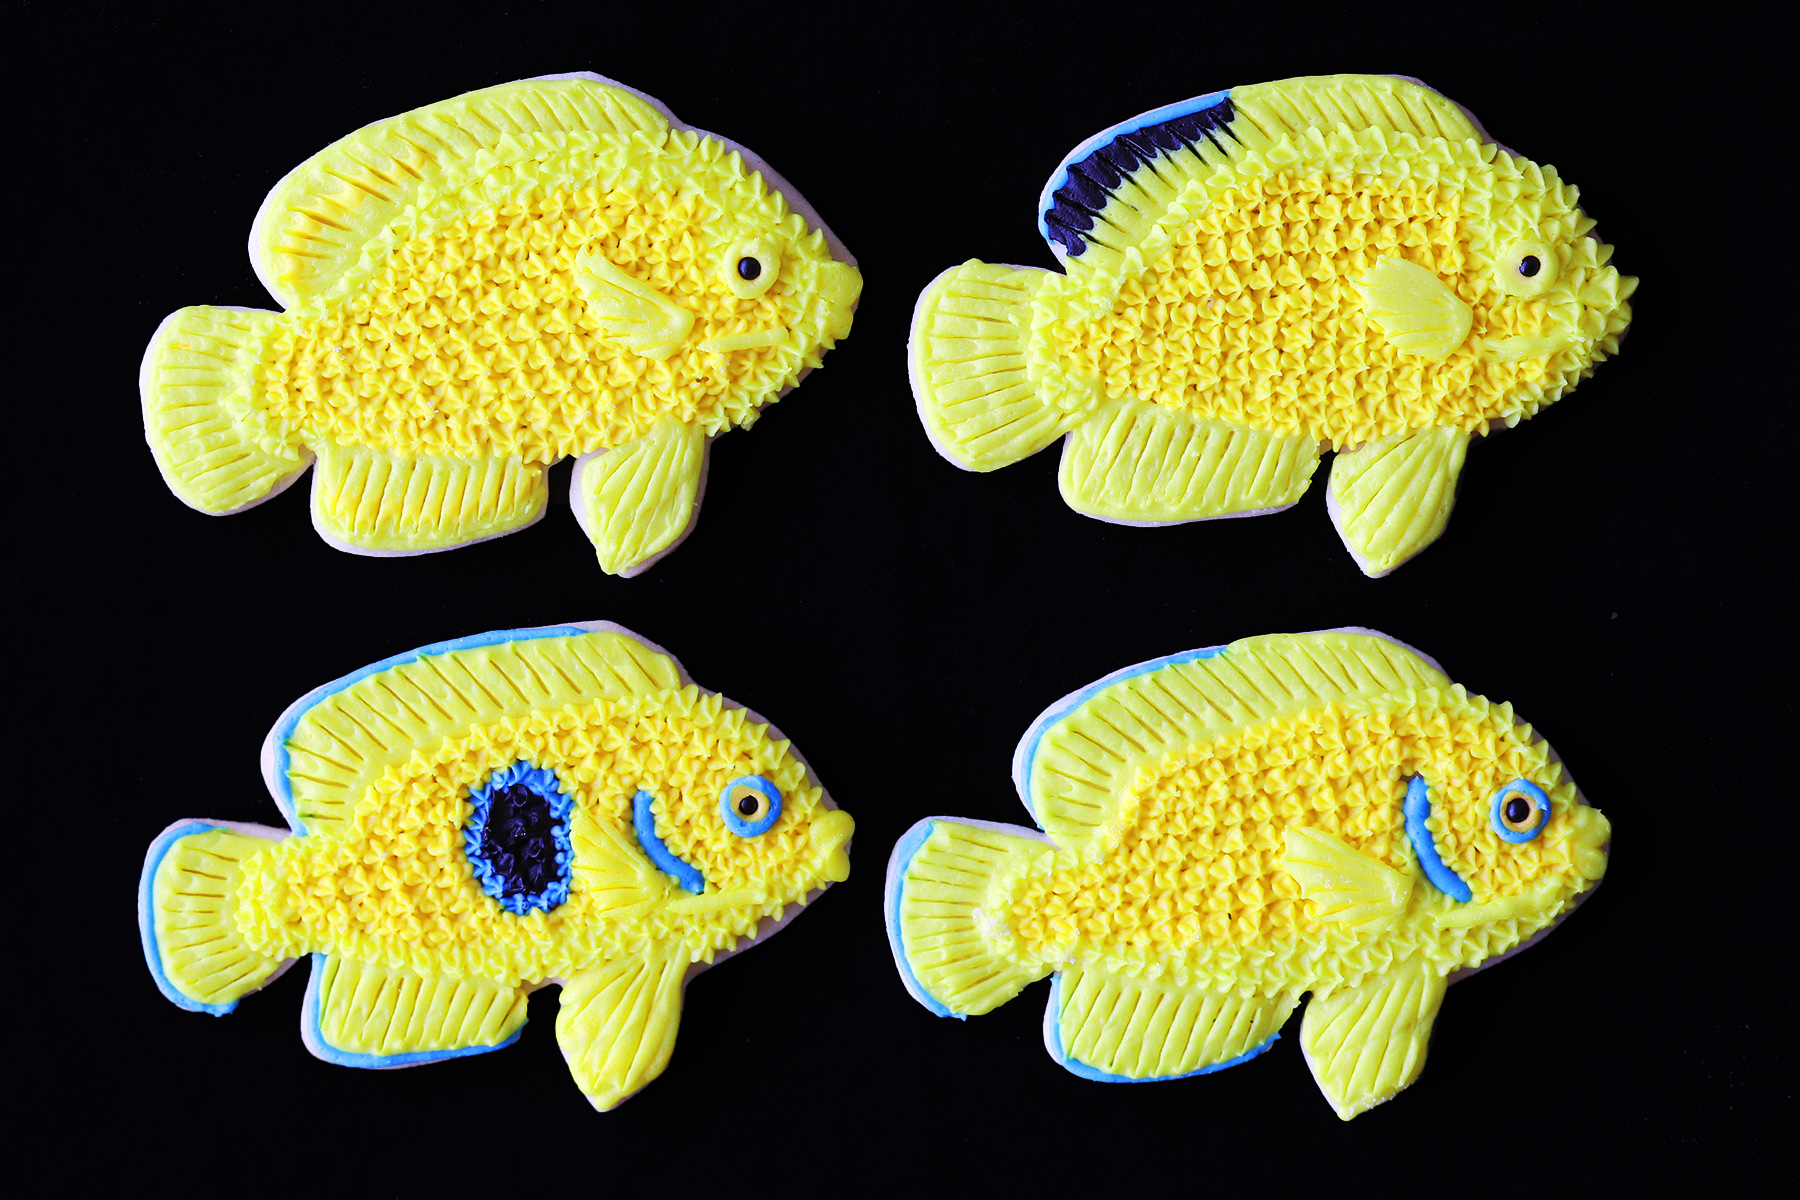
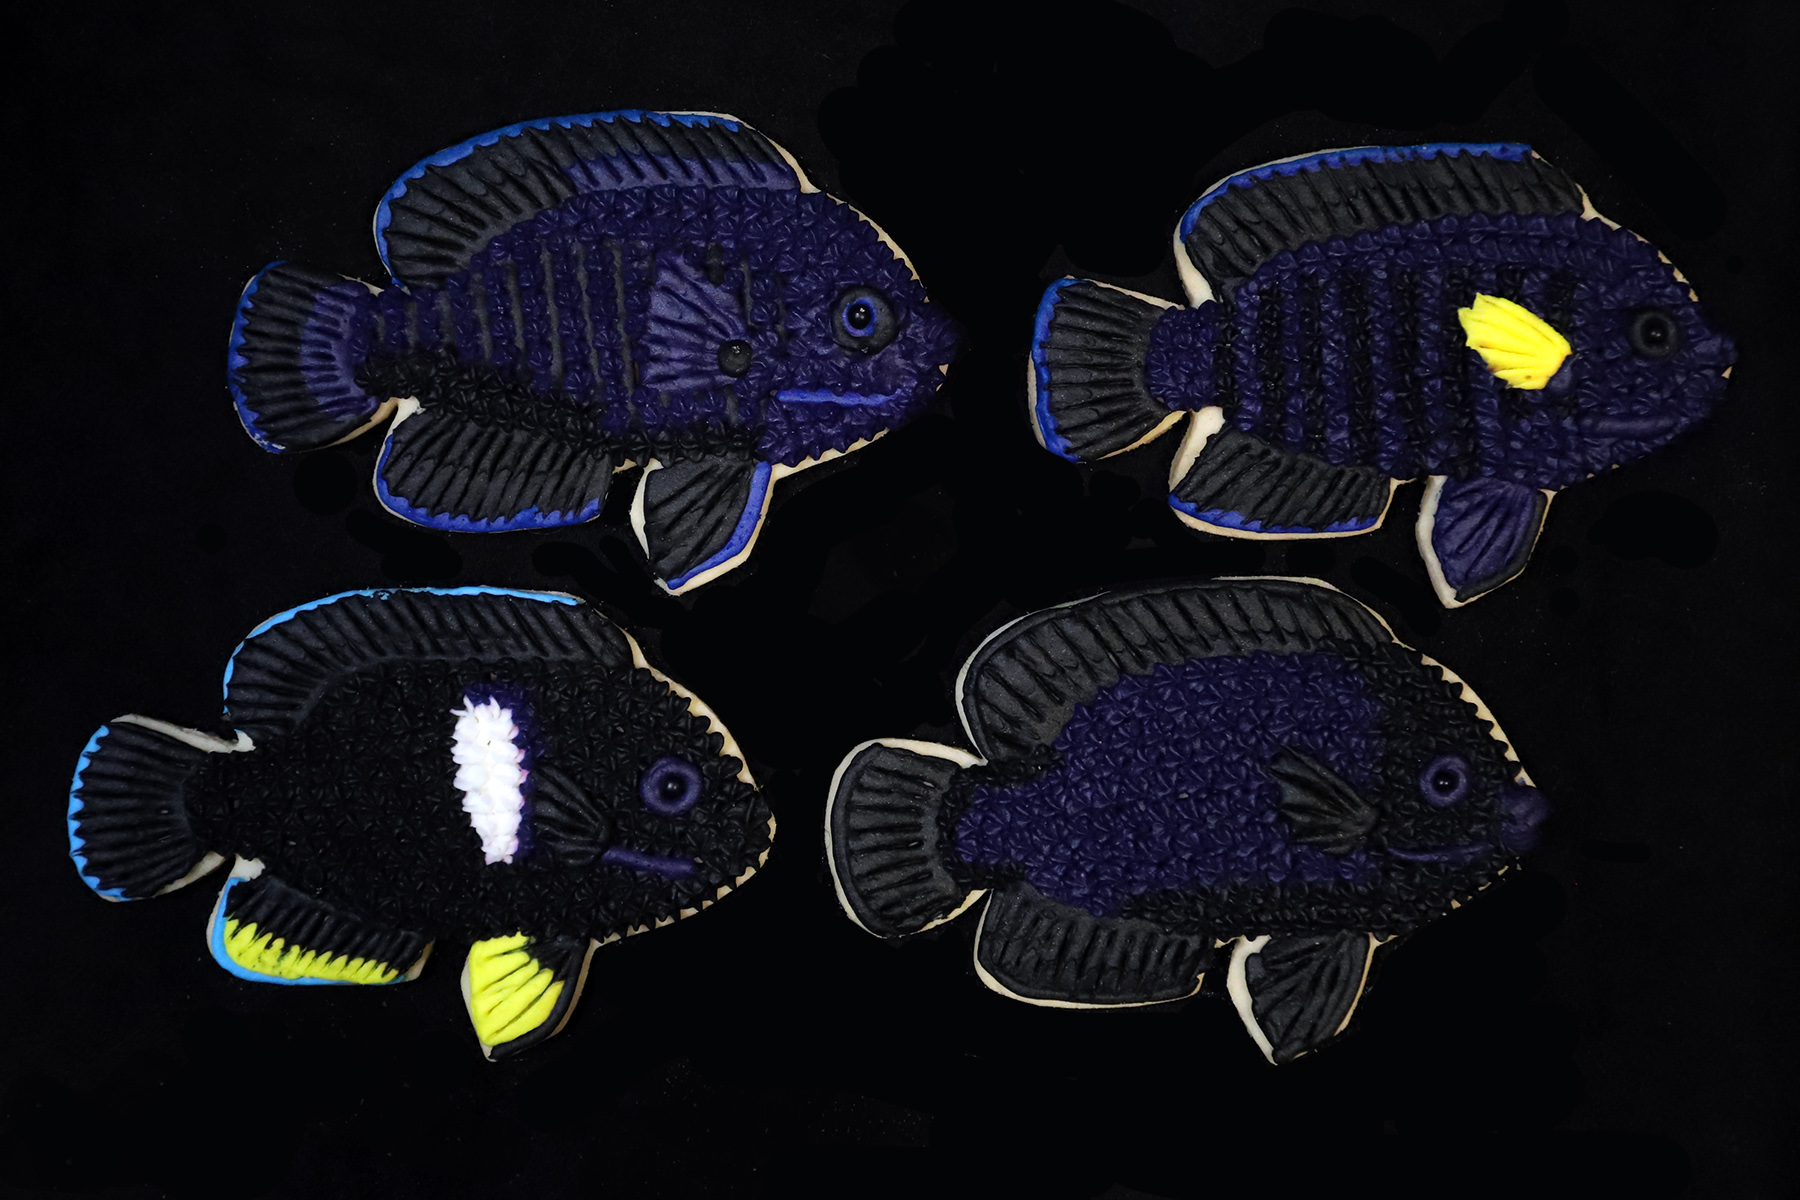
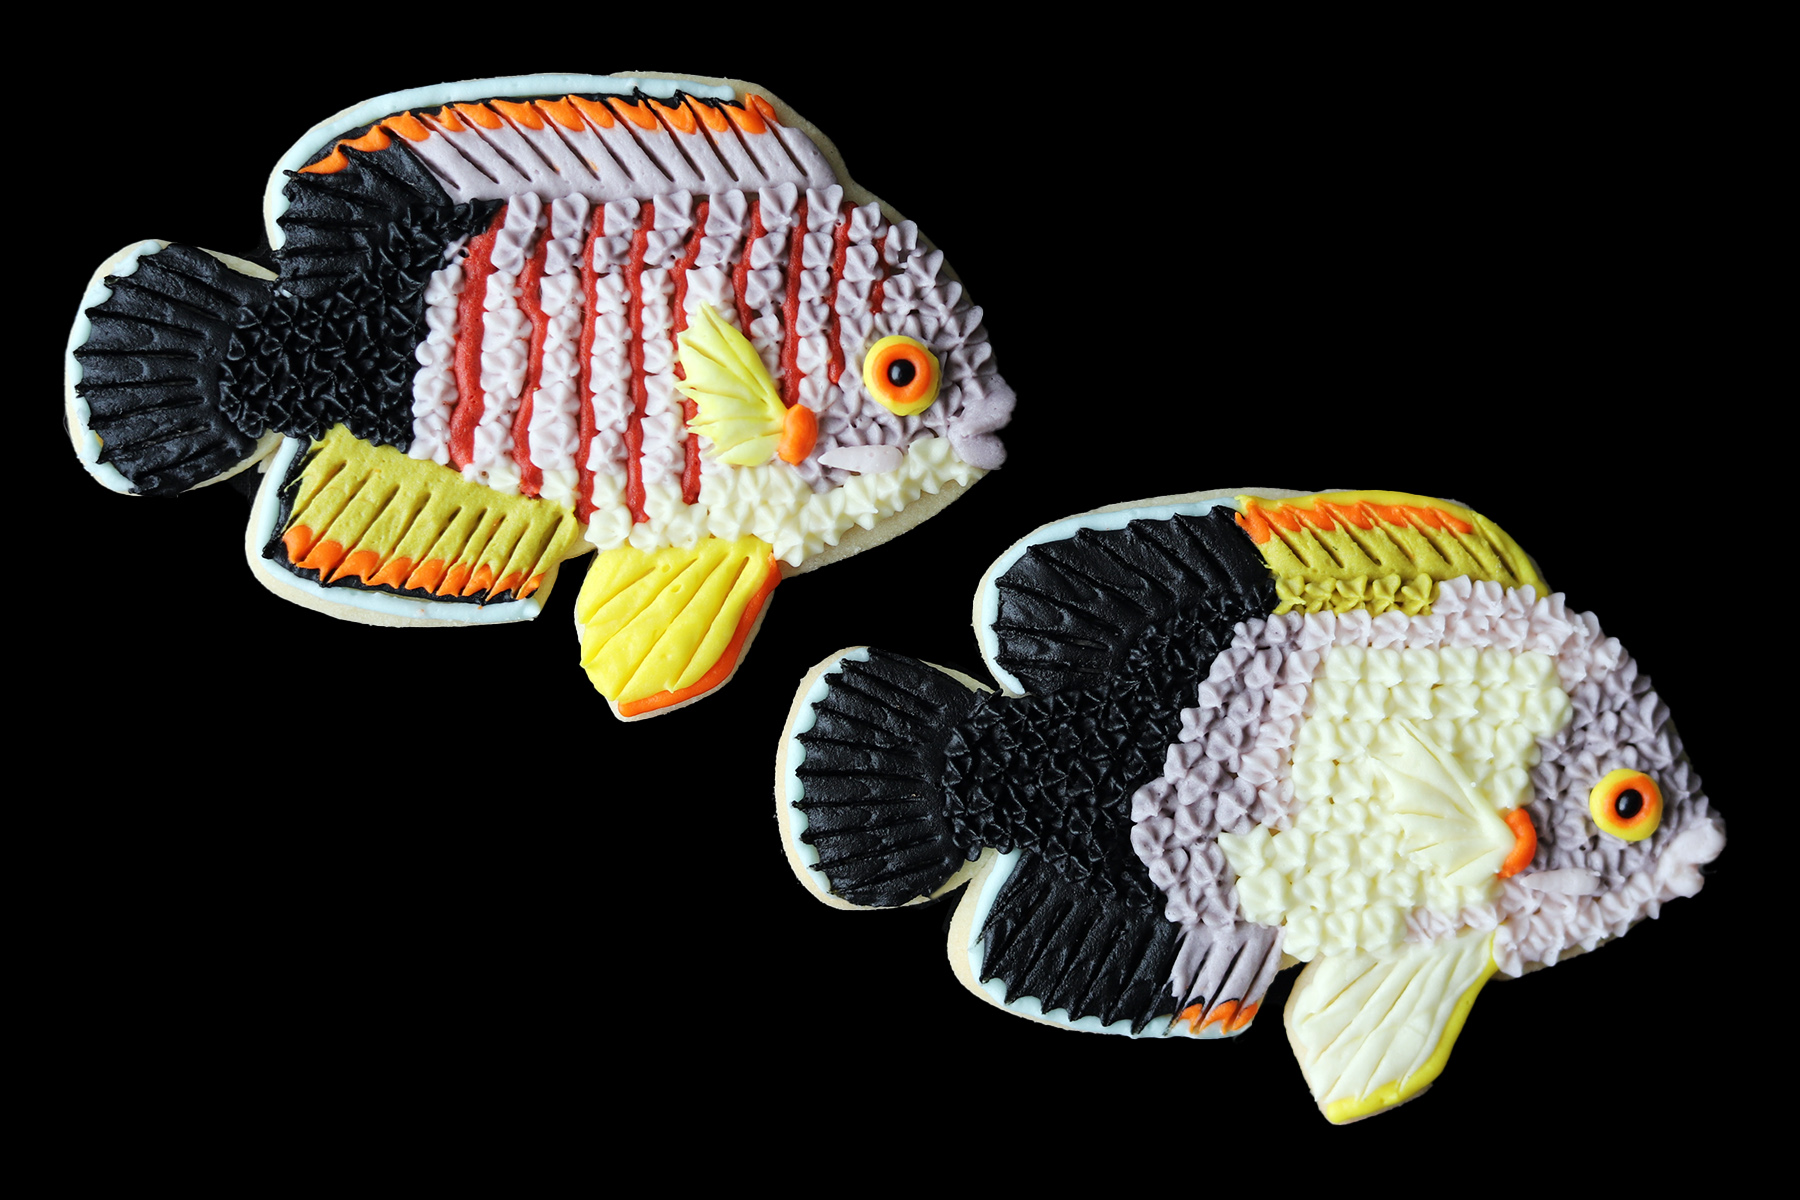
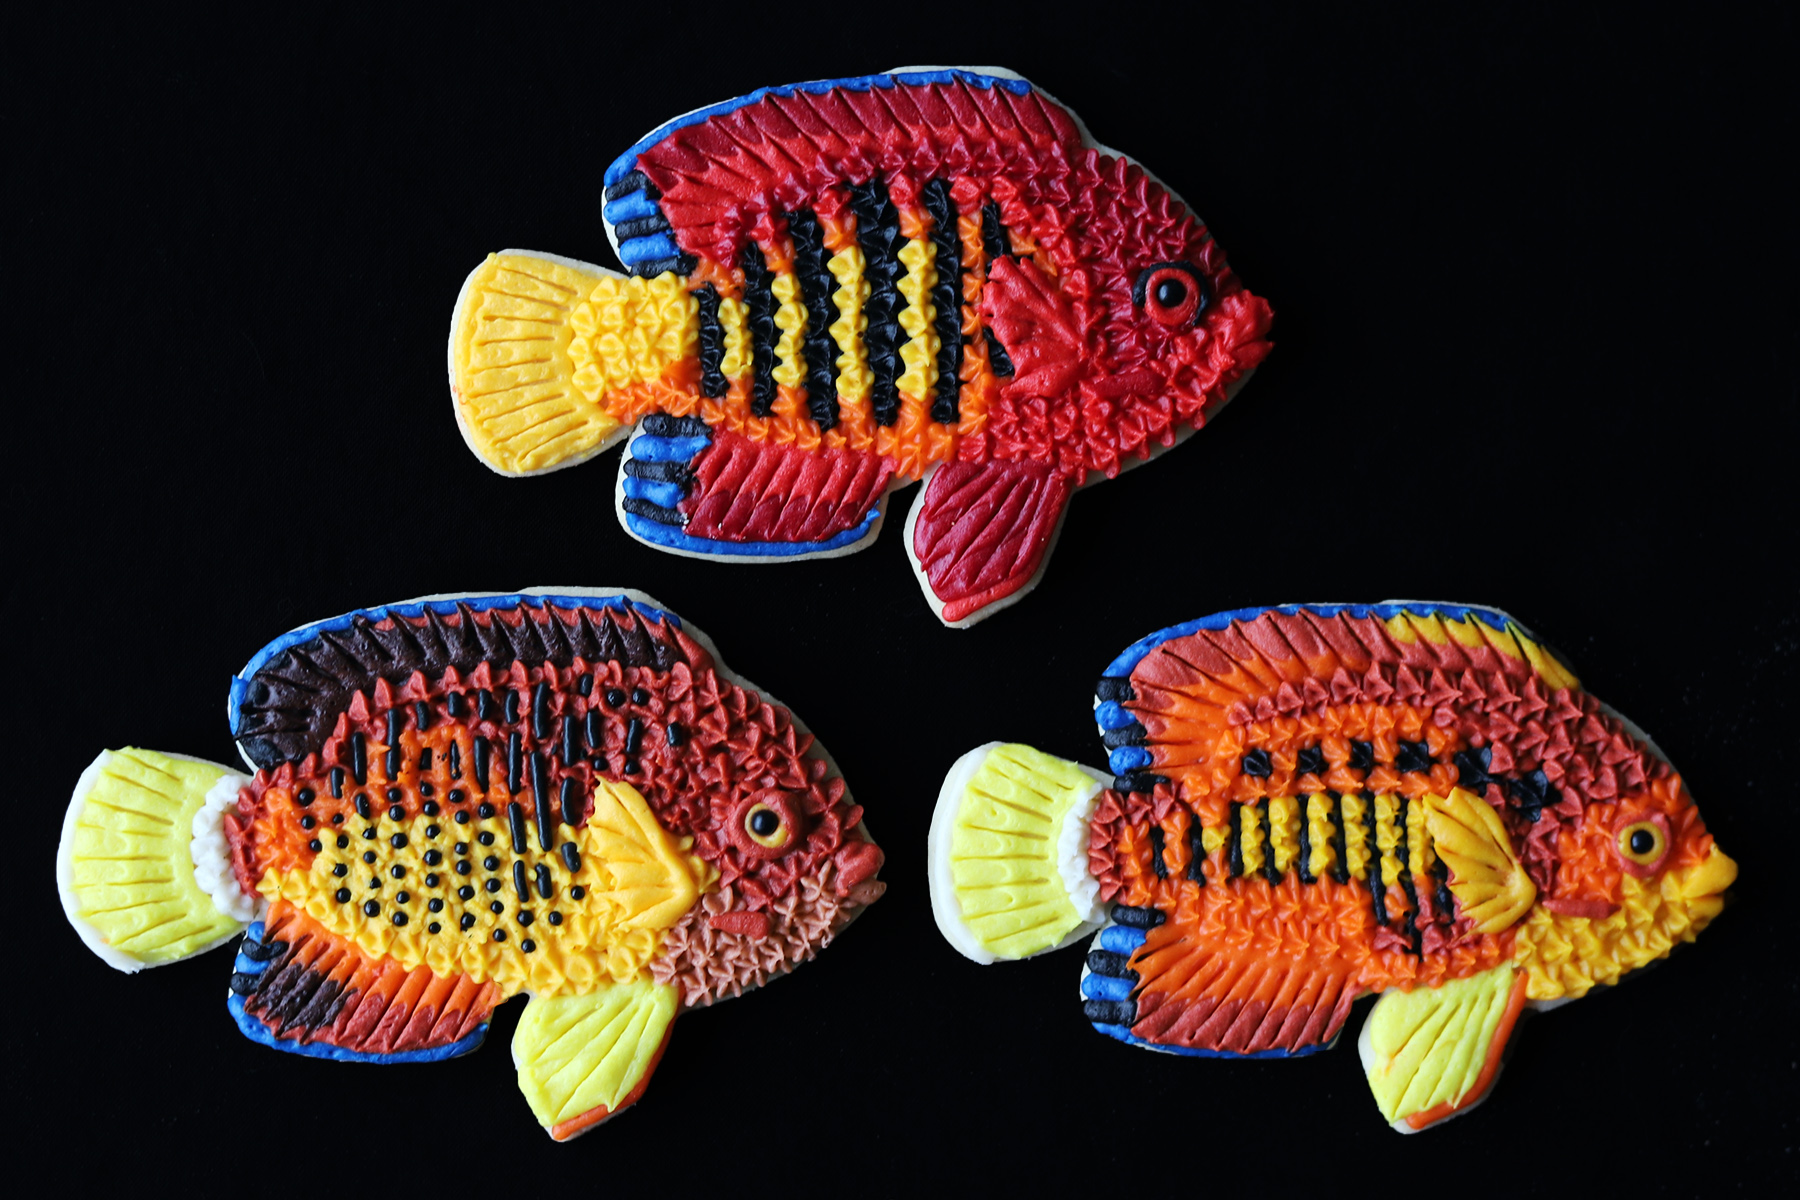
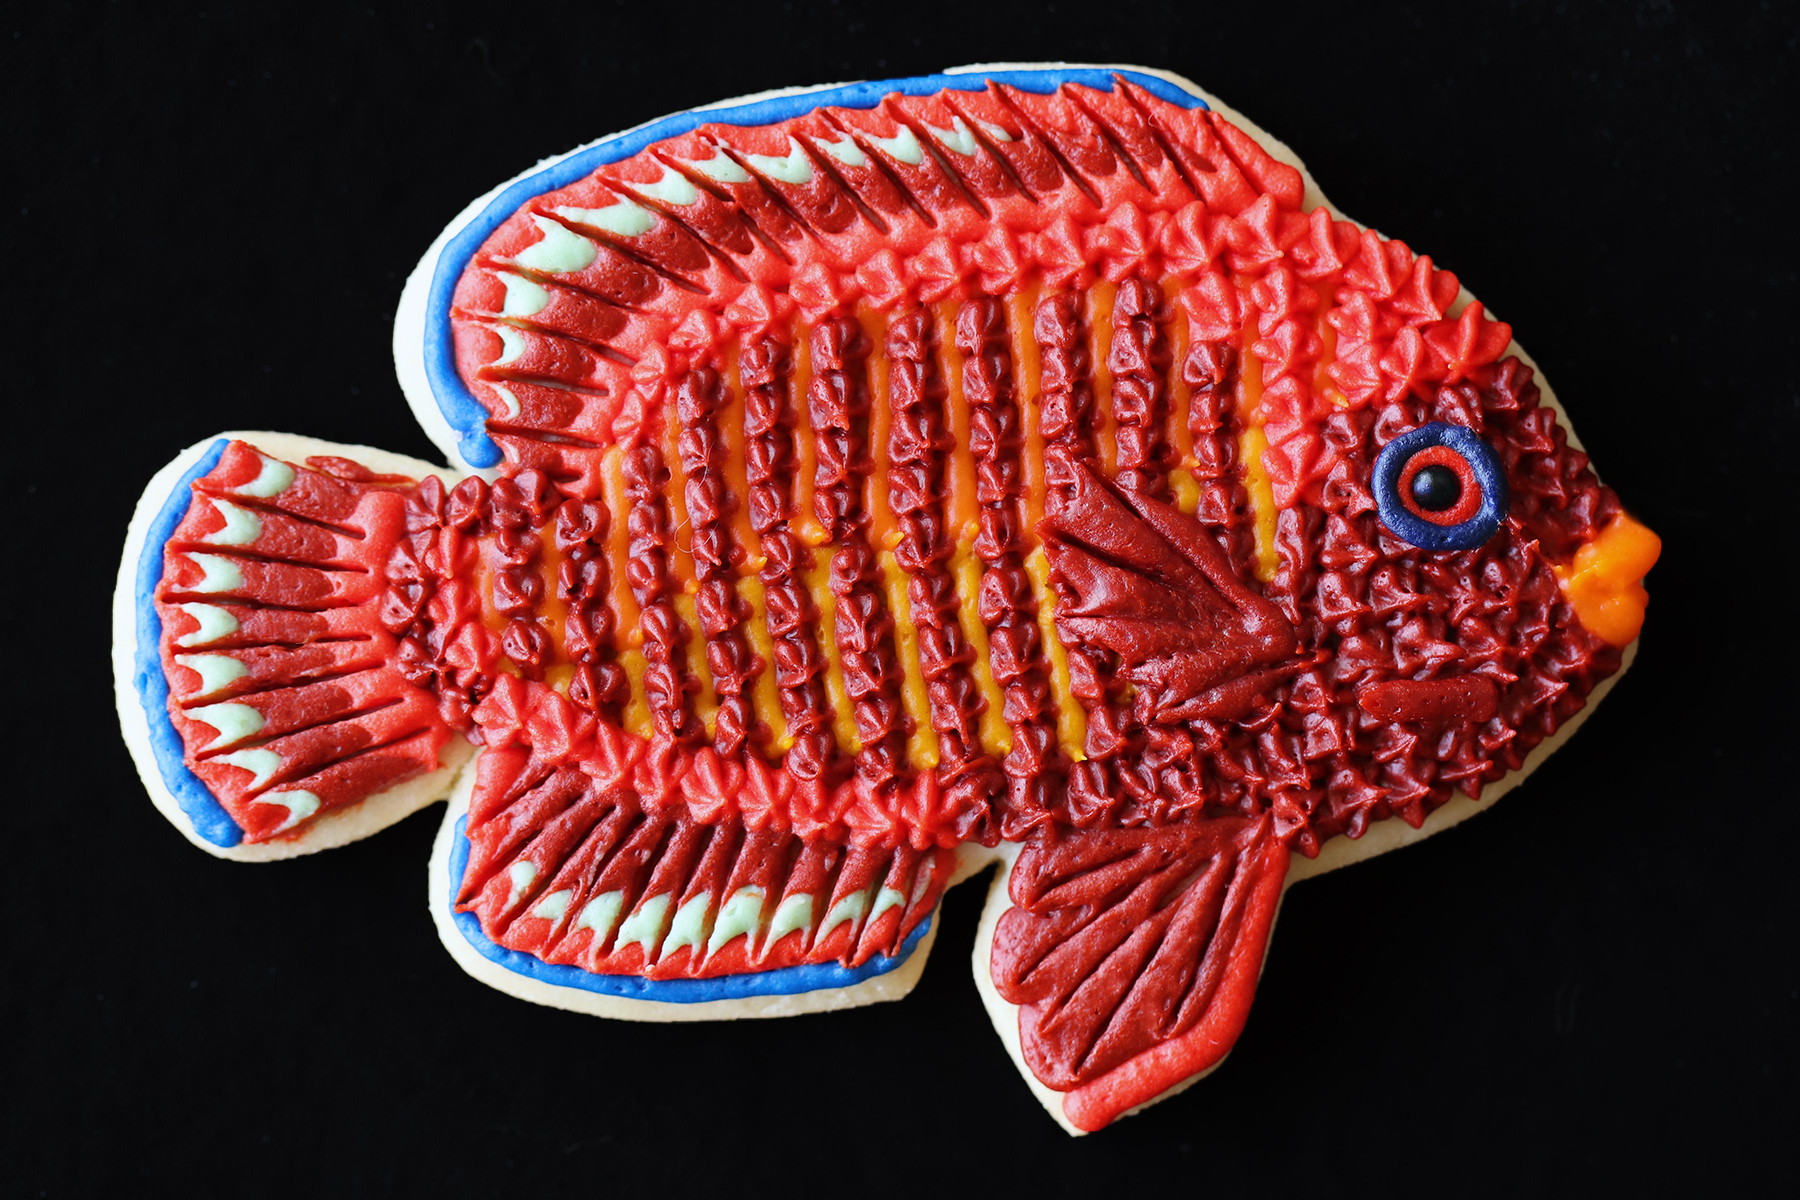
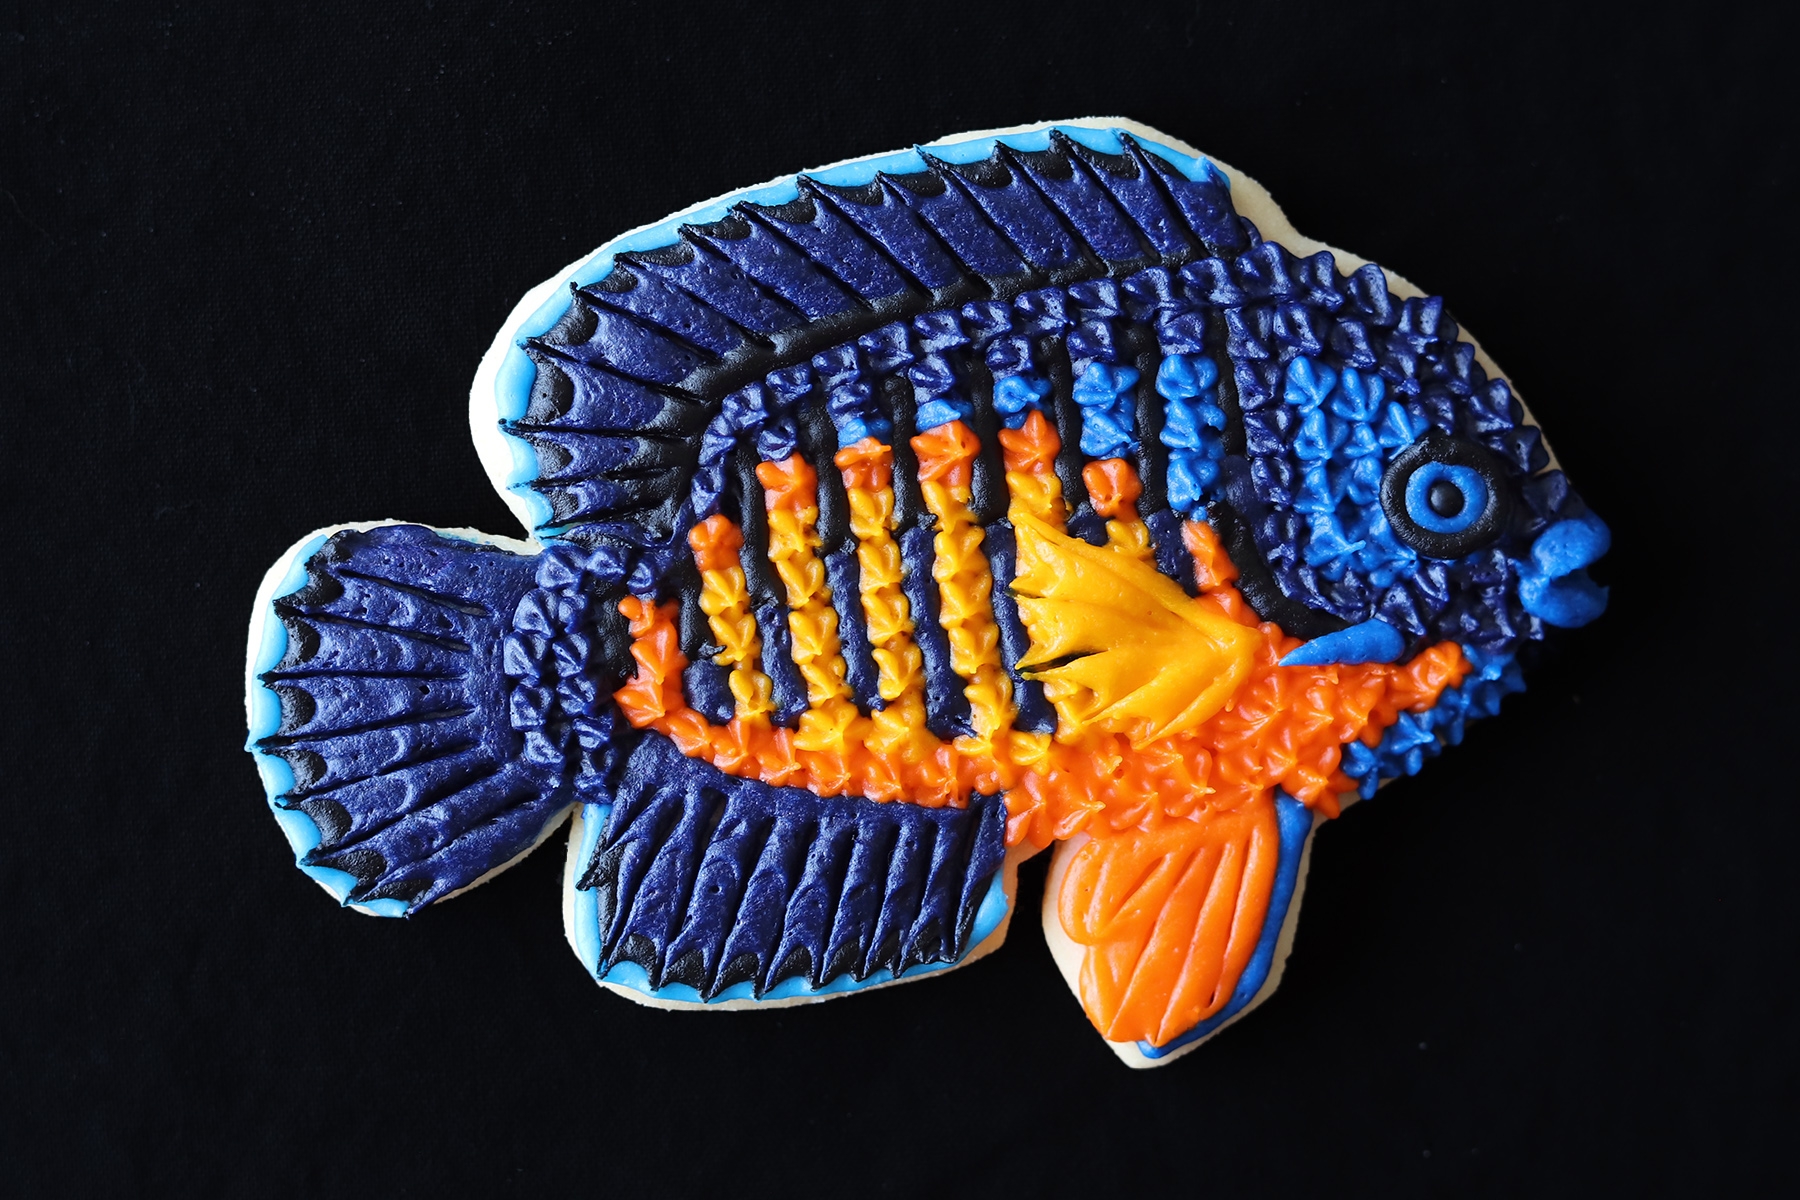
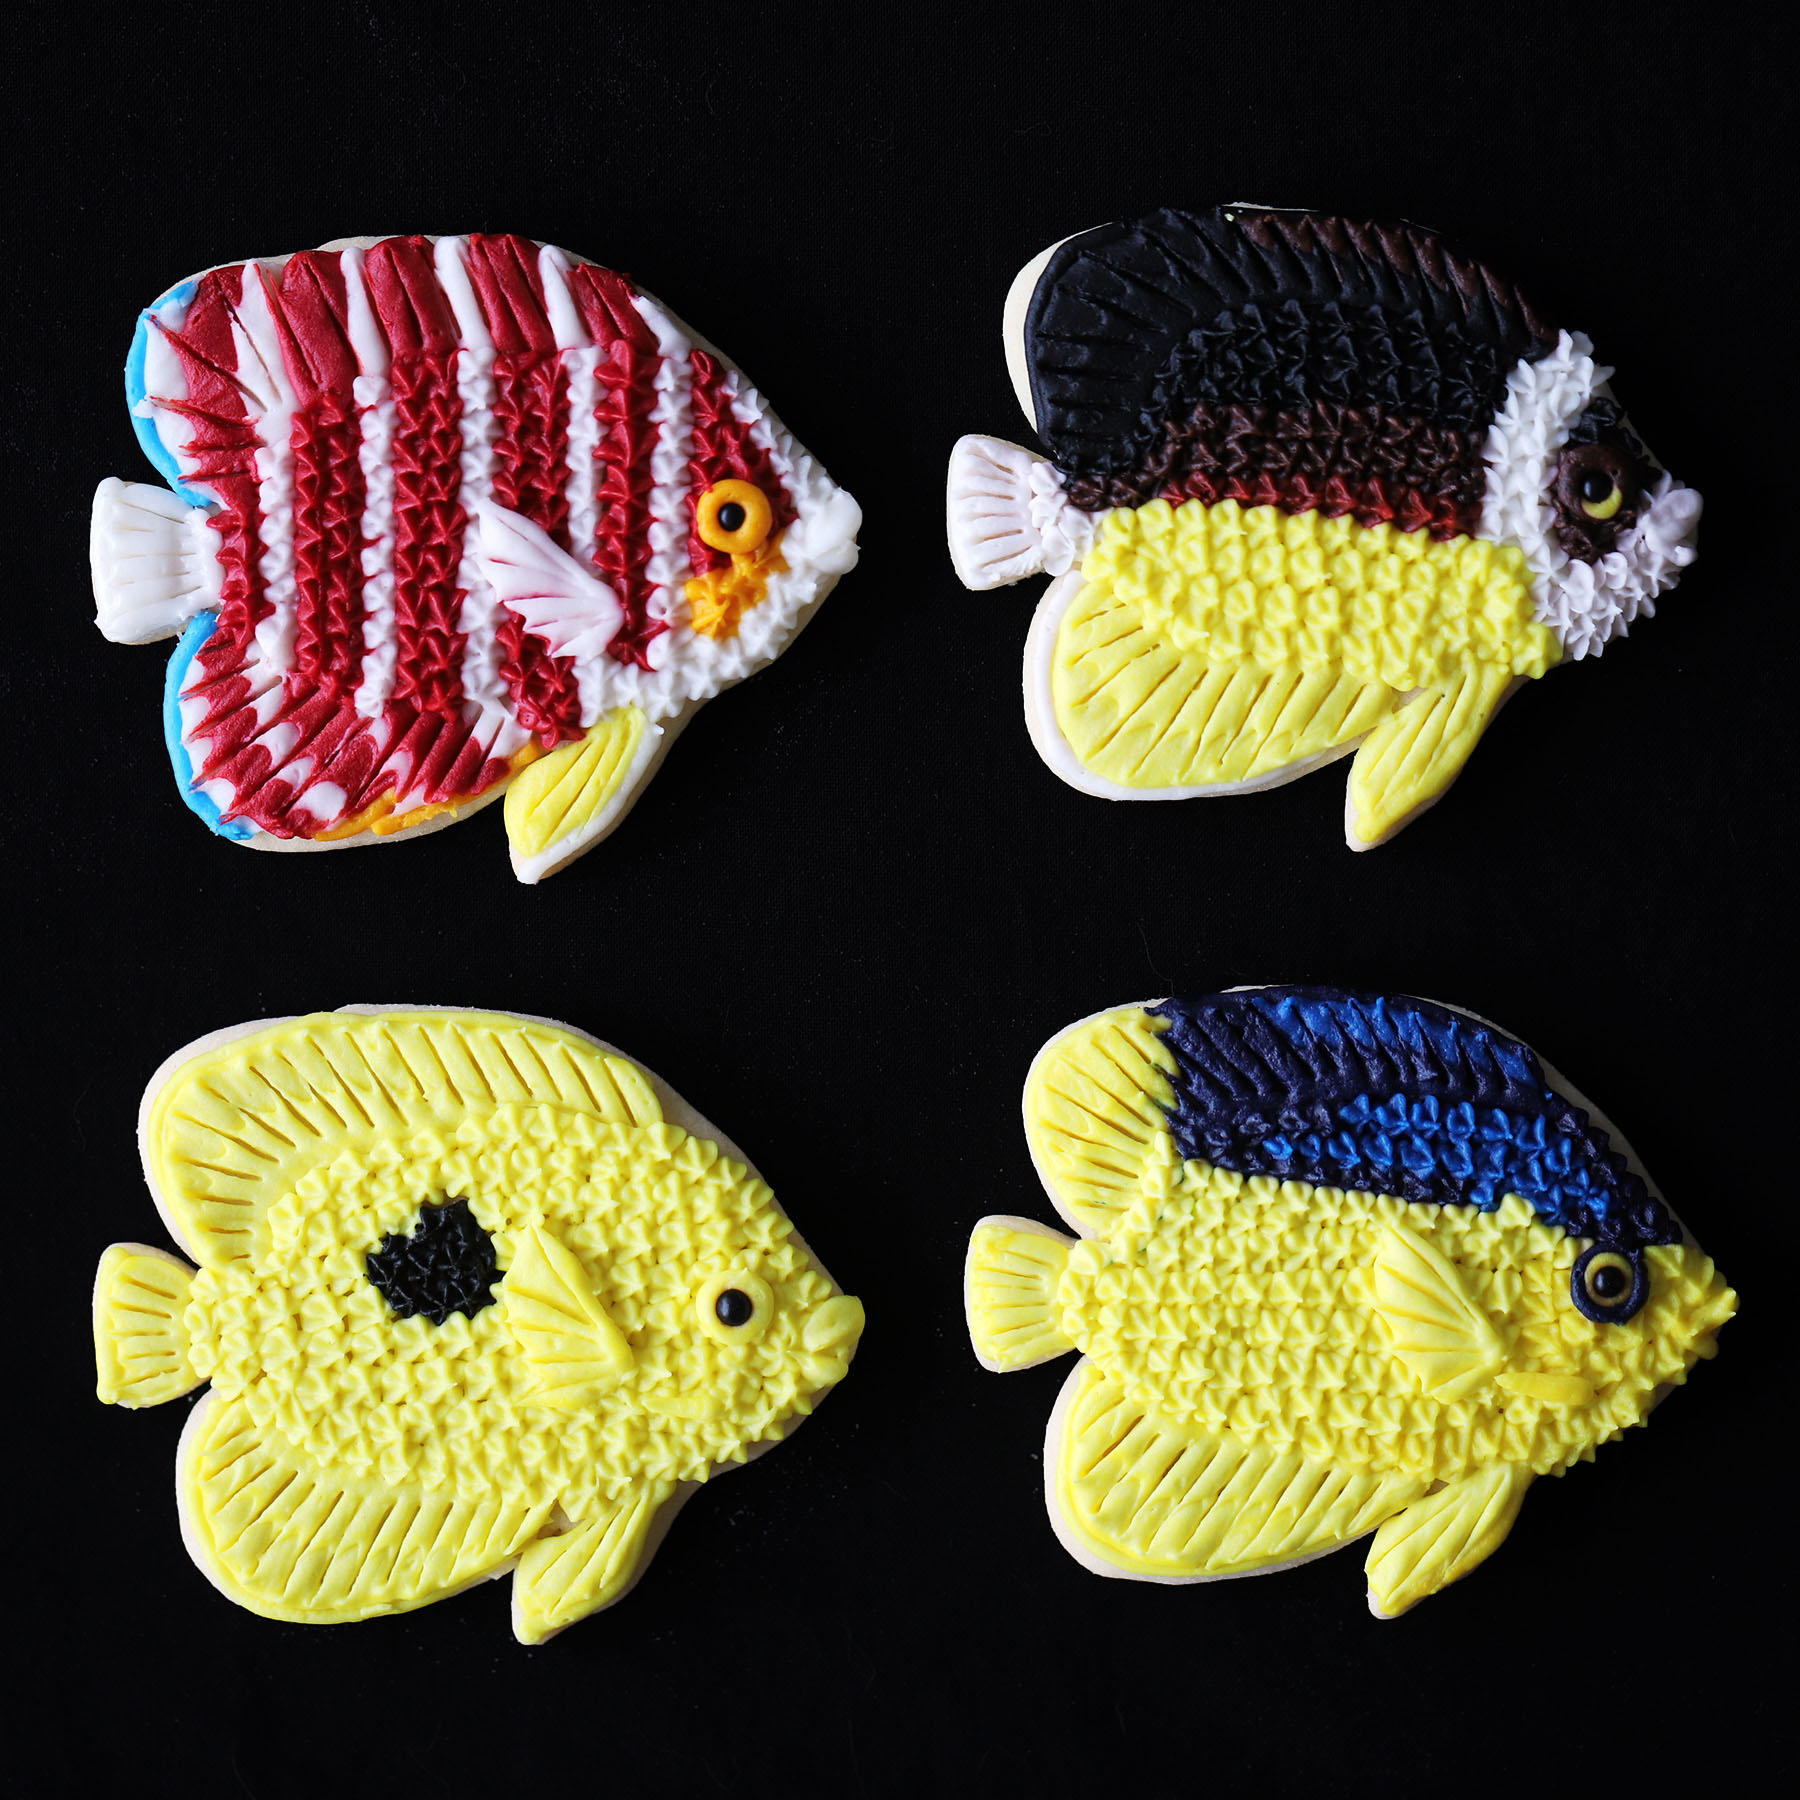
For this event, I decided to make dwarf angelfish cookies; the Centropyge and Paracentropyge.

211007 - CentropygeGroup - Argi.jpg


211007 - CentropygeGroup - Flavissima.jpg


211007 - CentropygeGroup - Nox.jpg


211014 - CentropygeGroup - Eibli.jpg


211013 - CentropygeGroup - Flame.jpg


211009 - CentropygeAurantia.jpg


211009 - CentropygeBispinosa.jpg


211007 - ParacentropygeGroup.jpg


In addition to all of these dwarf angelfish cookies, I did make a small batch of special cookies for a friend of mine. She has been a great promoter and supporter of my fish cookies for the past couple of years, but she had never had the opportunity to enjoy a fish cookie herself.
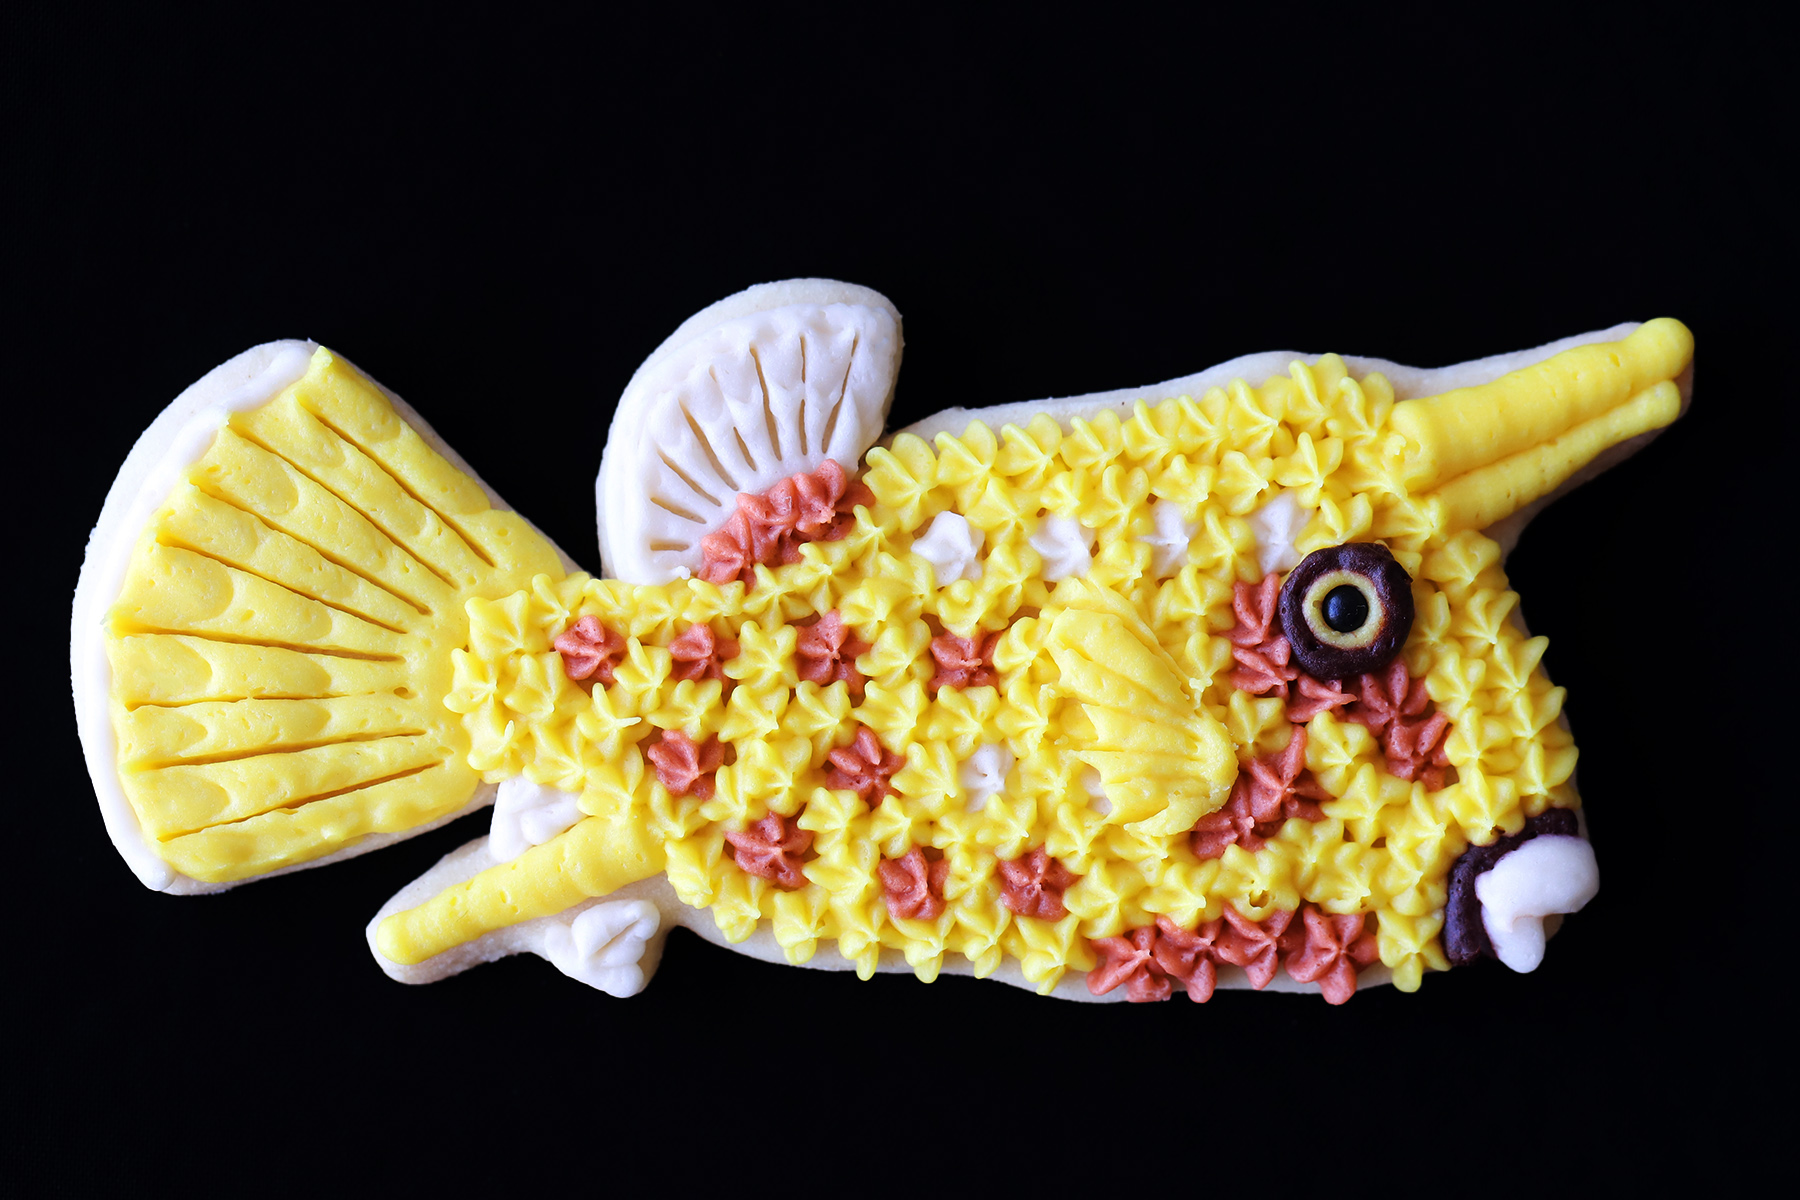
So I surprised her with some fish cookies of her "bestest" fish, Frank the Longhorn Cowfish.

211009 - CowfishCookie.jpg


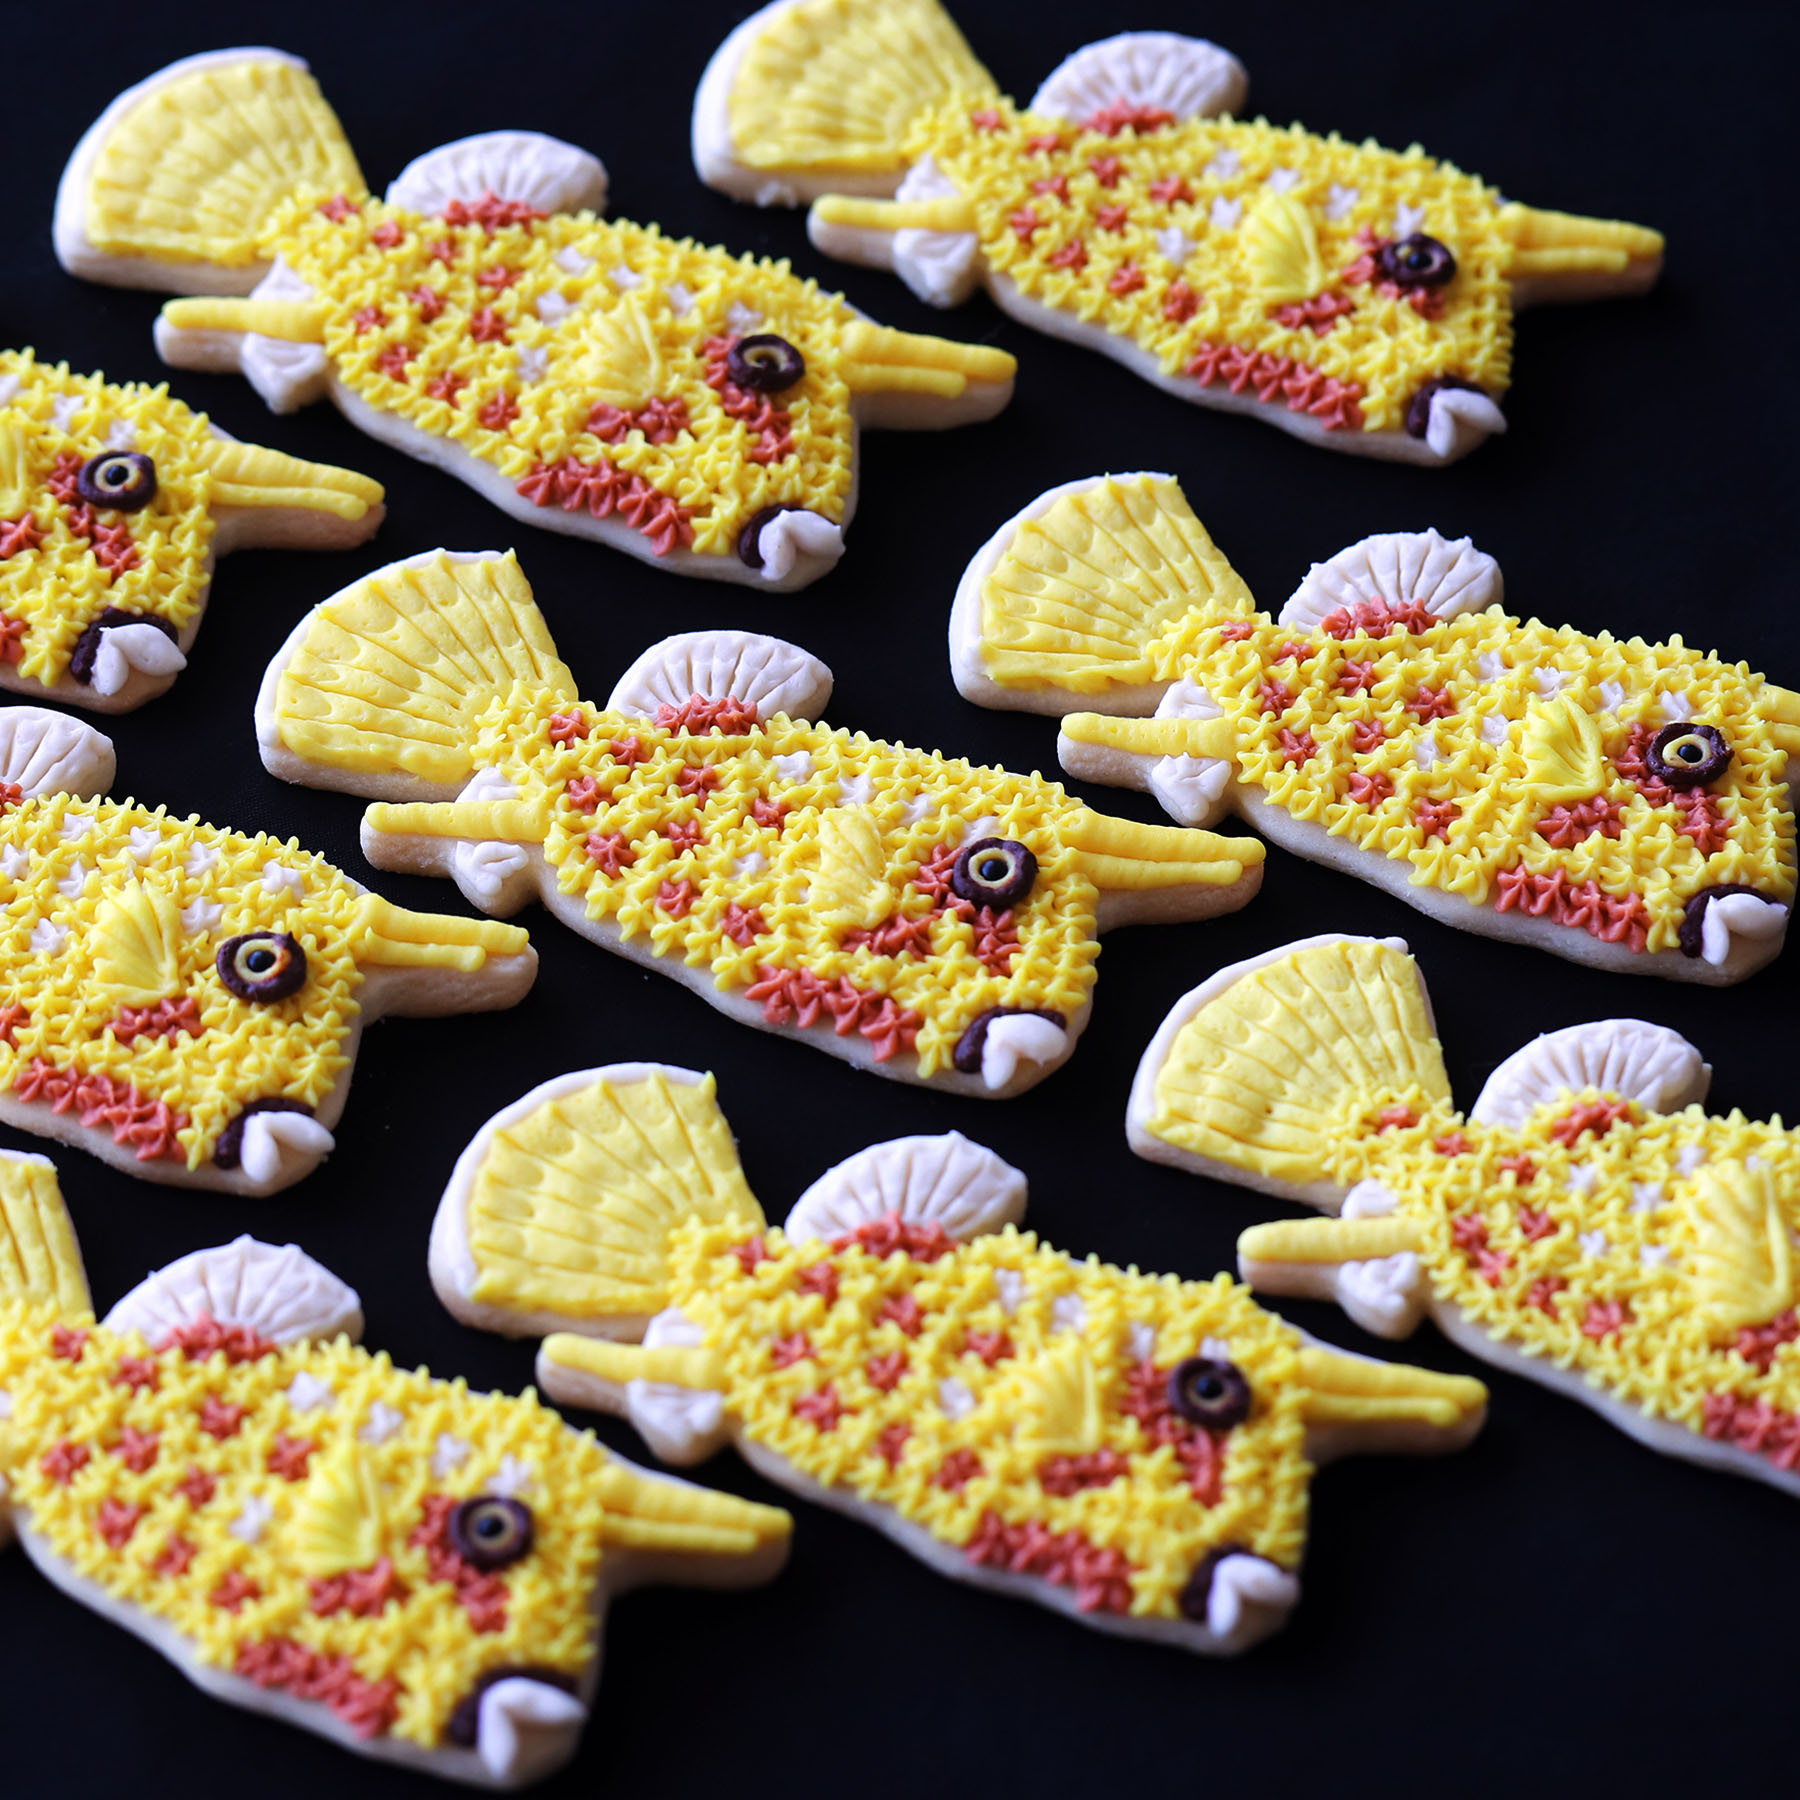
In fact, there was a herd of Frank the Cowfish cookies!

211009 - CowfishHerd2b.jpg


Coming up next: ???? We'll just have to wait and see.
 
Rating - 0%
0   0   0
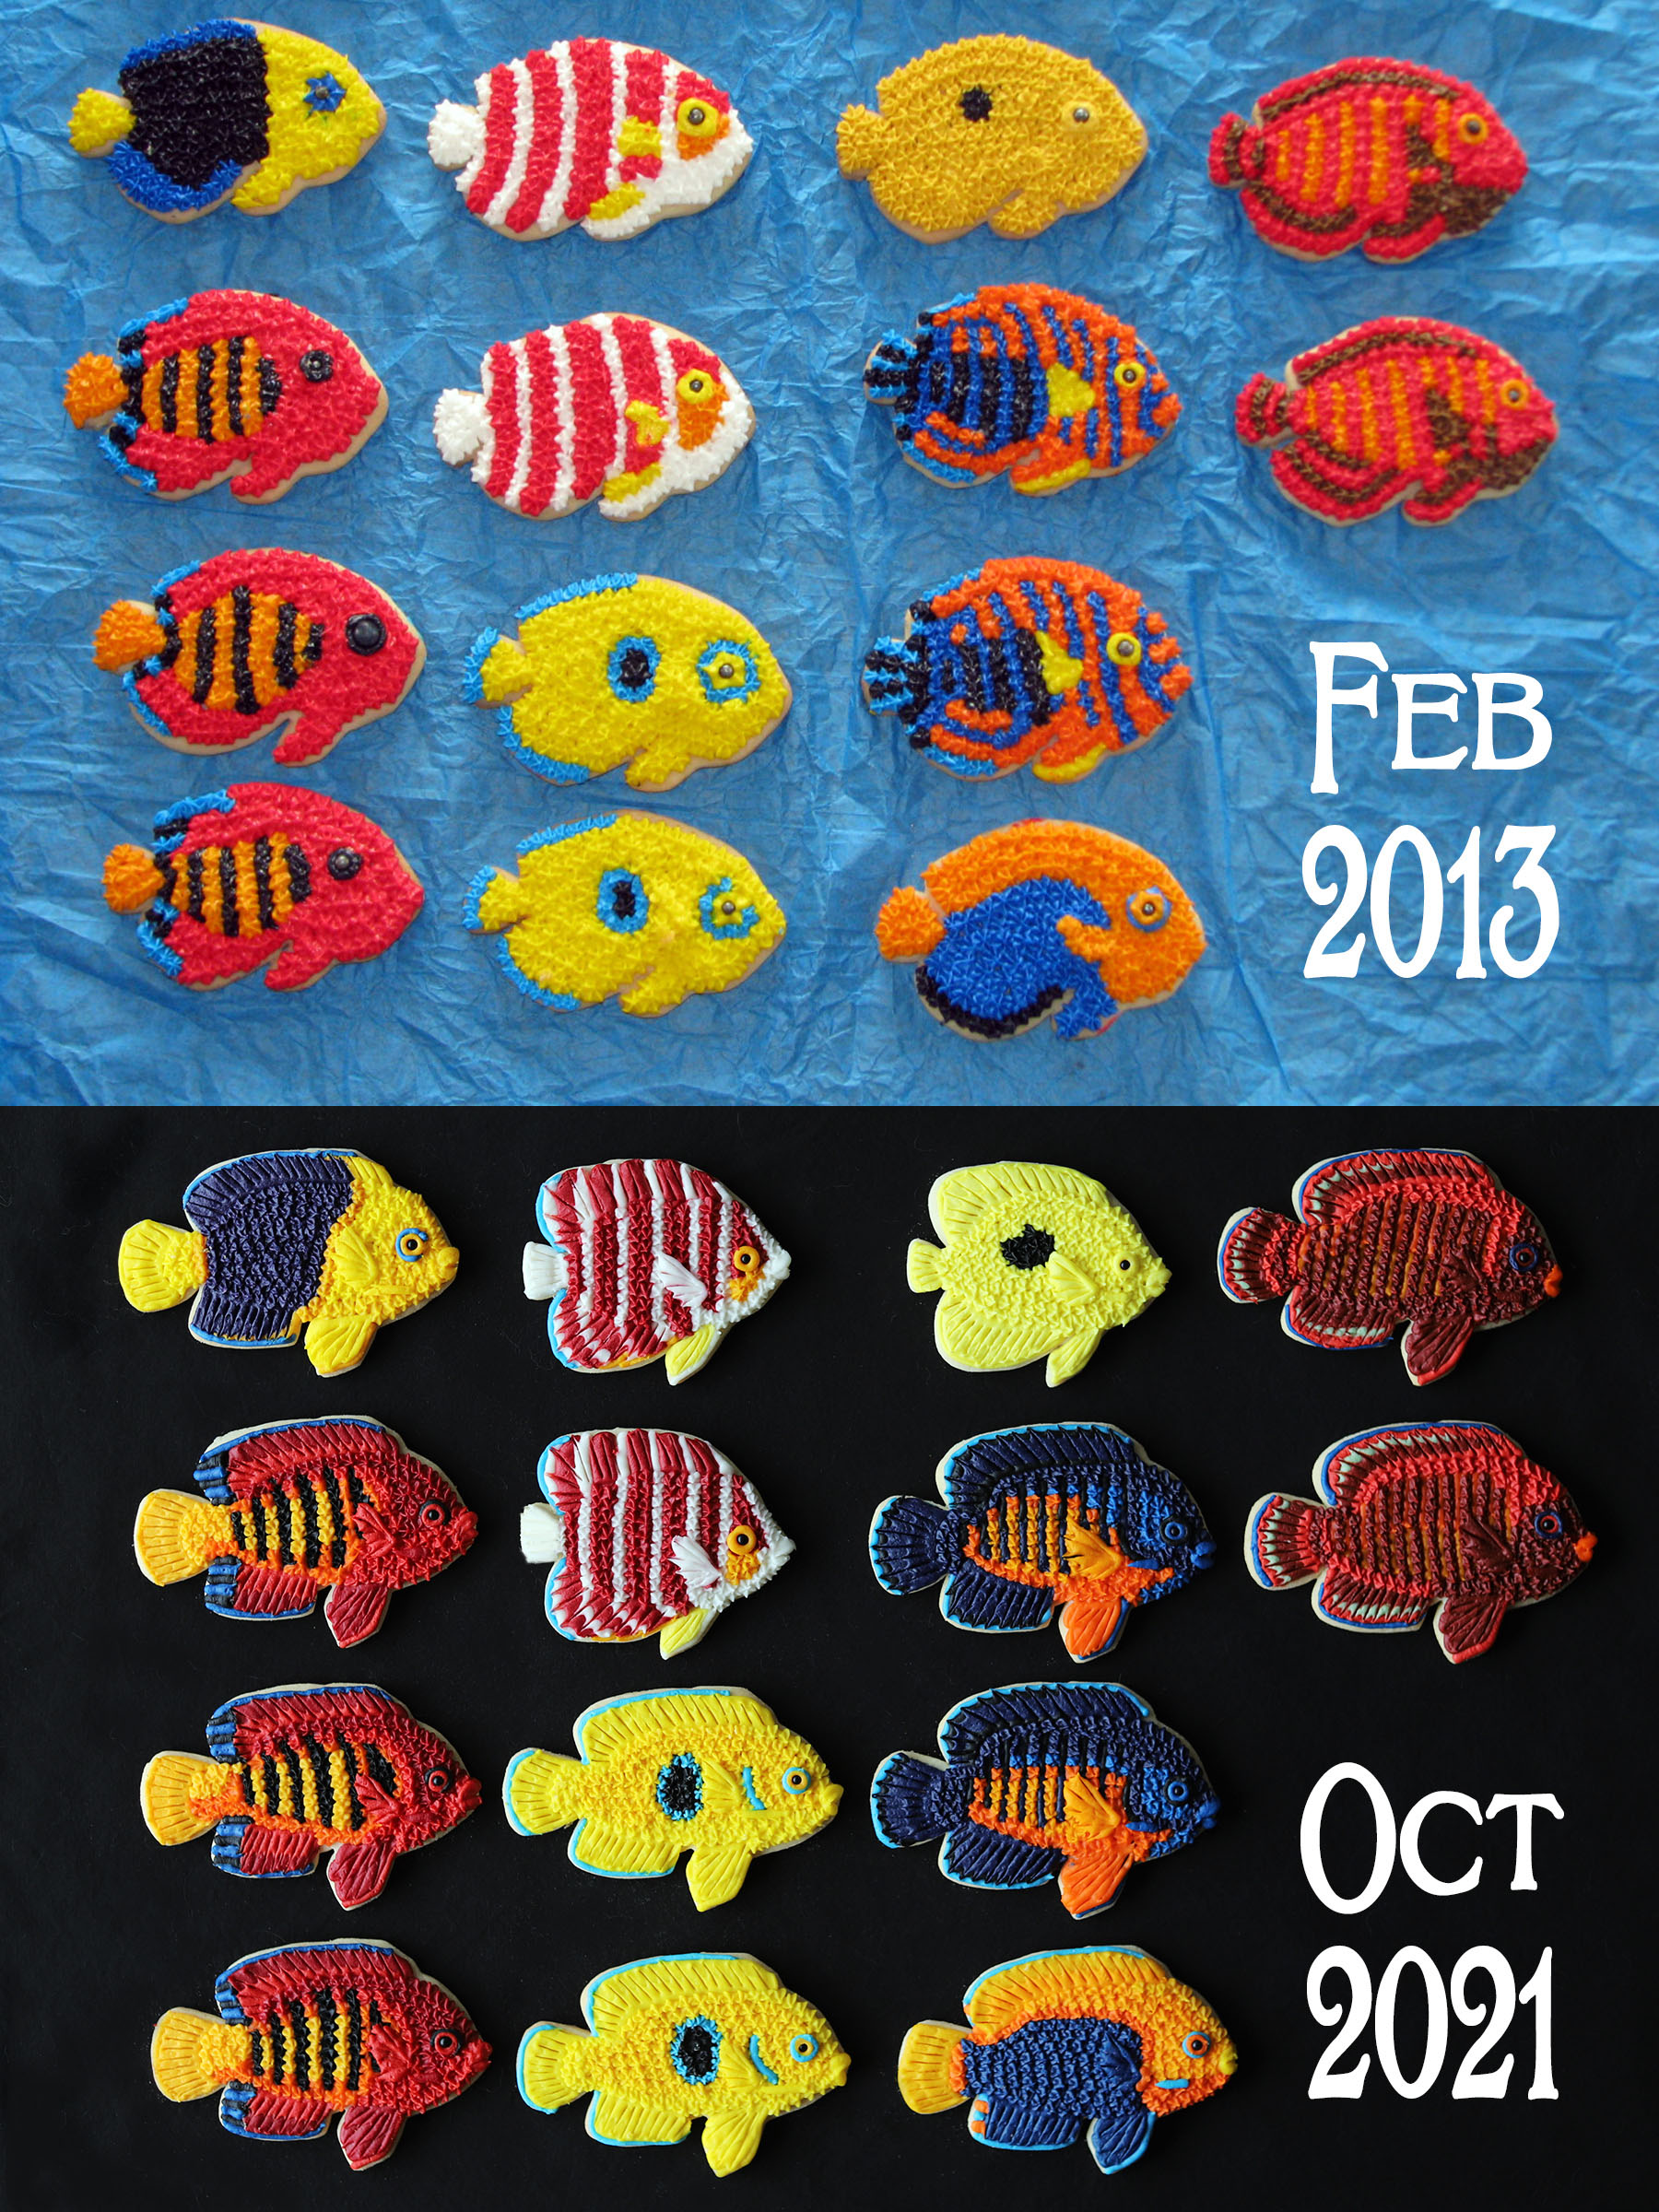
I just wanted to add this photo as a comparison showing the progression of my fish cookies over the past eight years.
Disclaimer: I didn't get around to making the Potter's Dwarf Angelfish cookie this year so I substituted the Coral Beauty Dwarf Angelfish in its place.

211014 - 2013to2021Comparisonb.jpg
 

Alfredo De La Fe

Senior Member
Location
Upper West Side
Rating - 100%
30   0   0
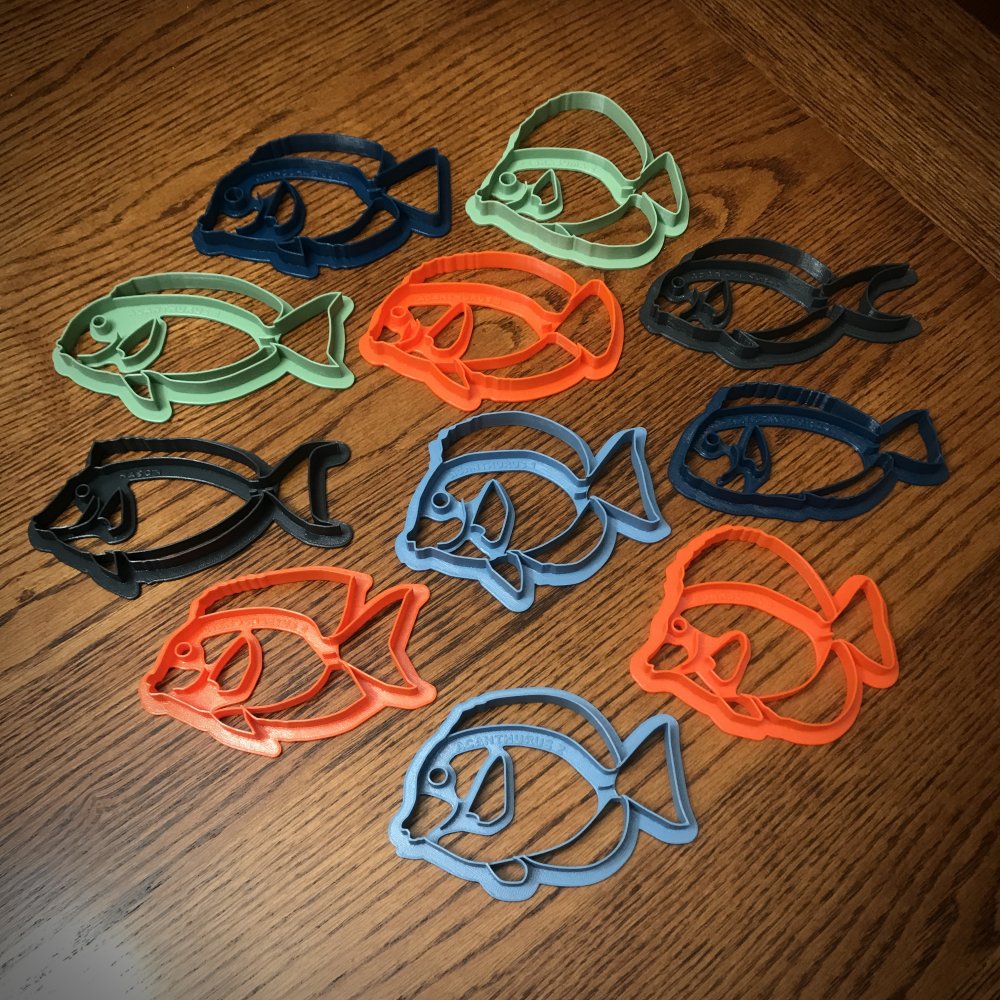
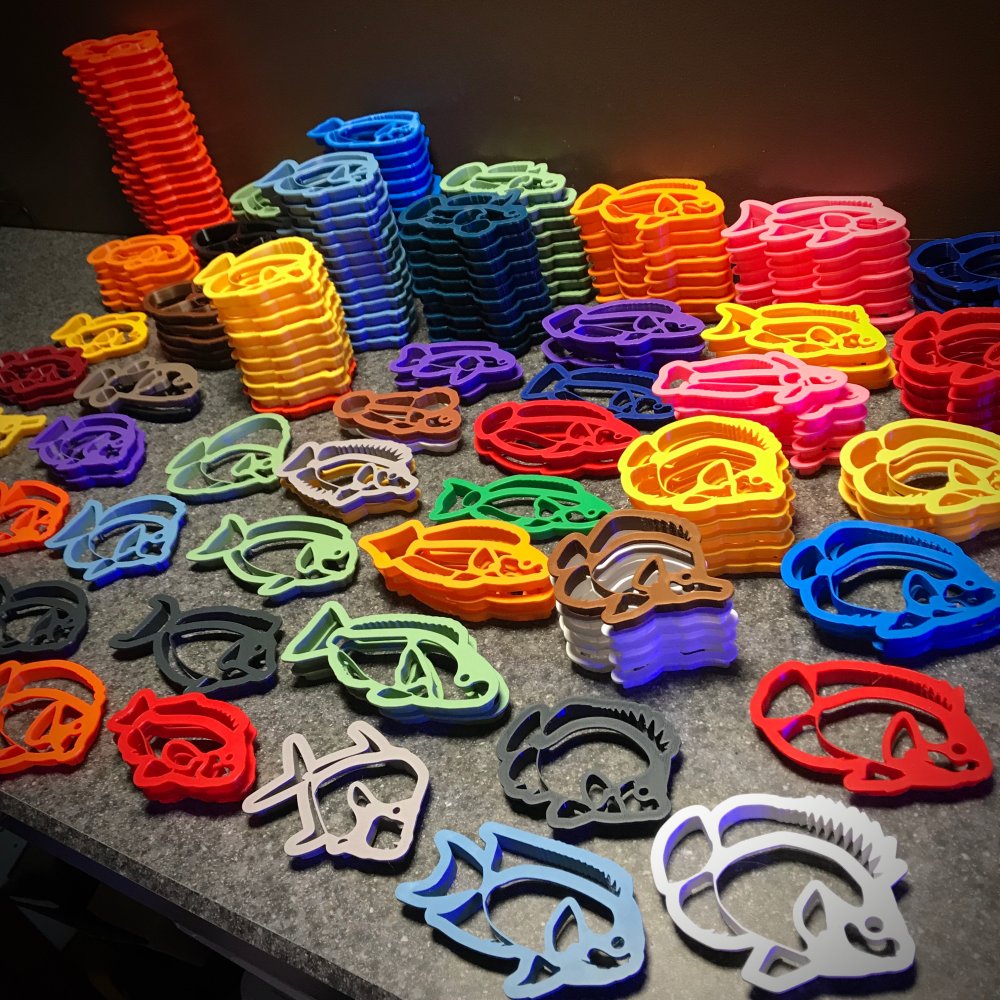
My wife is a cookie artist and she uses a 3D printer to print her cookie cutters. She has made cookies for my business of ancient coins, which were amazing. I had asked her to make me a few clownfish, but she is way too busy. LOL Nice job.
 

Sponsor Reefs

We're a FREE website, and we exist because of hobbyists like YOU who help us run this community.

Click here to sponsor $10:


Top