Hello Reefs.com!
My name is Jason Langer but I'm better known as "That Fish Cookie Guy."
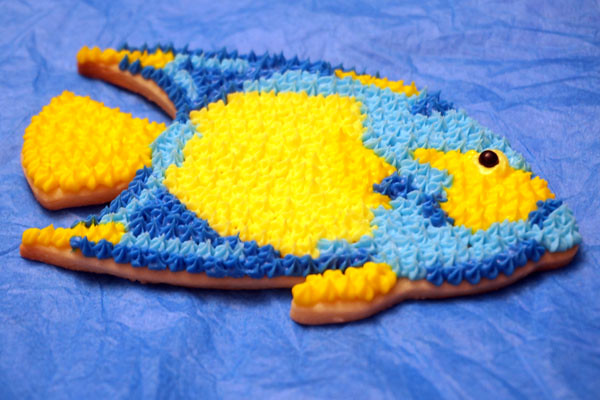
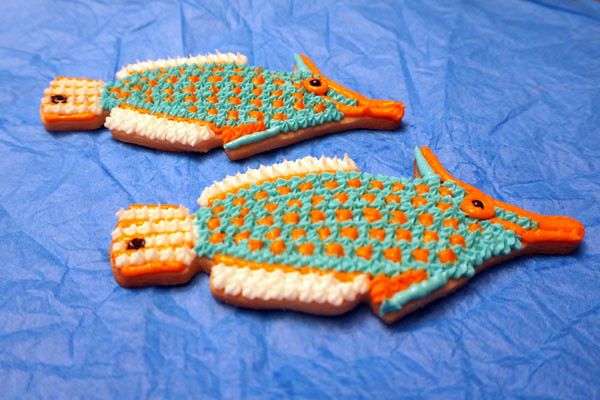
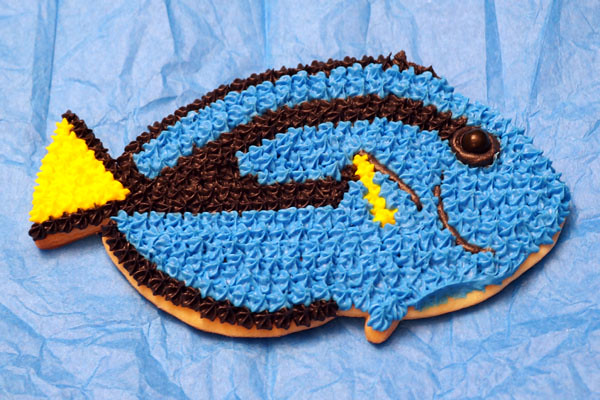
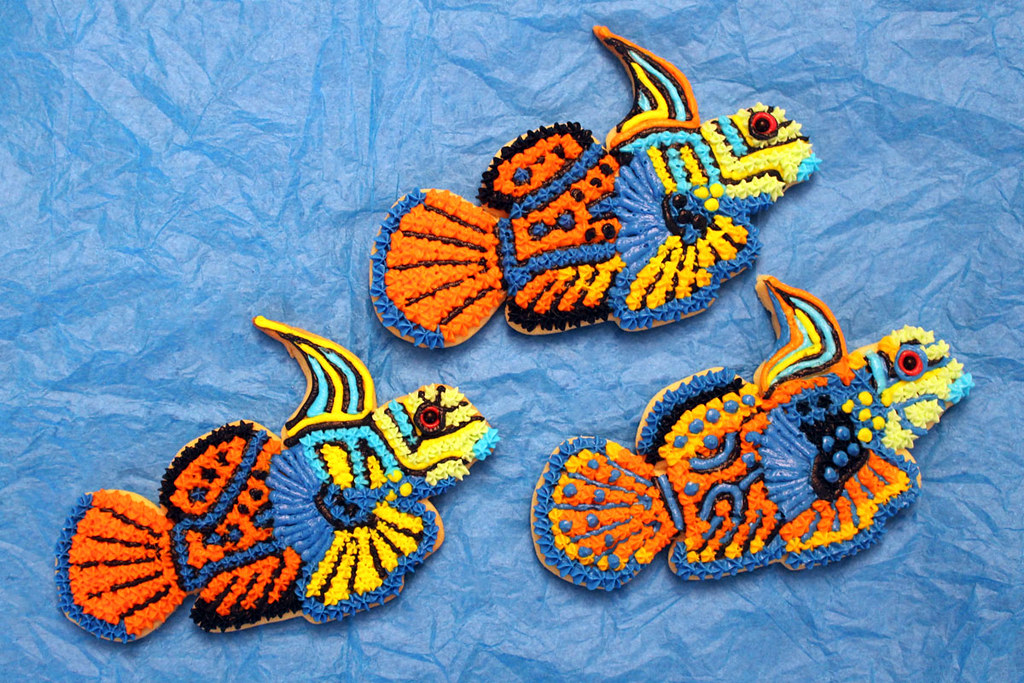
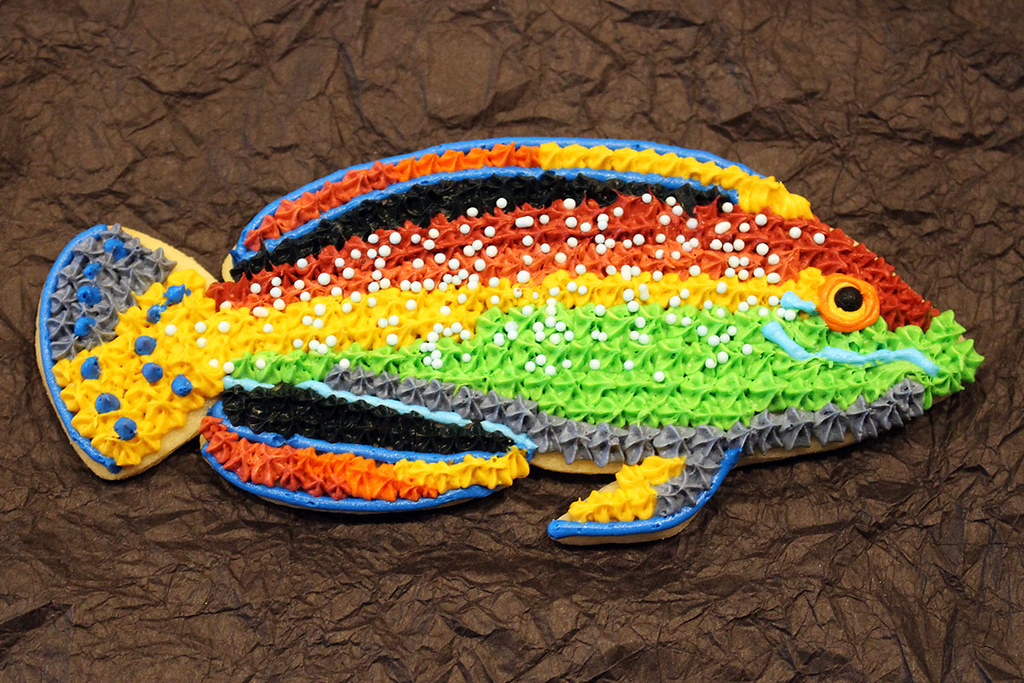
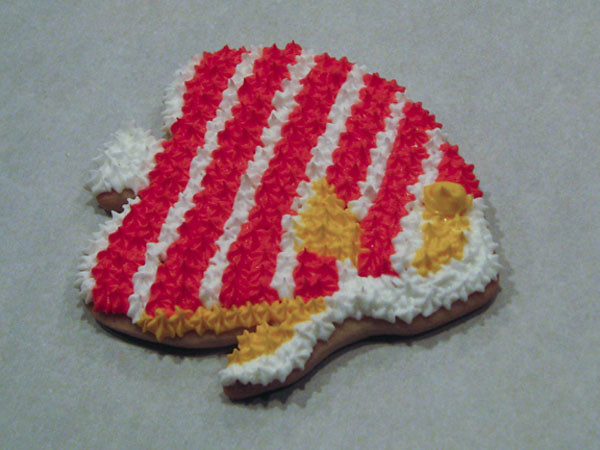
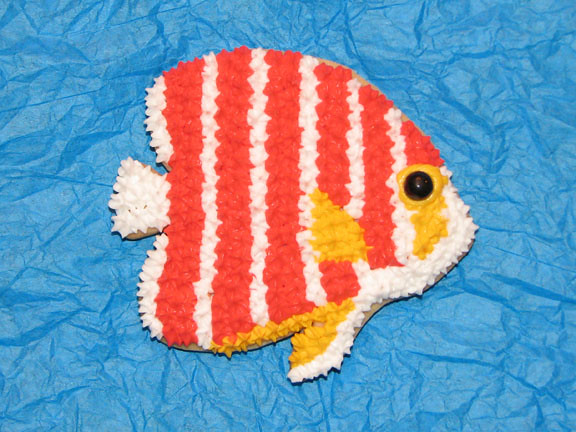
I make custom cut out sugar cookies that I decorate to look like various species of reef fish; or an occasional cephalopod or copepod.

I started making the reef fish cookies back in February 2013. My family and I were going to attend our second Open House Tour at the LiveAquaria's Coral Farm and Aquatic Life Facility in Rhinelander, Wi. We had enjoyed ourselves so much on the first visit that I wanted to bring a treat as a "Thank you!" to Kevin Kohen and the staff at the facility. Having just made a lot of decorated Christmas cookies for the holidays, I decided to make fish themed cookies.
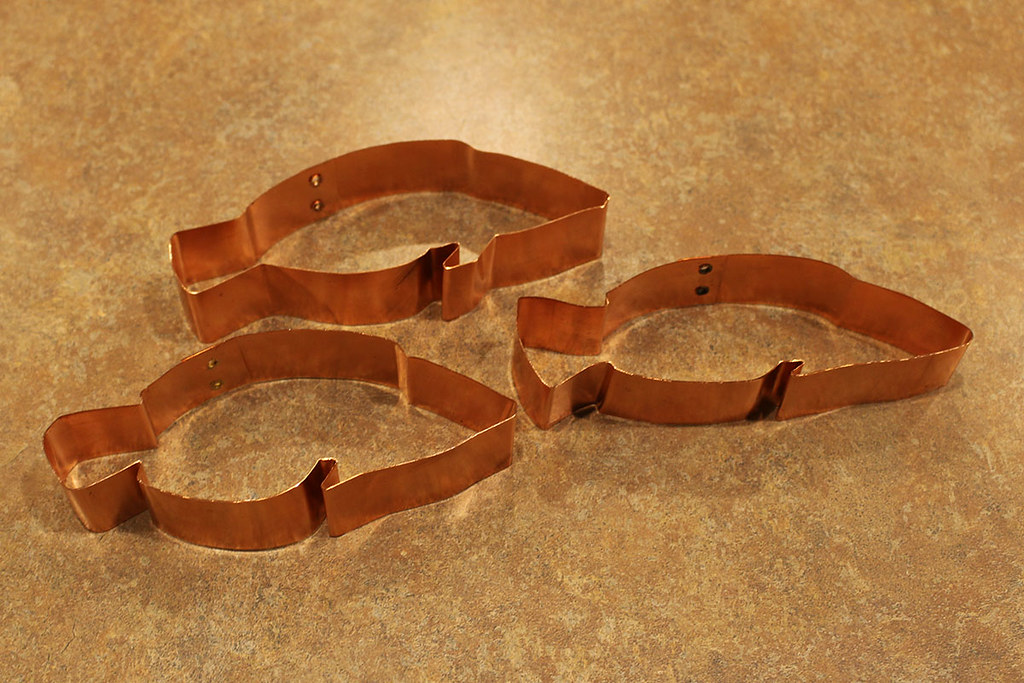
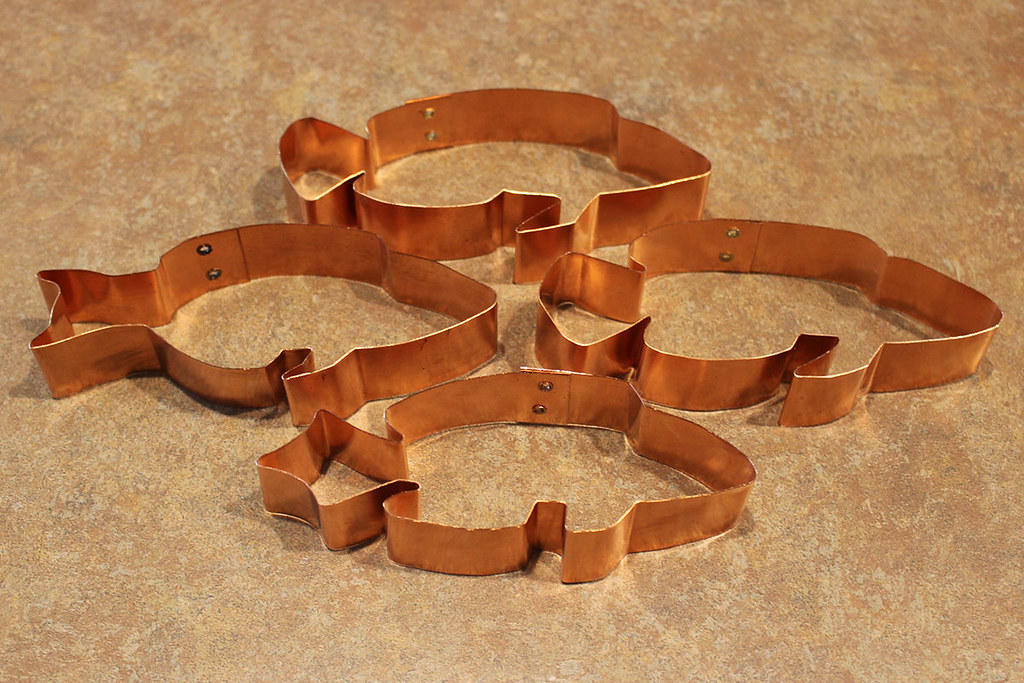
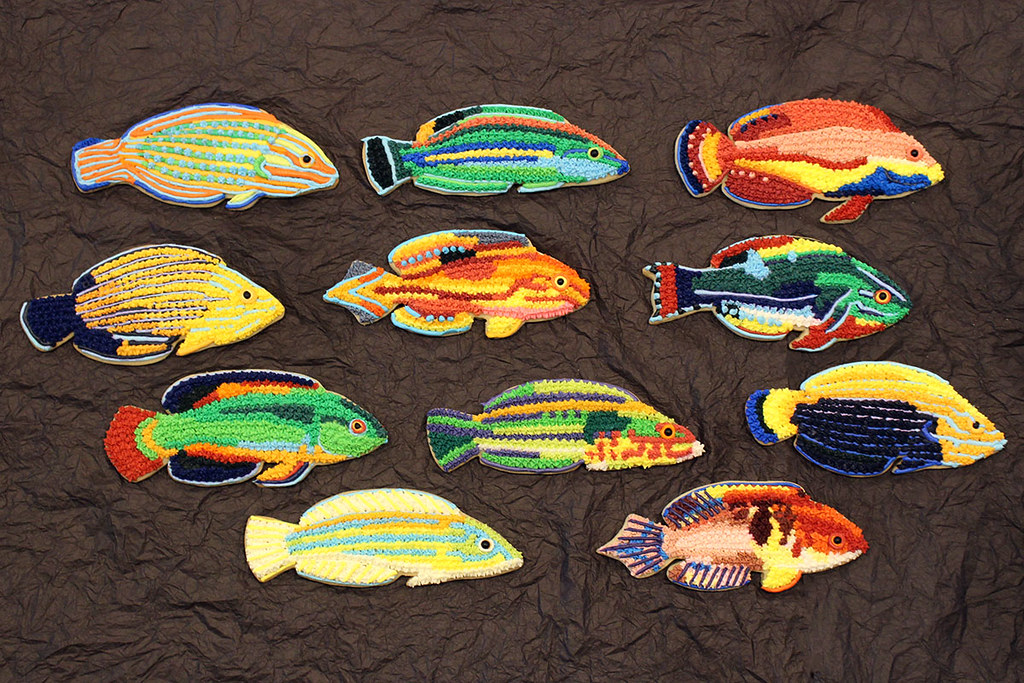
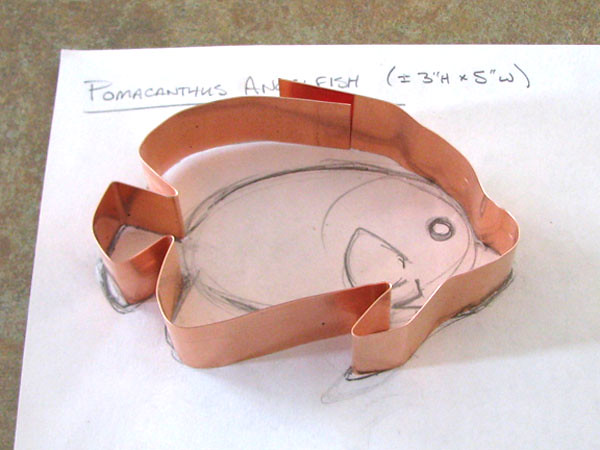
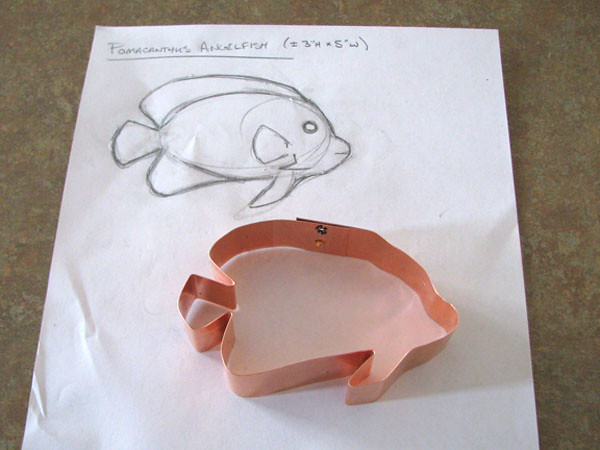
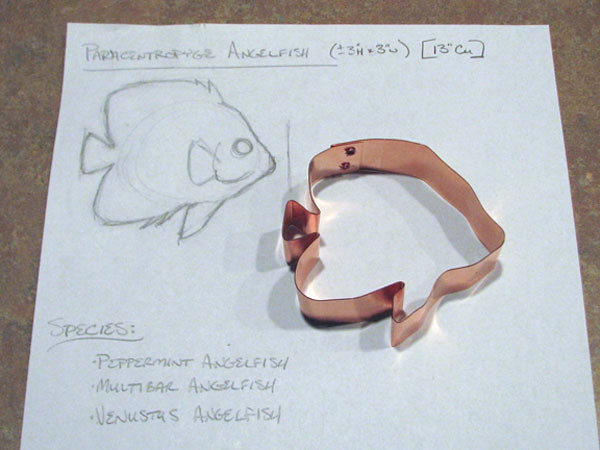
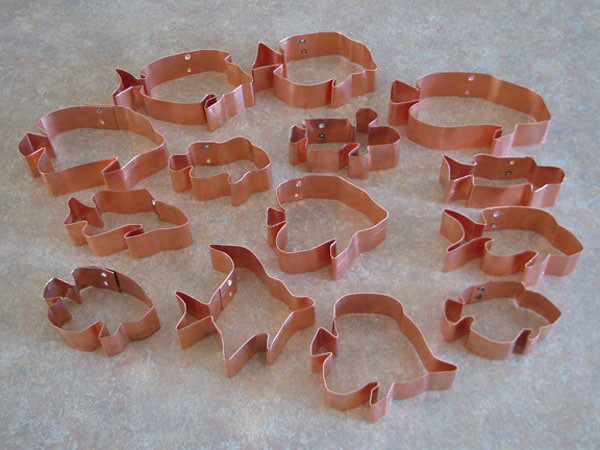
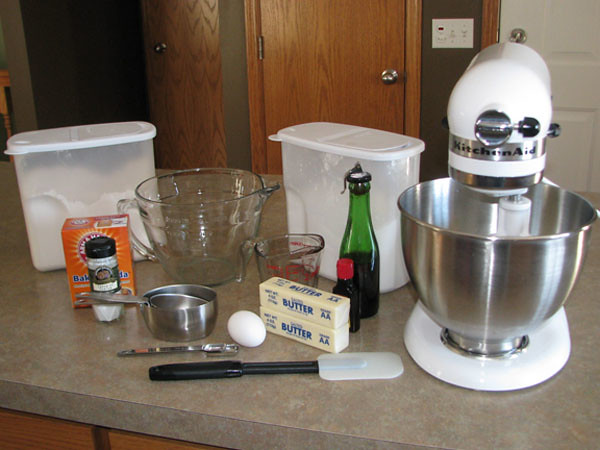
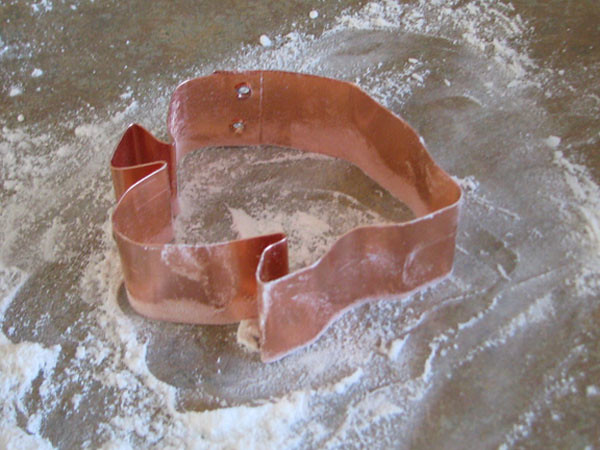
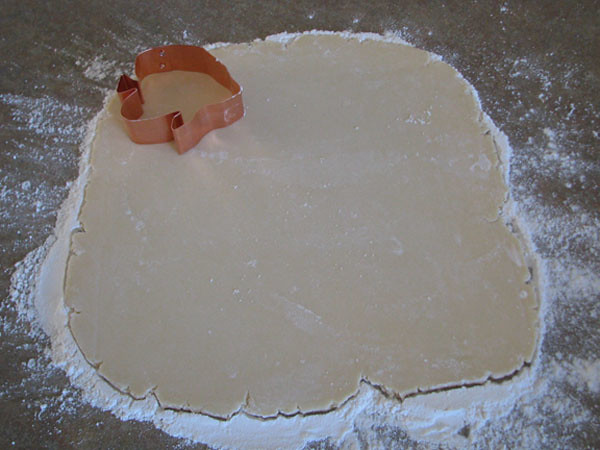
I created a list of different fish that I wanted to bake and decorate. I made my own custom cookies cutters from strips of copper, baked about eight dozen cookies and decorated a number of different fish species. Before packaging up the cookies, I arranged them out on our table and took a photo that I posted online stating that these 91 fish may not survive.
This is that photo from February 2013.

Here's the collections of angelfish cookies.


Some various tangs from different genera.

A grouping of Lyretail Anthias.

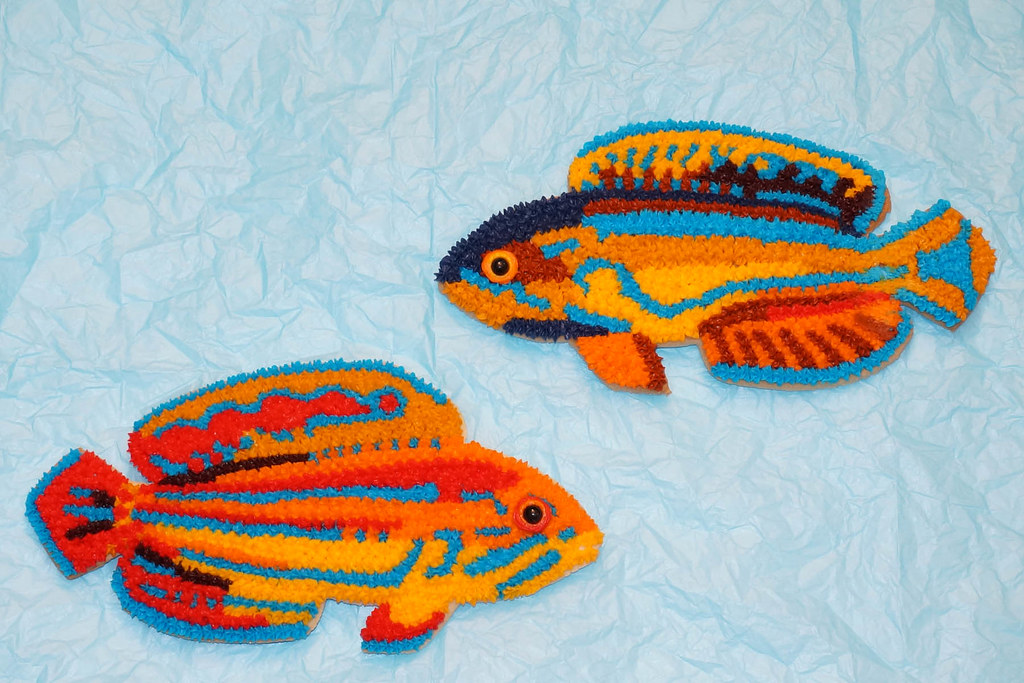
Some of my favorite fish; the gobies.

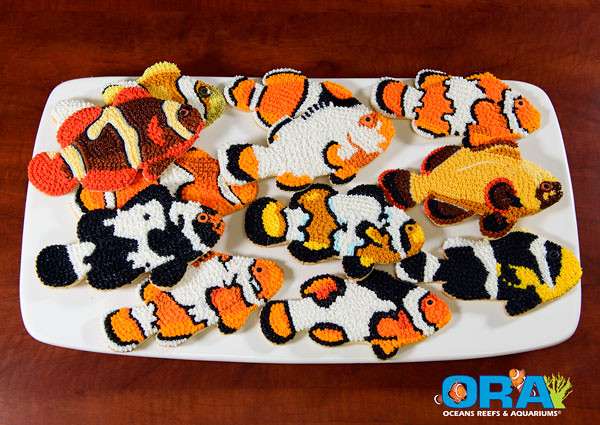
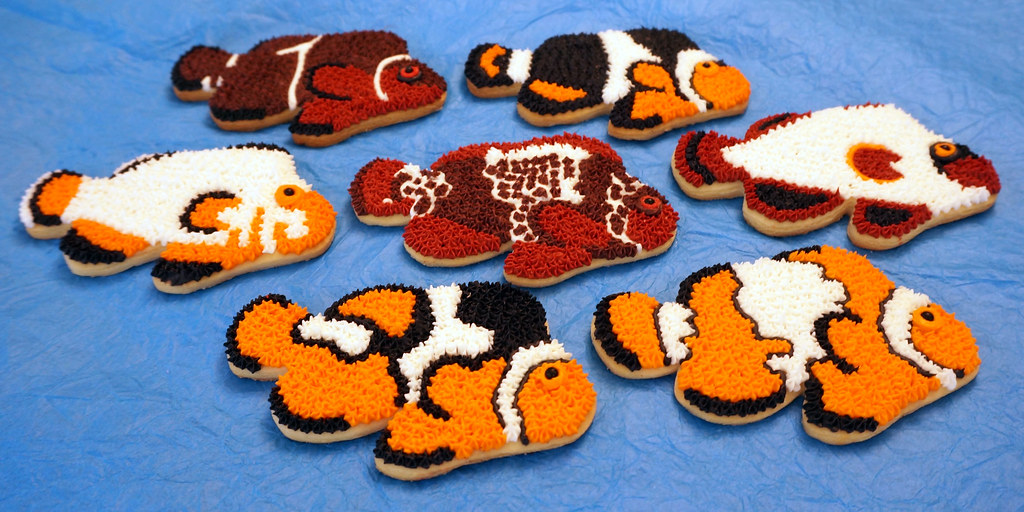
And, of course, some clownfish.

The reception that I received from this first batch of fish cookies was incredible! The photos of the fish cookies turned up on Facebook and other forums that I wasn't involved with. When I was introduced to new people, I was referred to as "You know, that fish cookie guy." And that's when and where this all started.
I received many requests from many people that were interested in the fish cookies and in how I made the cookies and the cutters. So the next time that I made fish cookies, I planned to document the process to share with everyone.
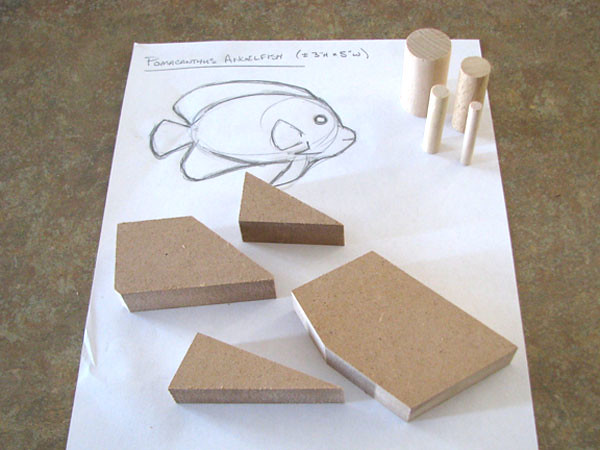
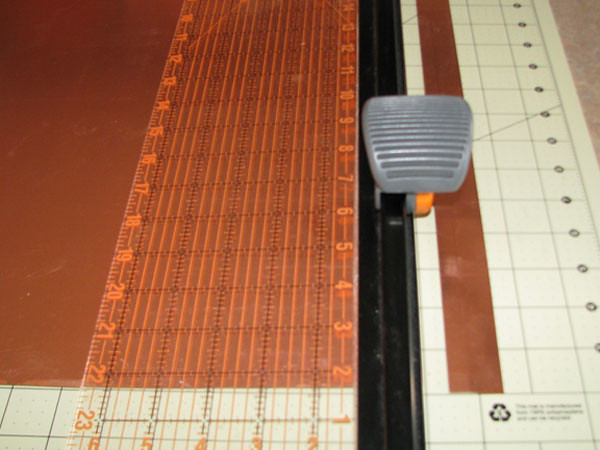
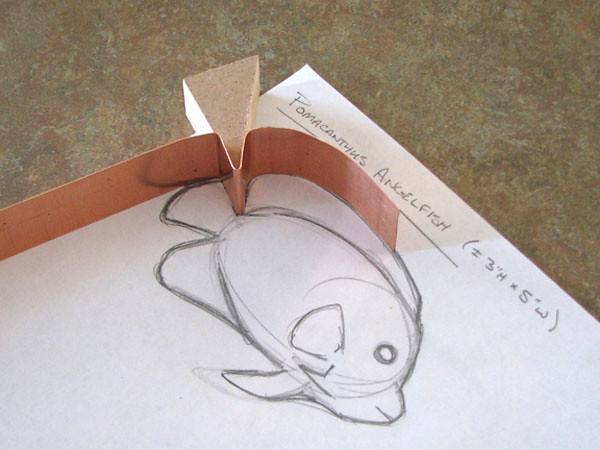
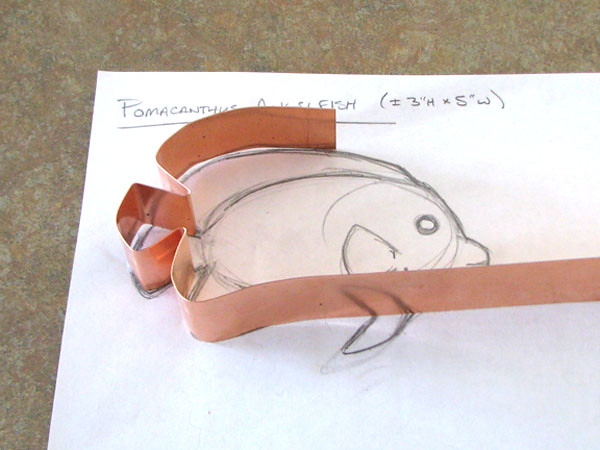
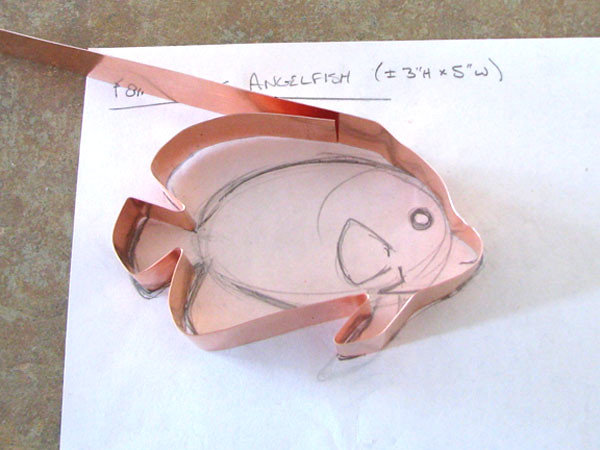
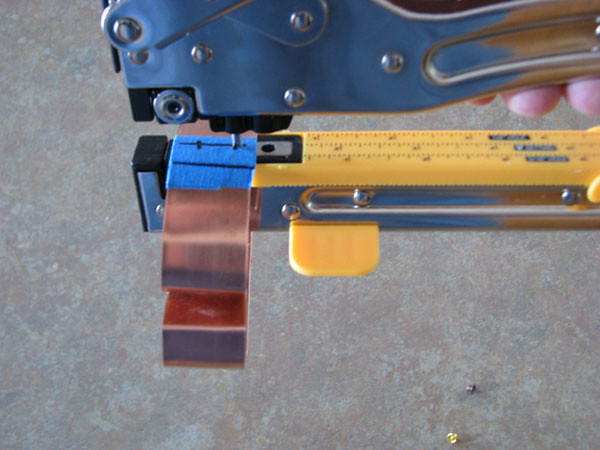
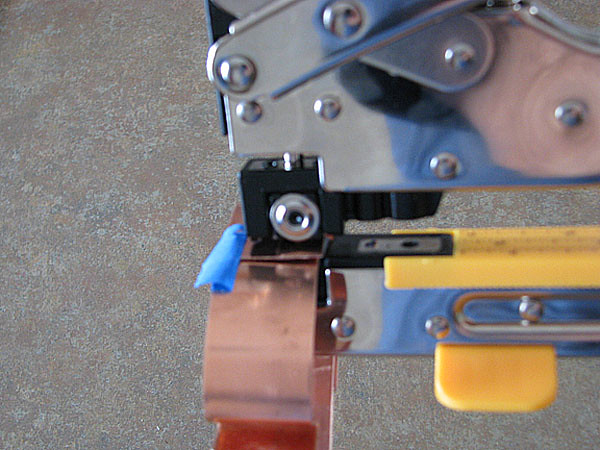
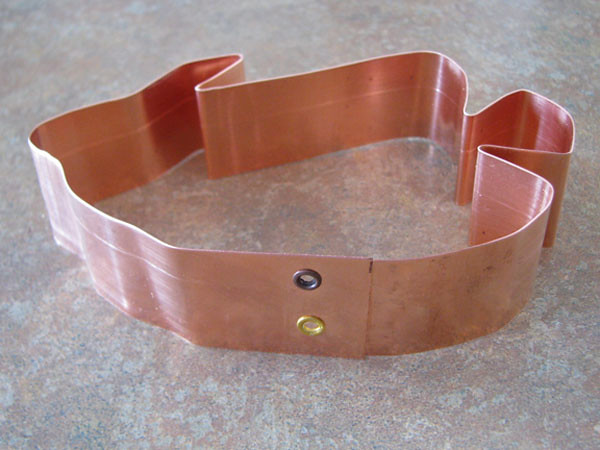
Coming up next: Making a fish cookie cutter.
My name is Jason Langer but I'm better known as "That Fish Cookie Guy."
I make custom cut out sugar cookies that I decorate to look like various species of reef fish; or an occasional cephalopod or copepod.
I started making the reef fish cookies back in February 2013. My family and I were going to attend our second Open House Tour at the LiveAquaria's Coral Farm and Aquatic Life Facility in Rhinelander, Wi. We had enjoyed ourselves so much on the first visit that I wanted to bring a treat as a "Thank you!" to Kevin Kohen and the staff at the facility. Having just made a lot of decorated Christmas cookies for the holidays, I decided to make fish themed cookies.
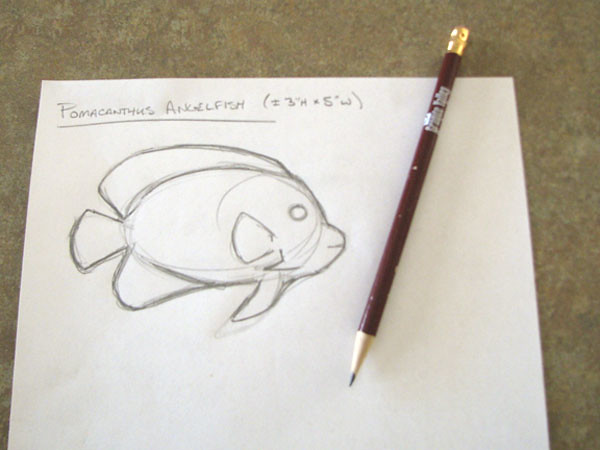
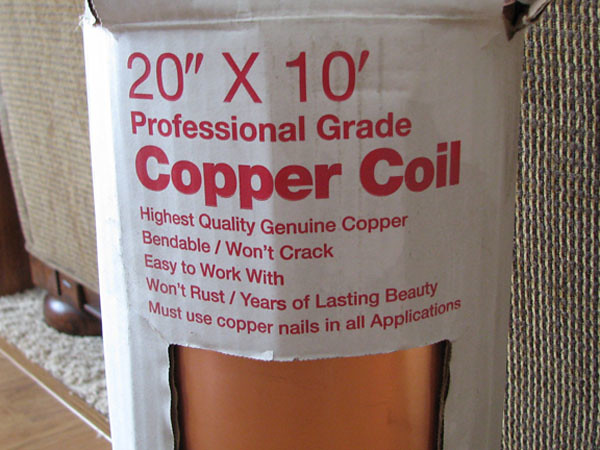
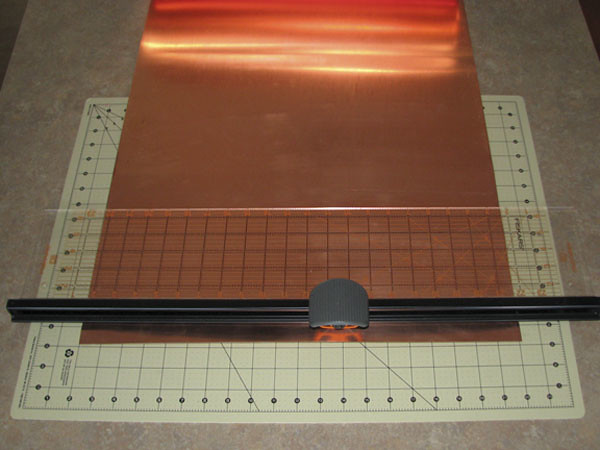
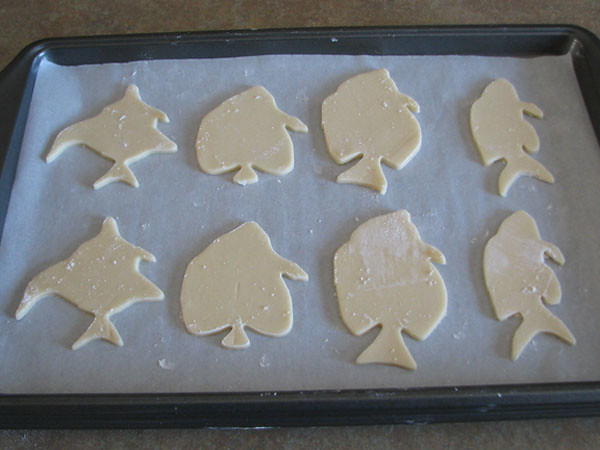
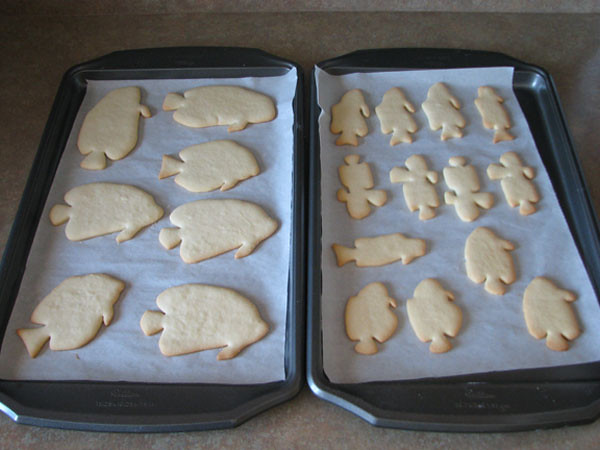
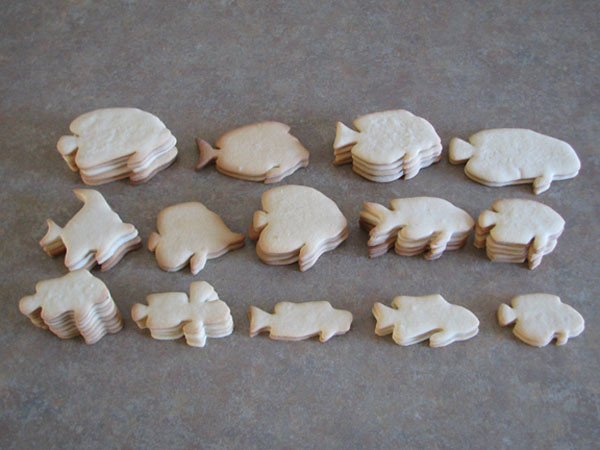
I created a list of different fish that I wanted to bake and decorate. I made my own custom cookies cutters from strips of copper, baked about eight dozen cookies and decorated a number of different fish species. Before packaging up the cookies, I arranged them out on our table and took a photo that I posted online stating that these 91 fish may not survive.
This is that photo from February 2013.
Here's the collections of angelfish cookies.
Some various tangs from different genera.
A grouping of Lyretail Anthias.
Some of my favorite fish; the gobies.
And, of course, some clownfish.
The reception that I received from this first batch of fish cookies was incredible! The photos of the fish cookies turned up on Facebook and other forums that I wasn't involved with. When I was introduced to new people, I was referred to as "You know, that fish cookie guy." And that's when and where this all started.
I received many requests from many people that were interested in the fish cookies and in how I made the cookies and the cutters. So the next time that I made fish cookies, I planned to document the process to share with everyone.
Coming up next: Making a fish cookie cutter.


")