

I started my aquarium hobby back in December 1999 and quickly found a home at Reefs.org and on #reefs in the evening hours. This was the first place I was introduced to 3D modeling aquarium objects. I was amazed at what could be done with the right software. I was also frustrated at how technical the software was to use. Because of the technical aspects of it and my lack of time to teach myself the ins and outs of the software, I put my interest on the back burner. My frustration changed when I recently tried Google SketchUp. It was easy to use and it made decent models of items I wanted to create. It wasn’t as pretty as the other software programs but it got the job done to my satisfaction. This article will deal with the latest version of Google SketchUp, which at the time of this writing is version 6.
What is SketchUp?
SketchUp is a basic 3D modeling package from Google that allows you to create 3D models of objects. You can make models as small and simple as a nail and as big as the Empire State Building (or bigger). Google has a site dedicated to showcasing user generated 3D objects called 3D Warehouse and one can find just about any object there that you might be interested in modeling. A quick search for “aquarium”
in the 3d Warehouse shows that the software can easily be used to model all sorts of items for aquarium projects. It should be noted that there is a Pro version available that has a lot of additional features, but the Pro version is not free.
There are other software products out there that will do similar things with some being more expensive and complex than others. The most popular open-source software would probably be Blender3D. It is free and anyone can download and it has an active online
community. The model gallery is impressive as well as the documentation. Non-free software would include Maya, Lightwave, 3D Studio Max, etc. Any of these software packages can be used to make some amazing renderings but the added beauty also comes at the price of the complexity of the software in addition to cost in the case of Maya, Lightwave, and 3D Studio Max. SketchUp is nowhere near as powerful as these other software packages but it is probably by far the easiest to become productive with in a short time period. One thing to note is that SketchUp 6 files are not directly compatible with any of the aforementioned 3D rendering packages. It looks as though some conversion programs/scripts exist (google: Blender3D, Lightwave, Maya) but the use of them is problematic and obtaining a clean conversion is not without its limitations. If you want to convert your SketchUp files you will need to buy the Pro version of SketchUp to obtain these features.
Where do I get it?
SketchUp is available for download from its website. Windows and Mac OS X versions available are. Choose the one for your operating system. If you use Linux, it should be possible to get it working under Wine based on information in the SketchUp Pro forums although I have not personally tried it. Note that you need to be running either Windows 2000 or XP or Mac OS X to use SketchUp per Google’s FAQ on the subject.
Installation
Download the software package for your OS and install it per the installation instructions. During the install, I opted to set SketchUp so that it defaulted to Woodworking 3D Template user interface but you can set it up however you want.
Once it is installed, run the program. If you were not presented with selecting a default template to work in when you are using the program, select Window –> Preferences –> Templates and in the dropdown menu select “Inches (Woodworking) – 3D.” This is the template that will be used in this article.
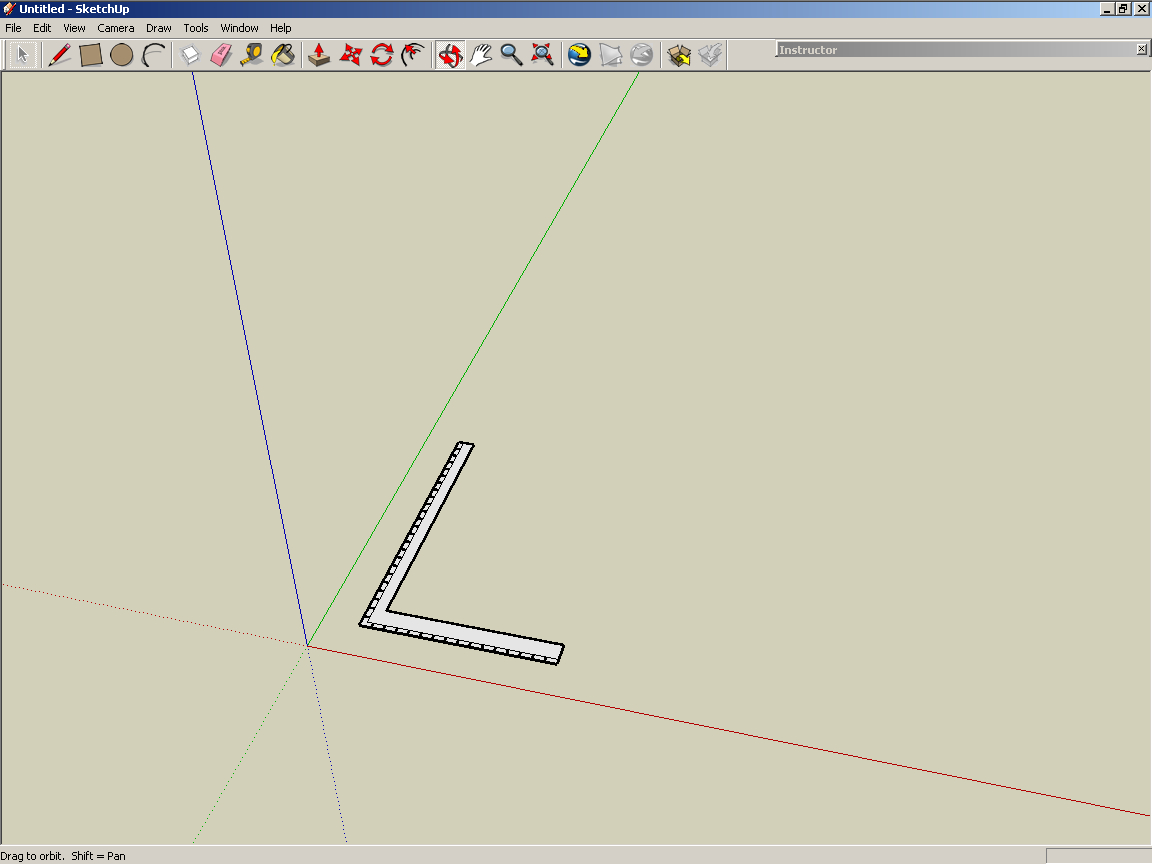
Figure 1: A screen shot of the SketchUp environment.
Familiarization with the Interface
SketchUp’s user interface is basic compared to the other software packages (above) but what it does have allows you to create some pretty interesting and detailed models.
Below is a brief description of what each tool does from left to right on the toolbar:
- Arrow (arrow icon): Select an object/region
- Line (pencil icon): Draw lines
- Rectangle (rectangle icon): Draw rectangles/squares
- Circle (circle icon): Draw circles

Figure 2: The “Getting Started” SketchUp toolbar.
- Arc (arc icon): Draw an arc line
- Make Component (3d box icon): Make the object you’re working on into one complete selectable object instead of a series of surfaces
- Eraser (grade school eraser icon): Erase your mistakes or items you want removed from your model
- Tape Measure (tape measure icon): Measure distances
- Paint Bucket (paint can icon): Paint/fill your surface with various textures/colors
- Push/Pull (box icon with arrow coming out of the top): Extend the surface of the object clicked on
- Move/Copy (4 way arrow icon): Move an object
- Rotate (circular arrow icon): Rotate an object around a central point
- Offset (double arc + arrow icon): offset an object
- Orbit (3d spherical arrow icon): Orbit around your model (see all the sides)
- Pan (hand icon): Move your view up/down/left/right
- Zoom (magnifying glass icon): Zoom in/out
- Zoom Extents (magnifying glass + arrows icon): Zoom out to the full size of your object
The final 5 icons are for working with Google Earth and getting/sharing your work online with the SketchUp community. There are additional Toolbars that one can select and they can be found by clicking View –> Toolbars. For this particular article, I will be focusing on the Getting Started toolbar that is checked by default in the software.
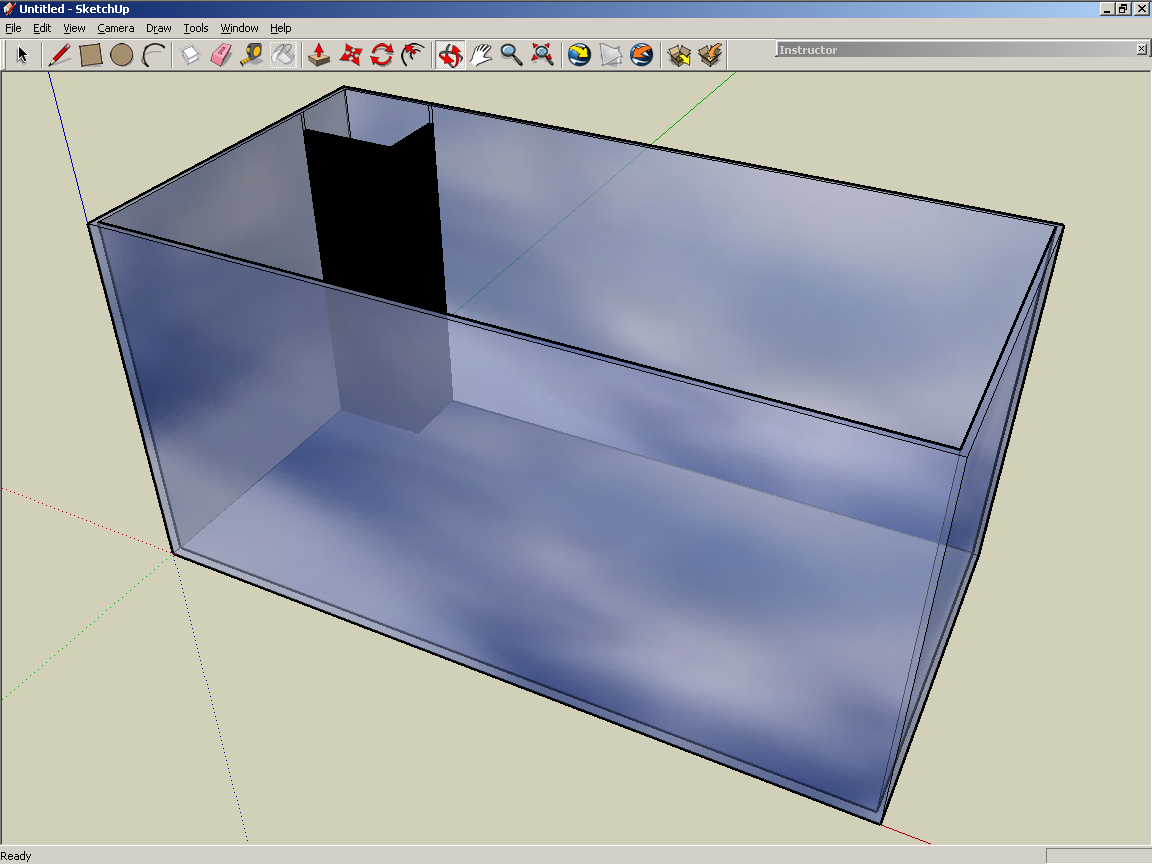
Figure 3: The basic 120-gallon aquarium that will be modeled.
Create a Simple Aquarium
For this exercise, let’s model a simple 120-gallon reef-ready aquarium. Tanks are an easy starting point as it’s essentially a box made out of five panes of glass. This particular one will also have an overflow in the back left corner with a couple of holes drilled for bulkheads. SketchUp makes creating an object like this very easy and I found that I could create the below model in under three minutes knowing the dimensions of each object ahead of time. I’m going to take you through this tutorial the way that I found to be the easiest for me, but there are other ways of doing the same thing. You’ll find a style that works best for you by working with the software. You can also download and view a screencast of the tank construction in .avi format.

Figure 4: The start of our 120-gallon aquarium.
You may download the completed model used in this article for review. It will allow you to pan around the finished object to see how everything is placed.
The standard 120-gallon has nominal dimensions of 48 inches long x 24 inches wide x 24 inches high and uses 3/8 inch thick glass. The overflow in the back left corner will be 7 inches wide by 5 inches deep by 22 5/8 inches tall and will be made out of 1/4-inch material. It also has two holes drilled in the tank for bulkheads. One hole is 1 1/4 inches in diameter (feeds tank from the sump) and another one that is 2 1/2 inches in diameter (overflow to sump).
The Bottom
The first step in the process is to draw the footprint of the tank. Select the Rectangle tool from the toolbar (see Figure 2 above). Next, place your cursor at the intersection point of the red, green, and blue lines (X, Y, and Z axes), click there with your mouse and “pull” a simple rectangle across your work surface.
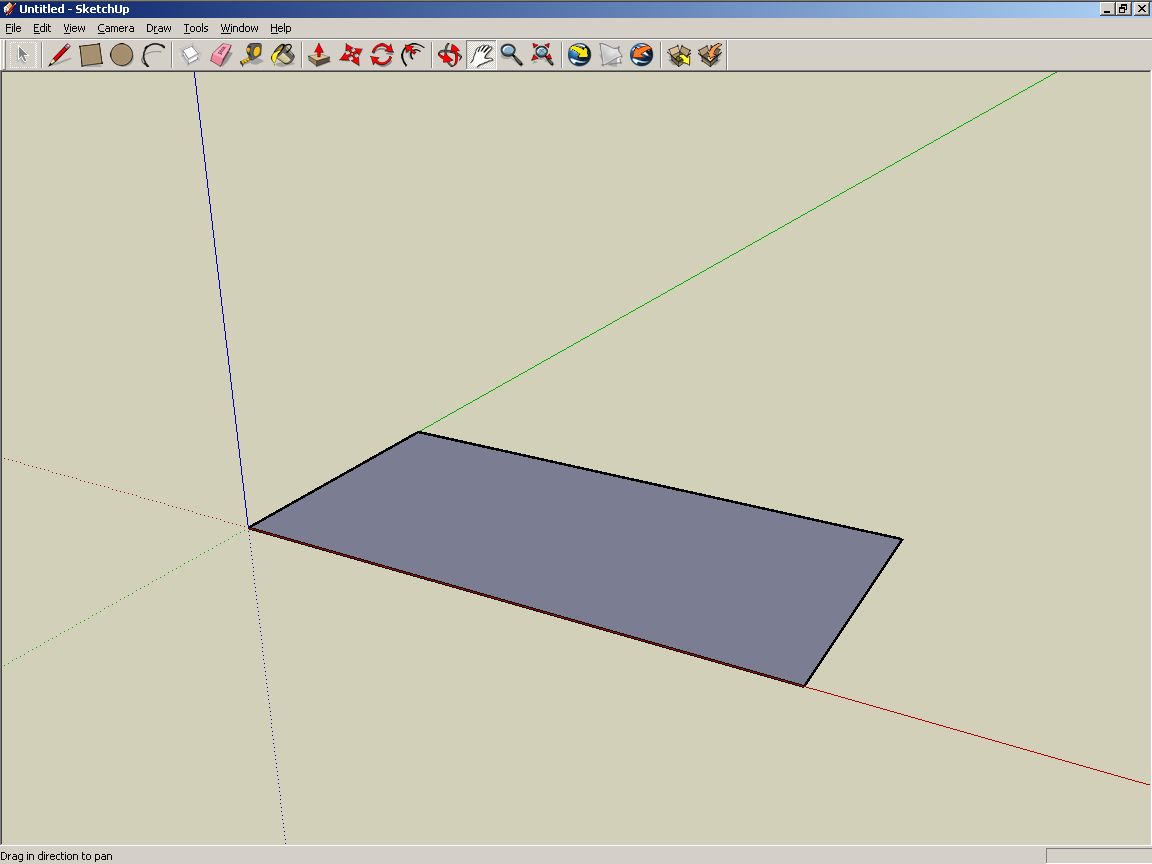
Figure 5: The bottom of the aquarium.
Now before you click to permanently place your rectangle, type the following into your keyboard/number pad: 48”, 24”
At the bottom right of the screen, you will see these dimensions appear. Hit RETURN and your rectangle will be resized to 48” x 24”.
This is a very easy way to make shapes to the dimensions you want without much trouble. Note in the above image that I removed the carpenter’s square from the view by selecting it with my arrow tool and hitting the DELETE key.
Now either use your Zoom tool or your wheel-mouse and zoom in on the rectangle you just drew. Select the Push/Pull tool from the toolbar and click on the top surface of the rectangle. Pull the surface up and type into your keyboard: 3/8”
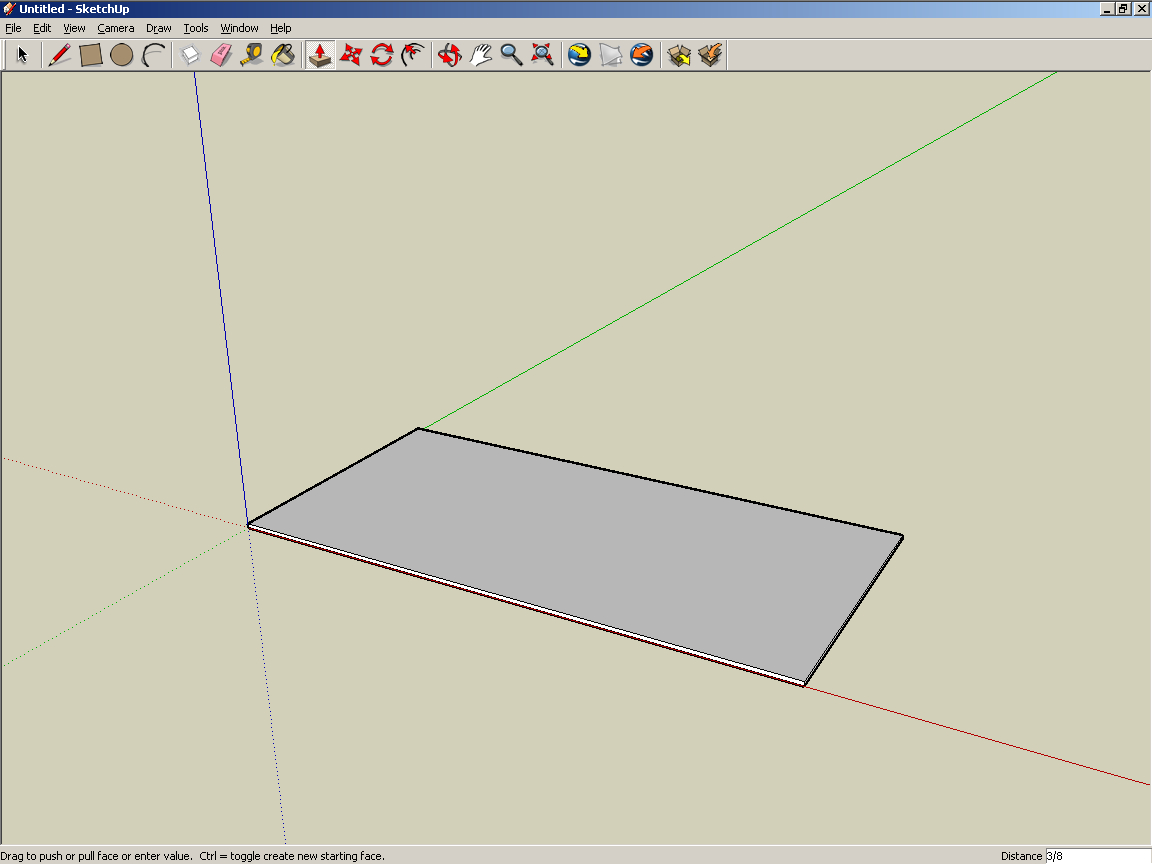
Figure 6: The box that we just drew.
This will make your rectangle into a box that is 3/8” high (i.e. the thickness of the bottom pane of glass). You’ve just drawn the bottom pane of glass for your tank.
The Aquarium Walls
Now we need to draw the inside perimeter of the aquarium in order to create our tank walls in a later step. The glass thickness is 3/8” so we need to make a rectangle that is 3/8” smaller all the way around and center it inside the rectangle we just drew. To do this, select the Offset tool from the toolbar and click on the surface of the rectangle that you just drew. Pull your cursor into the rectangle a bit and then type: 3/8”
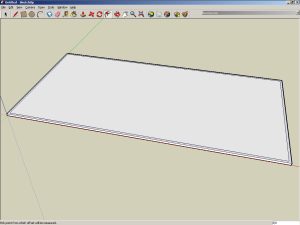
Figure 7: Using the offset tool to make the inside perimeter of your aquarium.
This will create a rectangle that is 3/8” smaller inside the original rectangle.
The Overflow
Next we will make the overflow box. We will make the overflow box in the back left corner and has dimensions of 7 inches long x 5 inches wide x 22 5/8 inches high and uses 1/4-inch thick material. First use your Orbit / Pan / Magnify tools to navigate to the inside back corner of the modeled aquarium:
Select the Rectangle tool and place the cursor in the back corner of your aquarium. Click and drag your tool and then type: 7”, 5”
This makes the outside of your overflow box. Next, place your cursor again into the back corner.
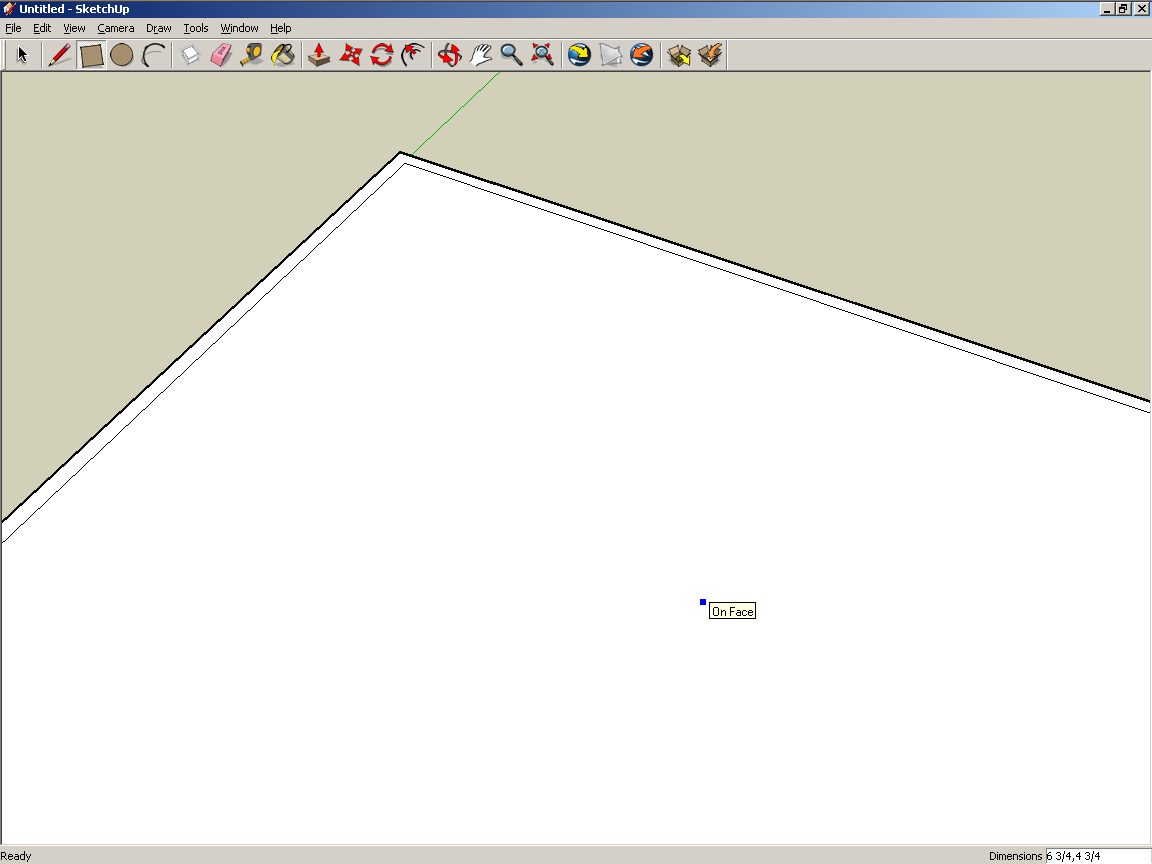
Figure 8: The back corner of the aquarium bottom.
Click and drag and type: 6 3/4″, 4 3/4″
This draws the inside of your overflow and it should now look something like Figure 9.
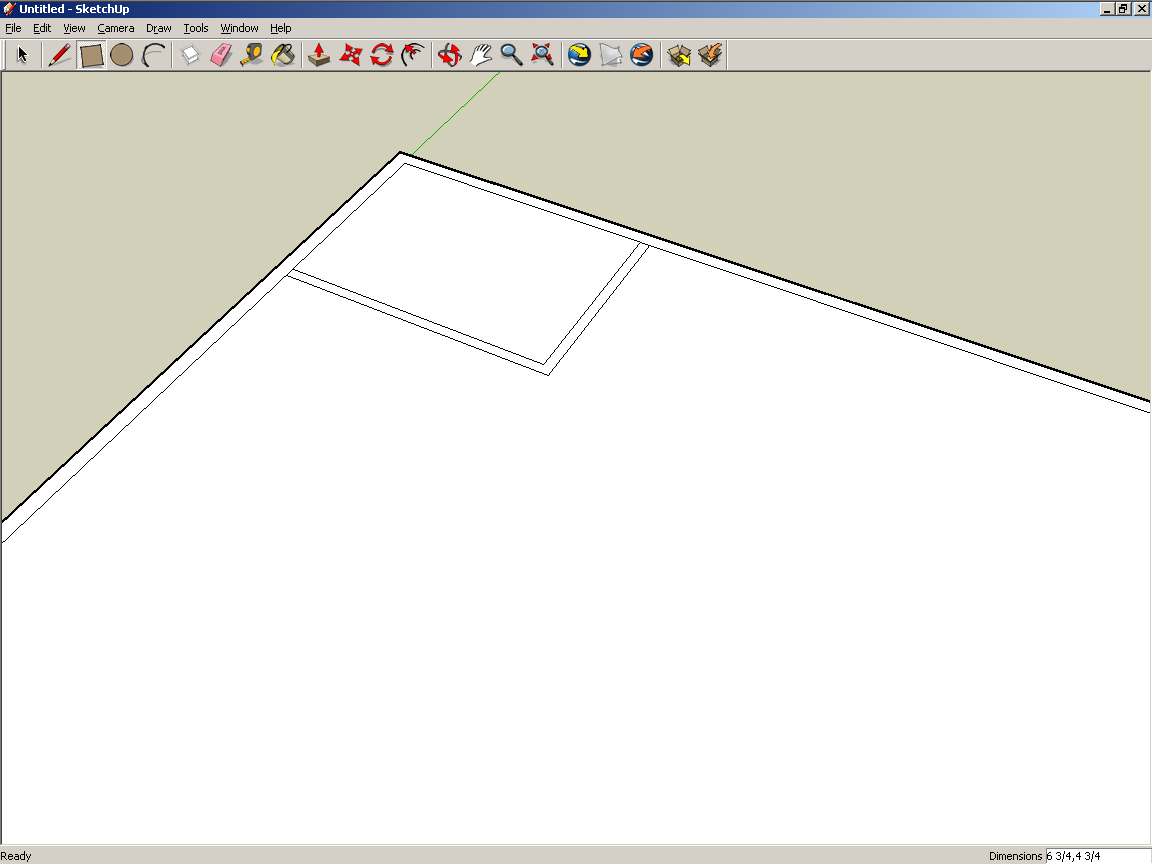
Figure 9: This is what your model should look like at this step.
The Bulkhead Holes
Next we need to draw the bulkhead holes into the bottom pane inside the overflow box area. As mentioned above, our bulkhead holes are 1 1/4 inches in diameter (feeds tank from the sump) and another one that is 2 1/2 inches in diameter (overflow to sump). Select the Circle tool and make a circle with radius of 5/8” (type 5/8” as done before). Make a second circle with a radius of 1 1/4″. Use your Move/Copy tool to move each circle around the bottom until they’re positioned where you want them. You should end up with Figure 10.
Figure 10: Approximately where your circles should be in your model.
After positioning, select your Push/Pull tool and select the center of each circle and for each one push the tool/surface down a bit and type: 3/8”
This makes a hole in the bottom of your tank.

Figure 11: The holes are now placed for your bulkhead fittings.
Raising the Aquarium and Overflow Walls
Next let’s create the aquarium walls. Select Push/Pull tool and click on the outer perimeter of the aquarium where the walls will go. Pull the tool up the screen a bit and then type: 23 5/8”
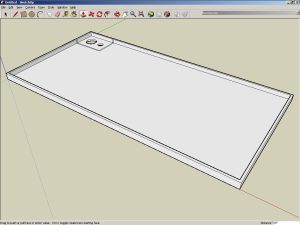
Figure 12: Pulling the sides of the aquarium up to make the final tank.
This will pull your outside walls up.
The next step is to click your Push/Pull tool and select the region between your drawn rectangles for the overflow and pull the surface/tool up a bit and type: 22 5/8”
This extends the overflow wall up to just below the top edge of your tank that will be created in the next step.
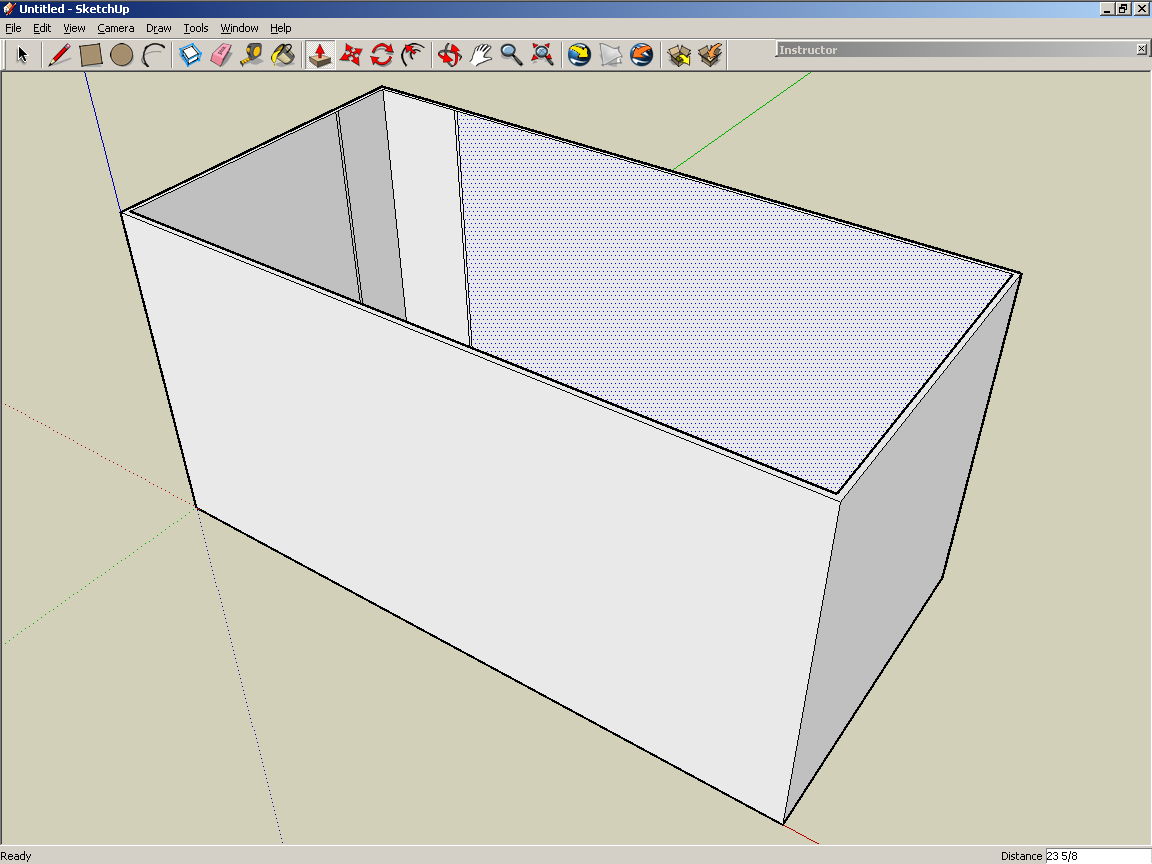
Figure 13: The fully sized aquarium.
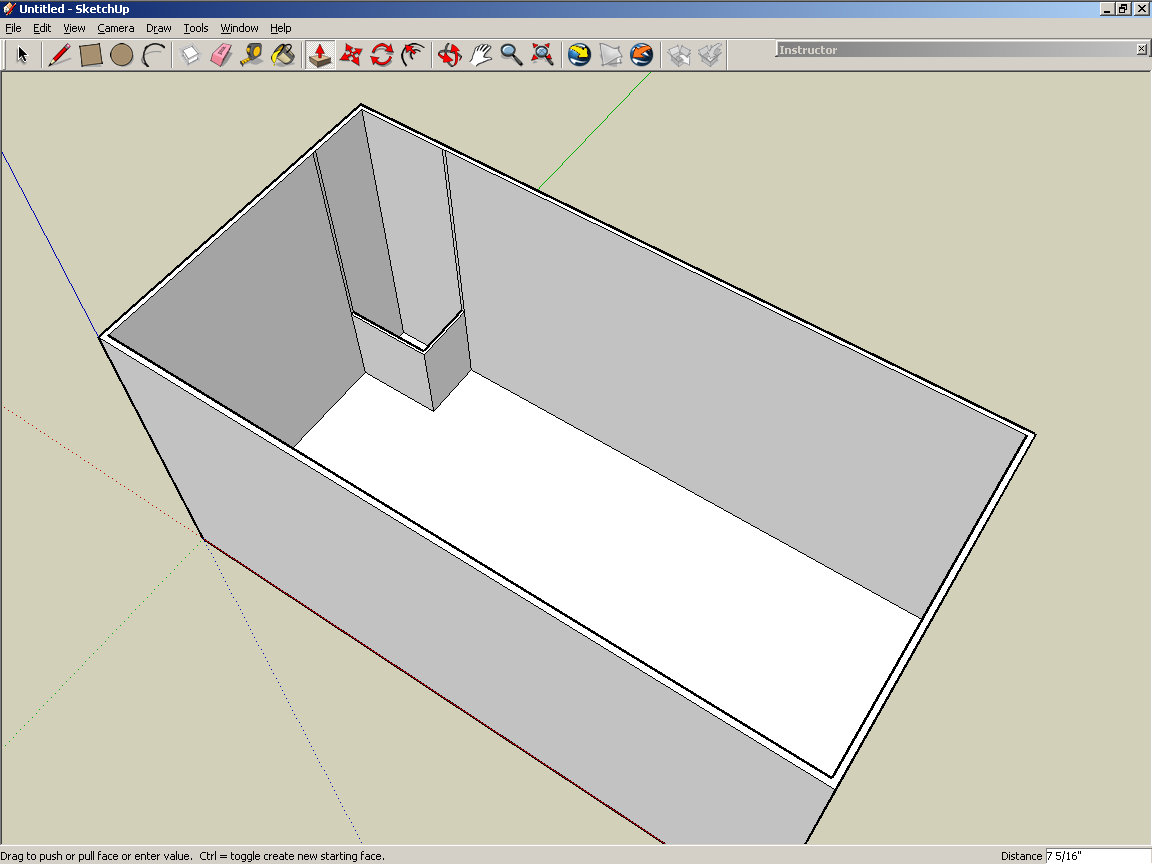
Figure 14: Pulling the overflow walls up.
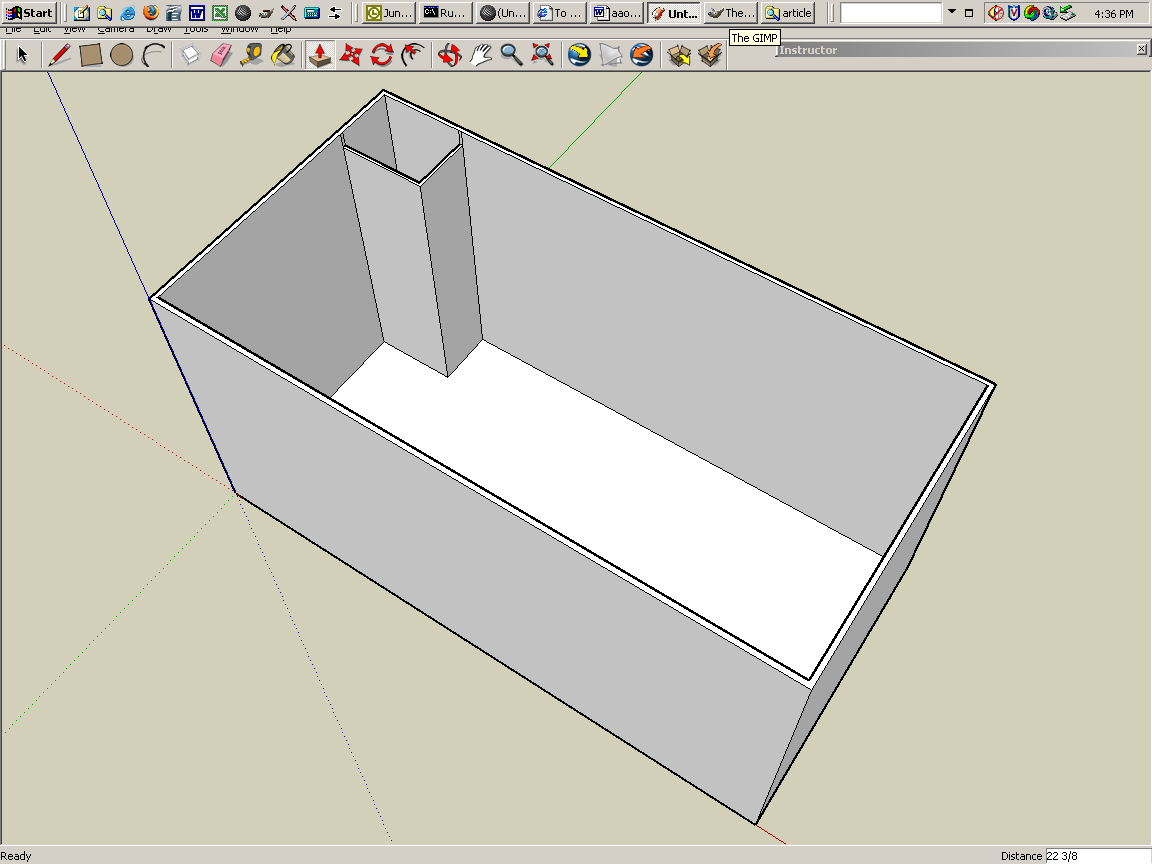
Figure 15: The sized overflow.
For simplicity sake I have not gone into how to draw the notches in the top edge of the overflow to make the overflow teeth. This is a bit tedious but you can do it by zooming in on the tops of the overflows and drawing in squares with your Rectangle tool (spacing appropriately) and then using your Push/Pull tool to drop every other square down by 3/4″ – 1″. It’s up to you.
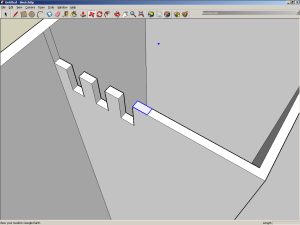
Figure 16: An example notch created in the top edge of the overflow box.
Figure 17 shows what your completed model should look like up to this point.
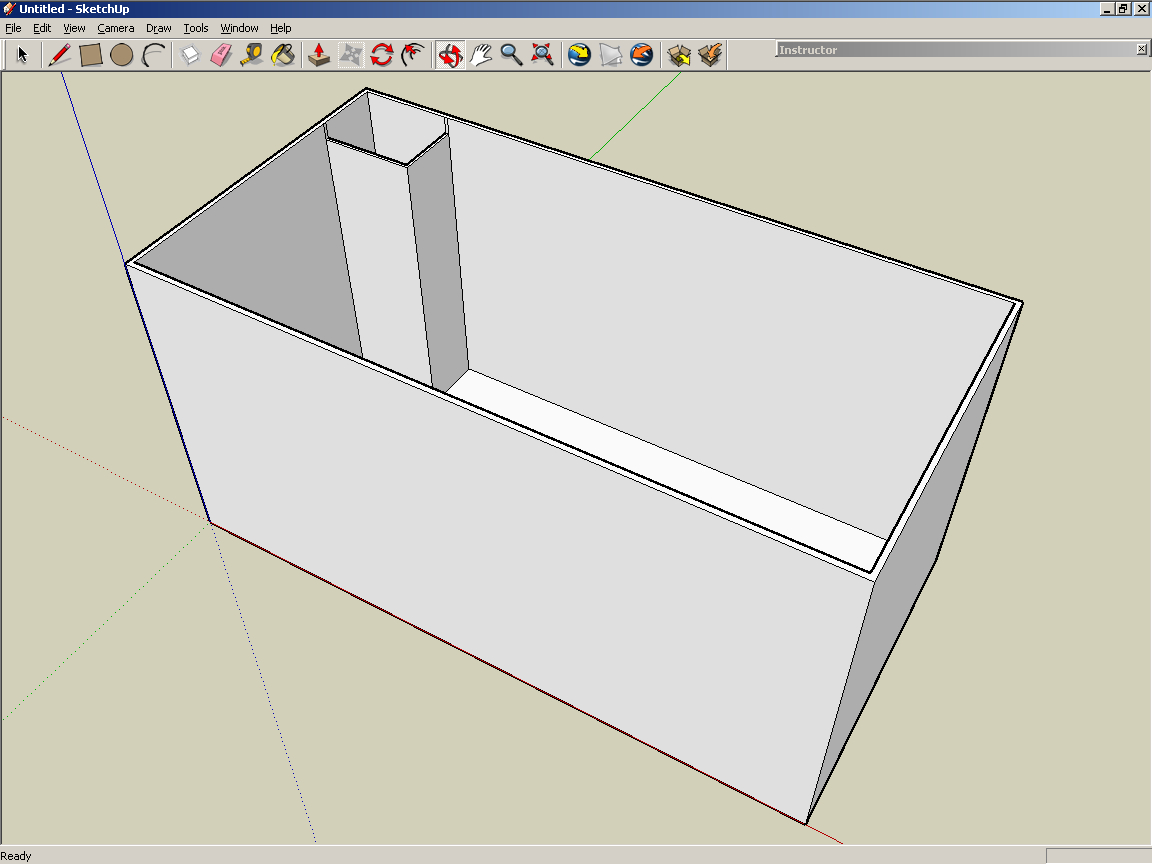
Figure 17: The modeled 120 without shading or opacity applied.
Adding Color and Opacity
Now let’s apply some color and opacity to the surfaces to make it look like a glass aquarium. The one thing to note here is that SketchUp doesn’t have a “specular reflectance” option where a person can make surfaces reflective/glossy. There is a 3rd party plugin for SketchUp called RPS Ray Trace that can achieve this effect, but it is not free. That will be one limitation to your modeling ability.
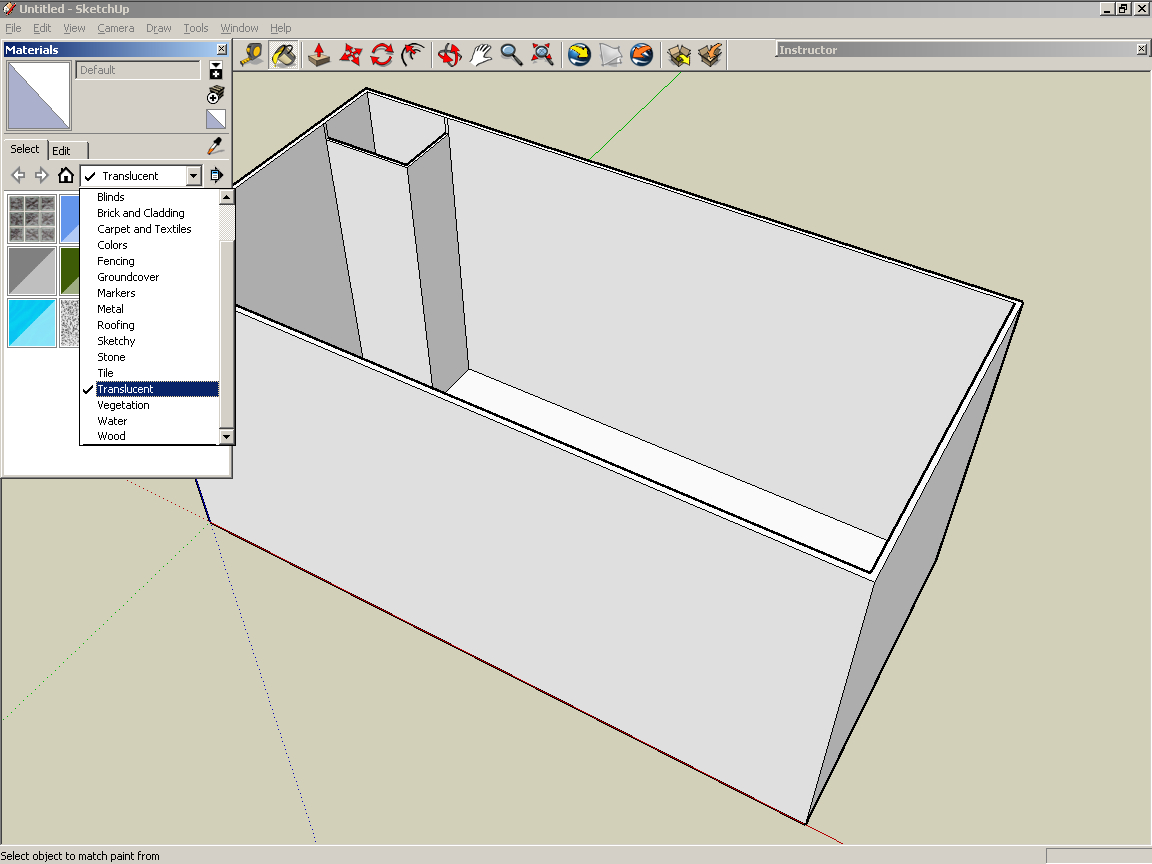
Figure 18: The “Materials” window.
To apply a glassy look to the surface, select your Paint Bucket tool from the toolbar. A “Materials” window will pop up. From the dropdown menu on that window, select “Translucent” and then the “Translucent_Glass_Sky_Reflection” option.
Now click on your surfaces to “paint” them with the texture. Make certain to click on both sides of all of your surfaces to paint them. You will need to use your Pan, Orbit, Zoom, and Zoom Extents tool items to move around your object. Do not paint your overflow at this time, as we will do that in the next step.
Now, go back to your Paint Bucket / Materials window and select “Colors” from the drop down menu. Select a black color and paint your overflow surface (inside and out) black again using the Pan, Orbit, Zoom, and Zoom Extents tool items to move around.
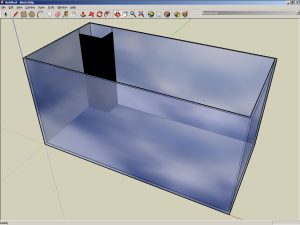
Figure 19: Your finished model should look something like this once completed.
Once that is done, use your Orbit and Pan tool to rotate to the front of your object and click the Zoom Extents tool.
That’s it. You’ve modeled and textured your first object. Congratulations!
This is just the beginning of what you can do with SketchUp for modeling. You can make sumps, skimmers, stands…the sky is the limit. There is a very detailed Users Guide (Windows / Mac) available online in case you get stuck on any projects you wish to try out with SketchUp.
Additional Resources
There are a number of models available for download at the new Reefs.org website:
- Lumenarc III Reflector
- Various sized tanks
- Schedule 40/80 piping
- Eggcrate
- Durso standpipe
During my search, I also found a website called SuttonReef.co.uk that is run by David Pugh. He has a number of excellent SketchUp models available for download:
- Deltec AP600 Skimmer
- Eheim 1260 pump
- MaxiJet 900/1200 powerhead
- various PVC fittings
- eggcrate
The website states that the models are free for personal use but if they are to be used on another website or used commercially, permission will need to be obtained from the author(s) first.
UltimateReef.com based out of the UK has a number of models available as well, some being the same as the ones that Dave has for download. Note that you need to be a member of this site to view and download the SketchUp files. These are also free for personal use. I recommend you check them both out.
I’m also including links to online resources for learning more about how to use SketchUp:
- Official Site
- Download
- 3D Warehouse
- Online Community
- SuWiki: SketchUp encyclopedia for SketchUp users
- Wikipedia:
Sketchup
Parting Thoughts
If I had a “pie-in-the-sky” wish, it would be that manufacturers create their own SketchUp models and make them available for download or that one could create an online SketchUp model repository specifically for aquarium items. Reefs.org has one setup on their website and items could be added if there is interest.
If you’ve found this article interesting and create models based on what you’ve learned here, I’d like to hear from you. Email a screen capture, 2D Graphic (File –> Export –> 2D Graphic), or the SketchUp file to [email protected]. If there’s enough interest, I might feature it in an upcoming article.
Have fun modeling!

0 Comments