
by Richard Rayl
In the world of aquarium reef-building, there are basically two choices when it comes to coral adhesion: cyanoacrylate based super glues, and 2-part epoxy putties that you knead into a clay-like consistency and wait to set. Both have their strengths and their weaknesses, and both will be used in reef tanks for a long, long time to come. Recently, Aquamaxx introduced a new alternative product to add to your coral-mounting tool bag: Reef Welder Epoxy Glue.
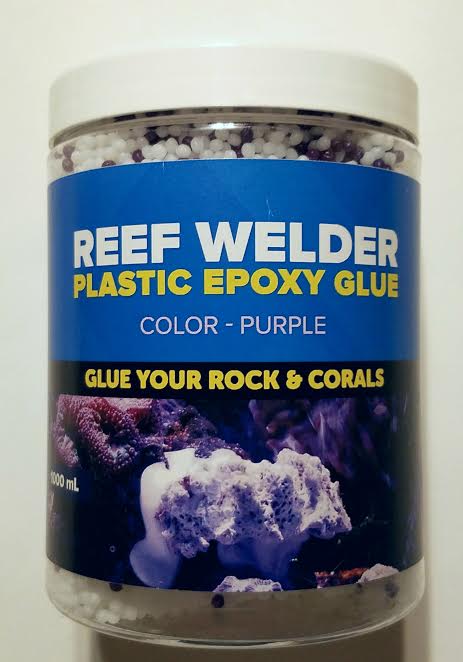
Now, the name of this stuff is something of a misnomer. It’s neither an epoxy, nor a glue. Reef Welder is a low-temp thermoplastic. It comes packaged in the form of small plastic beads, not unlike biopellets in size, that melt at relatively low temperature, then solidifies as it cools into a very hard, durable plastic. While it’s true that it is ‘tacky’ when first melted and mixed, it’s not really a true adhesive. The beauty of Reef Welder lies in its ability to QUICKLY mold itself to surfaces, and just as quickly cool. This forms a friction bond with the rock or coral you’re adhering, as it matches the surfaces perfectly. Epoxy putty does this as well, but with certain drawbacks: it takes a few minutes to cure (leaving your arm in the tank holding the coral) and it may cause your protein skimmer to go haywire while the chemical reaction of the epoxy takes place. Reef Welder has neither problem. It’s totally inert, and it cools and solidifies into a firm plastic in less than a minute under normal underwater aquarium conditions.

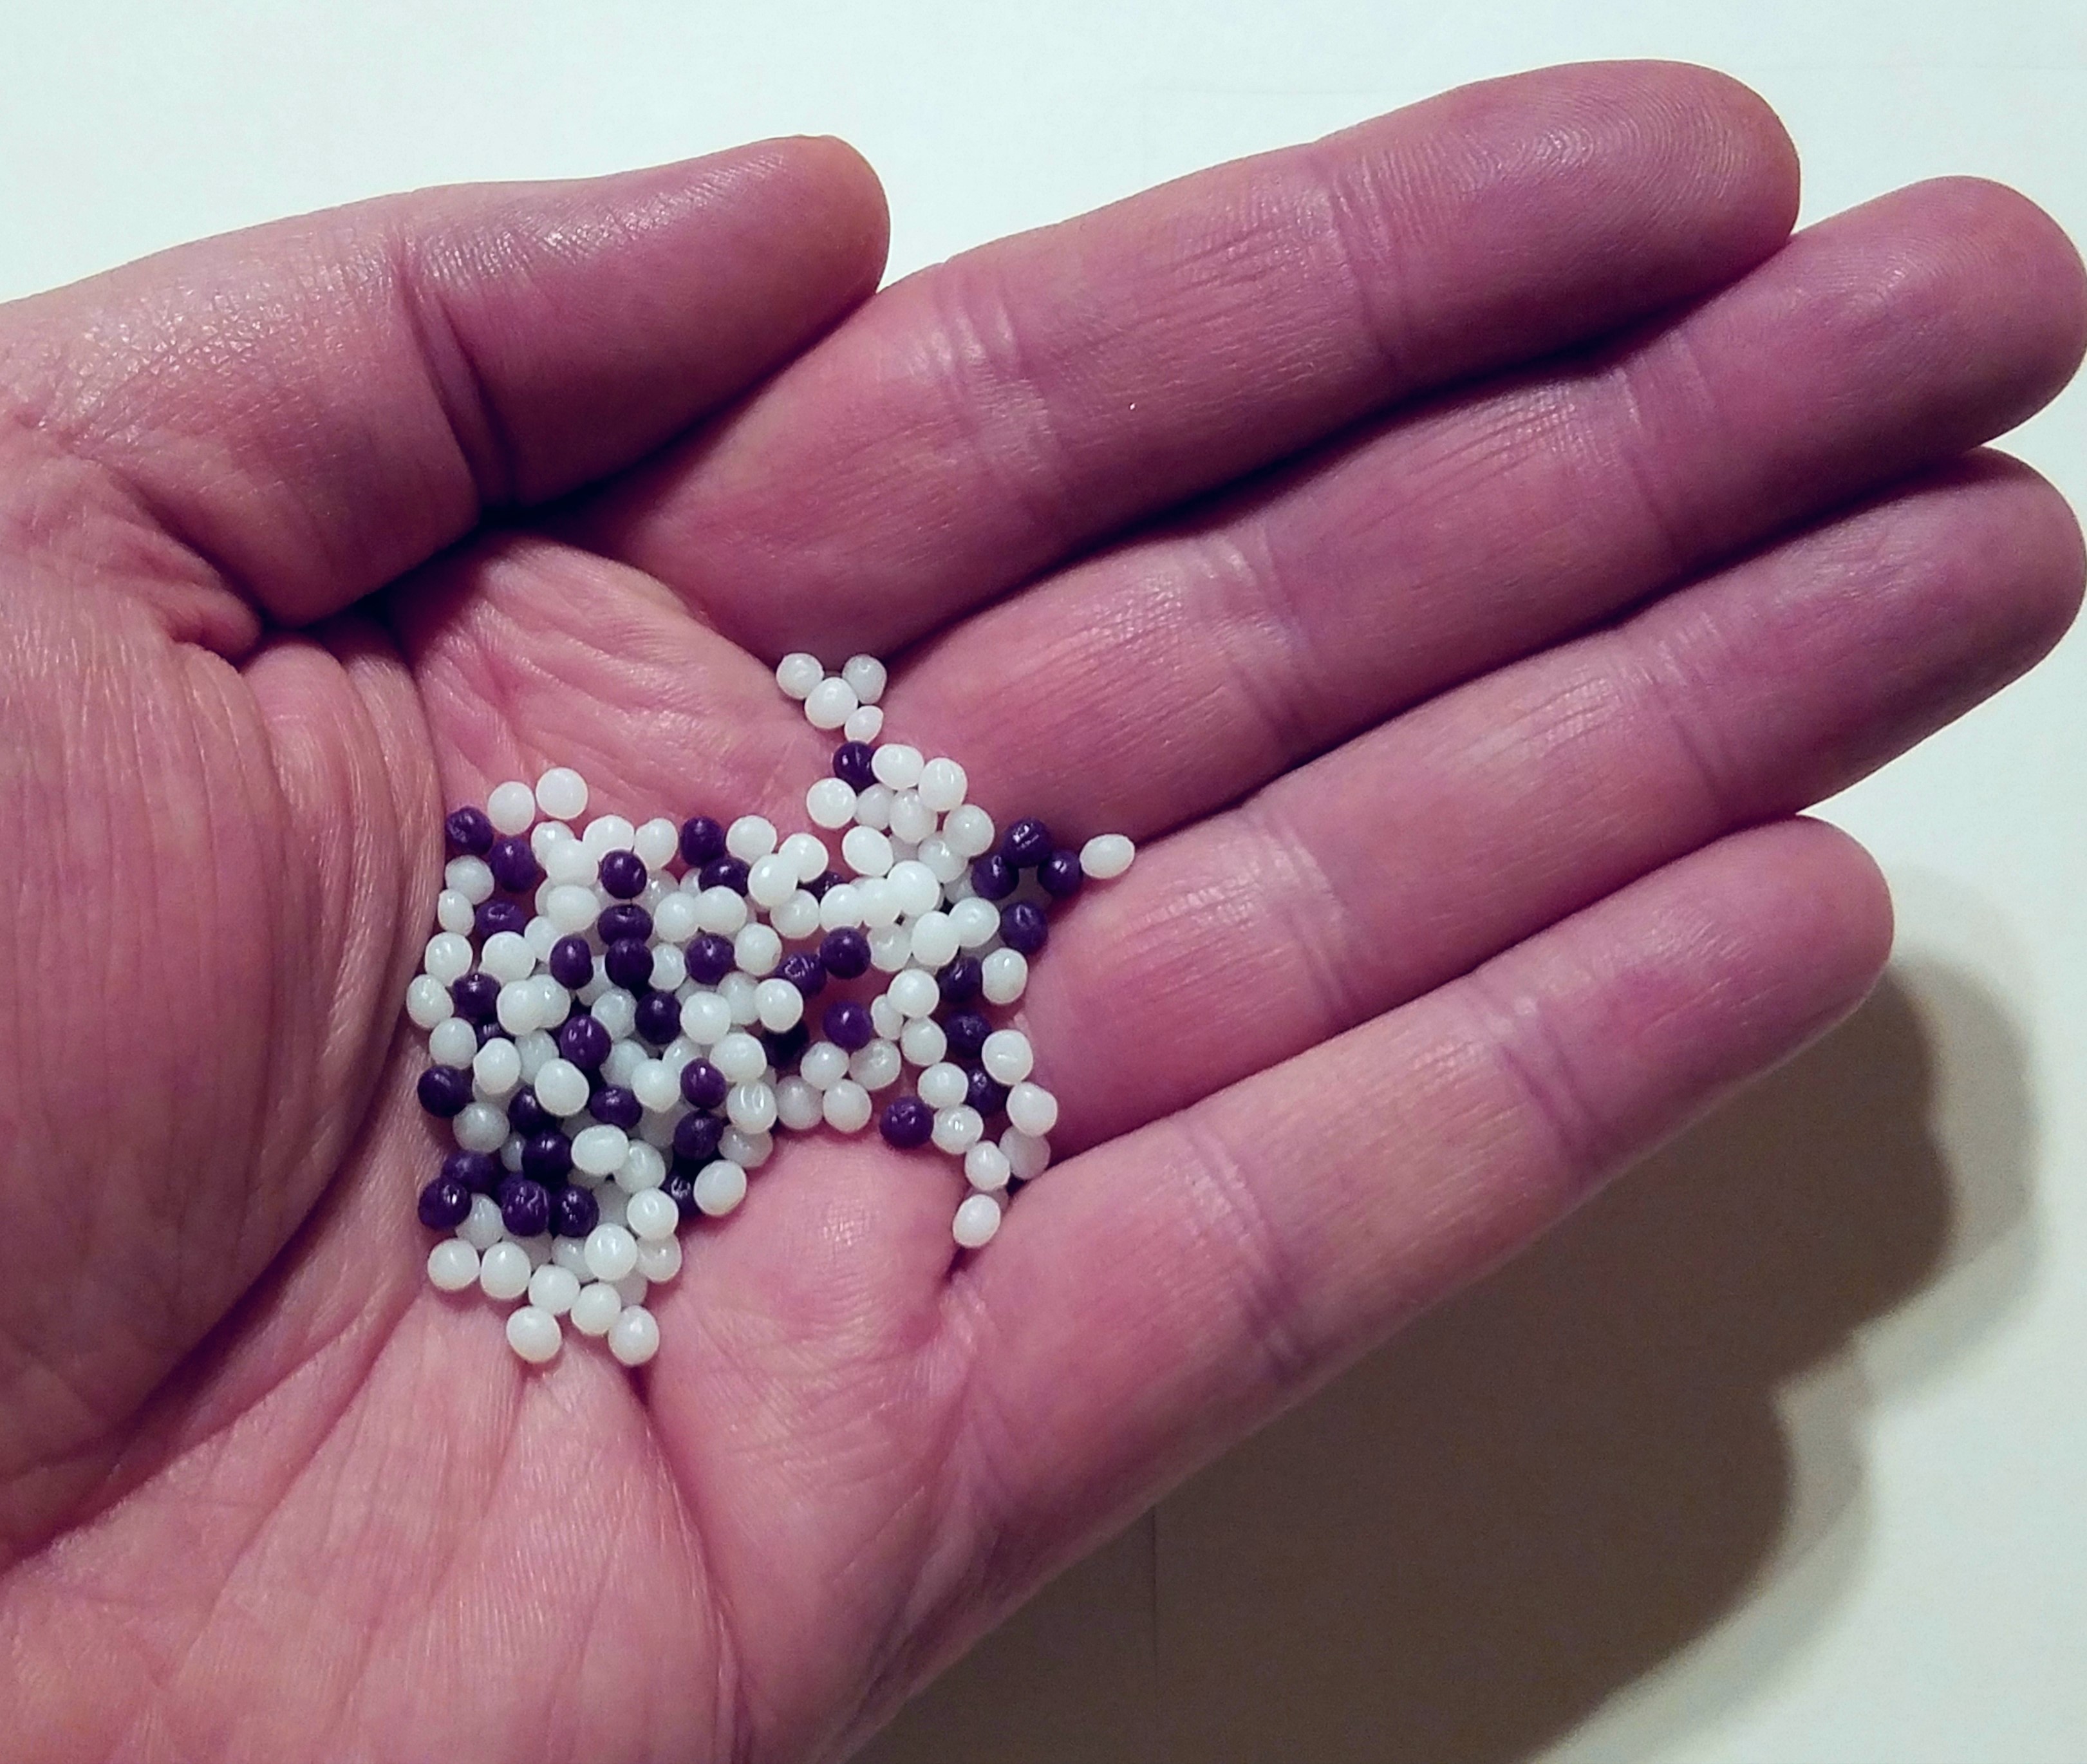
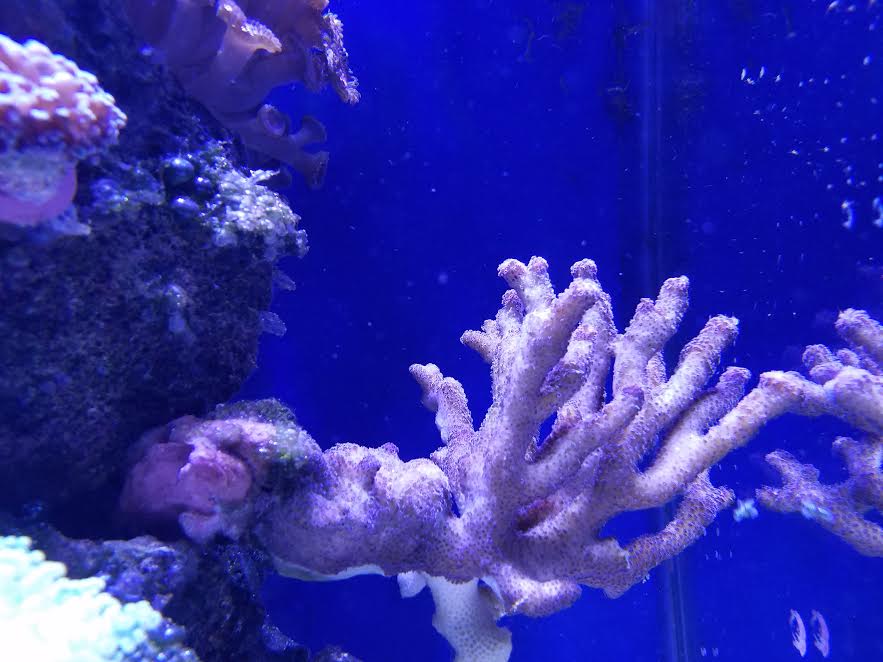
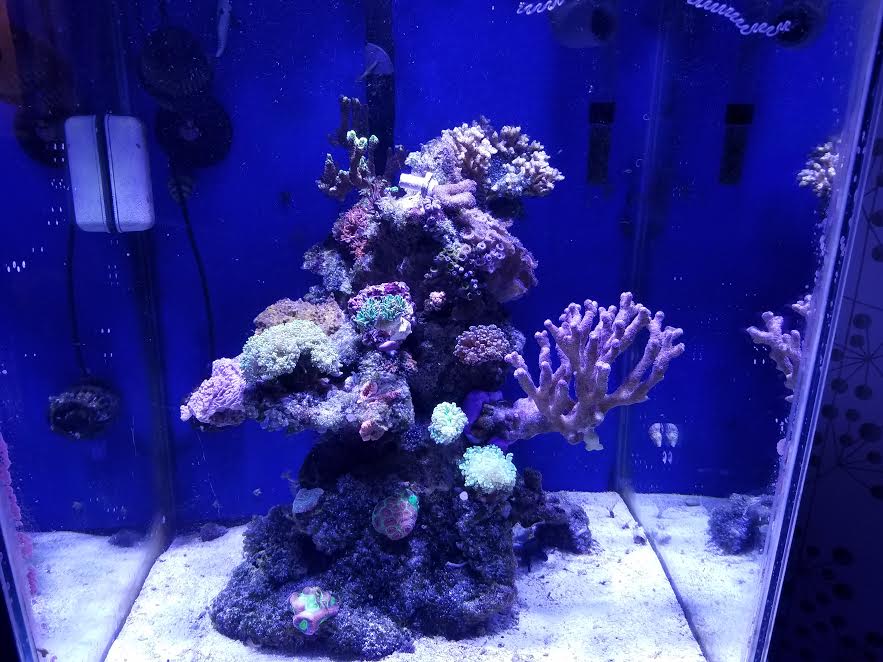
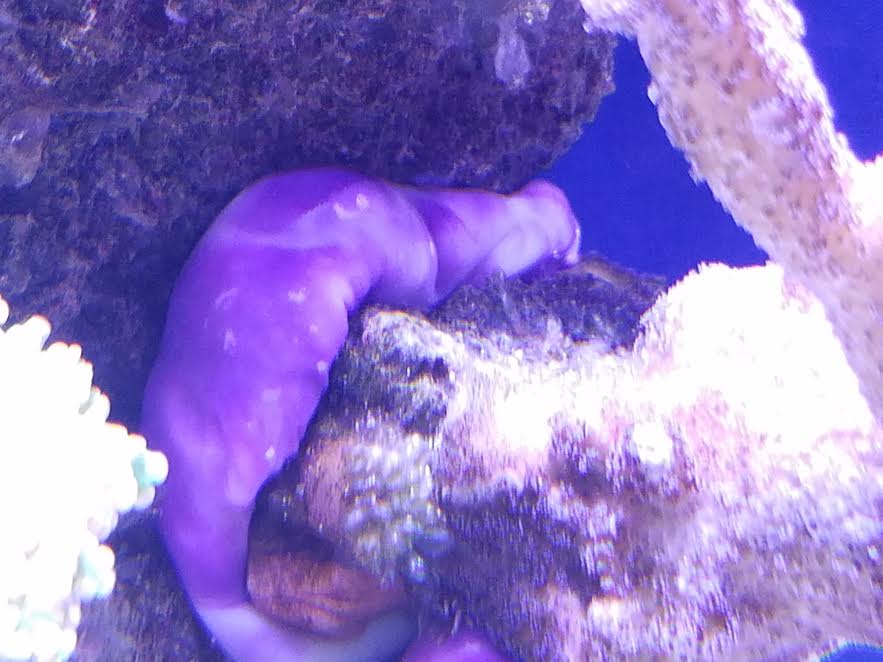
Reef welder comes in two forms: a pure white plastic and a reef purple. I chose the reef purple, since I expected most of the ways I would use this would be visible underwater. To put it to the test, I picked a problem coral I’ve been having difficulty with for some months: a large purple Stylophora colony that had broken away from the main rockwork. Due to the size, weight, and desired position of the colony, I’ve been unable to use any of the standard products to get it to stick. What it needed was a large amount of epoxy “packing material” to be plugged under it, and earlier attempts resulted in a gooey mass of wasted epoxy, since it was far too much to cure quickly. You can see the coral here, balanced forlornly against the glass. It’s taken multiple falls to the sand bed recently.
Reef Welder is simple to prepare: measure out the amount you think you’ll need, and dump the loose beads into a bowl of near-boiling water. The water doesn’t need to be hotter than 140 degrees Fahrenheit. I used my wife’s tea maker to heat the water – don’t tell her.
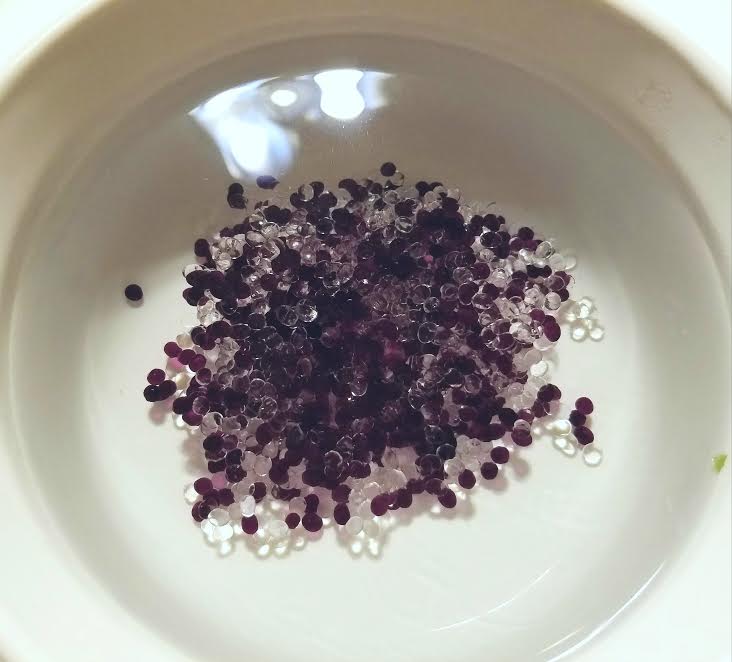
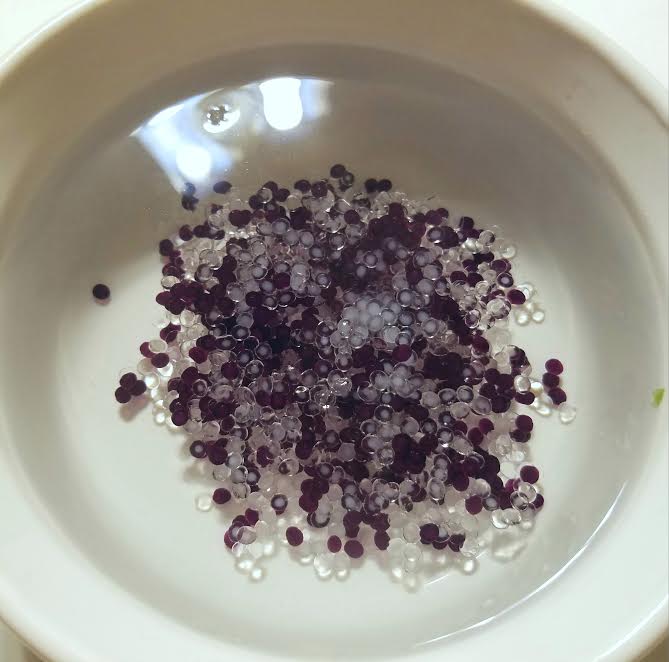
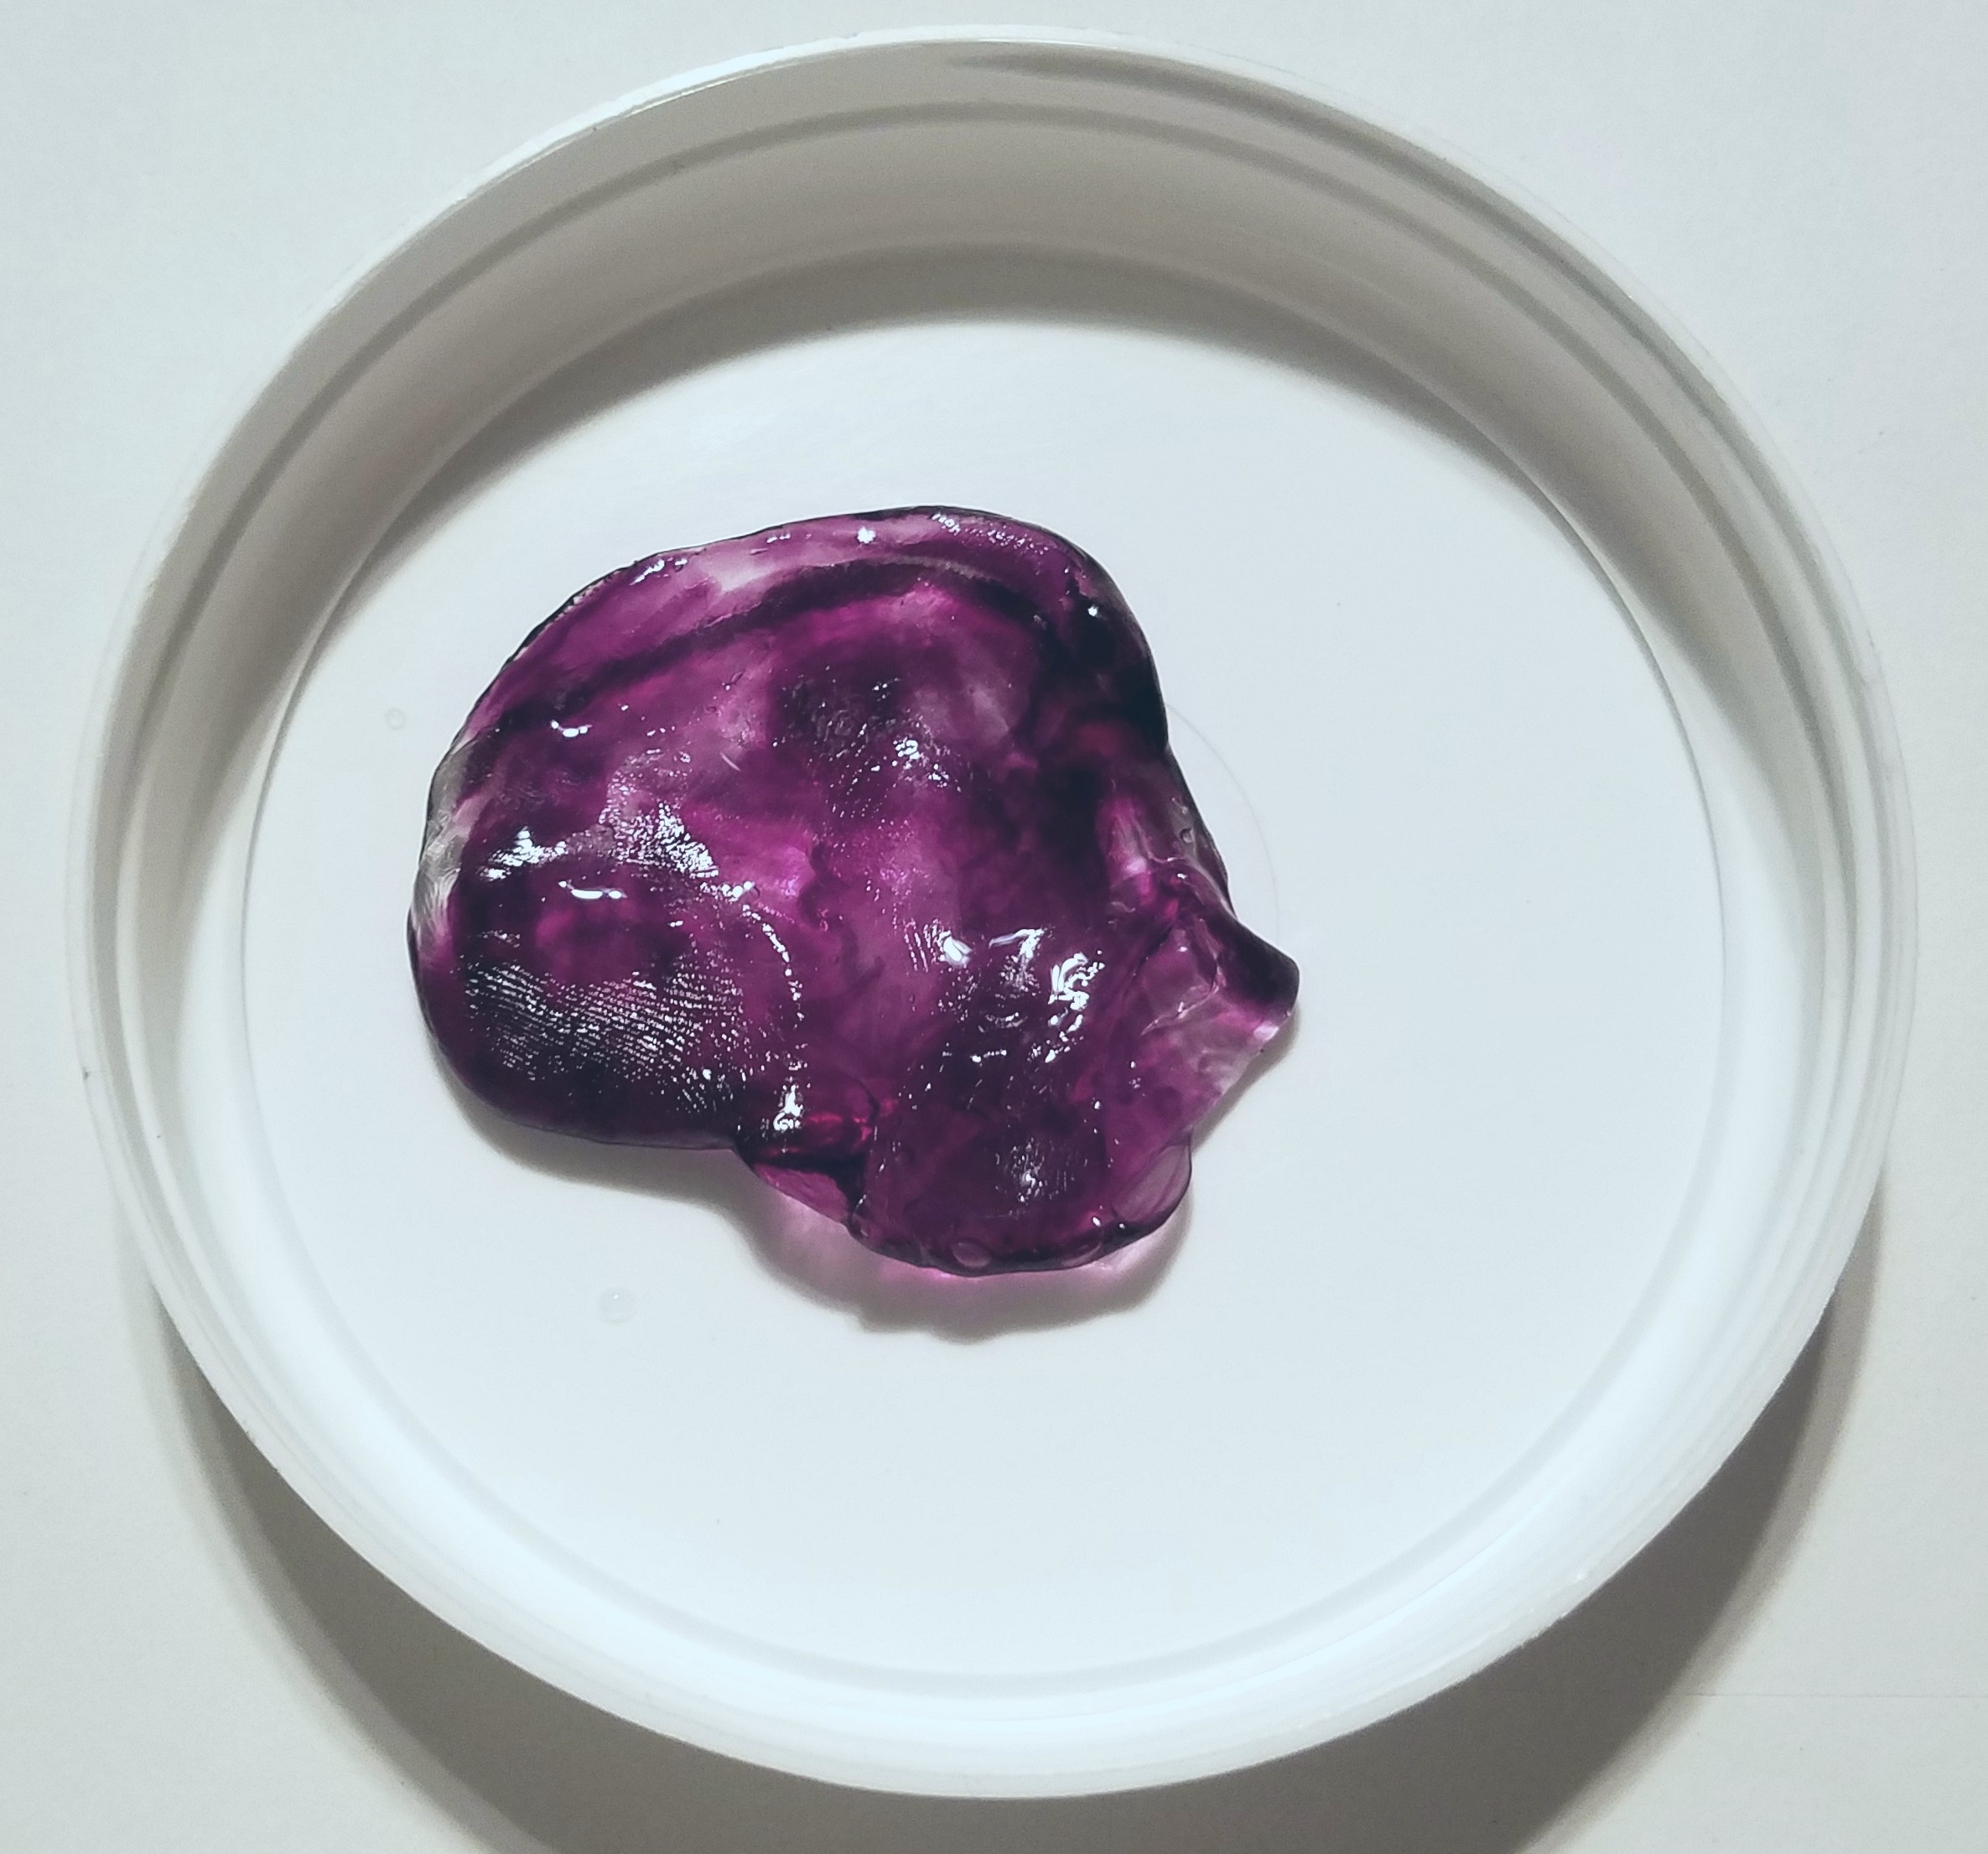
The beads quickly gain a translucency to them, and then the white beads turn almost completely clear. Now is the best time to take them out of the water and start kneading the plastic. Be careful – it will be very hot – and you’ll notice a slight stickiness to the beads as they melt into themselves and become putty-like in consistency. At this point the purple color is still somewhat translucent, but don’t worry – it turns opaque as it cools. You’ll have to work a little quickly as soon as the product is out of the hot water. I think it’s best to make a little more than you think you’ll need, in case you discover you misjudged.
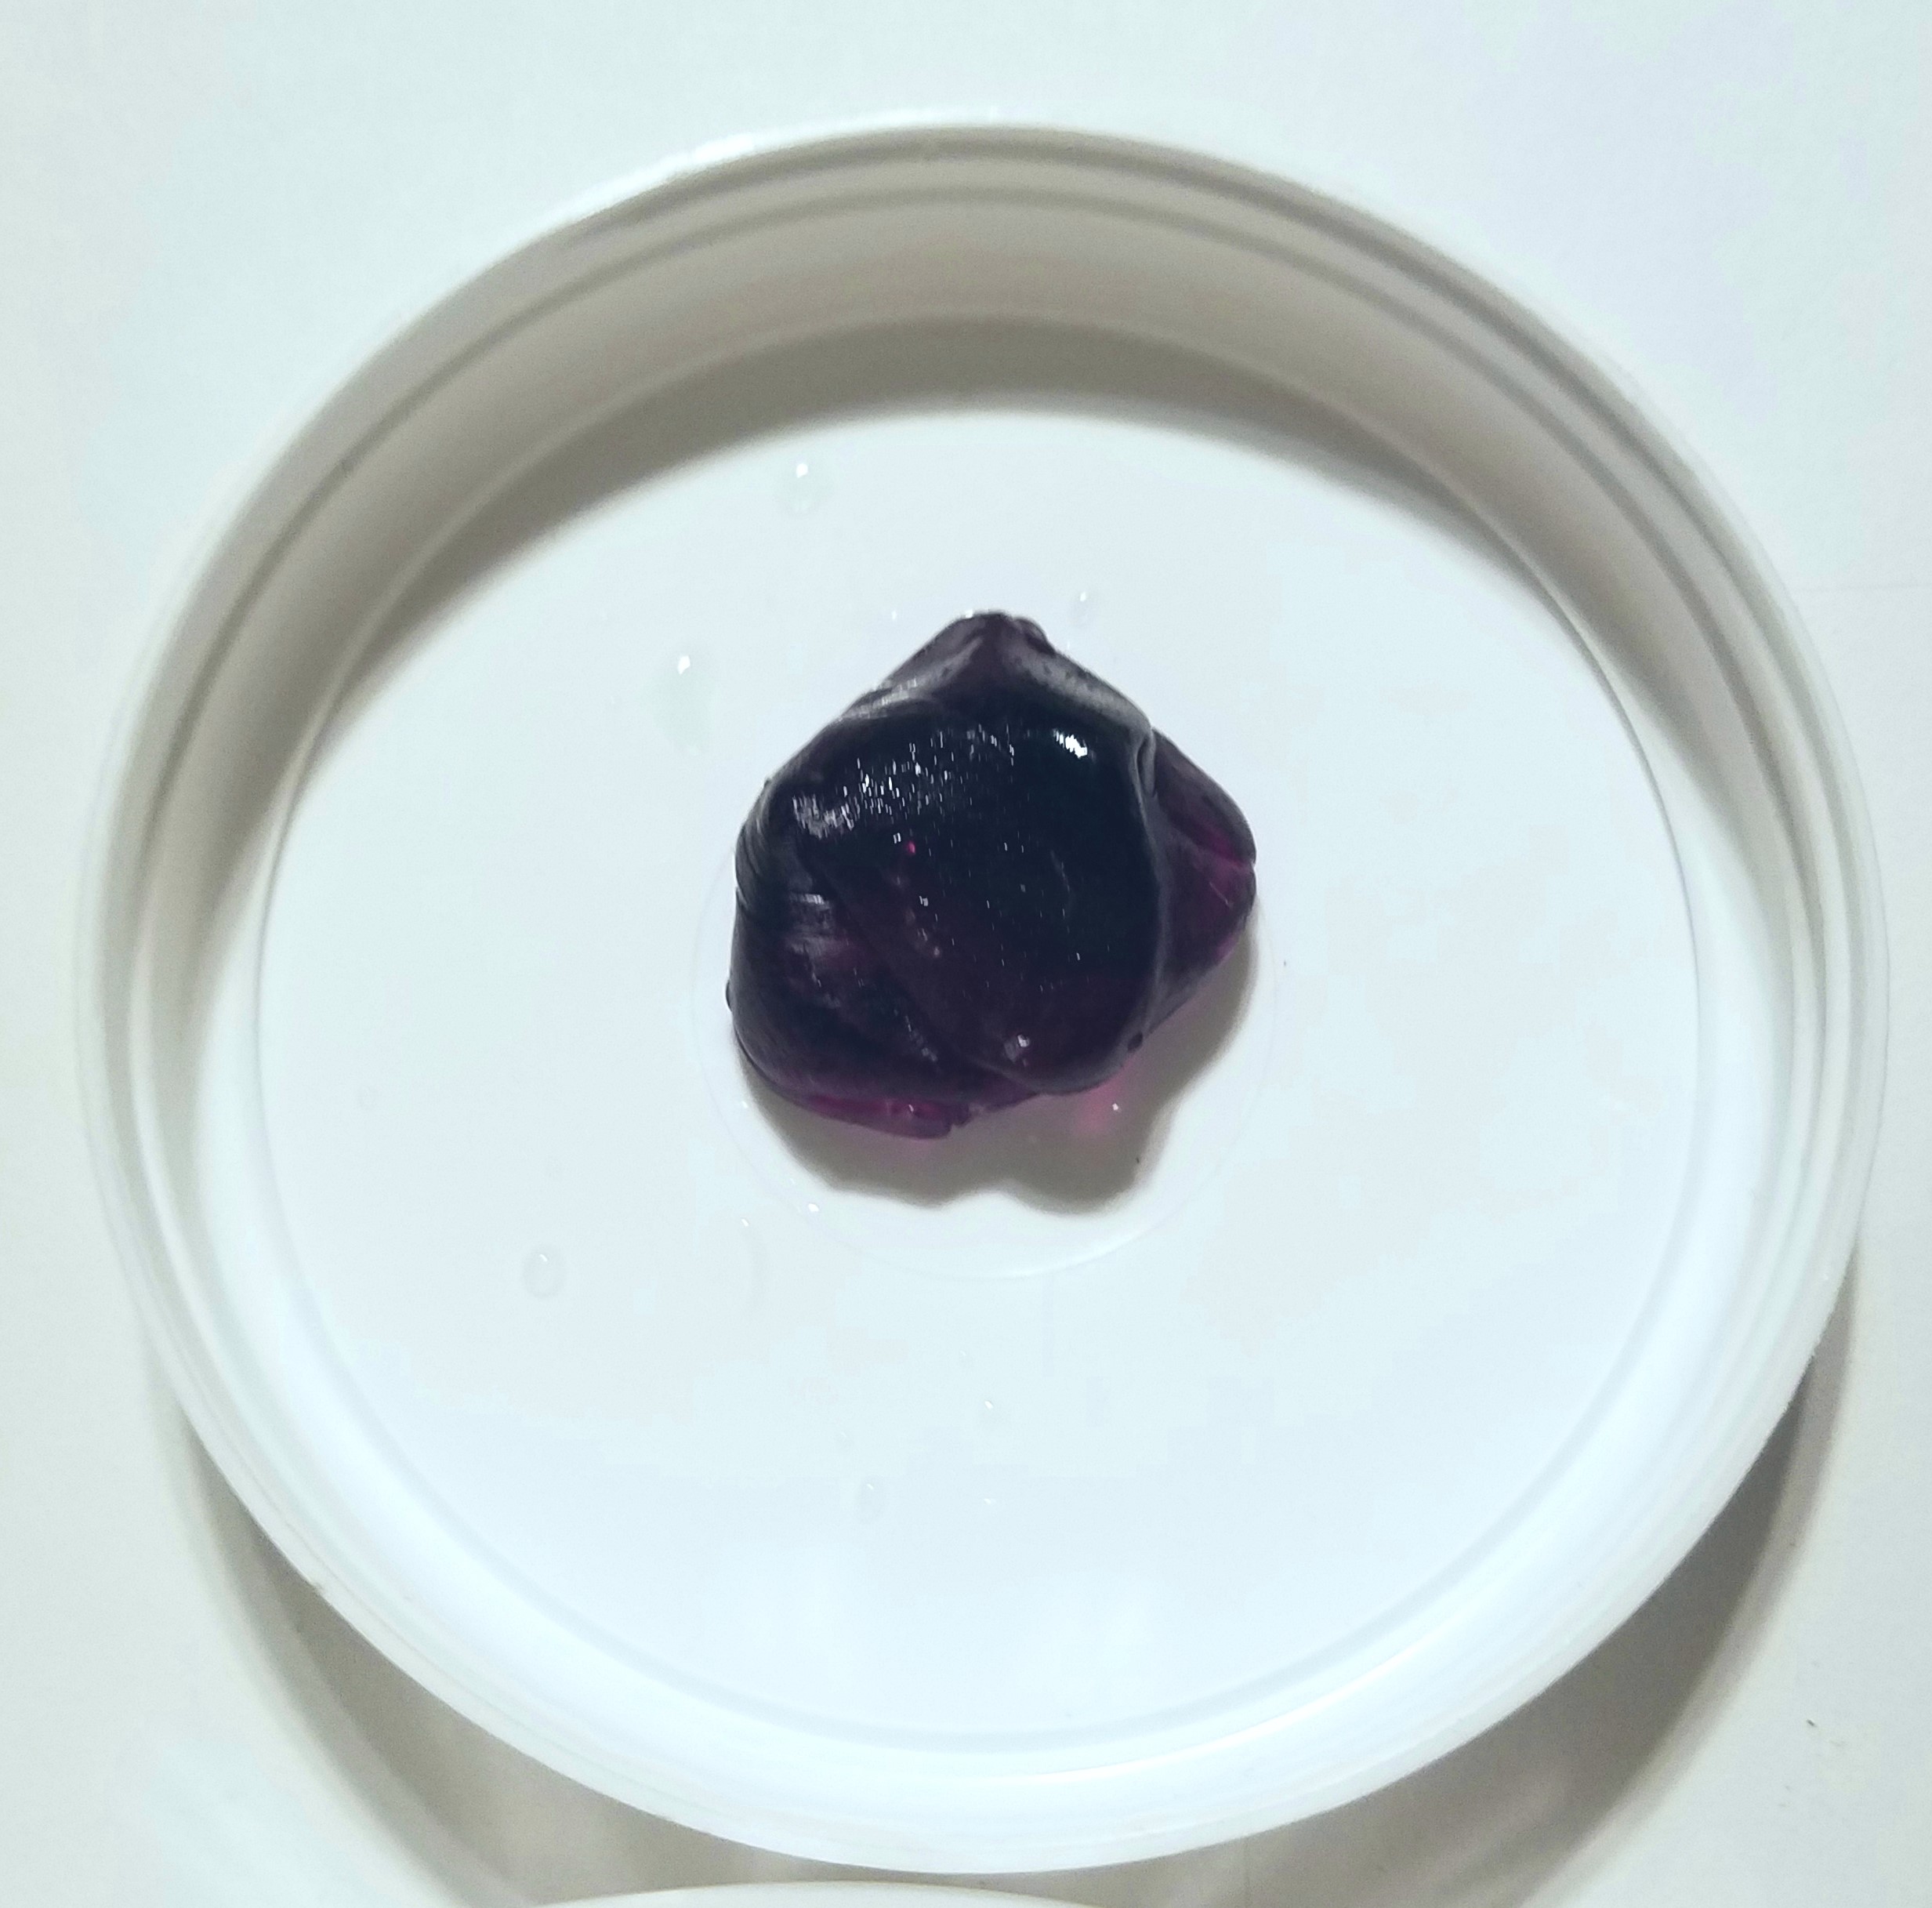
I started by test-fitting the coral where I wanted it to go while I was waiting for the beads to melt. I checked to see which surfaces of the rock would be touching the colony, and where I’d need the Reef Weld, as well as where I’d need to build up from the broken rock. Once I was sure, I got the hot plastic.
Reef Weld kneads easily and starts to firm up quickly. As soon as I had it mixed to an even color, I started by applying it firmly to the coral colony outside of the tank. Once done, I plunged the coral into the tank and press-fit it to its new home, making sure to use enough pressure to squeeze the hardening plastic out on the sides. Reef Weld thermoplastic hardens in less than a minute in the tank, so in no time flat I had a coral that – for the first time in months – was upright and relatively stable. Just to be sure, however, I heated and mixed a second batch of plastic and used it to build out the area under the coral, just to make certain it had a firm base from now on. The result? A well-mounted, large coral colony is back in its difficult position!
I can see a lot of good uses for Reef Welder for coral mounting. Since it molds to surfaces, I think this would be a good candidate for combination gluing techniques using both superglue and Reef Welder. It will also be an excellent product to hold difficult corals such as gorgonians. You can also hand mold Reef Welder to create custom shapes. I’m thinking of custom holders here, excellent for giant clams! I also see interesting applications for rockwork bonding with Reef Welder, especially for branching type aquascapes. The possibilities are only limited by your imagination.
In closing, I think Aquamaxx has a great product here. While not meant to be a real epoxy, it takes some of the best qualities of epoxy putty and combines with them with the non-toxic and quick-curing properties of a melted plastic. It’s definitely worth keeping around the fish room when it comes time to start bonding those frags.
Happy Reefing!


Love Reef Welder. It goes a long way and doesn’t blow up your skimmer like 2 part epoxy. You do have to use frag glue to keep it attached to the rock but not a lot.