

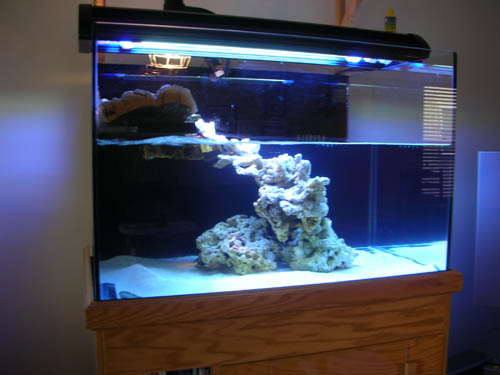
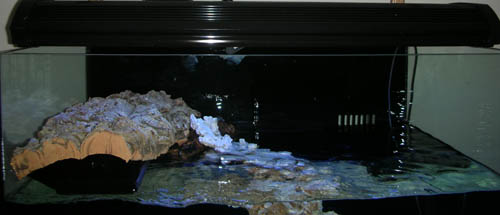
I figured I'd start the thread off with the end result and then show how I got there. There is still work to be done (hang the lights from the bracket, fill the planter box) but for the most part, this is a finished product.

You are using an out of date browser. It may not display this or other websites correctly.
You should upgrade or use an alternative browser.
You should upgrade or use an alternative browser.
My new DIY project
- Thread starter loismustdie
- Start date

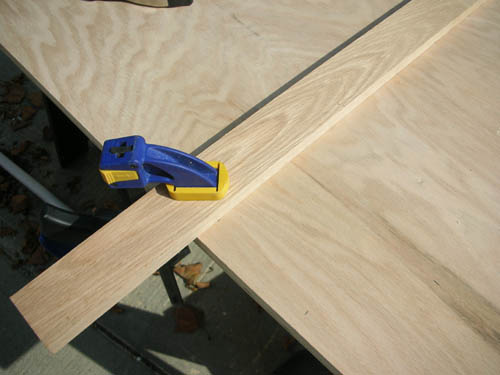
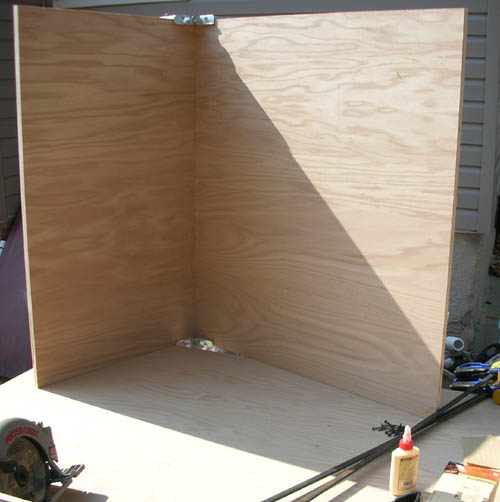
I didn't use any dimensional lumber for the build. Only 3/4" plywood with red oak veneer. I don't have a table saw, so I made all my cuts using a circular saw and a straight edge as a guide. This is also the way I cut acrylic. Time consuming. Measure 2 to 3 times and make sure your straight edge is clamped in tight.
Attachments

- Location
- Forest Hills
wow, thats the niciest terrapin tank i ever seen. those little turtles must be jumpin with joy.
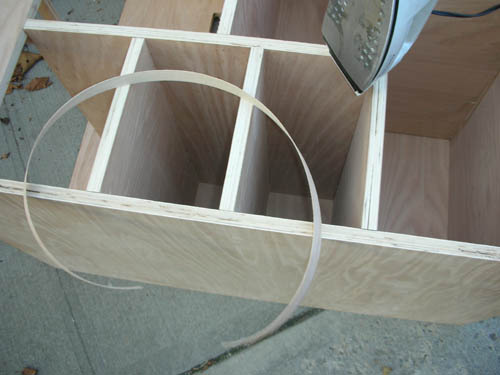
After the cuts are made, I would use wood glue and clamps to hold everything together. The top and bottom of each side will be covered by molding, so I use 2" screws there. Then I would run down the rest of the side with a nail gun. I used a finishing nailer with 1 1/2" nails. They left a very small signature which were easily covered with wood filler and unnoticeable.
Attachments

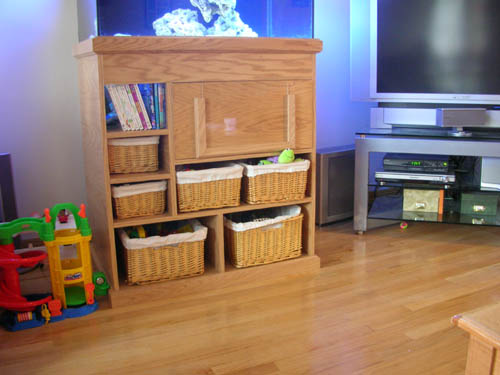
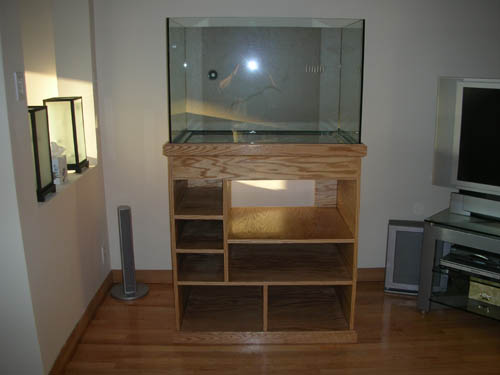
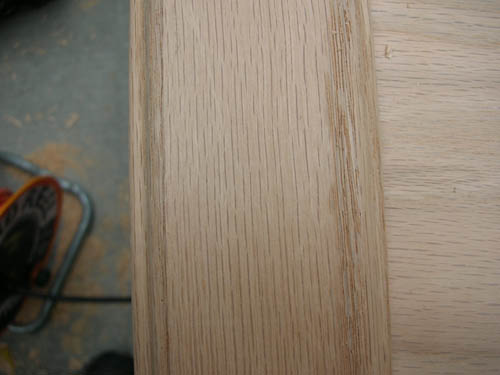
Because I used Plywood, the front looks like plywood, so I had to buy some more veneer to cover over the face. In the first pic, you can see what it looked like before the veneer.
Attachments

- Location
- NY
Looking great Chris.
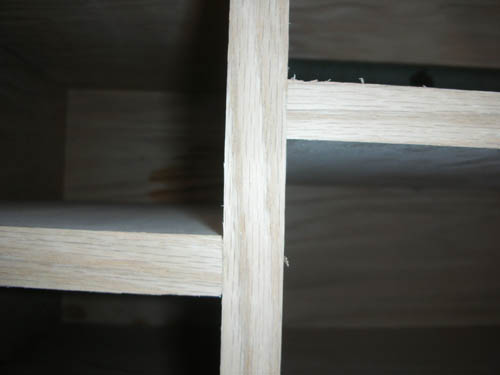
Note to self: Inform Chris' wife he could use a router and table saw for x-mas.") Those shelves sitting in a routed sleeve would be ideal.
Those shelves sitting in a routed sleeve would be ideal.
Note to self: Inform Chris' wife he could use a router and table saw for x-mas.
Those shelves sitting in a routed sleeve would be ideal.


russ, don't give me any ideas. You know I'll rip the whole stand down just to make that happen. Good idea though. I should have done that... damn. That's it. It's coming down. Just kidding, but seriously, I'll now think of that every time I look at the stand.:letitalloLooking great Chris.
Note to self: Inform Chris' wife he could use a router and table saw for x-mas.
At least I can tell you that the shelves can hold my weight. I have to climb up there to get the turtles for feeding.
Last edited:
The tank, I got from Glass Cages. Not to pull this thread off line here, but I should comment on this.
All I had Glass Cages do was build me the tank. I didn't want them to drill holes or do anything other than make a glass box. The way I see it talking with many friends who have ordered from them is that simpler your order is, the more likely it would be carried out exactly as planned. As it becomes more intricate, you are less likely to get what you wanted and in some cases (Brett) get nothing at all.
As for their work... you get what you pay for. It's very sloppy with a lot of stray silicone patches I had to scrape off. The glass is scratched in 2 places. If I was going to make this a reef, I would not have accepted the tank. But knowing that the turtles are going to put some scratches in the glass anyway, I was able to be much more forgiving. IMHO, I would not use a glass cages tank for a reef. They also failed to provide me with a turtle shelf which I ordered and was on my bill. They did credit my card back for the cost of the shelf.
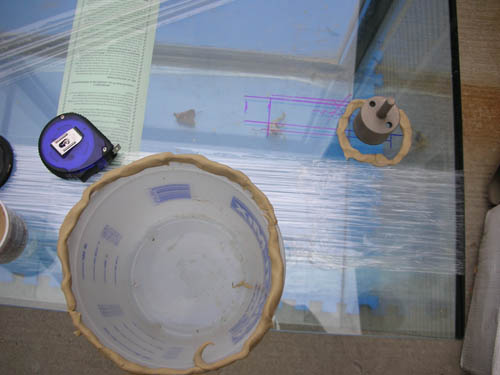
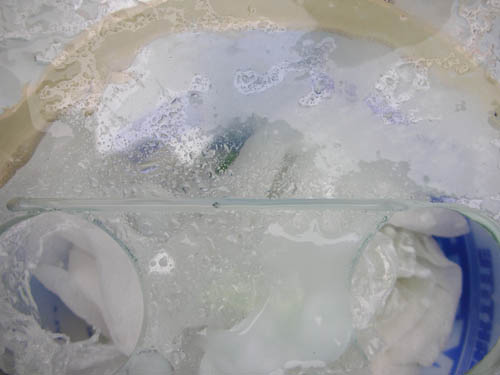
I'm not well experienced working with glass. I've drilled holes and cut glass, but I never tried to make and external overflow in the middle of a back pane of glass. I lacked the proper tools and did a sloppy job. I'm not sure if I would have been better off if I had GC do it, but overall, what I did works and cannot be seen.
What I did was drill 2 holes and connected the dots. If I were to do it again, I would have gotten a drill press to keep the hole perfectly in line (the one on the left dropped a little while I made my initial groove) and I would try to better with the diamond bits. I burned 2 of them and then had to use a rotozip diamond bit attached to a cordless drill which doesn't have anywhere close to the RPM's a roto has. I went off line with my sawing motion.
All I had Glass Cages do was build me the tank. I didn't want them to drill holes or do anything other than make a glass box. The way I see it talking with many friends who have ordered from them is that simpler your order is, the more likely it would be carried out exactly as planned. As it becomes more intricate, you are less likely to get what you wanted and in some cases (Brett) get nothing at all.
As for their work... you get what you pay for. It's very sloppy with a lot of stray silicone patches I had to scrape off. The glass is scratched in 2 places. If I was going to make this a reef, I would not have accepted the tank. But knowing that the turtles are going to put some scratches in the glass anyway, I was able to be much more forgiving. IMHO, I would not use a glass cages tank for a reef. They also failed to provide me with a turtle shelf which I ordered and was on my bill. They did credit my card back for the cost of the shelf.
I'm not well experienced working with glass. I've drilled holes and cut glass, but I never tried to make and external overflow in the middle of a back pane of glass. I lacked the proper tools and did a sloppy job. I'm not sure if I would have been better off if I had GC do it, but overall, what I did works and cannot be seen.
What I did was drill 2 holes and connected the dots. If I were to do it again, I would have gotten a drill press to keep the hole perfectly in line (the one on the left dropped a little while I made my initial groove) and I would try to better with the diamond bits. I burned 2 of them and then had to use a rotozip diamond bit attached to a cordless drill which doesn't have anywhere close to the RPM's a roto has. I went off line with my sawing motion.
Attachments

Last edited:
- Location
- Marine Park
So what type of filtration are you using on this turtle tank? Eheim, fluval perhaps a whisper power filter?
- Location
- Greenpoint Brooklyn, NY
Real nice work! Lucky little turtles....:tub:
Douche.So what type of filtration are you using on this turtle tank? Eheim, fluval perhaps a whisper power filter?
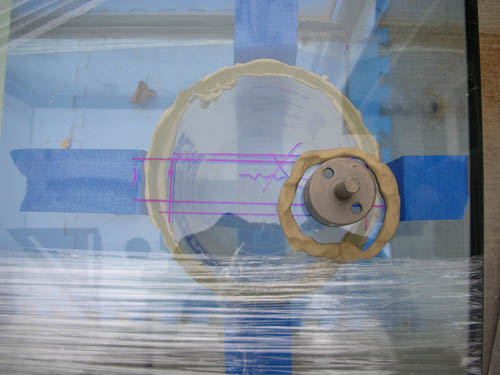
Back acrylic wall had to have teeth cut and a hole drilled, here was the roughing and the finished product:
Attachments


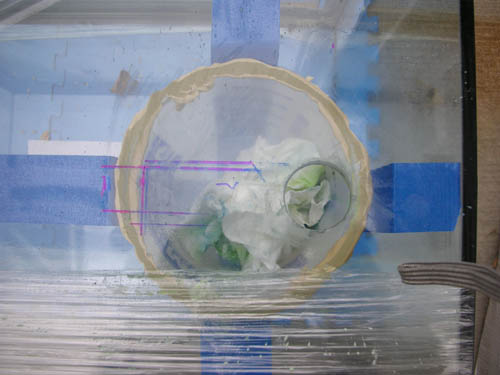
The shelf is acrylic and siliconed in. I made a lip underneath with silicone, but the good thing is, the cork bark is tightly wedged in there so the shelf barely has to support any weight. The back is weldoned together.
Attachments


Me and Fred are messing with each other. He knows exactly how this is being filtered.
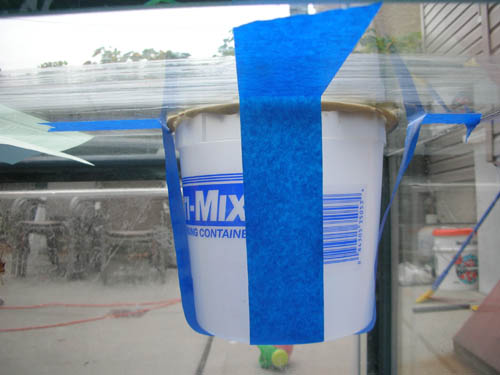
Here is my simple plumbing job. I used all flex (with appropriate flex PVC glue) since my pump had to go a long distance and I didn't want any 90's decreasing head pressure:
Here is my simple plumbing job. I used all flex (with appropriate flex PVC glue) since my pump had to go a long distance and I didn't want any 90's decreasing head pressure:
Attachments

Last edited:
Sponsor Reefs
We're a FREE website, and we exist because of hobbyists like YOU who help us run this community.
Click here to sponsor $10:
