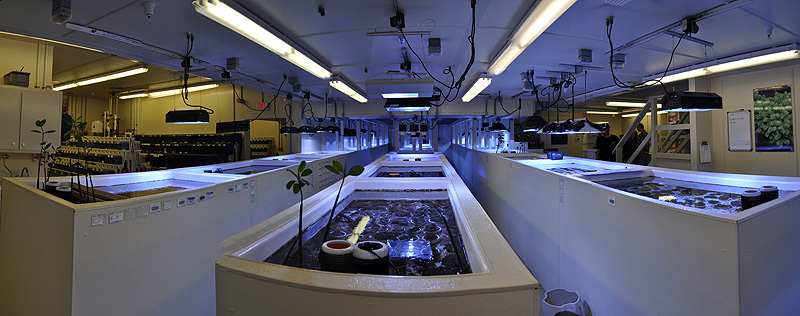
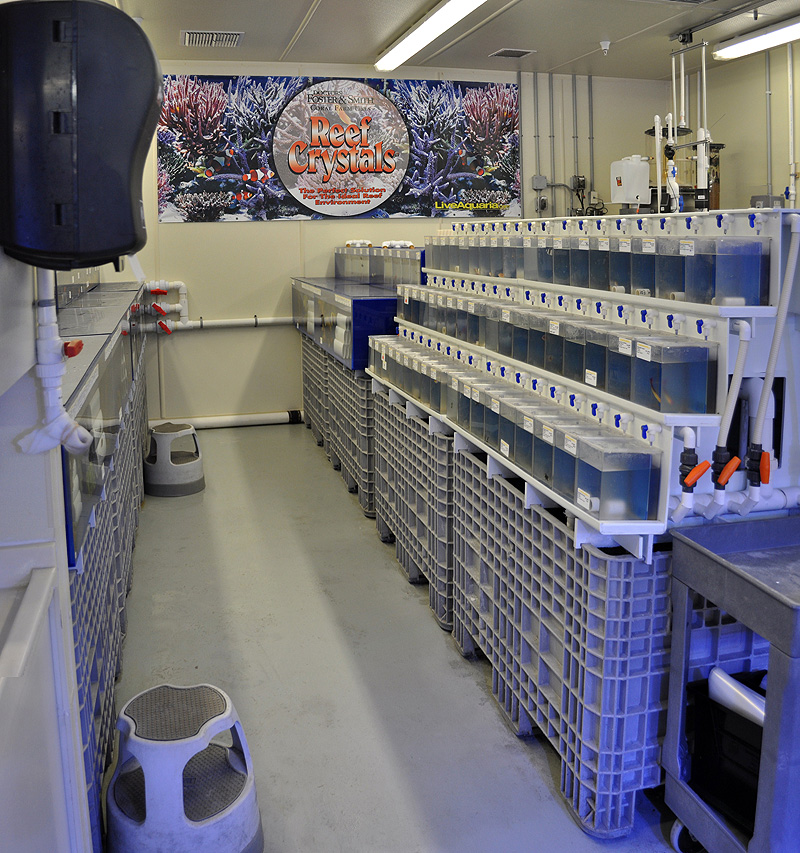
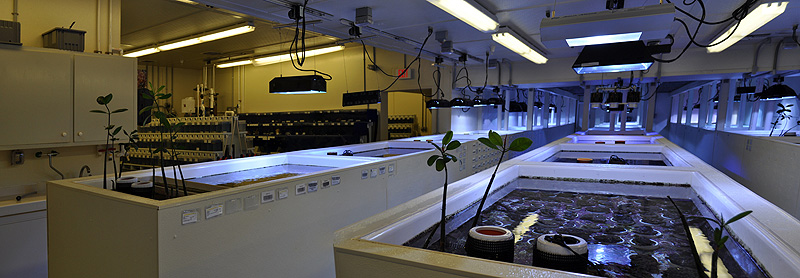
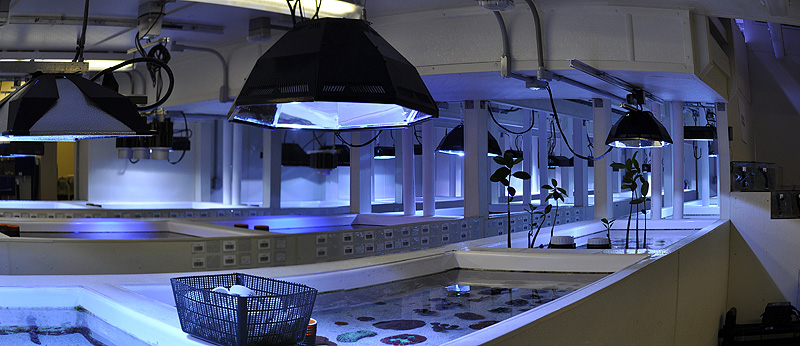
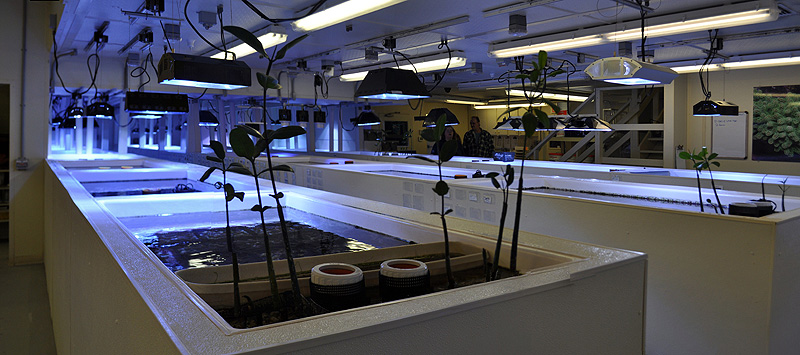
The LiveAquaria facility in Rhinelander, Wisconsin. It goes on for miles...at least it feels that way.
Last week Jay Hansen and I once again visited LiveAquaria headquarters in Rhinelander, WI, and this time we brought Marc Levenson and John Coppolino who were in town to speak at our club’s holiday surprise party. While the concept of a “panorama” doesn’t immediately come to mind with the contents of a reef aquarium, it was second nature as I started looking around the LiveAquaria facility. After our tour, Marc wanted to know how I created these images, and it seemed like something others may enjoy.
I’ve been working with image stitching software for years, but more recently I’ve simply used the freely available Windows Live Photo Gallery tool to rapidly and quickly create sweeping views and impressive large format images. Shooting with composite images in mind allows you to forego the fisheye lens, or get a larger composition from a vantage point you otherwise couldn’t make work. I commonly keep this tool in mind when I’m out shooting during a fly fishing trip, and it creates some fantastic results I couldn’t otherwise get in a single frame – so much so that I rarely share single-shot images these days!
It’s important to note that the traditional horizontal “panorama” need not be the only way to think about composite images. You can always go vertical.
So how do you create these composite images? I’ll walk you through the process of how I created an image of “the world as seen through Kevin Kohen’s eyes”, and end with several more shots from LiveAquaria’s Rhinelander facility.

The world as seen through Kevin Kohen's eyes. (a view from the desk of LiveAquaria Director Kevin Kohen)
As I mentioned above, creating a composite image starts by having the right raw materials. That means intentionally shooting a series of overlapping photos that you’ll later merge together. There are some important things to consider when gathering up your “raw materials”.
Realize that in the end, you’ll be cropping the composed image. This means you’ll want a fair amount of “bleed” in each individual shot, and you’ll never know how much on each edge until the initial composite is rendered. So, plan for a lot of “bleed”, which generally means no zoom, and trying to get as far away from the subject as is reasonably possible. In our sample image, that meant trying to get as much of the ceiling and floor as I could into each frame.
It pays to think about exposure. Some cameras allow you to lock all settings, and in some cases this is a good thing. There are times when I shoot outdoors where settings will otherwise change as you pan left to right, or from ground to sky, and the results can be trees with large gray chunks around them, bordered by bright blue skies. Using one consistent setting would prevent such blending issues. However, when shooting indoors or on outdoors on days with more muted lighting, I’ve foregone locking settings for the simplicity of shooting automatically (the other upside is that each individual picture winds up being a pretty good standalone image). In the end, it’s up to you.
The other tip is to make sure there is plenty of overlap between each photo. I’ve read somewhere that you need at least 40% overlap for effective compositing and blending of each individual shot. Here’s the series of raw photographs, shot sitting at Kevin’s desk, turning to my left as I shot each image in the sequence.
In Windows Live Photo Gallery, compositing is 100% automatic. In other programs (i.e. Photoshop’s Photomerge or earlier Panoramic / Virtual Tour Software I owned) there is an opportunity for manual input or corrections. Since I’m showing you the “easy” way this time, all I have to do is select the range of images that makes the composite, and choose “create panoramic photo” from either the right click menu or the “make” menu at top.
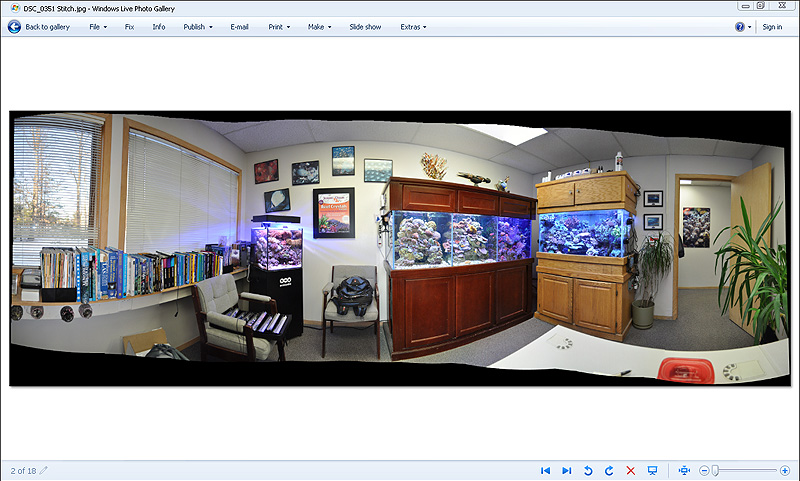
The software goes through a series of steps, first reading each individual photo, then solving alignment (looking for the areas of the photos that are duplicates / match up), followed by compositing the photo. While this process is running, you can continue to select other photo sequences, adding them to the cue of photos to composite. When each composite is complete, the process pauses to require you to save it. So it doesn’t run 100% in the background, but to a large extent, you can get your panoramics all set up and do other things while the process. A word of warning – rendering composite photos takes time and memory – if you have too many images in a composite, it may fail due to insufficient memory. Once your composite is rendered and saved, the software will open it up, and you’ll see an image like this.
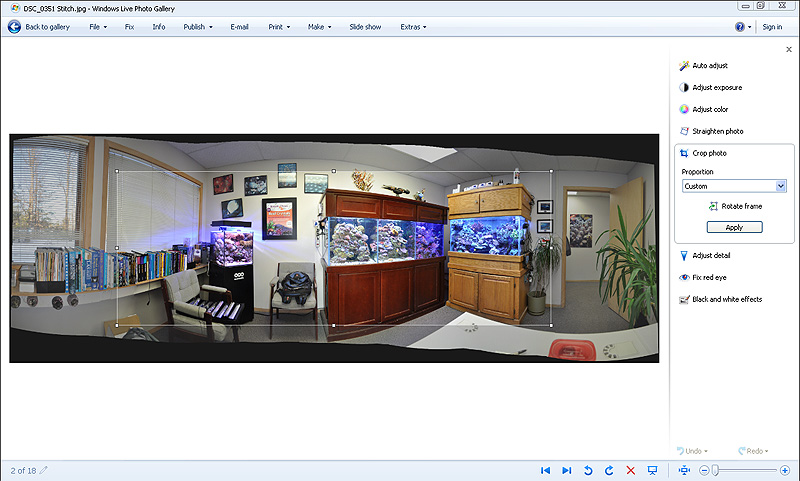
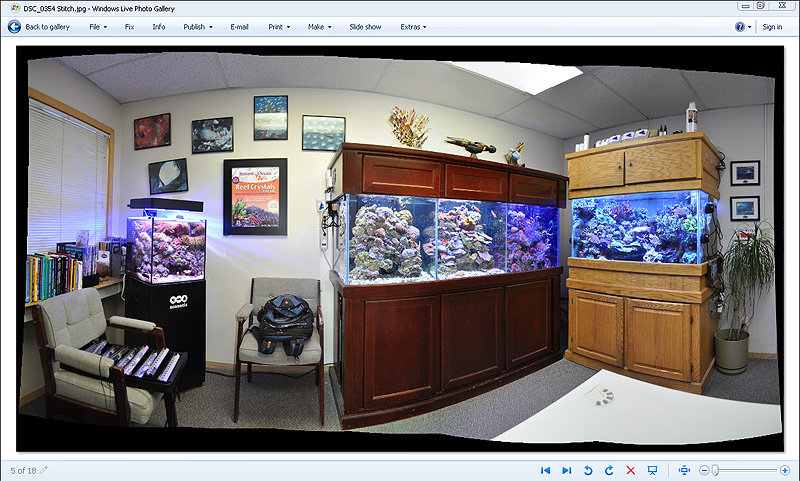
The black areas that border the image are those areas where there is no actual pixel data to draw in more image. If you look closely, you’ll see that I clearly rose my camera slightly as I panned from the right edge to the left. If this had been an outdoor shot, I might be able to clone in and paint more “sky” at the top, but that type of Photoshop trickery isn’t really going to work, or be necessary, to get the final image I want here. The main goal – crop out the black areas. This means cutting some of the “good” image too. In Windows Live Photo Gallery, you can simply click the “fix” menu item while looking at the view above, and then click the “crop” button in the menu that expands at right. You’ll then be at this screen.
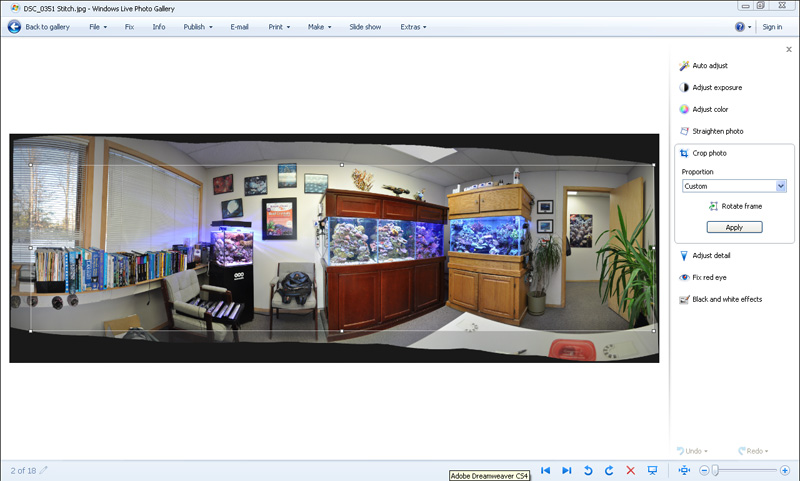
From there, you drag the handles on the crop box to encompass as much of the image as possible without including black. In this case, it looks something like this:
Note that I didn’t go all the way to the left edge. I felt I didn’t need the part beyond the book. By coming in a little bit, it allowed me to grab more of the lower portions of the image. I can’t quite get the entire cherry wood stand in the frame, but I get more. It’s just the way I like it.
From there, you can adjust colors, contrast and whatever else you like. For me, I normally do all the editing after creation of the raw image in Photoshop, but this free tool allows you the same basic capabilities.
Of course, when you shoot a series of photos, you don’t always have to use ALL the photos on the series. Using a subset of the original series, I can create a different composite that focuses solely on the tanks in Kevin Kohen’s office. Here’s an example of the selected images, the raw result, and the final product.
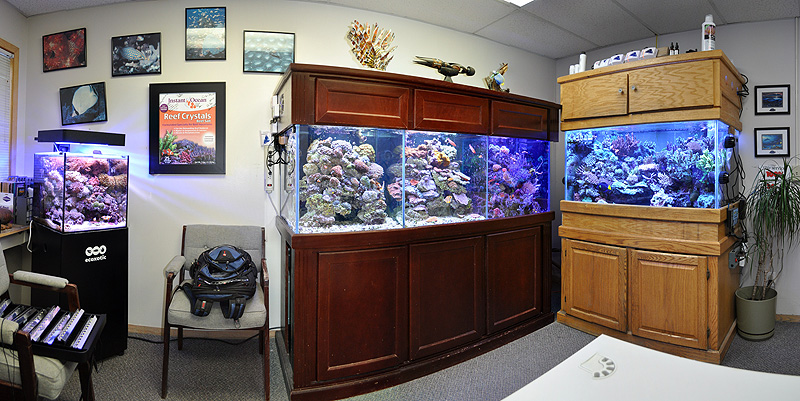
The final image, a tighter shot of Kevin Kohen's office aquariums. I cropped this one much further than it needed to be - ceiling tiles and lights added nothing to the shot!
One other benefit from all this compositing is the final resolution of the image. I shoot at full resolution always, but I can get even more data in an image if it is a composite. For example, the full size cropped version of this second example is 7902 X 3958 pixels, which translates to a roughly 26″ X 13″ image at 300 DPI.
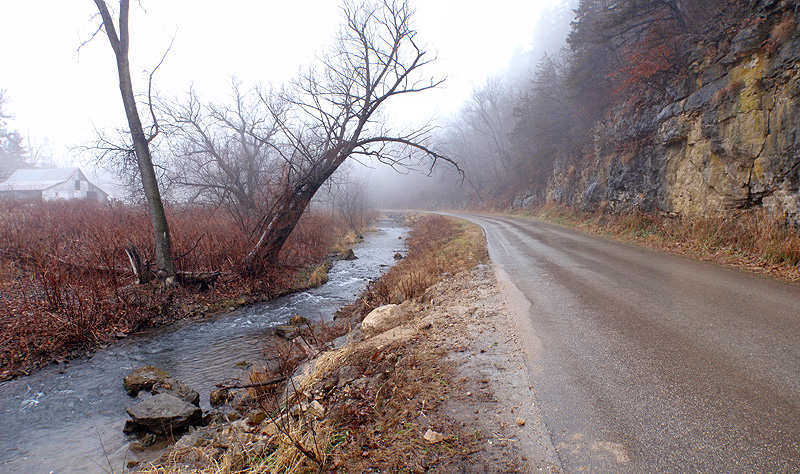
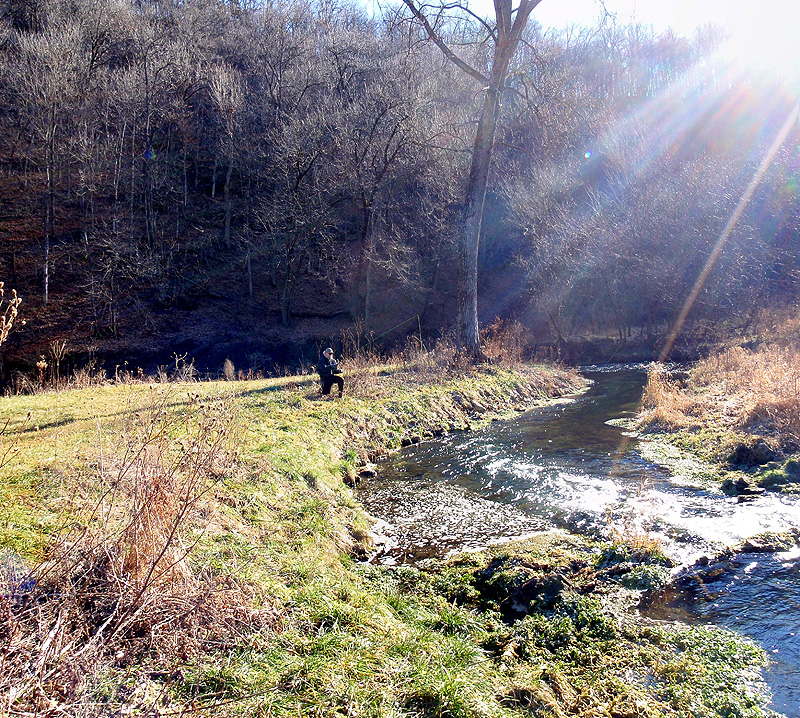
Compositing has downsides – the image software isn’t flawless. Small imperfections show up in composites, and it’s up to you whether they make or break a shot. Anything that is moving can cause major headaches, be it a fly fisherman’s line drifting or the wind causing trees to blow (or the pulsing and undulating of corals in a current). Distortion is also an issue, especially at the edges of an image. Overall, the more area you are trying to cover, the more extreme the distortions and misalignments you’ll have to deal with. Here’s a great example of a shot that illustrates the problems you really have to just live with, or do a ton of Photoshopping to fix. A fisheye lens may have been able to better capture this view without the flaws that show up here.
While not every image comes out like you’d hope, I truly enjoy working with composite images. I’ve used compositing techniques for more than just photos like the above. In fact, I’ve also used software like this to composite shots taken through a microscope to once again create a large format image out of several smaller images. So the next time you’re shooting, keep composite shots in mind, and do start tinkering. Sometimes you wind up with a view you’d never get otherwise. And in this case, here’s several more rare composite views of the LiveAquaria.com facility in Rhinelander!









Grate article Matt!
Let me share with you guys some 360 Virtual Tours what I made recently for a friend who has a store in Mexico city – http://paraisovirtual.com/alfaquarium/360/vtour/tour.html
If somebody is interested about the technique the photos was taken, I’ll happy to answer all the questions.
Hey, I saw your 360 images, they are GREAT!! I would like to know what techniques you used to make them if you are willing to share that information:)