
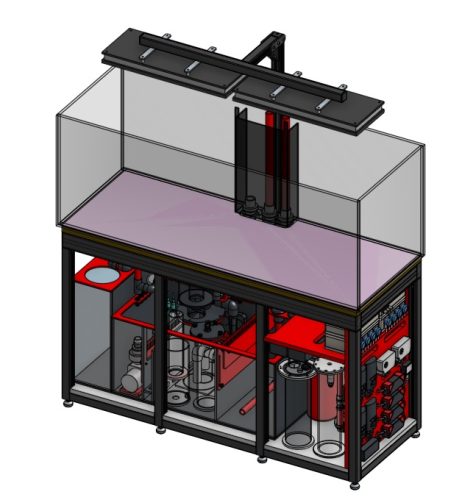
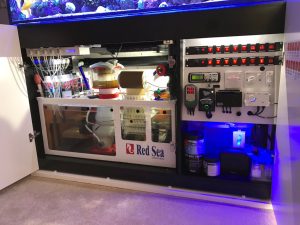
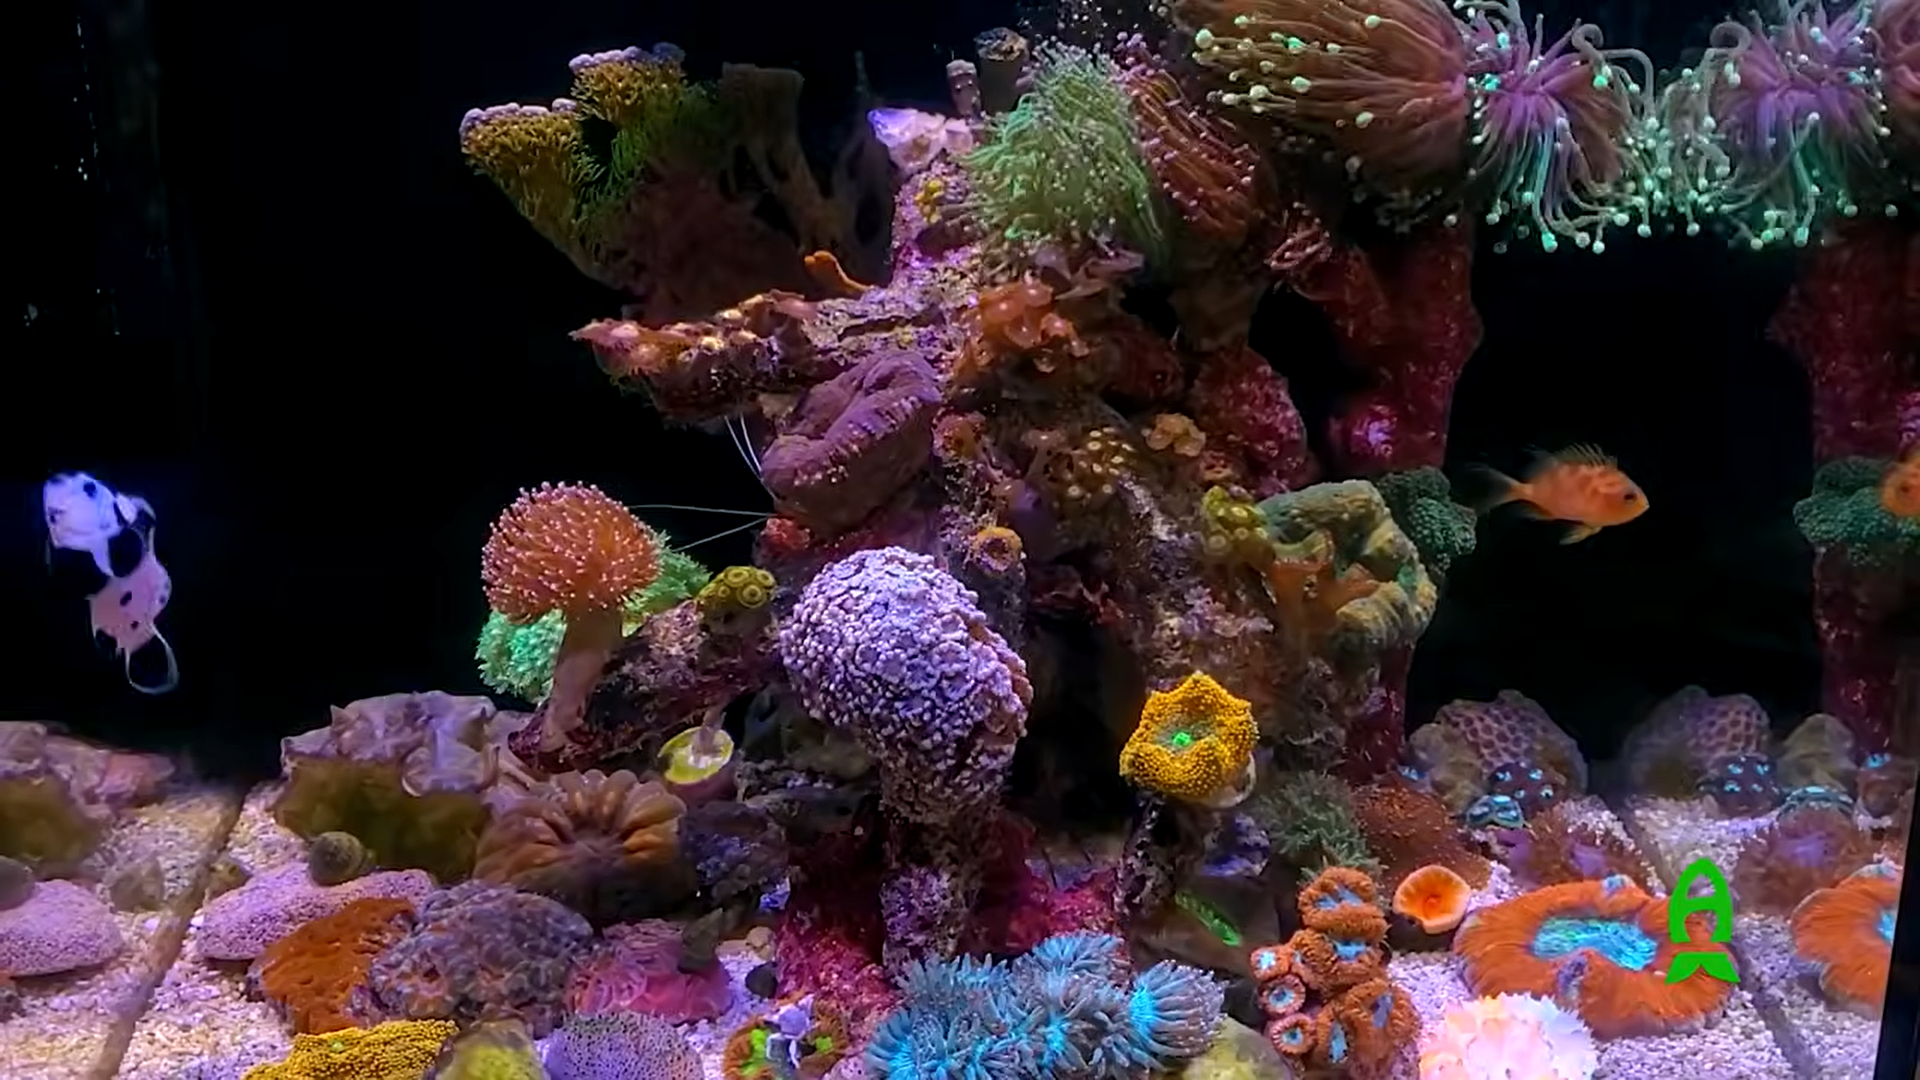
An example of a clean aquarium layout based on accessibility.
When setting up an aquarium, the concept of “Serviceability” should be paramount. As hobbyists, if a design decision can be made in the planning stages to make maintenance easier then it would actually get done. So for longevity in this hobby, you should plan on making as many maintenance items as simple as possible and only add what you need to reduce clutter and complexity. Let’s take a look at some of the few basic serviceability factors that should be obvious but sometimes get overlooked.
Accessibility
- Location – The most basic factor is pretty simple. Locate the system close to a sink/drain. Ensure there is adequate room around the system to perform the maintenance required.
- Equipment Layout – Position all the equipment that requires cleaning in an unobstructed area. Do not blindly harness everything just to look nice. Forethought of specific maintenance tasks is required, or else you will kick yourself the first time it needs to be done and it can’t be done. Locate the items that require regular cleaning in the most convenient positions that are not buried or blocked by other equipment. This includes all pumps, skimmers, reactors, dosing containers, etc. Notice in the 3D model shown above, the return pump union is placed near the front of the tank for convenient access.
Ease of Locating and Disassembly
- Drain /Return Plumbing – Plan to use true union ball valves as much as possible. It’s not if but when you will need to disassemble the plumbing since they will clog over time due to biofilm or calcification on the inner walls reducing flow.
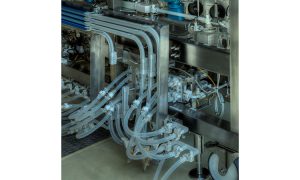
- Doser Plumbing – Use quick disconnect fittings near the doser and containers. Route the tubing with tubing holders to keep them tidy for ease of traceability. The use of color coded labels or tubing can be a huge benefit as well. Keep the distance between the doser and dosing containers as short as possible. Keeping all the tubing on the same plane instead of just bundling them will reduce nightmares when you need to trace or replace a tube. Dosers should be easily accessible since the pump heads require maintenance over time.
-
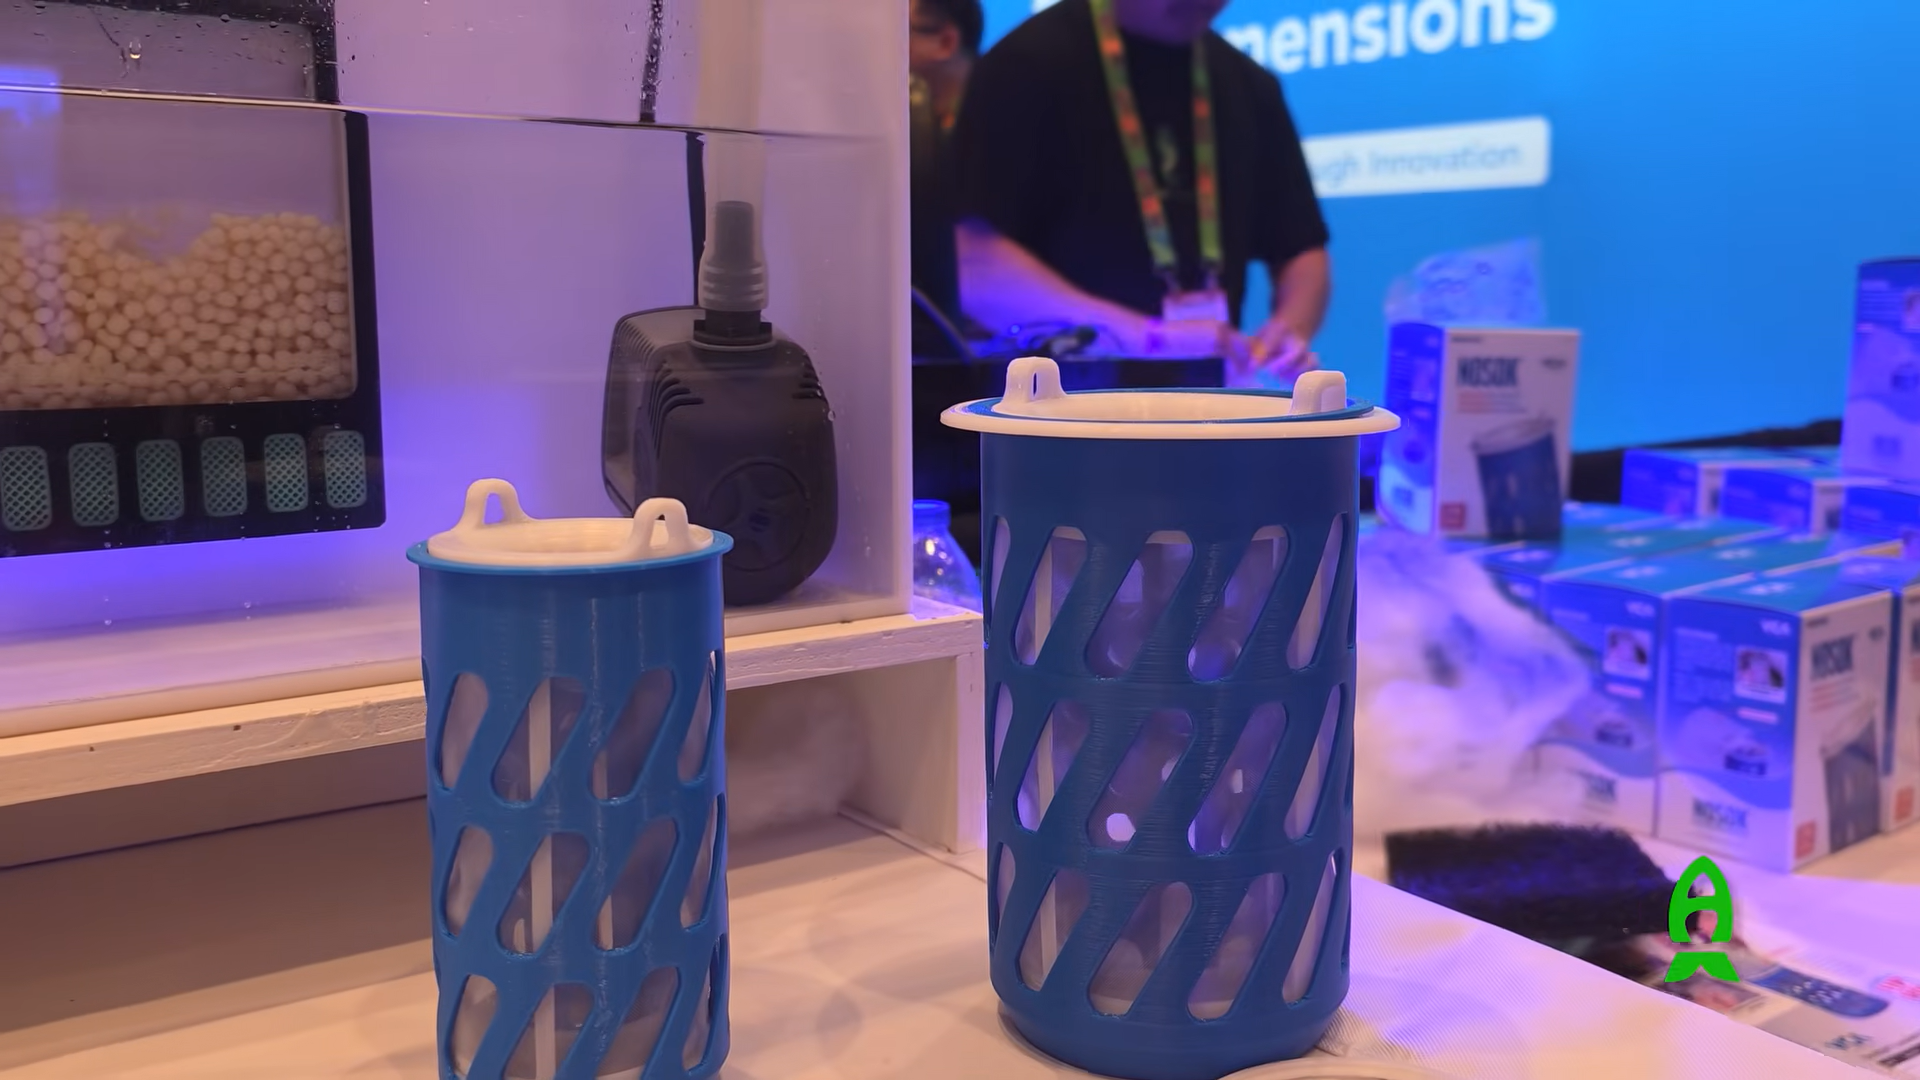
- Take a lesson from Industrial design
-
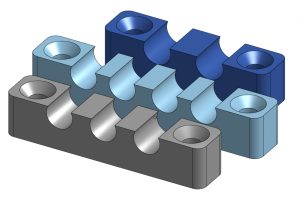
- 3d printed tube mounts
- Harnessing Design– Unfortunately most manufacturers have not answered my call for disconnection points closer to the active part of the device. For example, wave pumps should have waterproof disconnects closer to the pump heads in order to avoid pulling out all the harness just to remove the unit for cleaning. Sometimes creative custom DIY solutions need to be made to enable this concept. A product like the CoralVue Hydros Wave Engine is nice since it eliminates additional power brick clutter with a single central connection but the downside is that it is all controlled by a single unit which can be a point of failure. So prioritize your requirements when comparing aesthetics vs. redundancy.
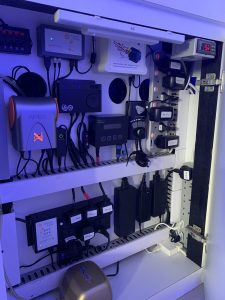
- Cable Management– If possible use industrial wire looms to hide cabling and allow ease of removal. Use non-permanent wire wraps, like Velcro cable ties, to separate the most commonly maintained equipment. Carefully arrange and label everything. The availability of pre-made controller boards and industrial wire looms can give you a professional look at a moderate cost. A properly designed and implemented setup is a piece of functional artwork to behold. Below are 2 examples.
-
- Singapore Reef Club’s Darren Sim’s simple and tidy layout
-
- UltimateReef’s RilloBoy’s professional looking setup
Automate as Necessary
- Add automation to your system for parameter monitoring, controls (i.e. water changes and auto shutoffs), dosing, or water testing but keep in mind that the equipment itself will require maintenance over time. It will allow you to manage your most critical devices from a central dashboard to power everything you need OFF for various scenarios such as water changes, feeding, etc.
- Keep electrical hardware in easily accessible locations to ensure they are visible to address issues. “Out of sight, out of mind” applies here in a negative sense.
- Think outside the sump cabinet. Moving all the electrical equipment out of the sump cabinet to an external location is my preference to avoid moisture/salt spray build up and can be more ergonomic.
Final Thoughts
I always tell new hobbyists that it’s always cheaper on paper when you plan your system out. Take the factors above and sketch it out so that you can visualize the accessibility and space constraints. Computer aided design software is not required. But if you have the skills to draft it to scale in 3D you can avoid headaches before spending a single cent. If you have friends who are professional plumbers or electricians ask them for some tips. Find some examples from fellow hobbyists that appeal to you. Emulate them while keeping serviceability as a priority.


Effective, eloquent, detailed article. More times than not these almost “common sense” practices are overlooked, especially as a brand new hobbiest excited. Few think of these guidelines and logic untill it becomes a problem . Your experience shines through here. In future endeavors this information, experience, and engineer verbage said to detail. Will make me reconsider the size and placement of larger tanks. And their necessary subsystems in a residential home. Regarding maintenance and overall practicality. Excellent content as always!